Adaptive Card Extensions and Teams Apps
This tutorial builds off the following tutorial: Advanced Quick View Functionality.
Adaptive Card Extensions can be used as supplemental pieces to a larger Teams App story. An ACE on the Viva Connections Dashboard can link directly to a Teams Personal Tab or Bot.
In this tutorial, you'll use an ACE within a Microsoft Teams app.
Scaffold a SPFx Teams Personal App
Start with the solution from the previous tutorials and add a new SPFx component to the project using the SPFx generator. Execute the following statement in command prompt from your project's root folder:
yo @microsoft/sharepoint
When prompted, accept the default option for all prompts by the generator.
At this point, Yeoman installs the required dependencies and scaffolds the solution files. This might take a few minutes.
Important
There's a known issue where installation of all dependencies will fail after when the generator executes the npm install command.
To work around this error, locate and open the following file in the project: ./package.json.
Remove the dependency @microsoft/sp-webpart-workbench from the devDependencies section of the file.
Now, execute the following command in the console from your project's root folder:
npm install
Edit the manifest
Locate and open the following file in the project: ./src/webparts/helloWorld/HelloWorldWebPart.manifest.json.
Update the supportedHosts array to only support use within a Teams Personal Tab:
"supportedHosts": ["TeamsPersonalApp"]
Package and deploy the solution
Now package and deploy the solution to your SharePoint Online Tenant App Catalog:
Start by building the solution in production mode:
gulp bundle --ship
Next, package the solution using the package-solution task:
gulp package-solution --ship
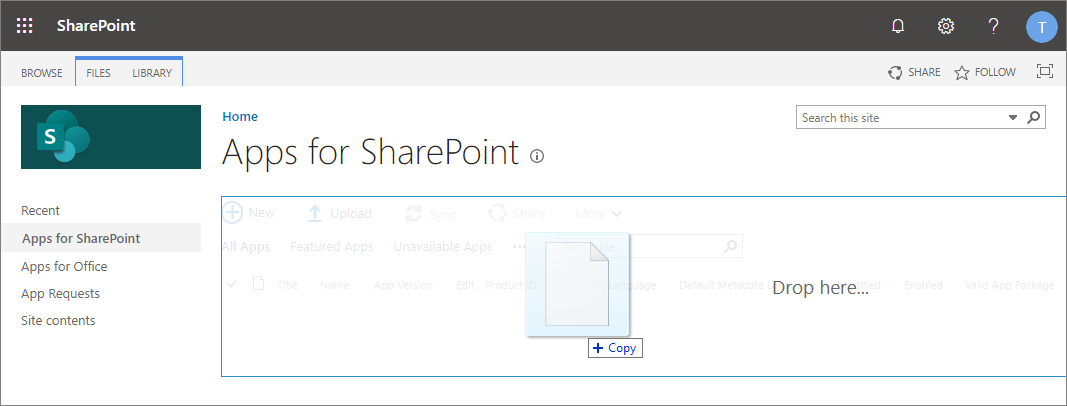
Add your solutions package file (*.sppkg located in the ./sharepoint/solution folder) and upload it to Tenant App Catalog.
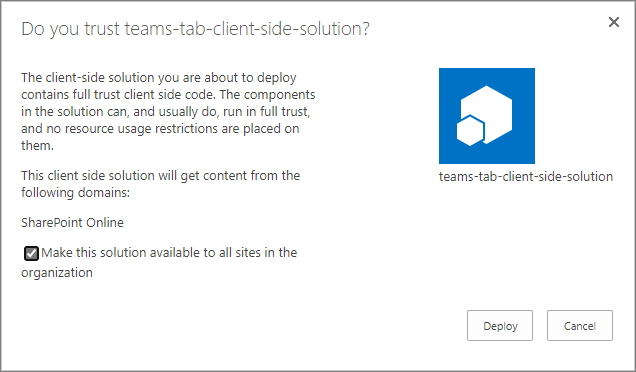
When you deploy the solution, ensure the Make this solution available to all sites in the organization box is selected:
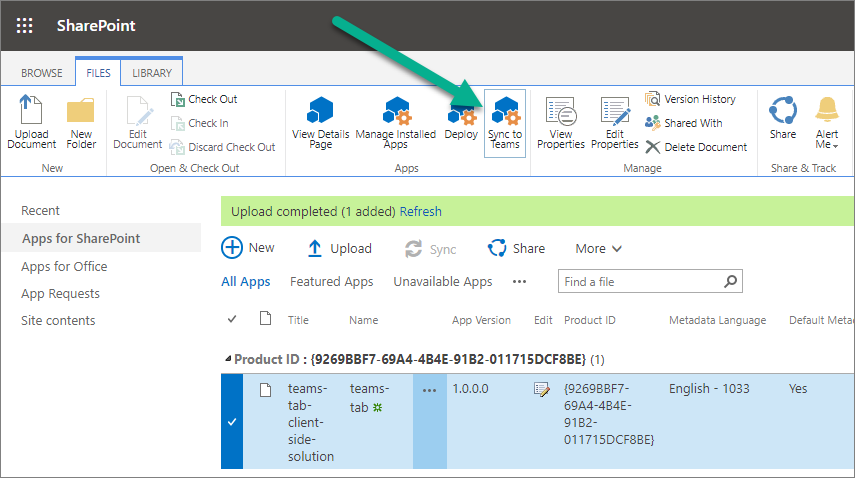
Now, deploy the solution to the Microsoft Teams app store for your tenant by selecting the Sync to Teams button:
Add a new Personal Tab
With the solution deployed, let's test it within the Microsoft Teams client.
Navigate to the to Microsoft Teams web client, sign in, and select on the ... icon in the left-most navigation.
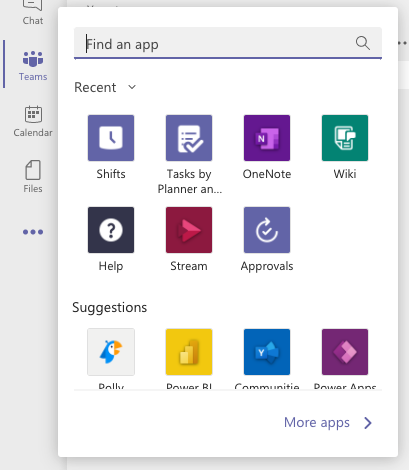
Select the More apps link:
You should see your newly uploaded Teams Personal App. Select it and then select Add.
Open your new Personal Tab and copy the following highlighted portion from the URL. This is the Microsoft Teams app ID. You'll need this later in this tutorial:

Scaffold a second ACE
Create a second ACE using the SPFx generator by executing the following statement in command prompt from your project's root folder:
yo @microsoft/sharepoint
When prompted, enter the following values (select the default option for all prompts omitted below):
- Which type of client-side component to create? Adaptive Card Extension
- What is your Adaptive Card Extension name? TeamsHelloWorld
- What is your Adaptive Card Extension description? TeamsHelloWorld description
Add a Teams deep link
Microsoft Teams deep links have the following format: https://teams.microsoft.com/l/entity/{appID}/{entityID}
- Replace
{appID}with the Microsoft Teams app ID value you copied in the last step. - Replace
{entityID}with0.
Tip
To learn more about deep links in Microsoft Teams apps, see Microsoft Teams: Create deep links.
Note
If you're linking to a non-SPFx Teams App, the entityID value is the entity ID specified in the Static Tabs section of the Teams manifest.
Locate and open the following file in the project: ./src/adaptiveCardExtensions/teamsHelloWorld/cardView/CardView.ts.
Update the onCardSelection() method to open a deep link:
public get onCardSelection(): IQuickViewCardAction | IExternalLinkCardAction | undefined {
  return {
    type: 'ExternalLink',
    parameters: {
      isTeamsDeepLink: true,
      target: '' // Set this to your Teams deep link URL
    }
  };
}
Repeat the steps in the section Package and deploy the solution above to rebuild, package, and deploy the updated solution.
Viva Connections Dashboard
The Viva Connections Dashboard is available on the Home Site of the tenant.
Add cards to the dashboard
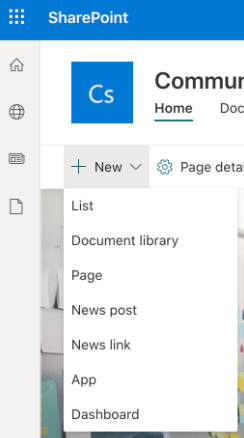
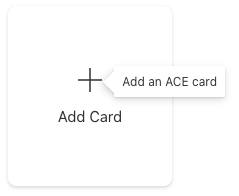
From the New menu, select the Dashboard item to create a new dashboard. Add the ACE to the dashboard by selecting Add Card:
Add your HelloWorld and TeamsHelloWorld ACEs to the Dashboard. When finished, publish the Dashboard.
Deep link
Select the TeamsHelloWorld ACE. The Microsoft Teams desktop client will automatically open to the Personal App you previously created.
Conclusion
After this lab you should be familiar with:
- Packaging and deployment of heterogeneous SPFx solutions
- Manually creating a Teams deep link URL
- Deep linking from an ACE to a Teams Personal Tab