Note
Access to this page requires authorization. You can try signing in or changing directories.
Access to this page requires authorization. You can try changing directories.
File shares are scanned automatically once you add a source. Once the scans are complete, download the generated reports and logs to investigate any possible issues that might block your migration.
Note
Two additional endpoints are required for the Scan feature. If you aren't able to scan, check this list to make sure you've enabled these endpoints: Required endpoints.
A table summary appears at the top of the page to give you an at-a-glance overview of your users and content size.
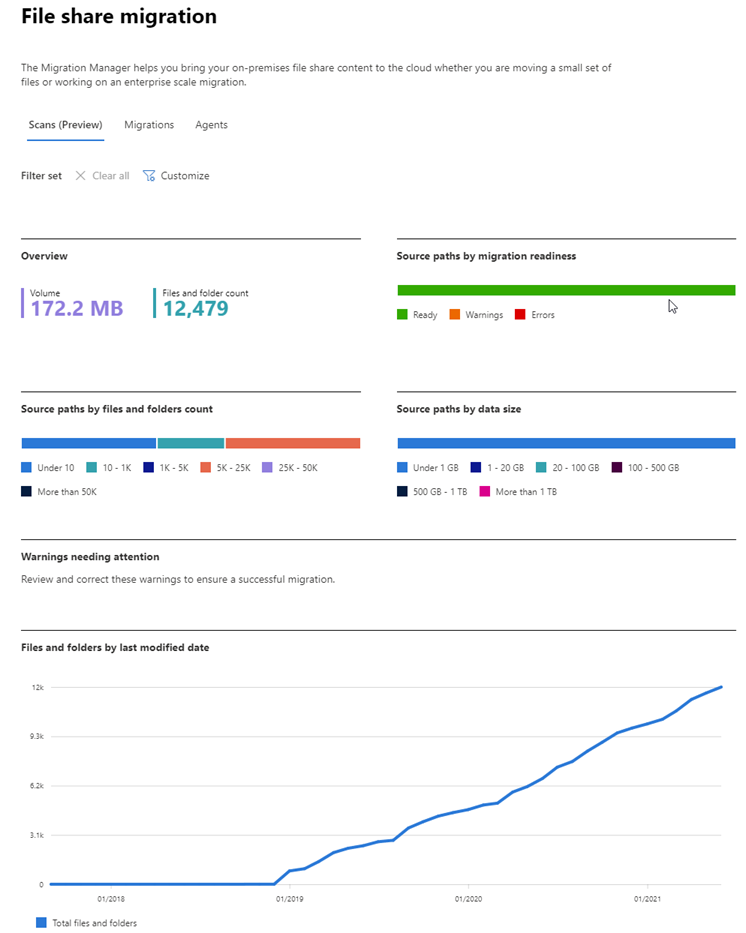
Reviewing the scan results
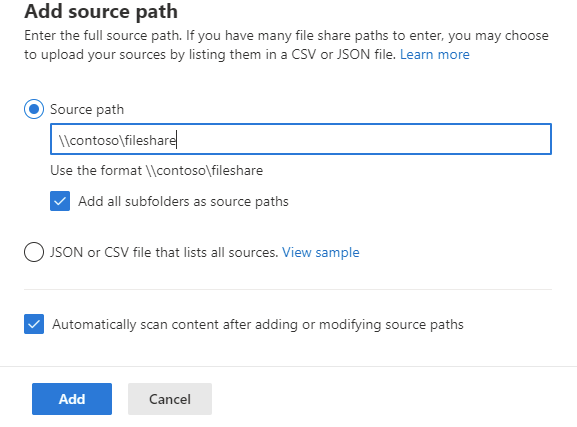
Select Add source path
Review the scanned file shares. Search for specific text, or select a filter to review the list more easily.
Select Add source path if you want to scan more file shares.

Important
Only agents in the Default agent group can be scheduled. If you have a file share scan that's stuck with the status of "Queued", and it's never scheduled to an agent, follow the steps here: Scan task stuck in "queued" status.
Download summary report and scan log
- To have a local copy of the summary view, from the menu bar, select Download summary report.
- To troubleshoot the details of individual files, highlight a single row and select Download scan log from the menu bar.