Create a parameterized notebook by using the Run with Parameters action
Parameterization in Azure Data Studio is running the same notebook with a different set of parameters.
This article shows you how to create and run a parameterized notebook in Azure Data Studio by using the Python kernel.
Note
Currently, you can use parameterization with Python, PySpark, PowerShell, and .NET Interactive kernels.
Prerequisites
Run with Parameters action
When you use the Run with Parameters notebook action, the user can input new parameters in the UI to quickly set new parameters for your notebook. The user can then run the notebook with the new parameters.
Note
It's important to format the parameter cell with each new parameter on a new line.
Parameterization example
You can use an example notebook file to go through the steps in this article:
- Go to the notebook file in GitHub. Select Raw.
- Select Ctrl+S or right-click, and then save the file with the .ipynb extension.
- Open the file in Azure Data Studio.
Set up a notebook for parameterization
You can begin with the example notebook open in Azure Data Studio or complete the following steps to create a notebook. Then, try using different parameters. All the steps run inside an Azure Data Studio notebook.
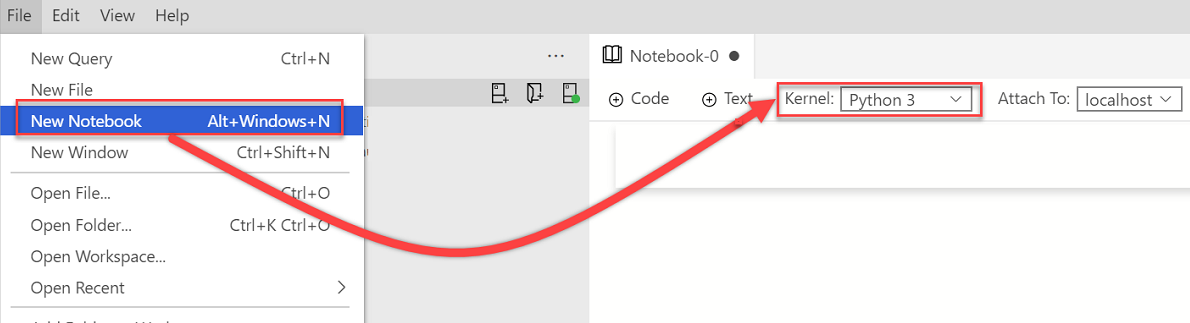
Create a new notebook. Change Kernel to Python 3:
If you're prompted to upgrade your Python packages when your packages need updating, select Yes:

Verify that Kernel is set to Python 3:

Make a new code cell. Select Parameters to tag the cell as a parameters cell.
x = 2.0
y = 5.0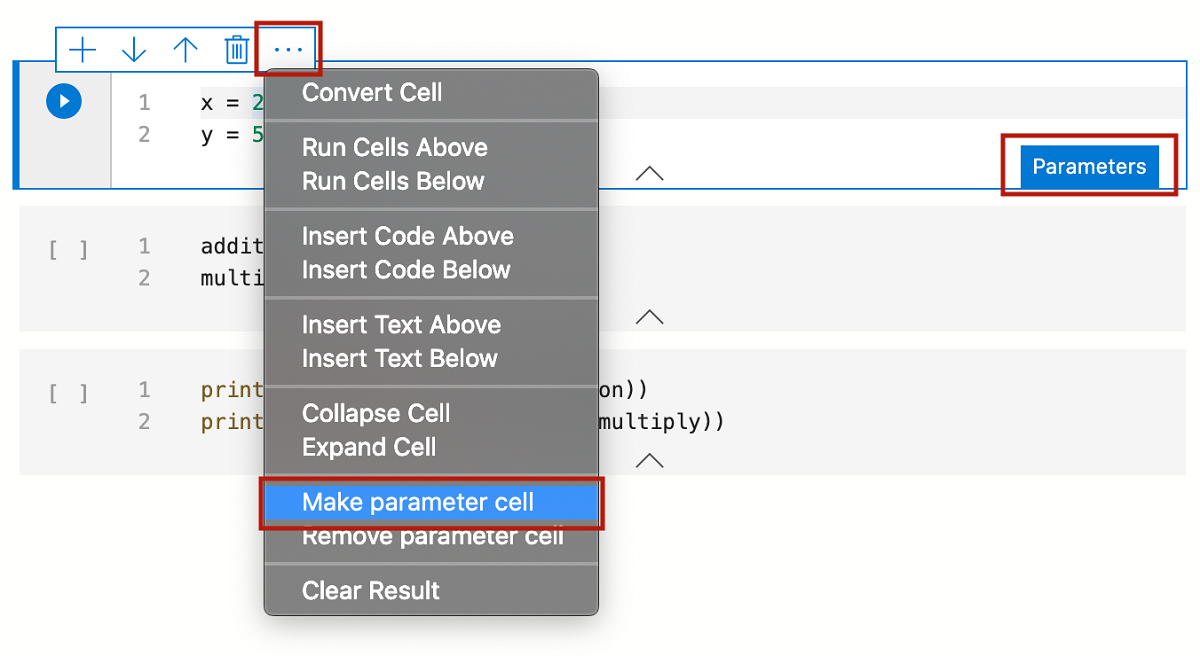
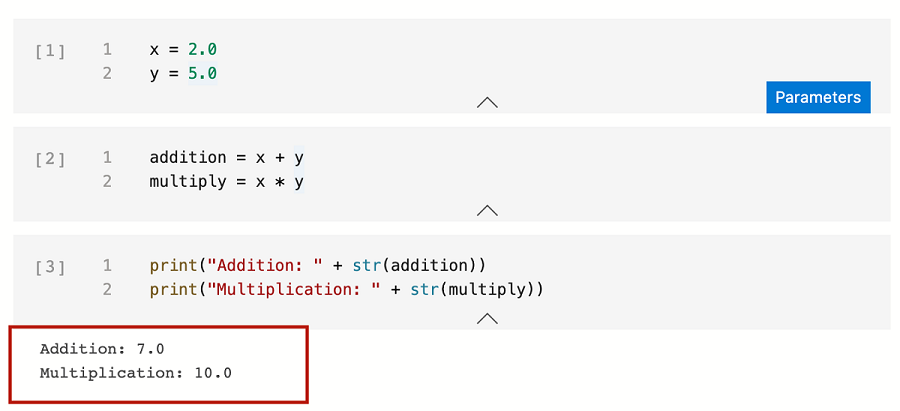
Add other cells to test different parameters:
addition = x + y
multiply = x * y
print("Addition: " + str(addition)) print("Multiplication: " + str(multiply))The output will look similar to this example:
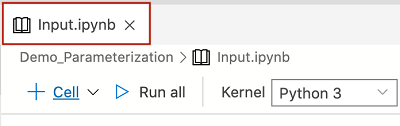
Save the notebook as Input.ipynb:
Run the notebook with parameters
On the notebook toolbar, select the Run with Parameters icon:

A series of new dialogs prompt you to input new parameters for x and y:


After you enter the new parameters, view the new parameterized notebook. On the toolbar, select Run all to run all cells and see the new output. A new cell labeled
# Injected-Parameterscontains the new parameter values that were passed in:
Next steps
Learn more about notebooks and parameterization:
Feedback
Coming soon: Throughout 2024 we will be phasing out GitHub Issues as the feedback mechanism for content and replacing it with a new feedback system. For more information see: https://aka.ms/ContentUserFeedback.
Submit and view feedback for