Note
Access to this page requires authorization. You can try signing in or changing directories.
Access to this page requires authorization. You can try changing directories.
Learn how to use SQL Server Migration Assistant (SSMA) for Oracle to convert the Oracle sample HR schema to SQL Server on Linux.
In this article, you complete the following steps:
- Download and install SSMA on Windows
- Create an SSMA project to manage the migration
- Connect to Oracle
- Run a migration report
- Convert the sample HR schema
- Migrate the data
Prerequisites
- An instance of Oracle 12c (12.2.0.1.0) with the HR schema installed
- A working instance of SQL Server on Linux
Note
The same steps can be used to target SQL Server on Windows, but you must select Windows in the Migrate To project setting.
Download and install SSMA for Oracle
There are several editions of SQL Server Migration Assistant available, depending on your source database. Download the current version of SQL Server Migration Assistant for Oracle and install it by using the instructions found on the download page.
Note
At this time, the SSMA for Oracle Extension Pack isn't supported on Linux, but it's not necessary for this tutorial.
Create and set up a new SSMA project
Open SSMA for Oracle and choose New Project from the File menu.
Give the project a name.
In the Migrate To field, choose SQL Server 2017 (Linux) - Preview.
Enable the HR schema
SSMA for Oracle doesn't use the Oracle sample schemas by default. To enable the HR schema, use the following steps:
In SSMA, select the Tools menu.
Select Default Project Settings, and then choose Loading System Objects.
Make sure HR is checked, and choose OK.
Connect SSMA to Oracle
On the toolbar, select Connect to Oracle.
Fill in the Server name, Server port, Oracle SID, User name, and Password fields.
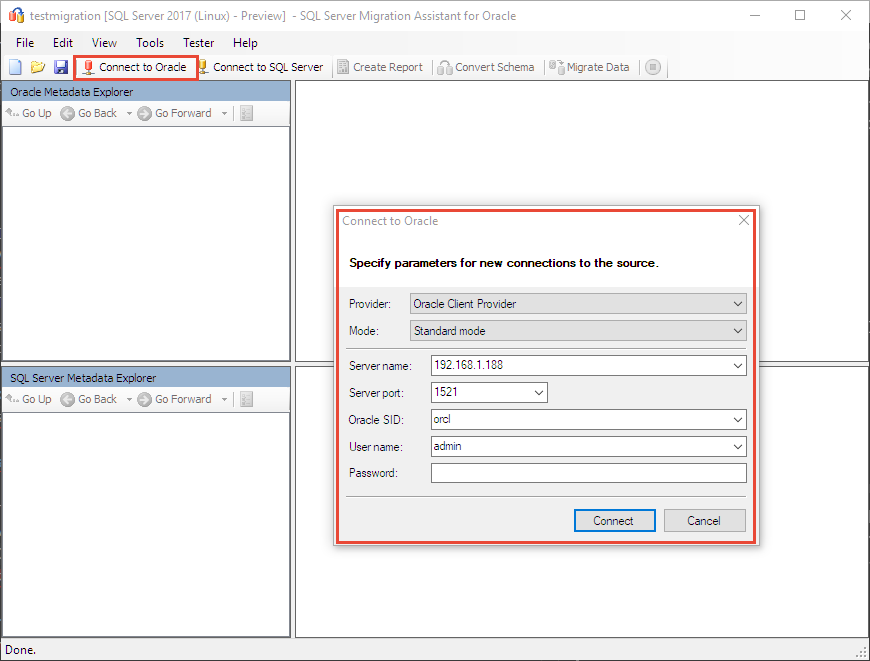
Select Connect. In a few moments, SSMA for Oracle connects to your database and reads its metadata.

Generate a migration report
In the Oracle Metadata Explorer, expand your server's node.
Expand Schemas, right-click HR, and select Create Report.
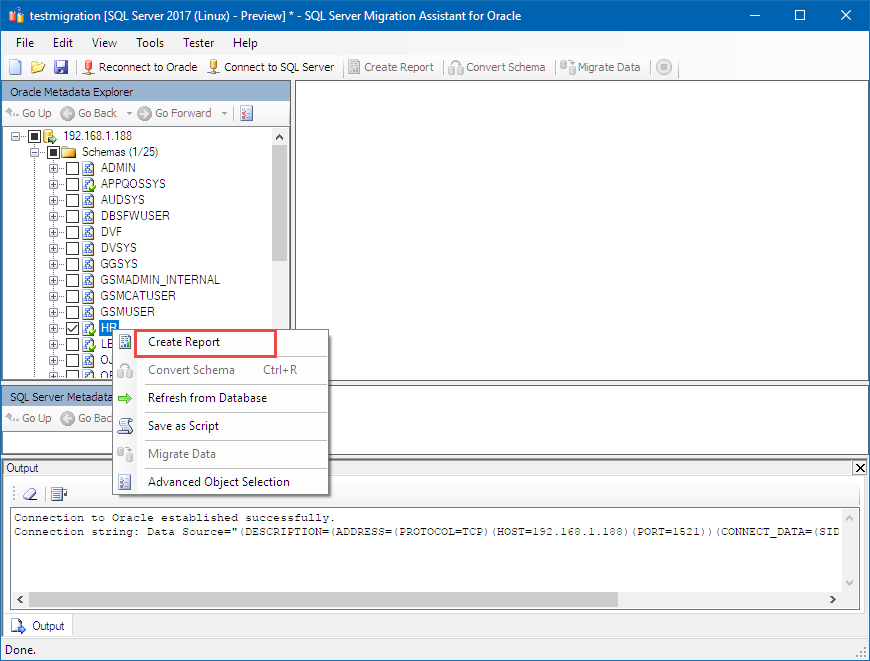
A new browser window opens with a report that lists all of the warnings and errors associated with the conversion.
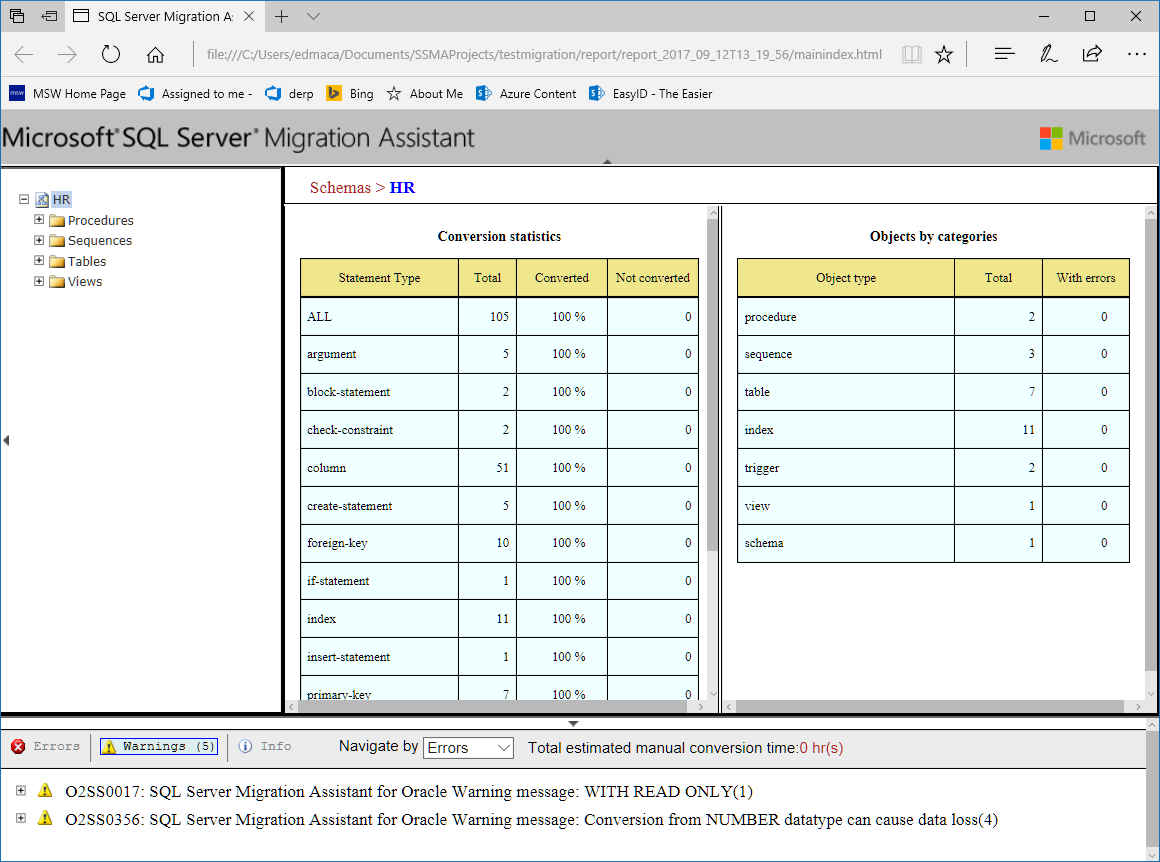
Note
You don't need to do anything with the list of warnings and errors for this tutorial. If you perform these steps for your own Oracle database, you should review the report and address any important conversion problems.


Connect to SQL Server
Choose Connect to SQL Server and enter the appropriate connection information. If you use a database name that doesn't already exist, SSMA for Oracle creates it for you.

Convert Schema
Right-click HR in Oracle Metadata Explorer, and select Convert Schema.

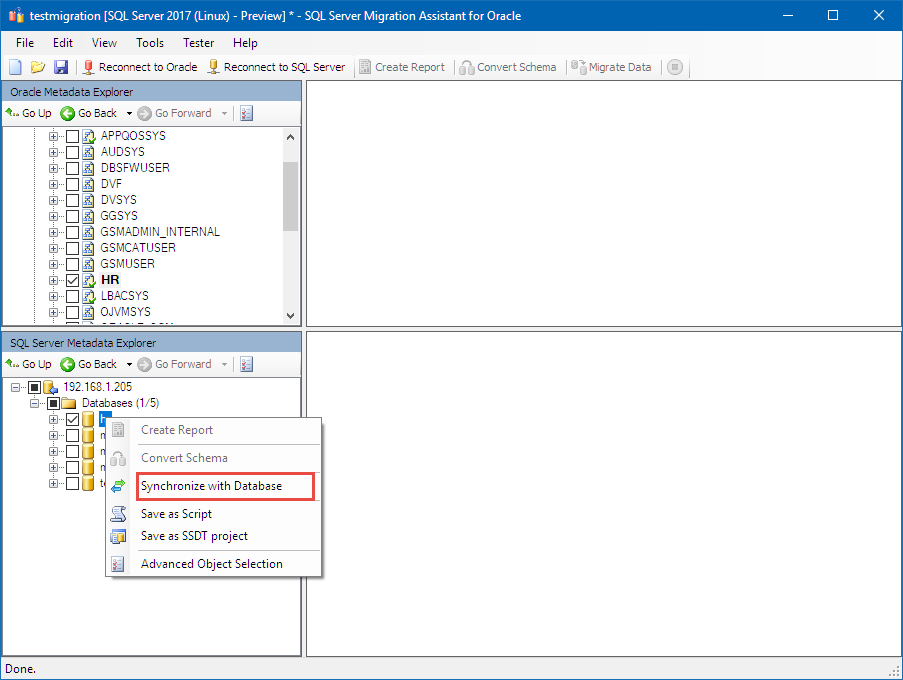
Synchronize your database
After the conversion finishes, use the SQL Server Metadata Explorer to go to the database you created in the previous step.
Right-click your database, select Synchronize with Database, and then select OK.

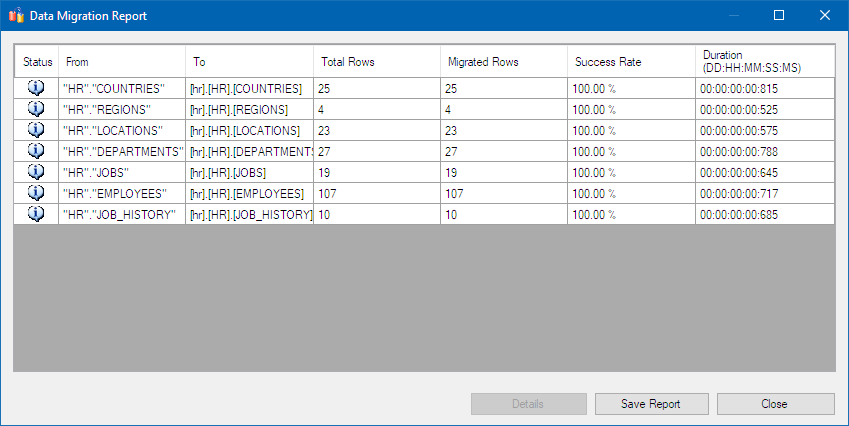
Migrate data
The final step is to migrate your data.
In the Oracle Metadata Explorer, right-click HR, and select Migrate Data.
The data migration step requires that you reenter your Oracle and SQL Server credentials.
When you're finished, review the data migration report, which should look similar to the following screenshot:

Conclusion
For a more complex Oracle schema, the conversion process involves more time, testing, and possible changes to client applications. The purpose of this tutorial is to show how you can use SSMA for Oracle as a part of your overall migration process.
In this tutorial, you learned how to:
- Install SSMA on Windows.
- Create a new SSMA project.
- Assess and run a migration from Oracle.