Note
Access to this page requires authorization. You can try signing in or changing directories.
Access to this page requires authorization. You can try changing directories.
Overview
This guide walks through the full process of inviting a new team member to your Microsoft for Startups account — from the administrator sending the invitation to the new member completing onboarding. The guide is split into two parts:
- Part 1: Admin Side — Sending the invitation
- Part 2: New Member Side — Accepting the invitation and completing onboarding
Note: Only existing administrators on your Microsoft for Startups account can invite new team members.
Part 1: Admin Side — Sending the Invitation
As an administrator, you can invite new team members directly from the Microsoft for Startups portal. Follow the steps below to send an invitation.
Step 1: Navigate to the Team Members Settings
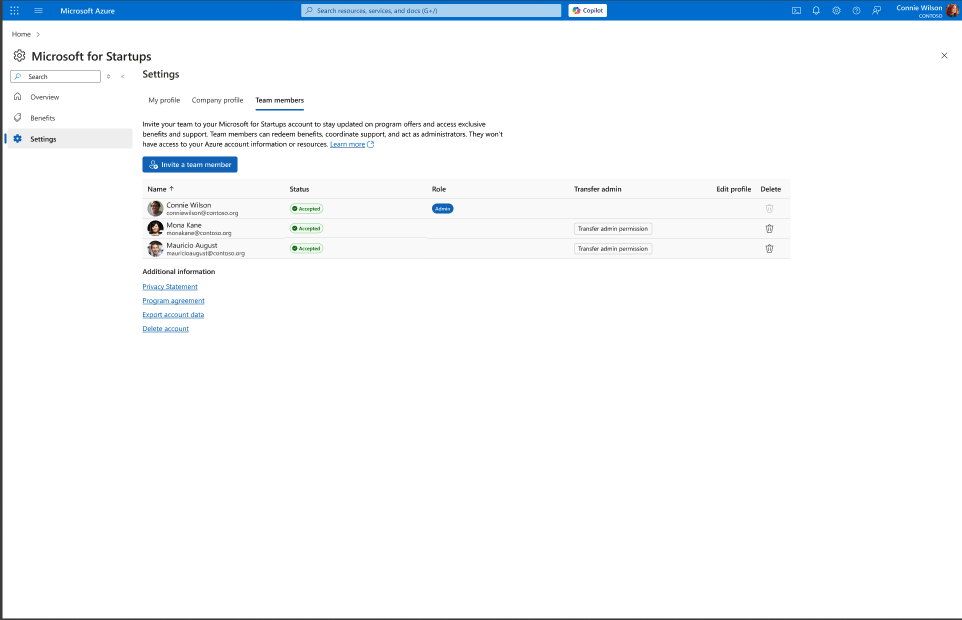
From the Microsoft for Startups portal, select the gear icon in the left sidebar to open Settings, then click the "Team members" tab. Here, you will see your current team list with names, roles, and statuses.
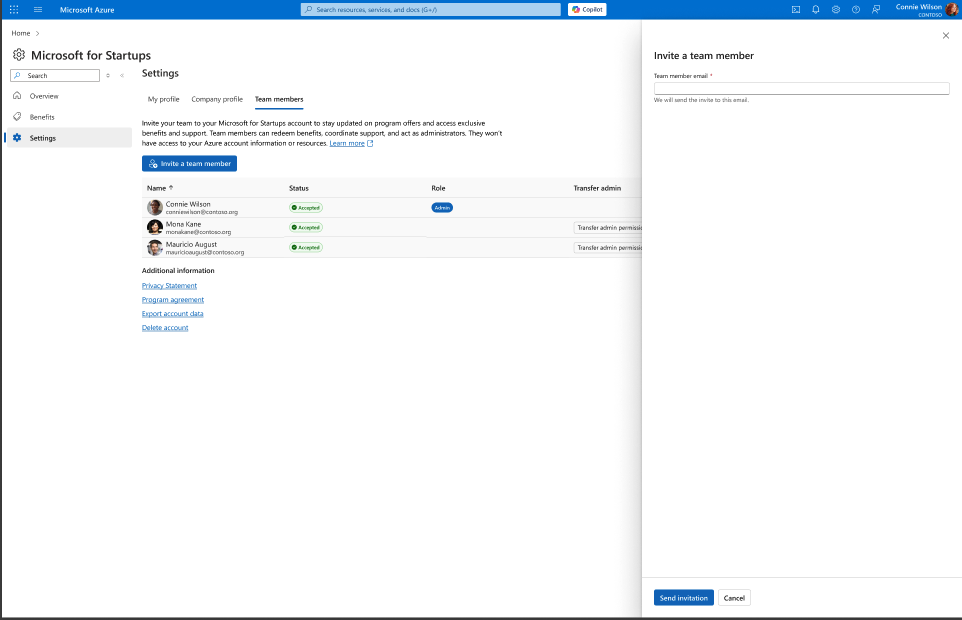
Step 2: Open the Invite Panel
Click the "Invite a team member" button. A side panel will slide out from the right with a field to enter your new team member's email address.
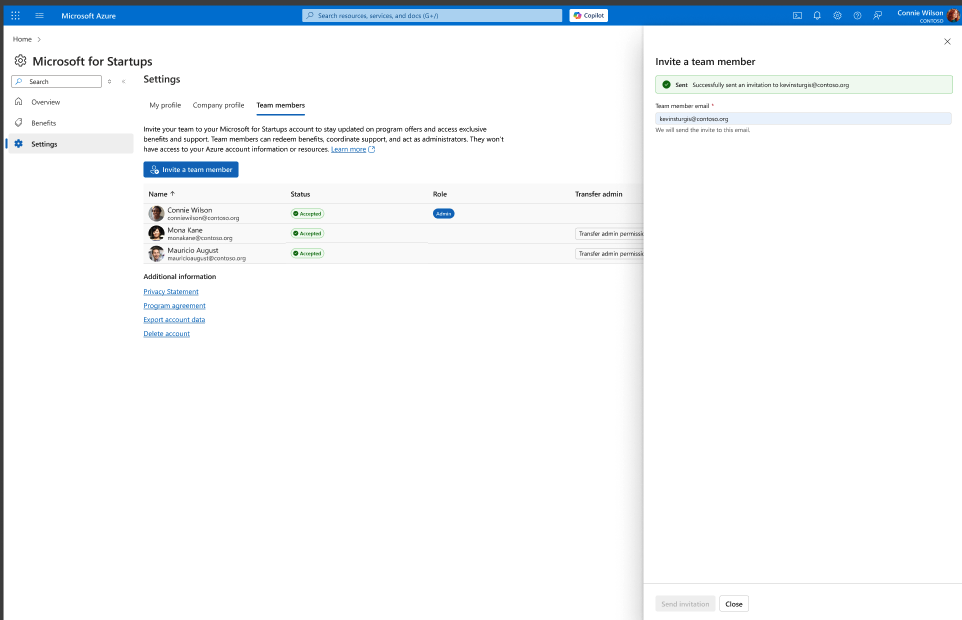
Step 3: Send the Invitation
Enter the email address of the team member you want to invite, then click "Send invitation". A green confirmation banner will appear at the top of the panel confirming that the invitation was successfully sent.
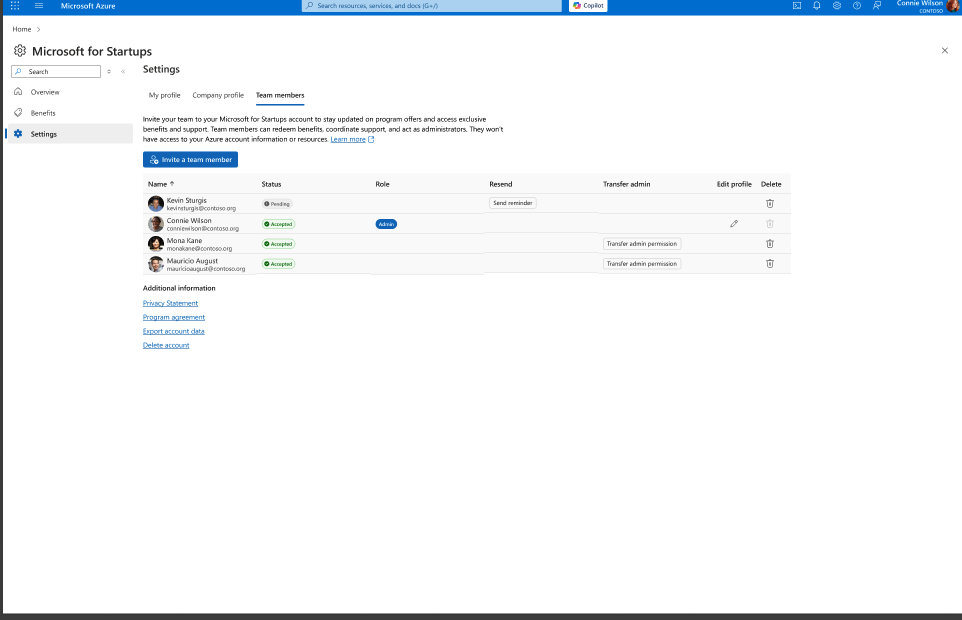
Step 4: Verify the Pending Status
Once the invitation is sent, close the panel. The new team member will appear in your team list with a "Pending" status until they accept the invitation. From this view, you can also resend reminders or remove the invitation if needed.
Note: Pending invitations can be resent or revoked from the team list. Once accepted, the team member's status will update to "Accepted" automatically.
Part 2: New Member Side — Accepting the Invitation
Once the administrator sends an invitation, the new team member receives an email and walks through onboarding. The steps below show what the invitee experiences from start to finish.
Step 5: Receive and Open the Invitation Email
The new team member will receive an email titled "Action needed: Join Microsoft for Startups." Open the email and click the "Join now" button to begin the onboarding process.
Step 6: Sign In with Your Microsoft Account
After clicking "Join now," you will be redirected to the Microsoft sign-in page. Enter your email address and follow the prompts to sign in. If you do not have a Microsoft account associated with this email, you can create one from this screen.
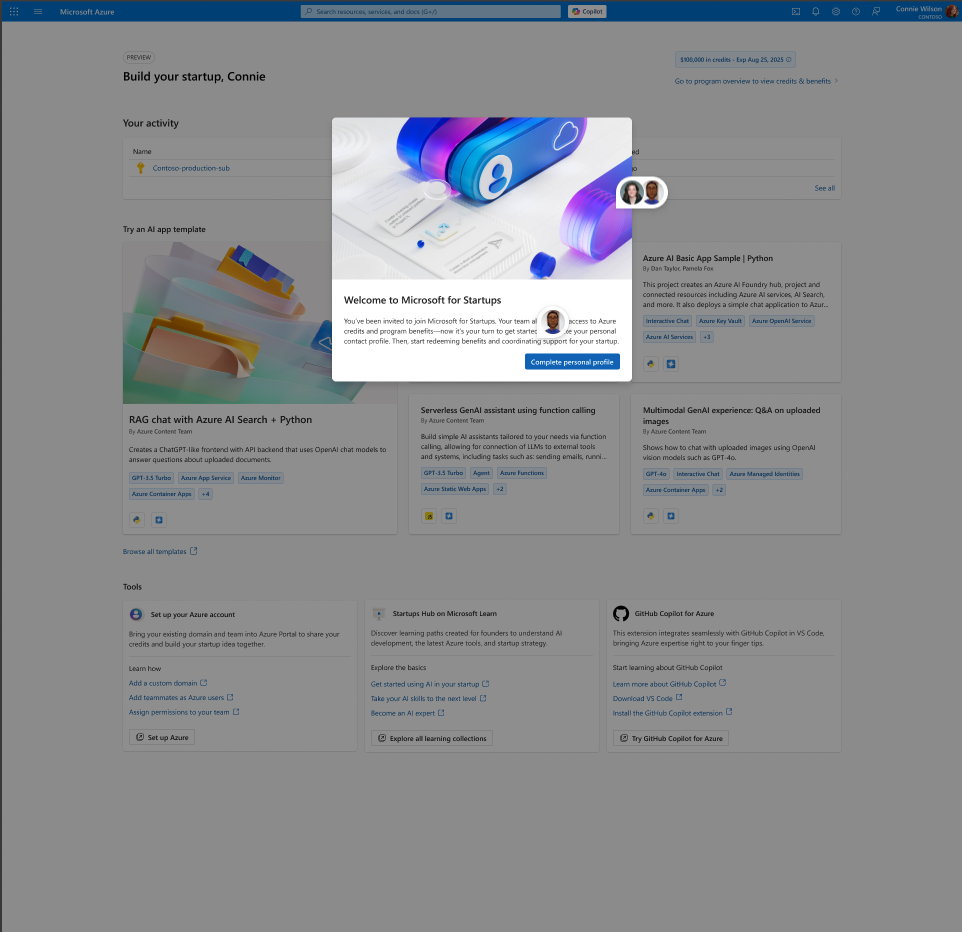
Step 7: Welcome to Microsoft for Startups
After signing in, you will see a "Welcome to Microsoft for Startups" modal explaining that your team has invited you to join. Click "Complete personal profile" to begin setting up your account.
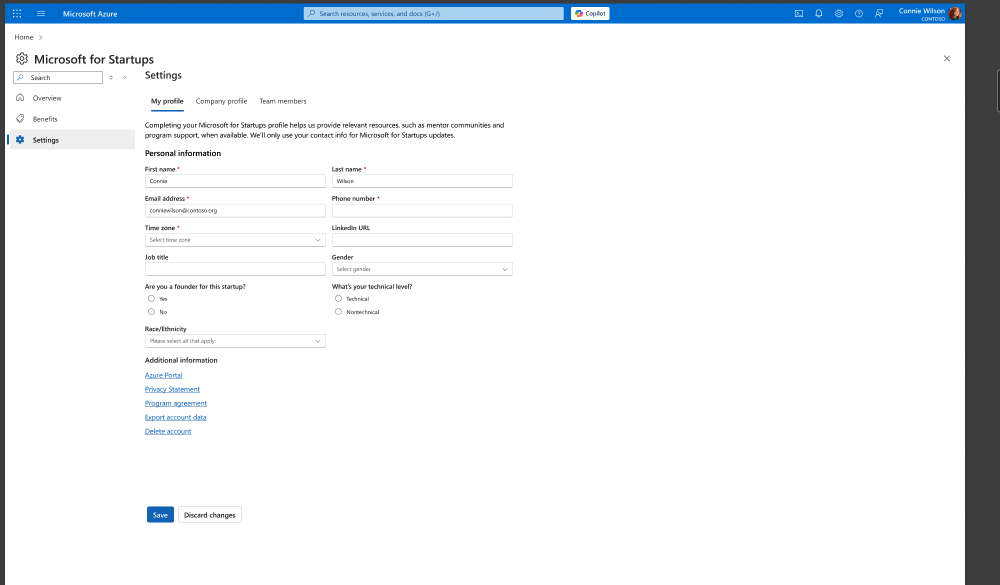
Step 8: Complete Your Profile
You will be taken to the My Profile settings page. Fill in your personal information, including:
- First and last name
- Email and phone number
- Time zone and LinkedIn URL
- Job title and gender (optional)
- Founder status and technical level
- Race/ethnicity (optional)
Click "Save" to apply your changes.
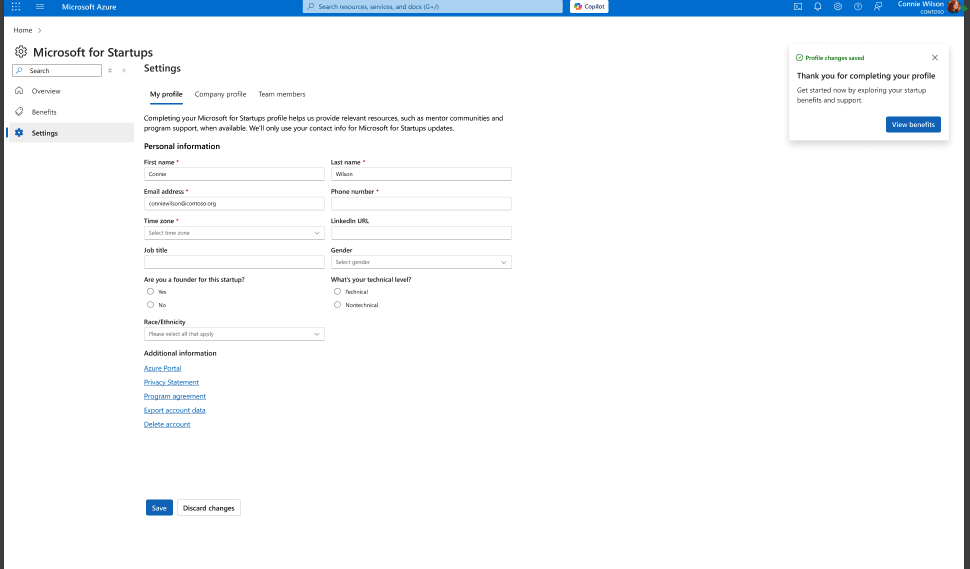
Step 9: Confirm Profile Changes Are Saved
Once you save your profile, a green "Profile changes saved" banner will appear in the top-right corner confirming your information has been recorded. From here, you can begin exploring program benefits.
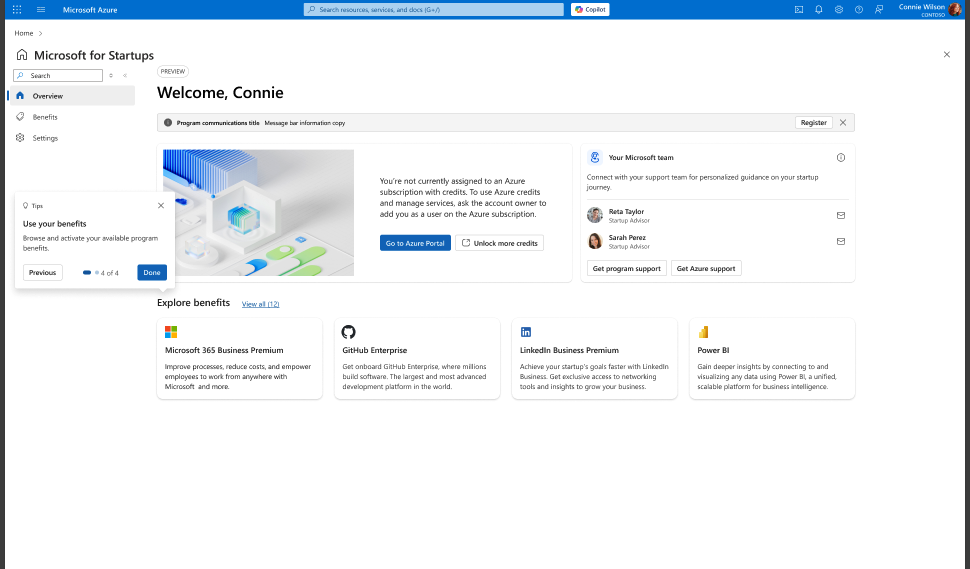
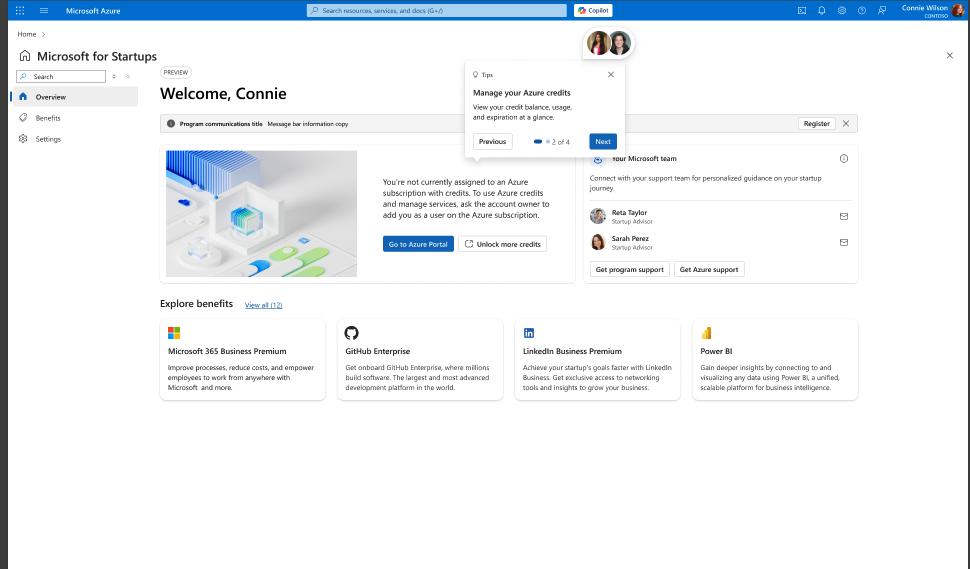
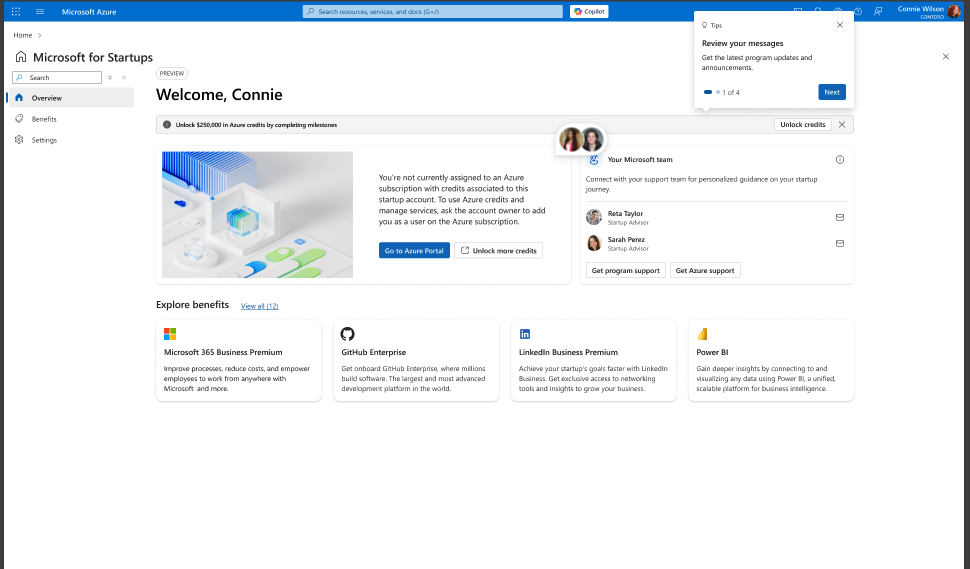
Step 10: Walk Through the Onboarding Tips Tour
After completing your profile, a guided 4-step Tips tour will help you get familiar with the portal. You can navigate through each tip using the "Next" button or dismiss it at any time.
Tip 1 of 4 — Review your messages: Get the latest program updates and announcements.
Tip 2 of 4 — Manage your Azure credits: View your credit balance, usage, and expiration at a glance.

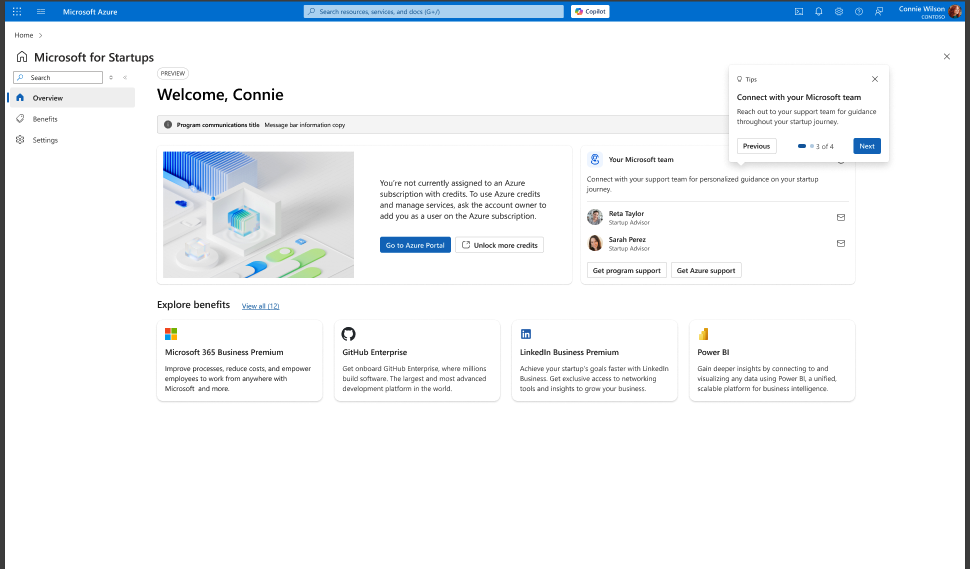
Tip 3 of 4 — Connect with your Microsoft team: Reach out to your support team for guidance throughout your startup journey.

Tip 4 of 4 — Use your benefits: Browse and activate your available program benefits. Click "Done" to complete the tour.
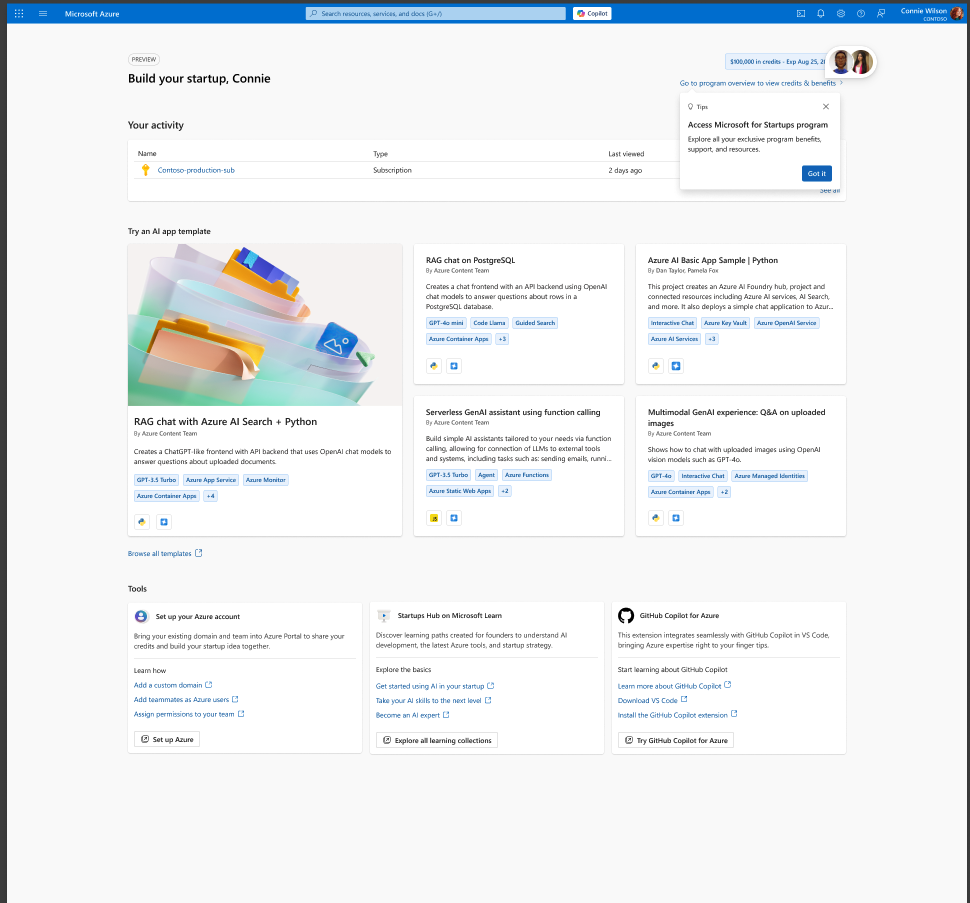
Step 11: Access the Build Your Startup Page
After completing the Tips tour, navigate to the "Build your startup" page. You may see one final tip — "Access Microsoft for Startups program" — which highlights how to access your exclusive program benefits, support, and resources. Click "Got it" to dismiss it.
Important: From the Build your startup page, click the "Build in Azure" button to confirm you've been added to the startup successfully and to verify your Azure access. This will take you to your Microsoft for Startups Welcome page, where you can see your team, credits, and benefits.
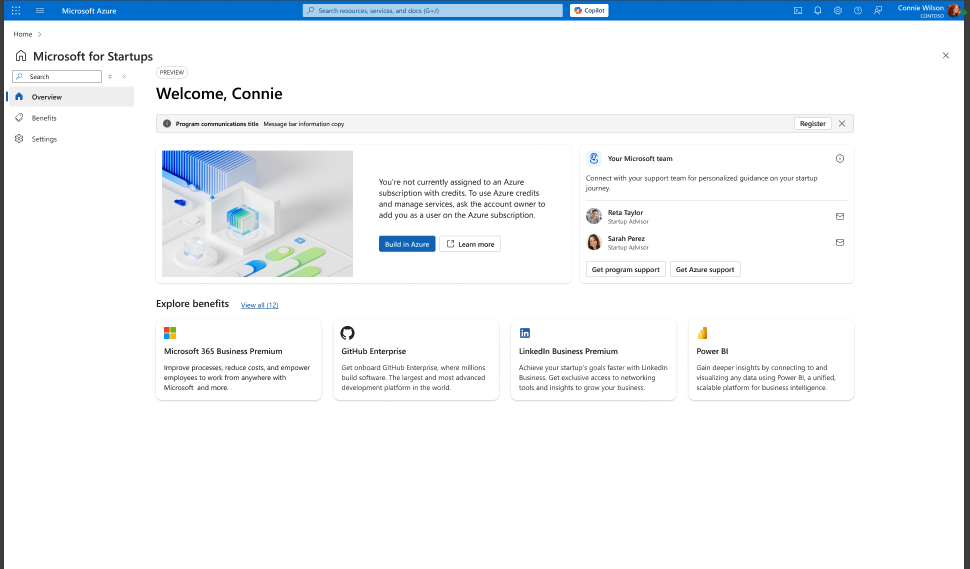
Step 12: Verify Successful Onboarding
After clicking "Build in Azure", you will land on the Microsoft for Startups Welcome page. This is your fully onboarded view, confirming that you have been successfully added to your startup's account. From here, you can access:
- Your Azure subscription details
- Your Microsoft team contacts (Startup Advisors)
- Available program benefits (Microsoft 365, GitHub Enterprise, LinkedIn Business Premium, Power BI, and more)
- Program support and Azure technical support
Note: If you do not see your subscription listed under "Your activity" or your credits balance is not visible, contact your startup admin to verify the invitation was accepted and your account has been fully provisioned.
For additional help, visit aka.ms/startuphelp-mfs-portal.