Note
Access to this page requires authorization. You can try signing in or changing directories.
Access to this page requires authorization. You can try changing directories.
Note
This is the second part of a three-part guide for IT admins to help them migrate from Stream (Classic) to Stream (on SharePoint) using the migration tool. Find first and third part here:
Step 5: Updating assignment of videos associated with a group as display
For some of the Microsoft 365 groups, the number of videos shown in the Stream (Classic) portal would be more than the videos mapped to that container. This happens due to one of the following reasons:
- The video is associated with the Microsoft 365 group as display (explained in Step 3).
- The video is owned not only by that Microsoft 365 group, but with another group or CWC as well. Since a video is mapped to only one container, it's possible that the video got mapped to the other group's container because historically the video was associated to that other group first.
To identify the containers in which such videos exist:
- Launch the inventory report in the Power BI. Under the Container Summary tab, set Container Type filter to Microsoft 365 groups. In the Container List table below, identify the containers where Video Count is less than VideosinStreamClassic. These are the containers where some videos are associated as display or some of the owned videos won't move with that Microsoft 365 group. Inventory report lists only those containers which have at least one video assigned to them as per assignment hierarchy. To identify the containers in which no video was assigned and are therefore not available in the inventory report, refer here.
- Out of all these containers, identify the ones that are critical for tenant. These would likely be the company-wide consumed groups like Corporate Communications and Training videos.
- For these identified containers, run Mode 1 of permissions script by following the steps mentioned here. This provides you details of all the videos present in that group as either display or owner in individual csvs.
- Merge all the csv files into a single csv. You can use cmd or PowerShell to do the same. This file contains, for all the specified container IDs, a list of all videos that are associated with them as display or owner.
- In the merged csv file, filter the rows where Permissions column contains Viewer or is empty, and if you want to force those videos to move with that container, keep those rows.
- Identify rows with duplicate video IDs using conditional formatting, and keep only those rows where you want the video to move.
- The previous two steps provide you a csv with details on which video you want to reassign to which container. After ensuring that you have reviewed the file and there's only one single row for each video ID, you can reassign them to the container using Mode 2 of permissions script by following the steps mentioned here.
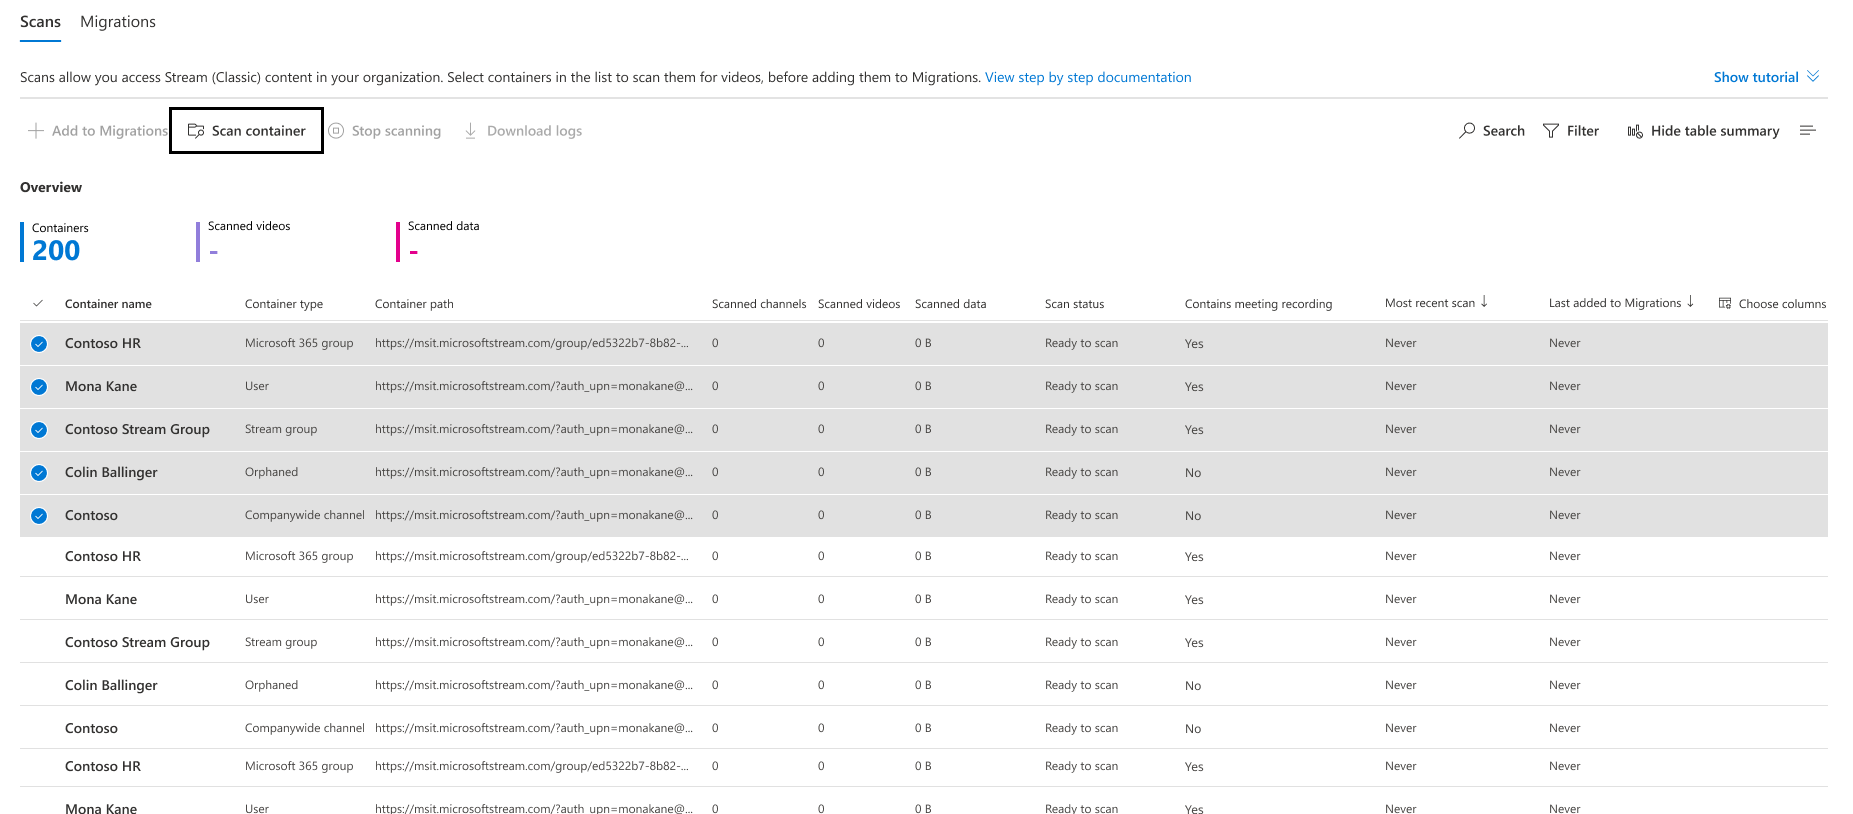
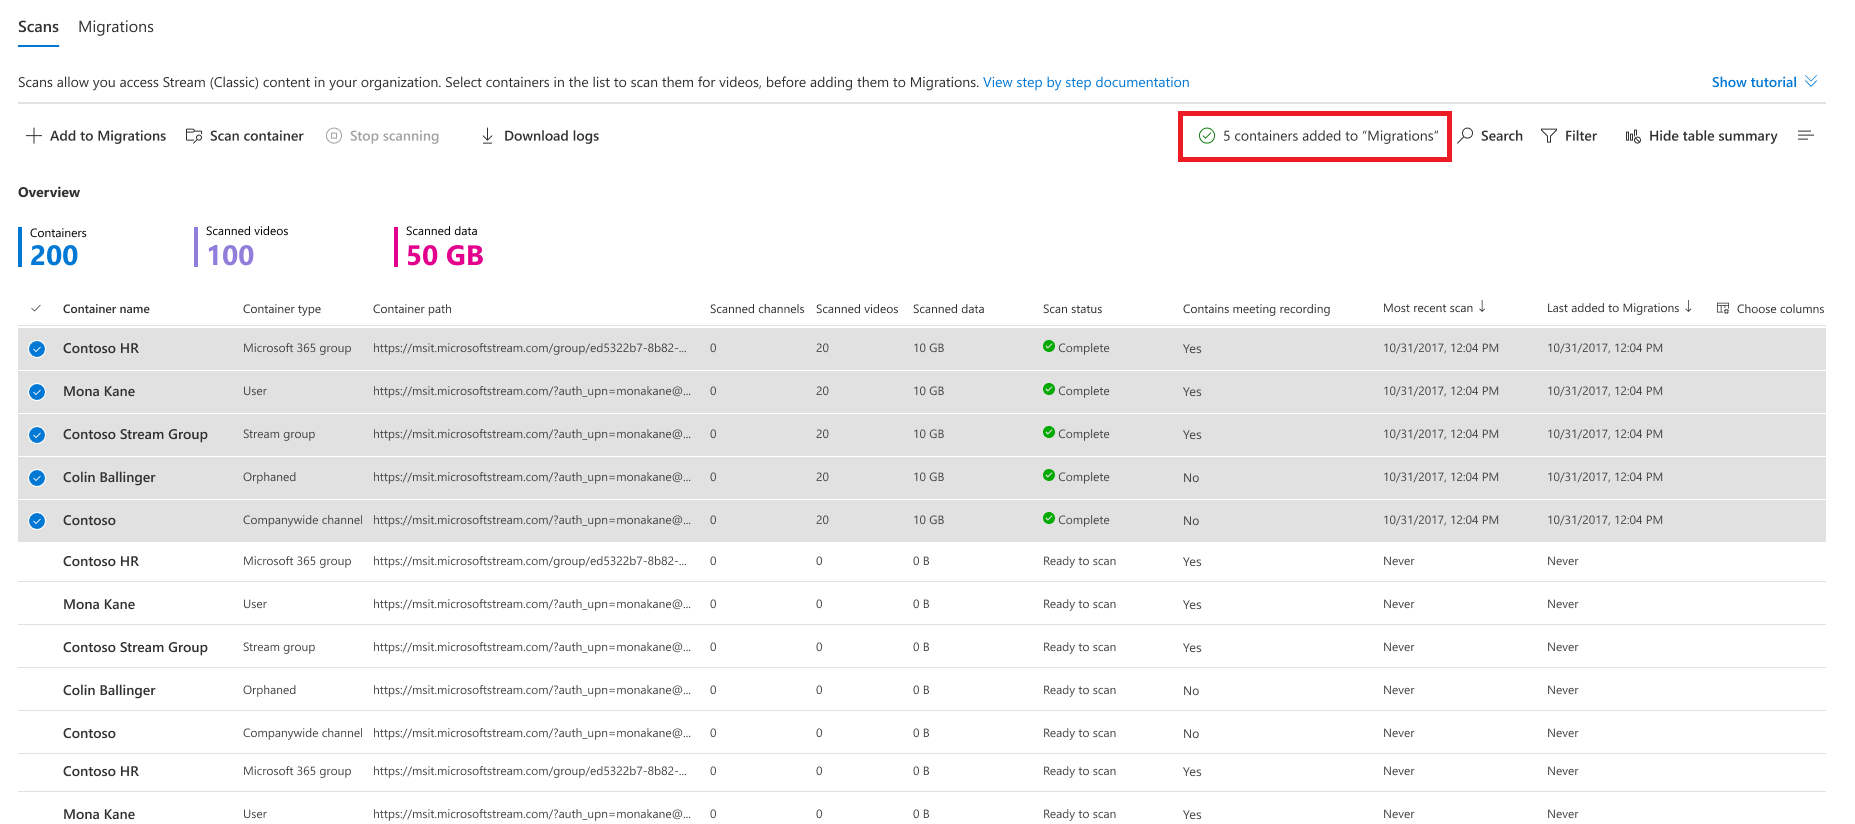
Step 6: Scanning the containers
Once you have added the containers in the scans tab and reassigned the videos to the containers of your choice, you now need to scan them to find the videos within. Select all the containers (or the ones you want to scan) and select on Scan Container. Note that this step does NOT migrate any content, the actual migration happens in the subsequent steps.
As a container is scanned for videos, its status changes from queued, in-progress, finalizing, to complete.
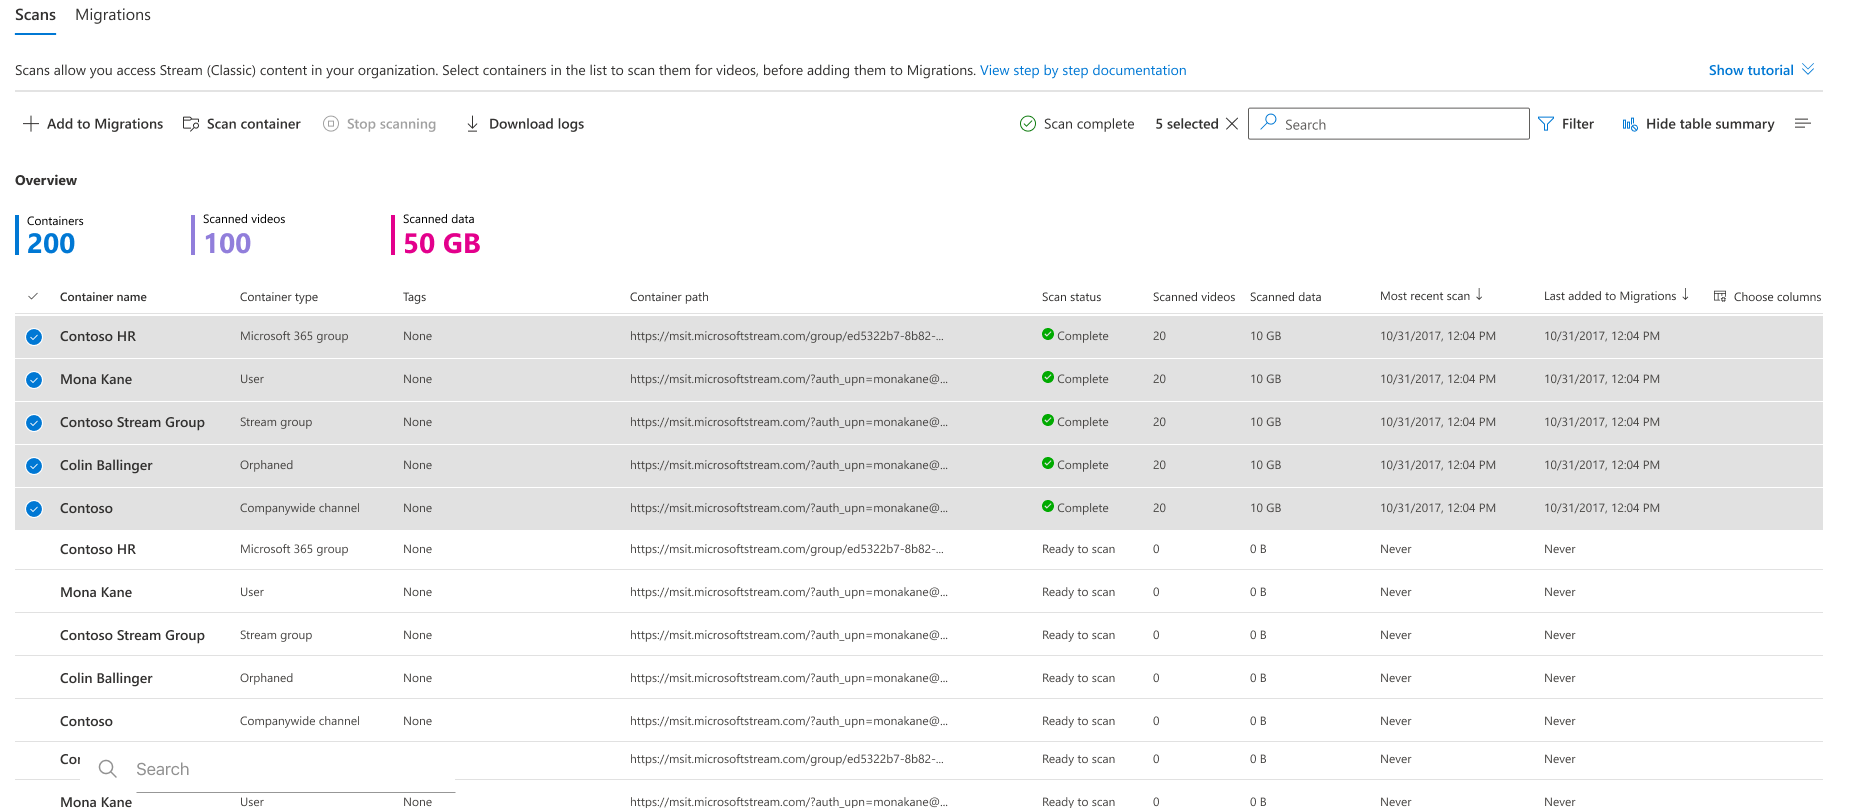
Step 7: Add Containers to Migrations tab
After the scan status changes to complete, select Add to Migrations, and choose continue from the side pane to add containers with all the videos inside them to the Migrations tab, or use migration filters as explained below to selectively move videos in each selected container.
There can be multiple reasons why admins may want to migrate specific videos, for e.g:
- They wish to migrate videos other than Teams meeting recording (TMR), since nobody is watching old TMRs. TMRs generally have high decay rate and for a long time now, all meeting recordings are already being saved to Stream (on SharePoint)
- They wish to migrate latest videos or videos that have been published or viewed recently.
- They wish to migrate populate videos or those with high view count.
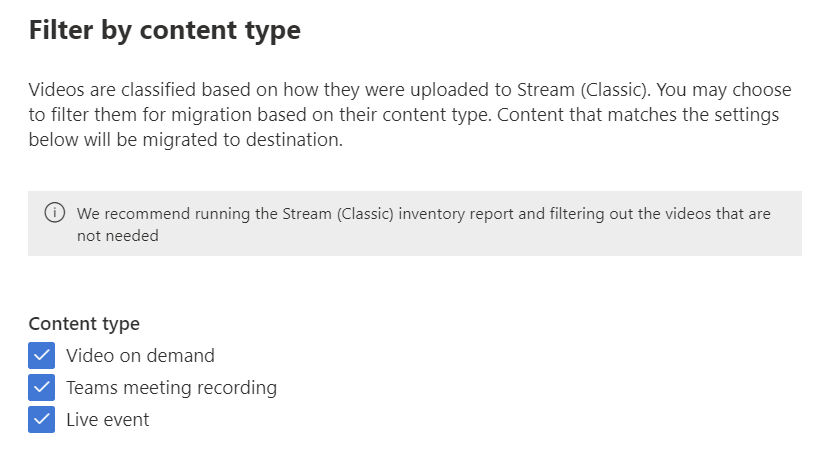
The following four types of filters are available:
Content Type: Takes one or all of the three values as input; ‘Teams meeting Recording’, ‘Live event’ and ‘Video on demand’. Select the videos type you wish to migrate. Unselected videos type will be filtered out or not migrated.
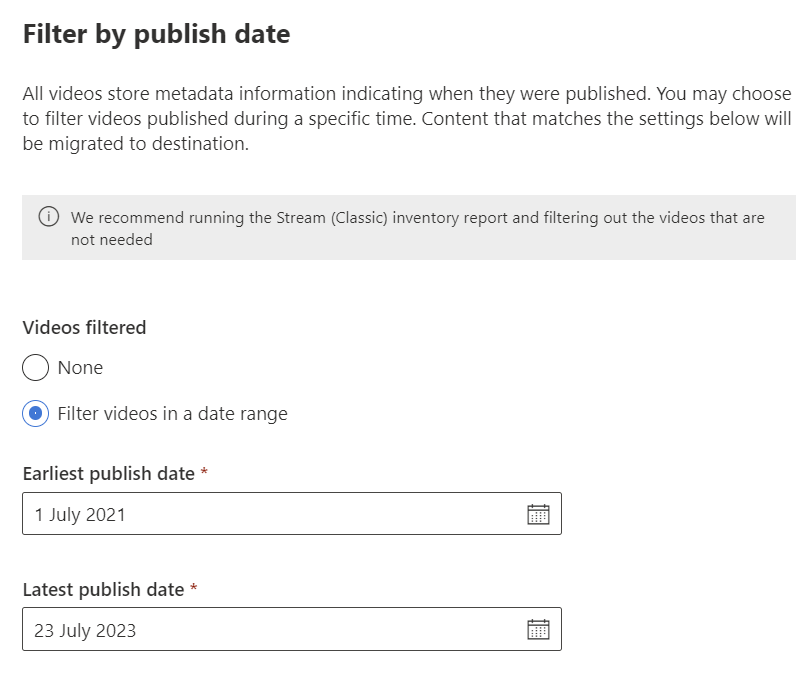
Publish date: Takes earliest and latest date values. Filters out (or doesn't migrate) videos that weren't published within the selected date range.
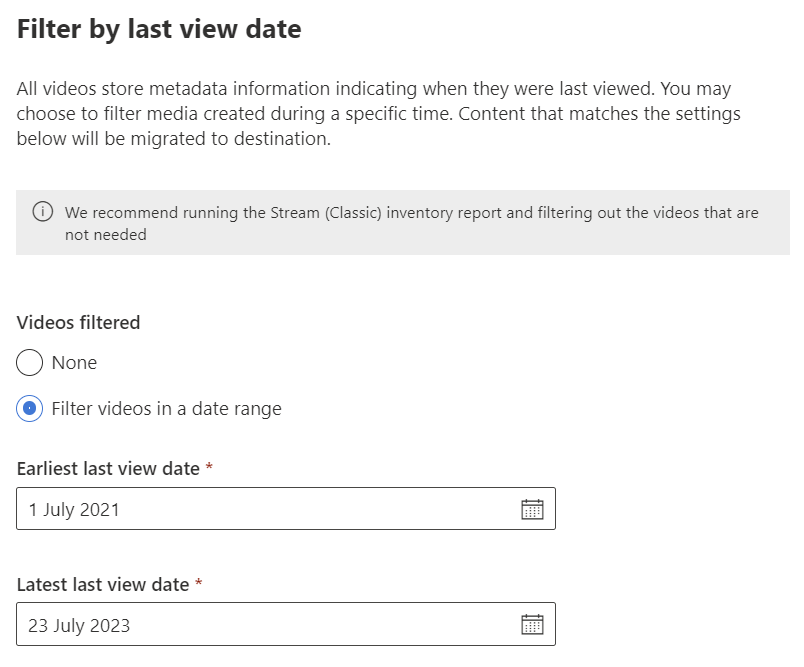
Last View date: Takes earliest and latest date values. Filters out videos whose last view date doesn't lie within the selected date range. Stream (Classic) started capturing last view date since July 1,2021. Videos that were last viewed before that date have the value set as null and are always filtered out. In case you wish to migrate videos last viewed before July 1, 2021, don't use this filter.
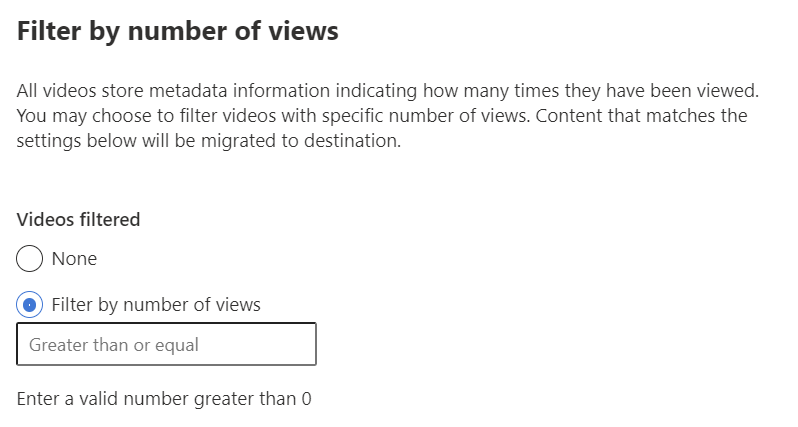
View Count: Takes number value. Migrates videos with Views greater than or equal to the selected number.
Note
When multiple filters are used together, they function together as AND operators
Filters can be applied in two ways:
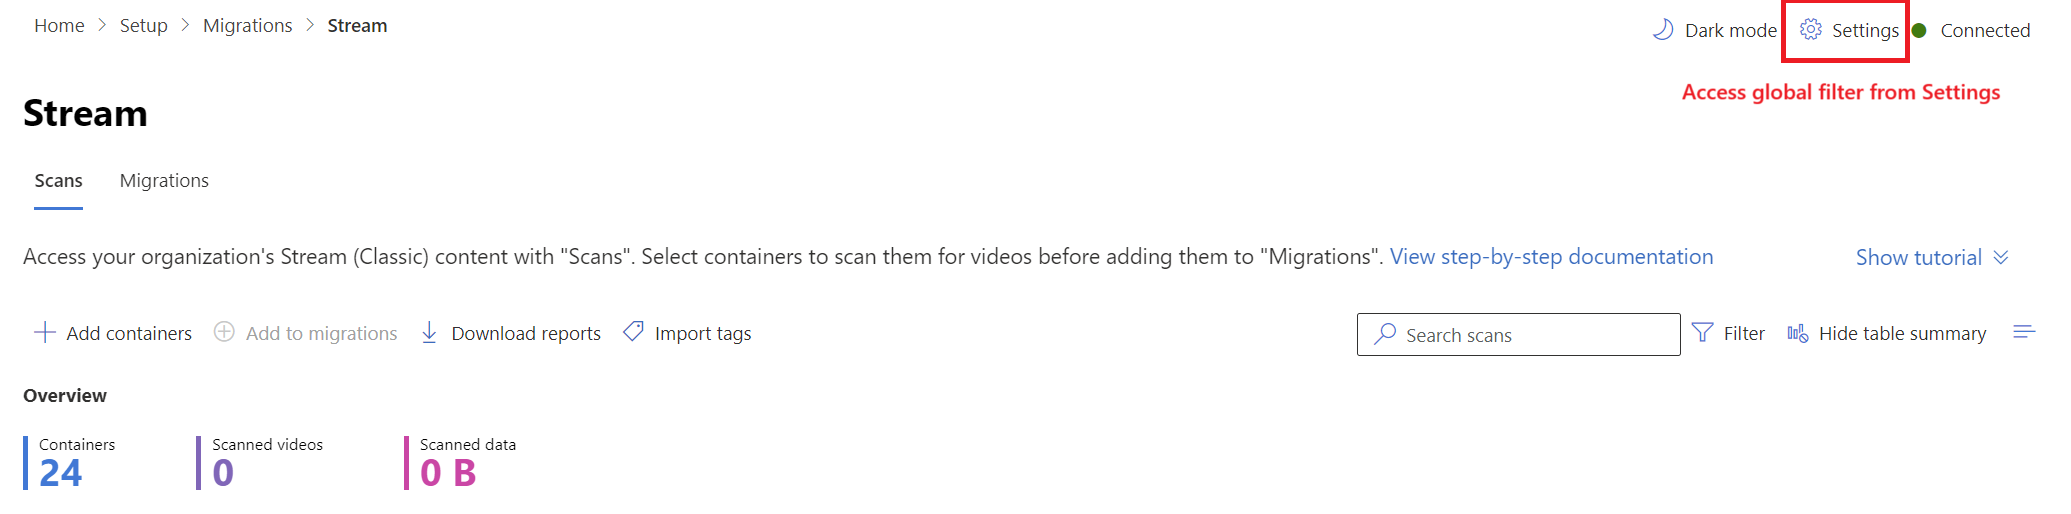
Global filters: This can be accessed from top right corner of the migration tool via the settings gear icon. Settings here apply to all migrations.
Custom filters: This is applied to selected migrations or containers. Global settings are copied to all migrations, which get over-ridden if custom filters are selected. Custom filters can be changed both from 'Scans' and 'Migrations' tab.
When you add containers to Migrations tab by clicking on Add to Migration, the right pane gives you an option to apply the custom filters.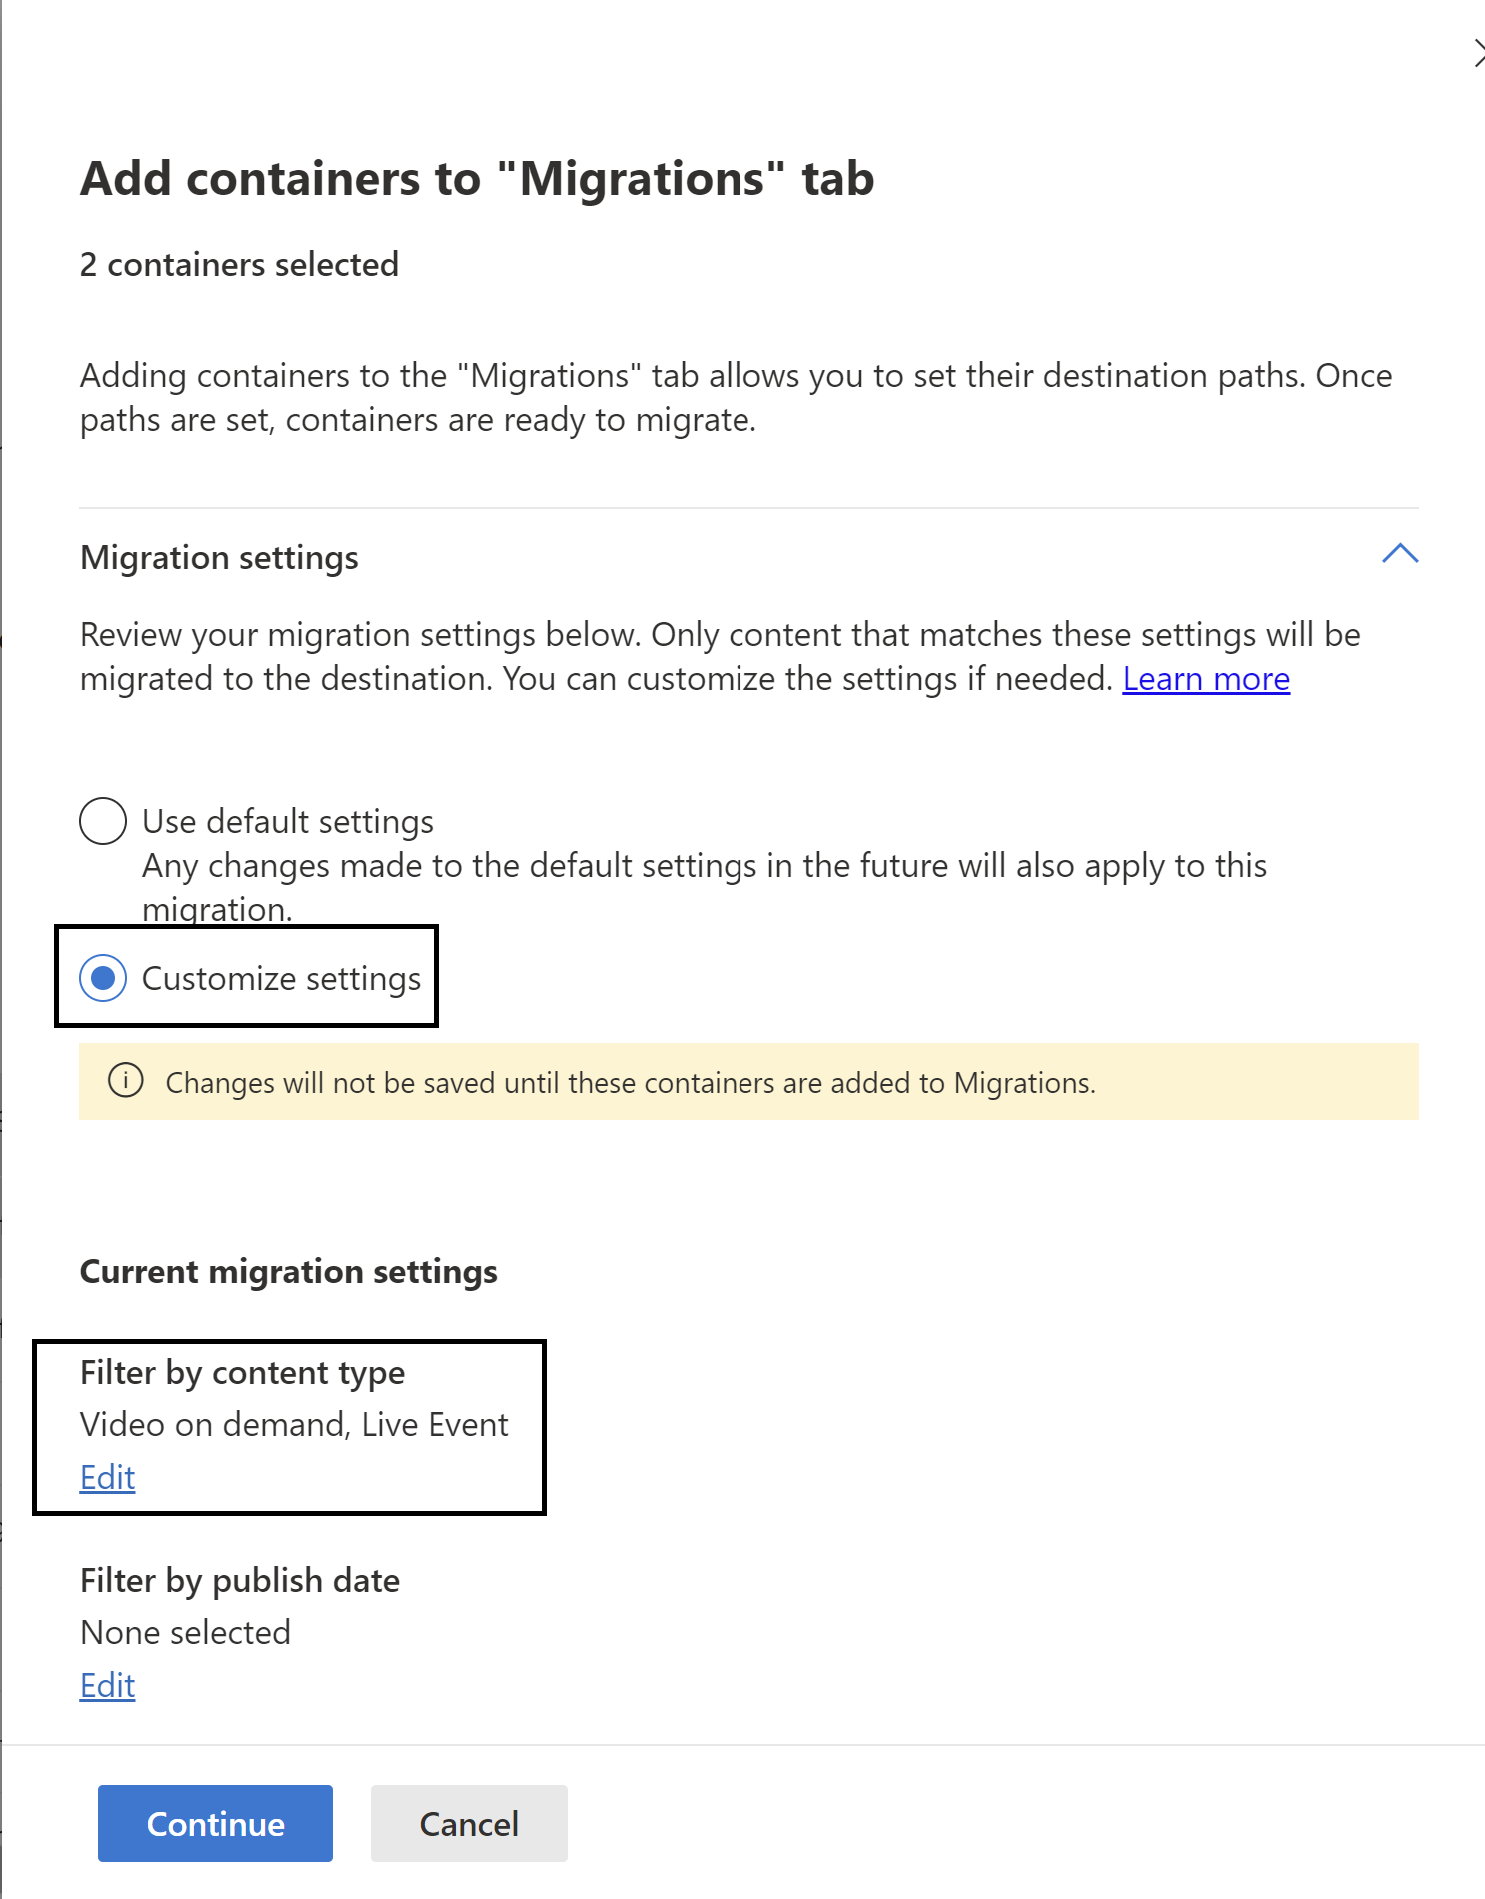
To change the filters from migrations tab, select on a line item to open a side pane and look for filters under 'settings'.
Note
Migration tool does not show the number of videos and containers that will be migrated based on a selected set of filters, before the actual migration. To do that you can try these same set of filters via the PowerBI template.
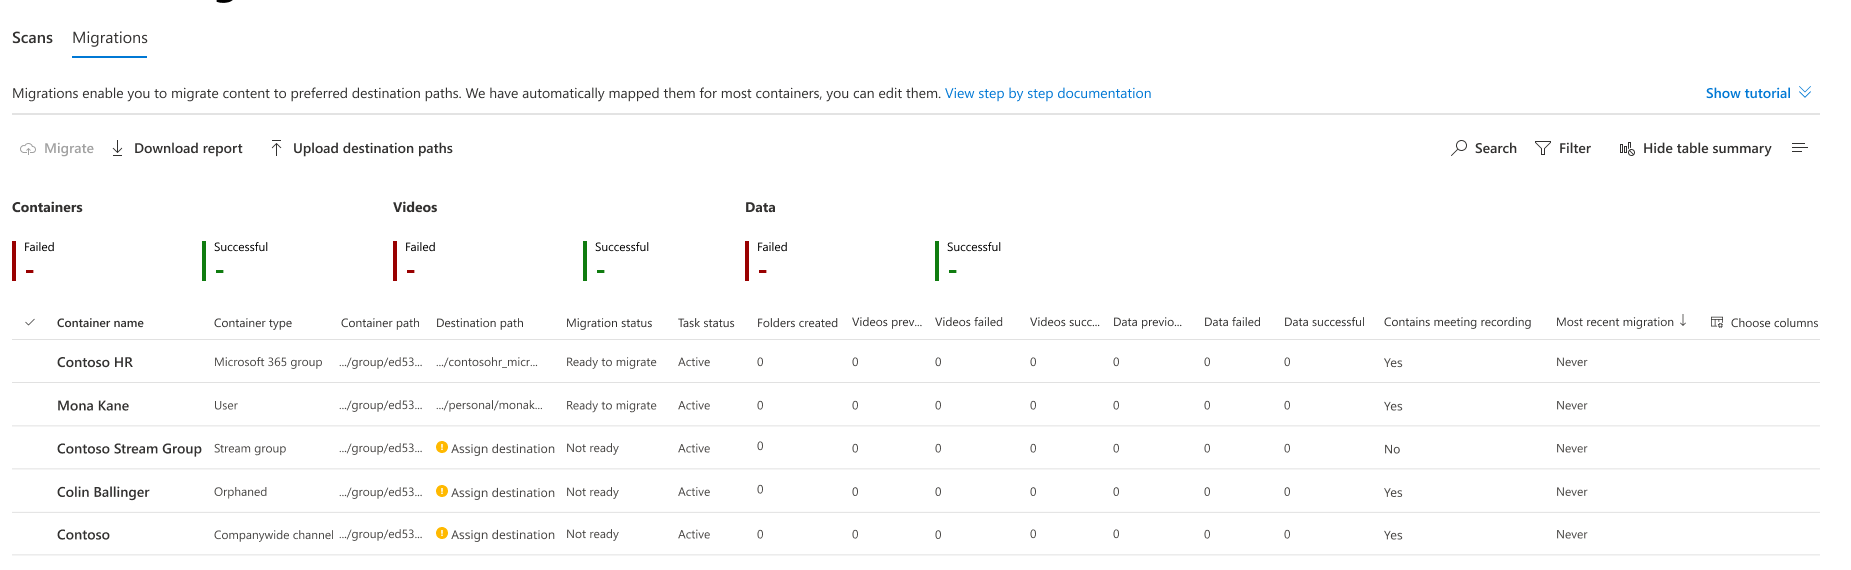
Step 8: Destination assignment of containers
Once the containers are added, a message appears at the message bar alongside the search button. Navigate to the Migrations tab to review the containers that have been added.
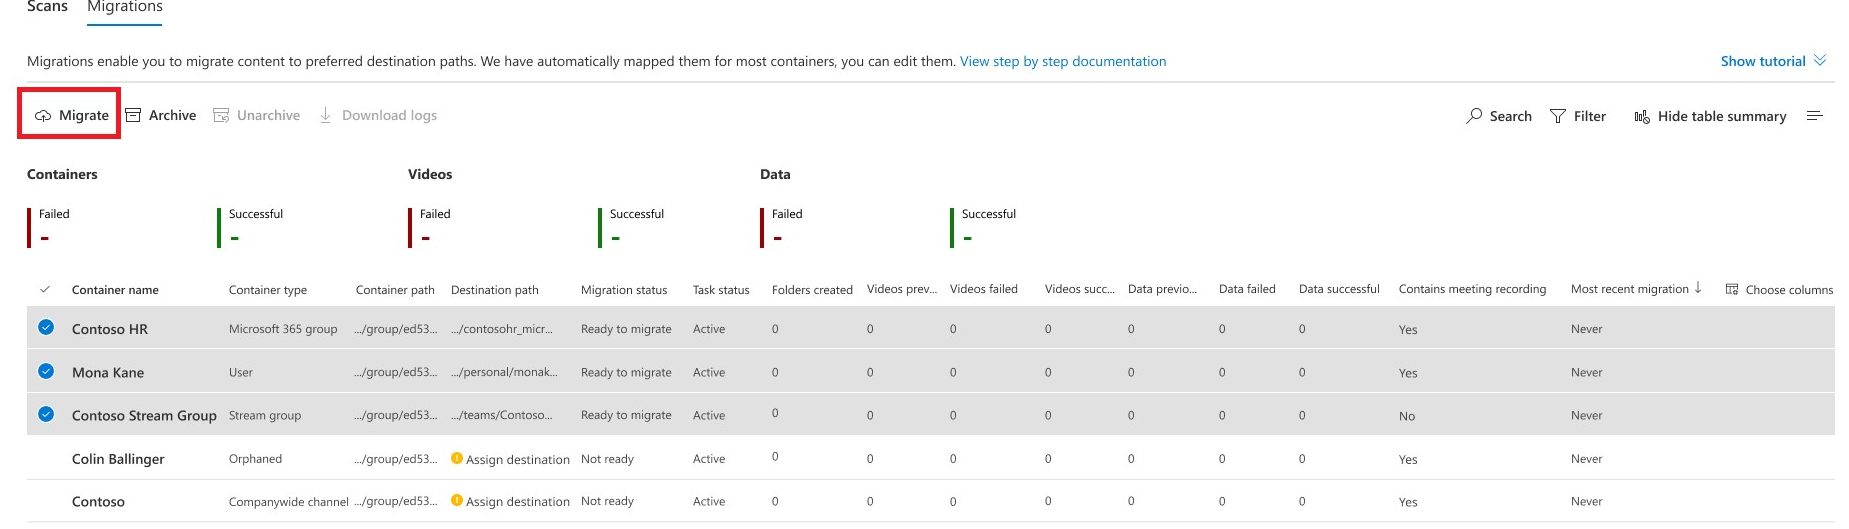
Buttons, Filters, and Search on the Migrations tab perform similarly to how they do on the Scans tab. Migrations tab features include:
| Feature | Description |
|---|---|
| Summary headers | Shows the content that has been migrated. It's nil when you land for the first time on this screen |
| Migrate button | Starts migrating a selected container |
| Stop button | Cancels any in-progress migration |
| Download report button | Downloads the migration summary |
| Archive button | An archived container appears in the container list but doesn't migrate when all containers are selected. It comes handy when you want to migrate all but a few containers |
| Unarchive button | Unarchiving a container allows that container to be migrated |
| Download logs | Download migration logs for videos in a container. For sample report, refer to the Scan log and Summary section for details. |
| Filters | Filter containers by Migration Status, Contains meeting recording, and Container type. |
| Search | Search by Container name and Container path |
The destination paths for two container types: Microsoft 365 groups, and Users are automatically assigned to the corresponding SharePoint site and OneDrive respectively, which you can edit if you want. For the other three container types, the destination isn't autoassigned and you must assign it manually for the migration to happen.
Note
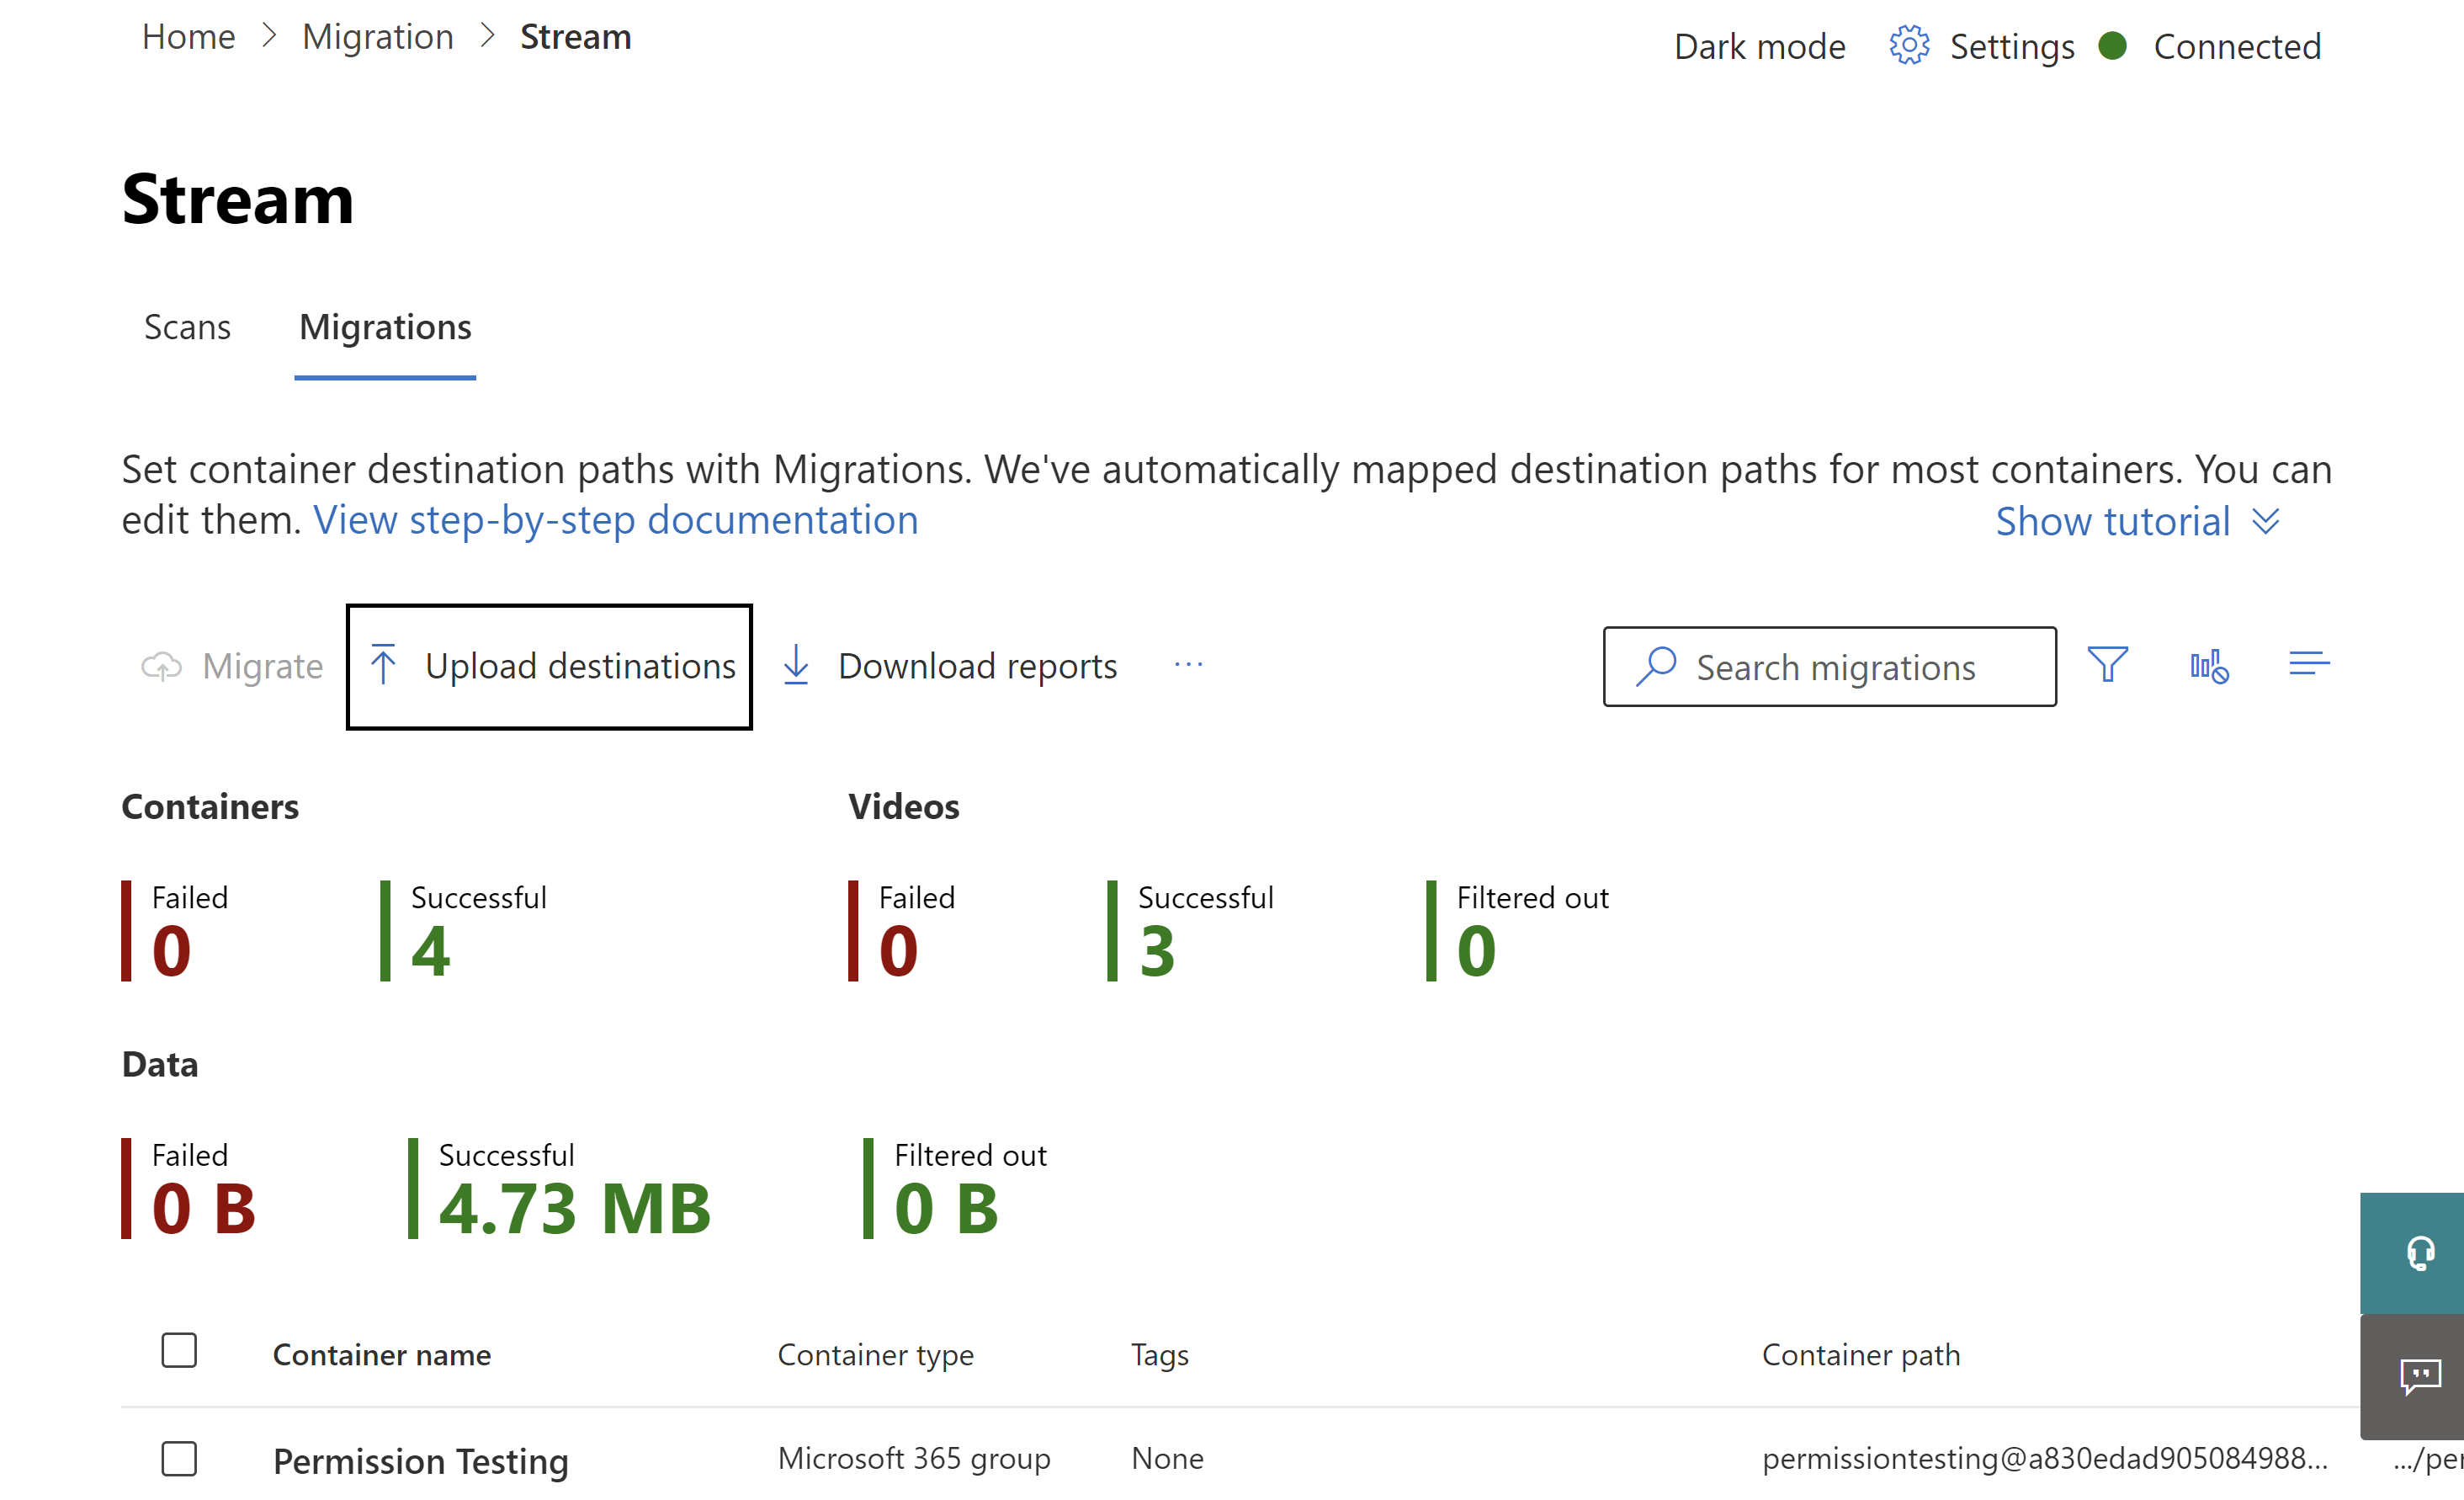
If your SharePoint has more than 100-K sites (very few customers would be in this category), Microsoft 365 group autodestination mapping may not work perfectly. You can use the inventory report script to fill in the missing entries by following the following steps:
- From the 'Upload destinations' button in Migrations tab, download the MigrationDestination (CSV) template. Use this file as input to the script.
- Run the following command: .\StreamClassicVideoReportGenerator_V1.11.ps1 -AadTenantId "00000000-0000-0000-0000-000000000000" -InputFile "C:\Users\alias\Desktop\token.txt" -OutDir "C:\Users\alias\Desktop" -CreateDestinationPathMappingForM365GroupContainers true -MigrationDestinationCsvFilePath "C:\Users\Username\Desktop\MigrationDestinations.csv”
- A new csv file named 'MigrationDestinationMappingForM365GroupContainers_guid.csv' is created in OutDir. Upload this file to MigrationTool via 'Upload Destinations.' A log file logs_guid.txt is also be created, which can be used to investigate failures if any. Some Callouts:
- For Microsoft 365 groups that don't have a linked SharePoint site, autofill via above script gives empty path. Assign manually in such cases.
- Script requires ExchangeOnline cmdlet installed in PowerShell to be able to call ExchangeOnline API Get-UnifiedGroup. It's being handled in the script, and for Installing this cmdlet, System Admin access is required. Run the script in elevated mode the first time.
- ExchangeOnline APIs can be invoked by ExchangeOnline Admins only. Find the permissions required to run any Exchange cmdlet
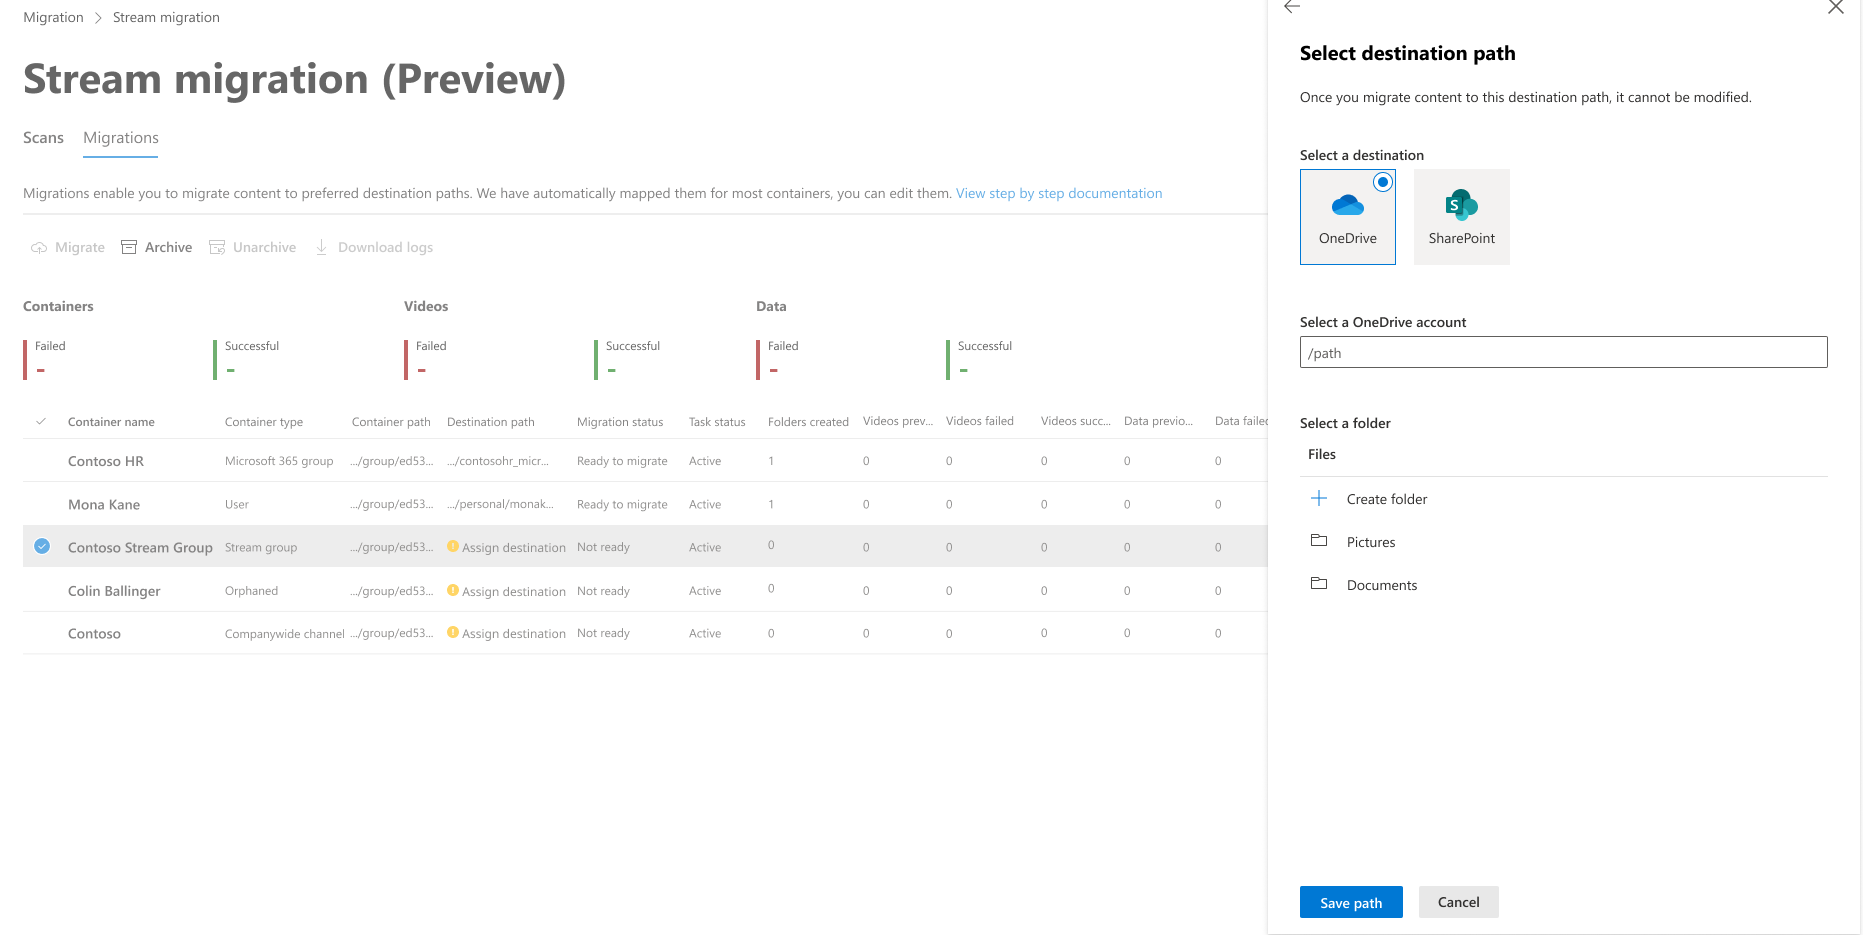
To assign or update destinations manually, you can either do it separately for each container, or in bulk:
- Option 1-Manual assignment for each container: Select the Assign destination area for any container and it opens right pane as shown below. Select the destination path from the pane. Once you select Save Path, you'll see that destination appears for the container.
Note
If the SP or Teams sites in your tenant aren't visible on UI, while assigning destinations, there can be a few reasons for it:
- SP admins by default don’t have access to sites where they aren't either the owner or members, although they can add themselves to the group or team. Hence only those sites are visible where the admin is at least a member of the group or team. It is because sites are searched using user scoped delegated token. However, such sites are discovered during automapping of destination since we use application-based token
- Admins also may not see sites for a multi-geo tenant, since the graph API used to fetch the sites, can’t do that reliably in some corner cases.
- In a corner case, if the site is recently created, it may take time to sync and appear in UI. ETA is a couple of hours.
- Option 2-Bulk uploads: Destination paths can be uploaded in bulk with the Upload destination button. While setting destination paths in the csv template you get on clicking the upload destination button, the path needs to be until the document library or a folder inside it. Any other path causes an error during migration.
Step 9: Migrating the containers
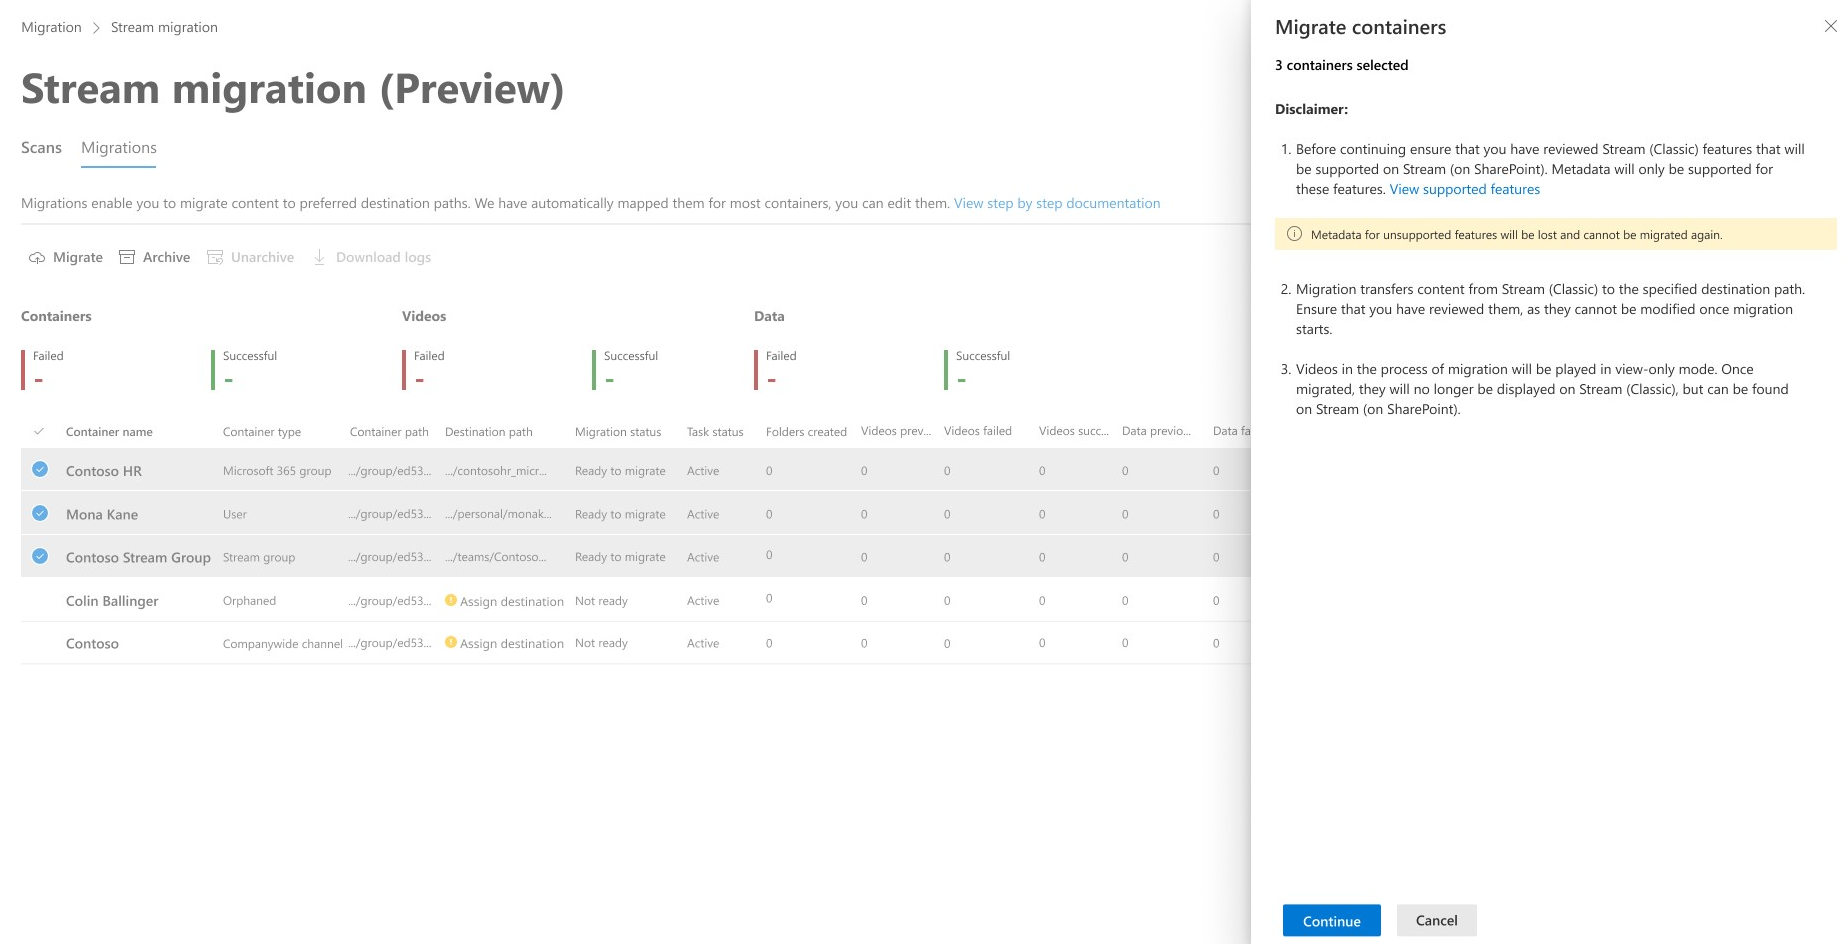
Select containers you're ready to migrate then select the Migrate button. And then select Continue from the right pane.
Read the instructions in the right pane. Not all metadata associated with the video migrates. Only critical ones such as Title, description, thumbnails, transcripts and permissions migrate. For complete details, refer to Metadata that migrates with video section.
A container's migration status updates to Complete when it's finished migrating.