Note
Access to this page requires authorization. You can try signing in or changing directories.
Access to this page requires authorization. You can try changing directories.
Important
Support for Surface Hub 2S devices running Windows 10 Team edition ends on October 14, 2025. To avoid service disruption, we recommend using the seamless software migration option to move to Microsoft Teams Rooms on Windows at any time before the end of support.
Unlike the standard versions of Windows 10, there's no extended support option for Windows 10 Team edition when support ends.
Unpack Surface Hub 2S
- Use the handles on each side of the box to move it to your desired space.
- Before opening, remove the clips (4) on the front and back, then lift the top off the box using the handles.
- In the base of the Surface Hub 2S, open the accessories box containing the setup guide, Surface Hub Pen, Surface Hub Smart Camera, and the power cable.
- On the back of the Surface Hub 2S, an instructional label shows you where to attach the mounting hardware. Install them in place and remove the label.
For more information, see this video unboxing and setup.
Install and adjust Pen
- Attach the Surface Hub Pen magnetically to your preferred side of the device.

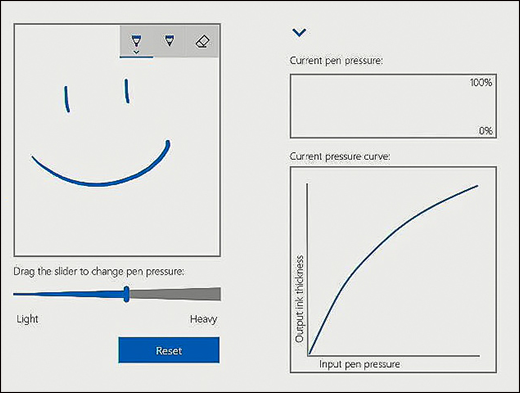
- To adjust pen pressure, open the Surface app on Surface Hub 2S, select Pen, and adjust the slider.
Install camera
Remove the lens cling from the camera and attach it to the USB-C port on the top of the Surface Hub 2S.
Start Surface Hub 2S
- Insert the power cable into the back of the device and plug it into a power outlet. Run the cable through any cable guides on your mounting solution and remove the screen clang.
- Press the power button on the bottom right.
