Note
Access to this page requires authorization. You can try signing in or changing directories.
Access to this page requires authorization. You can try changing directories.
You might need to remove the solid state drive (SSD) from your Surface Hub so that you can reimage it using the Surface Hub Recovery Tool or because you've been sent a replacement drive. You would reimage your SSD when the operating system is no longer bootable, such as from a Windows update failure, BitLocker issues, reset failure, or hardware failure.
Warning
Make sure the Surface Hub is turned off at the AC switch.
Locate the SSD compartment door on the rear, upper portion of the Surface Hub in the locations illustrated below. The door is identifiable as it doesn't have open ventilation slots.
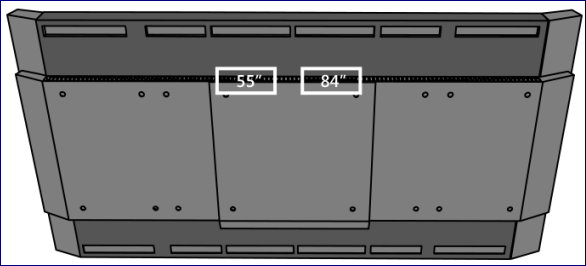
Surface Hub hard drive locations
Locate the locking tab on the hard drive compartment door. On the Surface Hub 55, the locking tab will be located on the left-hand side of the door. On the Surface Hub 84, it will be on the right-hand side as shown in the illustration.
Locking tab on hard drive compartment door
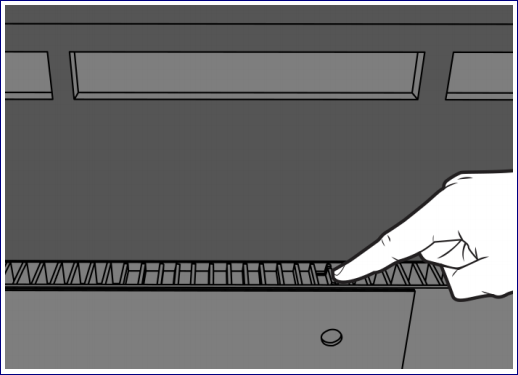
Lift open the compartment door to access the hard drive.
Lift compartment door
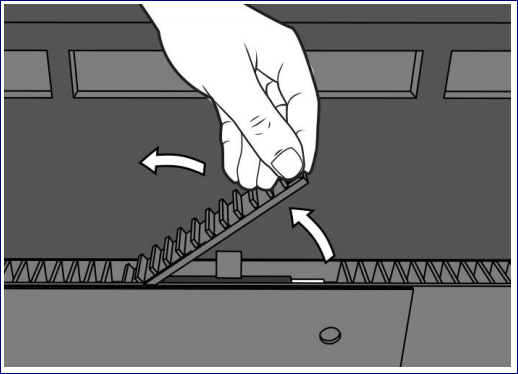
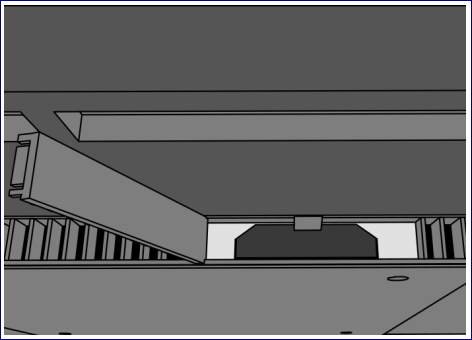
Locate the pull tab, which may be partially hidden under the rear cover. Pull on the tab to eject the hard drive from the compartment.
Pull tab
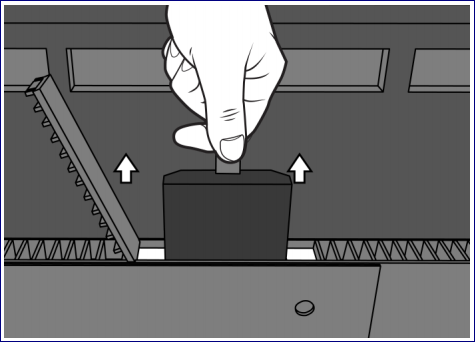
Slide the replacement drive into place until you hear it click.
Slide replacement drive into place
Close the compartment door.
Apply power to the Surface Hub.