Exercise - Use client script to hide a form section
In this exercise, you use client script to implement the business requirement of hiding the Status section when a project start date either isn't provided or is in the future.
Important
Use a test environment with Microsoft Dataverse provisioned and the sample apps enabled. If you don't have one you can sign up for the community plan.
Task 1 - Prepare solution with the form
In this task, you create a solution, add an existing table to the solution, and prepare the main form of the table you added to the solution.
Navigate to Power Apps maker portal and make sure you are in the correct environment that has the sample apps enabled.
Select Solutions and then select + New solution.
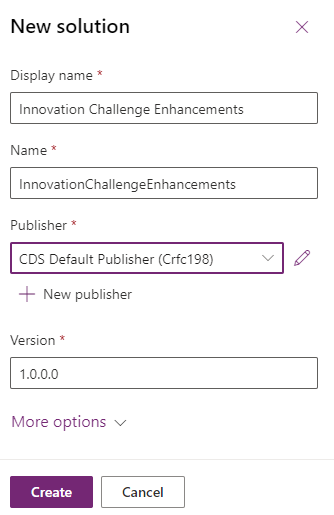
Enter Innovation Challenge Enhancements for Display name, select CDS Default Publisher for Publisher, and select Create.
The Innovation Challenge Enhancements you created should open.
Select + Add existing and then select Table.
Enter team in the search textbox, select Team Project, and then select Next.
Note
If you're unable to locate Team Project table you may not have the sample apps in your environment. Select another environment or create a new one with the sample apps installed.
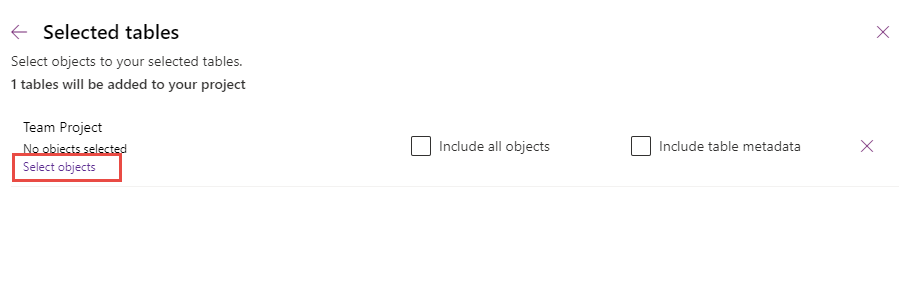
Select the Edit objects button.
Select the Forms tab, select the Information form of Form type Main, and then select Add.
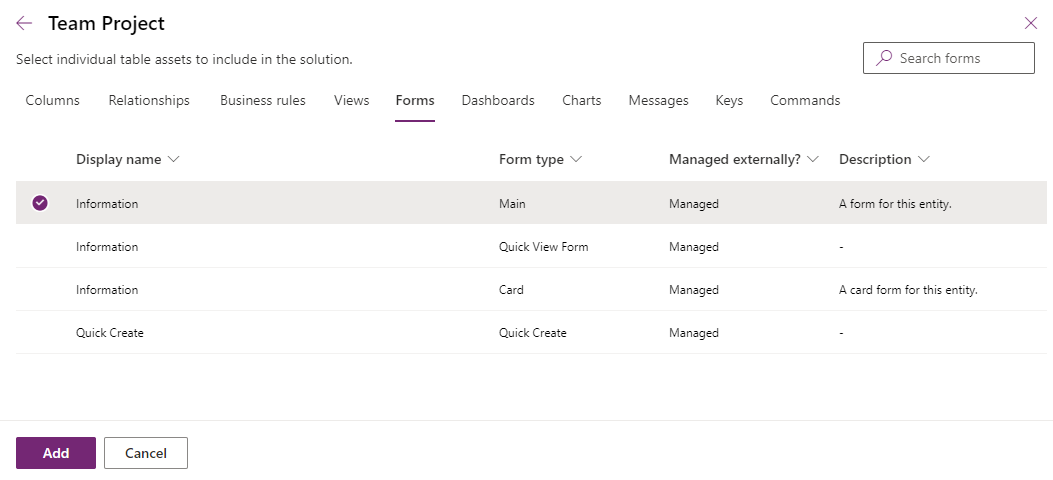
Select Add again.
Open the Team Project table you just added to the solution.
Select Forms in the Data experiences card.
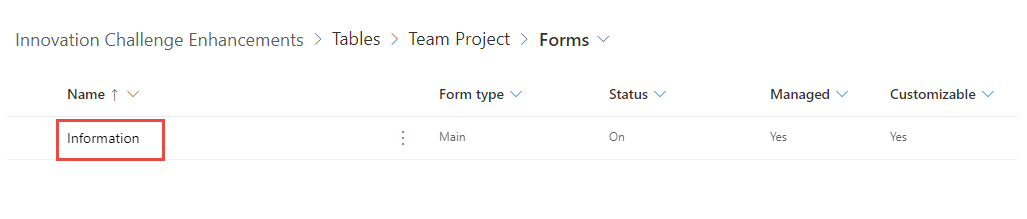
Open the Information form that is Form type Main.
Select the Status section.
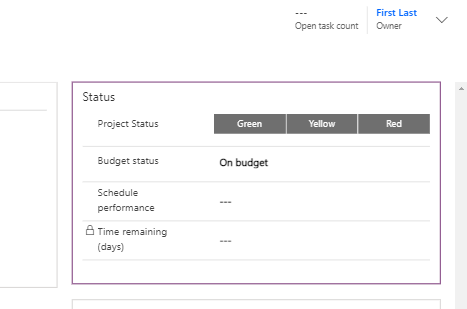
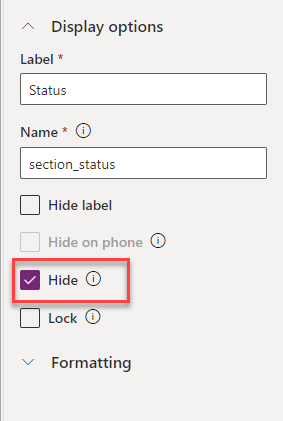
In the Properties pane, change the Name to section_status. By default, a GUID is assigned as the section name. Change it to a more meaningful name to reference in your scripts. Next, check the Hide checkbox. This hides the section by default to reduce the jarring effect of showing and then hiding on load of the form.
Go to the Tree view and select the General tab.

In the Properties pane, change the Name to tab_general.
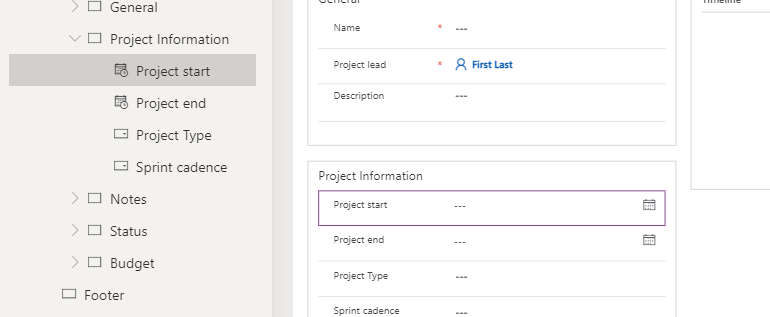
Select the Project start column.
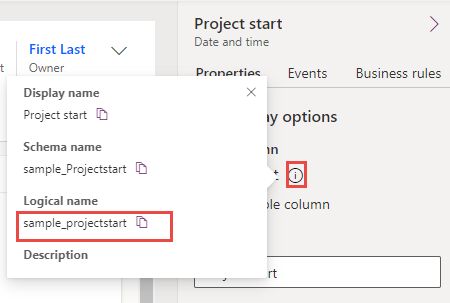
Go the Properties pane and select the (i) button next to the Table column name.
Copy the Logical name (sample_projectstart) and paste it into a notepad. You use this name in your script to reference this column.
Select Save and publish to save your changes. Wait for the publishing to complete.
Select the Back button.

Select All.
Select Publish all customizations, and wait for the publishing to complete.


Task 2 - Build the client script
In this task, you create a script that shows/hides the status section based on the project start date.
You'll hide the status section if the project start date is empty or in the future. Otherwise, the status section shows.
Start a new instance Visual Studio Code or use your favorite code editor. You can download and install Visual Studio Code.
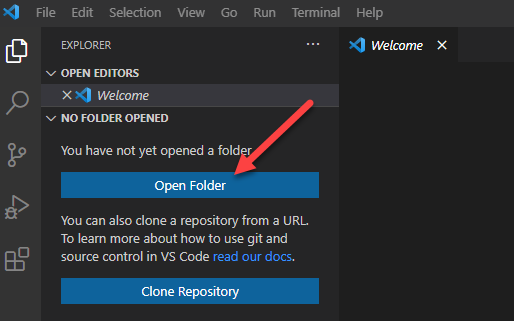
Select Open Folder.
Create a folder in your Documents folder and name it ClientScriptLab.
Select the ClientScriptLab folder you created and Select Folder.

Hover over the CLIENTSCRIPTLAB folder and select New File.
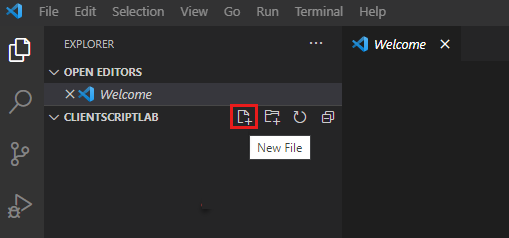
Name the file FormTeamProject.js.
Add the below functions to FormTeamProject.js. Your functions should have either unique names or use a namespace to ensure uniqueness.
function LearnLab_handleTeamProjectOnLoad(executionContext) {

}
function LearnLab_handleProjectStatusOnChange(executionContext) {

}
function LearnLab_hideOrShowStatusSection(formContext) {

}
Add this script to the code's OnLoad function. Notice the project start column name here sample_projectstart. This is the logical name you saved earlier. This code registers an onChange event handler and calls a common function to show/hide the section. You need to handle on change in case a project start date input changes the hide/show requirement.
var formContext = executionContext.getFormContext();
formContext.getAttribute('sample_projectstart').addOnChange(LearnLab_handleProjectStatusOnChange);
LearnLab_hideOrShowStatusSection(formContext);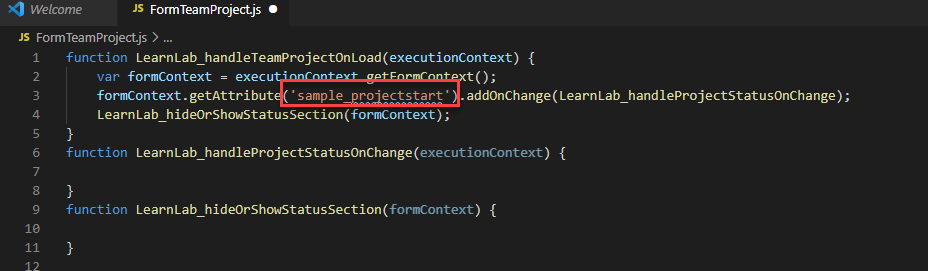
Add this script to the OnChange function. This code simply gets the formContext and then calls the common function to hide/show.
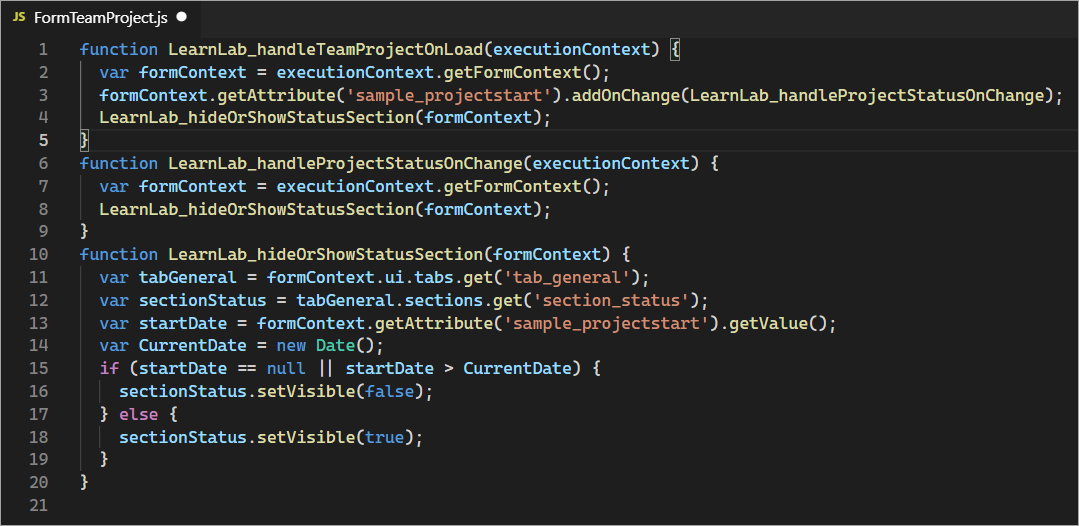
var formContext = executionContext.getFormContext();
LearnLab_hideOrShowStatusSection(formContext);
Add this script to the hideOrShowStatusSection function. Notice the tab name tab_general, the section name section_status, and column name sample_projectstart.
var tabGeneral = formContext.ui.tabs.get('tab_general');
var sectionStatus = tabGeneral.sections.get('section_status');
var startDate = formContext.getAttribute('sample_projectstart').getValue();
var CurrentDate = new Date();
if (startDate == null || startDate > CurrentDate) {
  sectionStatus.setVisible(false);
} else {
  sectionStatus.setVisible(true);
}
Your script should now look like this image.
Select File and Save.


Task 3 - Upload the script
In this task, you load the script you created into your environment.
Navigate to Power Apps maker portal and make sure you are in the correct environment.
Select Solutions and open the Innovation Challenge Enhancements solution.
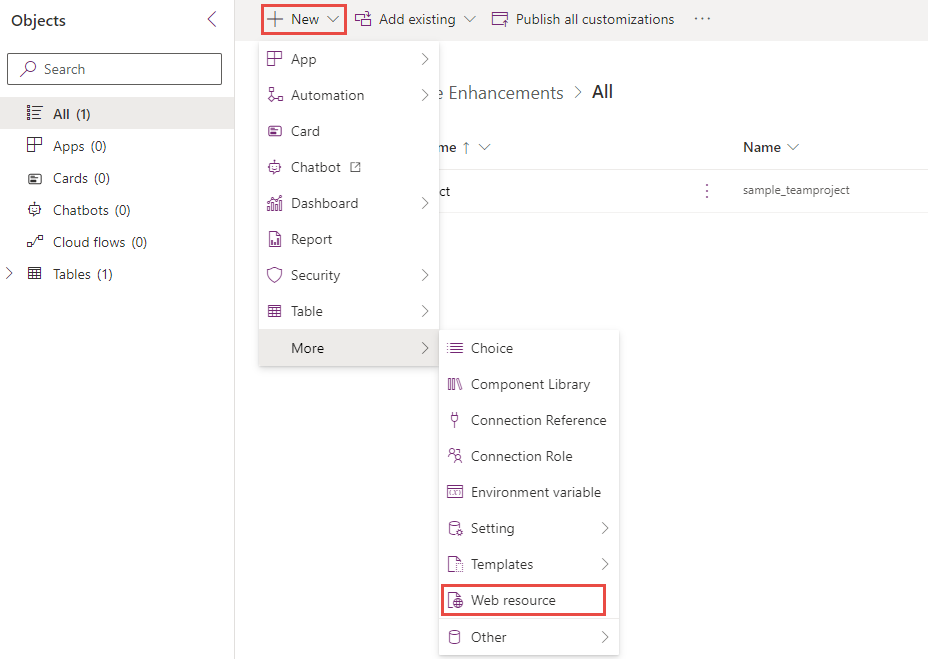
Select + New and then select More | Web resource.
Enter FormTeamProject.js for Name, enter FormTeamProject.js for Display name, select Java script (JS) for Type, and select Choose File.
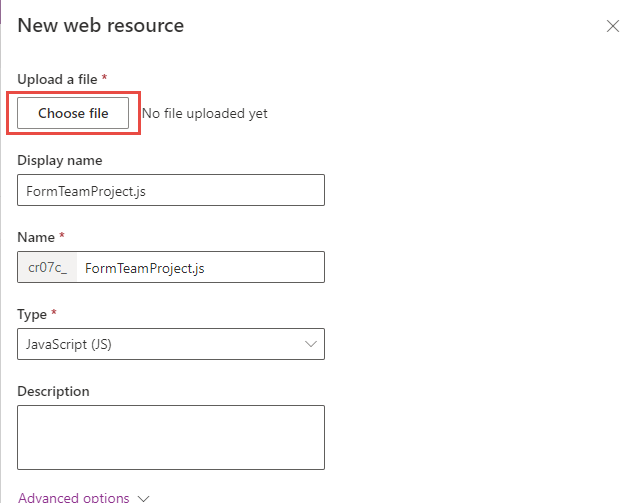
Select the FormTeamProject.js file you created earlier and then select Open.
Select Save.
Your solution should now have the Team Project table and the FormTeamsProject.js web resource.
Don't navigate away from this page.


Task 4 - Edit form
In this task, you add JavaScript library to the Team Project main form and add an event handler for the On Load event.
Make sure you're still in the Innovation Challenge Enhancements solution.
Expand Tables and then expand the Team Project table.
Select Forms and open the Information form.
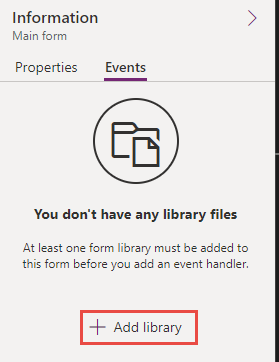
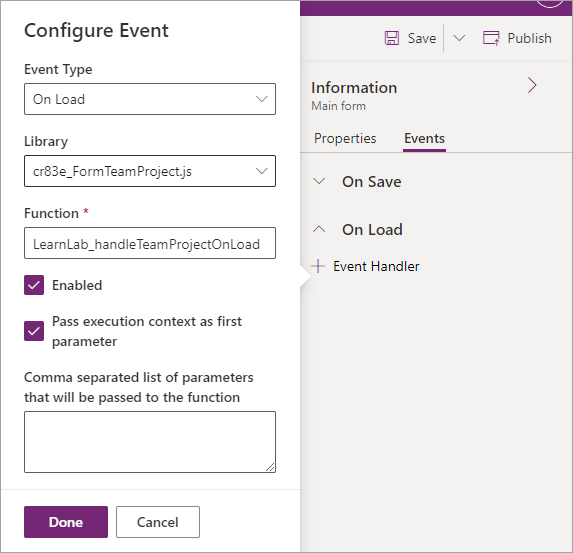
Go to the Properties pane, and select the Events tab. Expand OnLoad if it's collapsed, and select + Event Handler. In Configure Event, select + Add library.
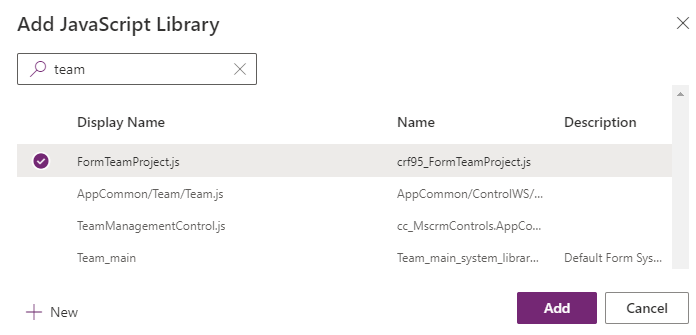
Enter team in the search textbox and press Enter. Select FormTeamProject.js, and select Add.
Enter LearnLab_handleTeamProjectOnLoad under Function, check the Pass execution context as first parameter checkbox, and select Done.
Select Save and publish and wait for your changes to be saved.
Once your changes have been saved and published, select the Back button.
Select All.
Select Publish all customizations and wait for the publishing to complete.


Task 5 - Test
In this task, you test your script.
Navigate to Power Apps maker portal, and make sure you are in the correct environment.
Select Apps, and open the Innovation Challenge application.
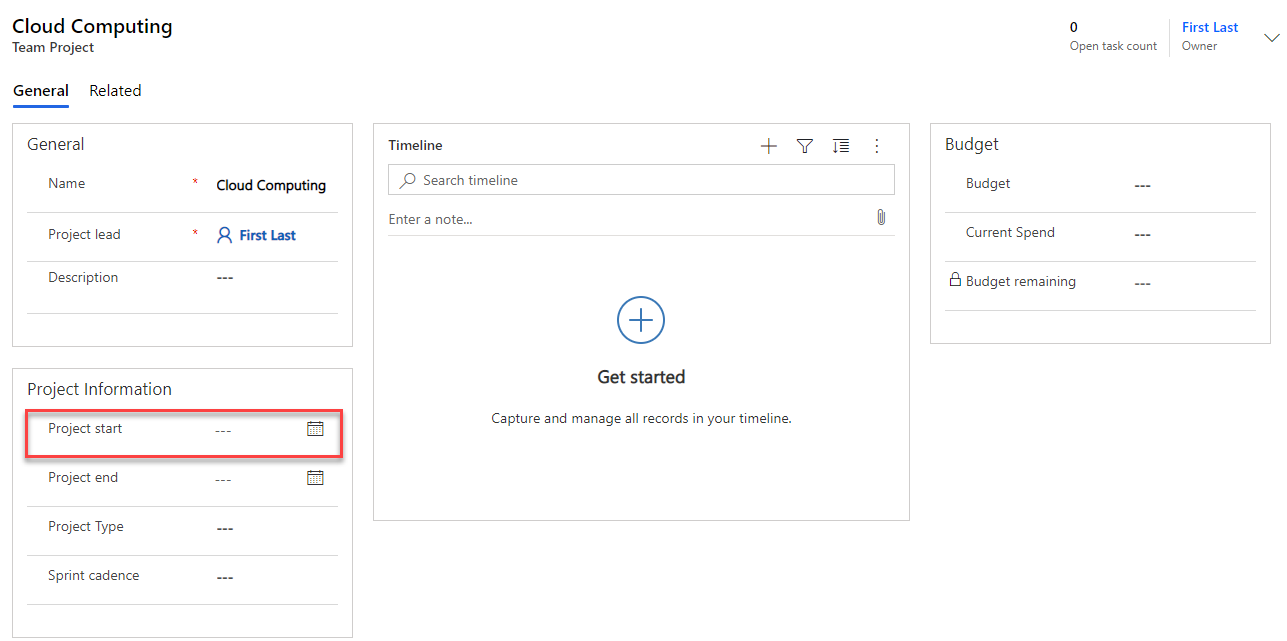
Select Team Projects, and open the Cloud Computing team project.
The Status section should be hidden because the Project start column is empty.
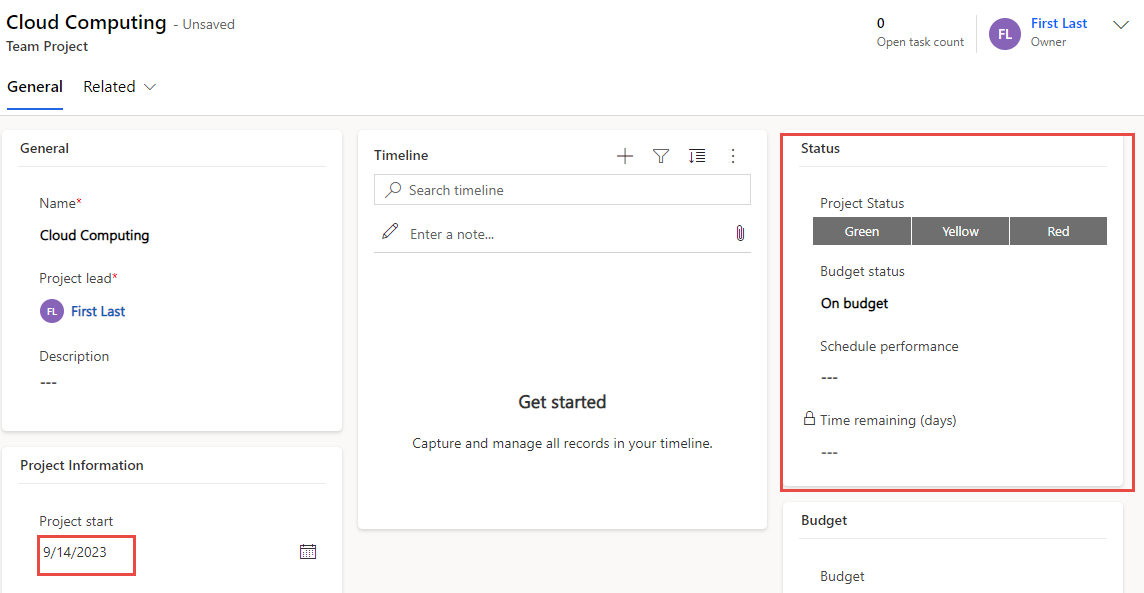
Press calendar icon next to the Project start and select today's date.
The Status section should become visible.
Change the Project start to a future date.
The Status section should now become hidden.
Change the Project start to a date in the past.
The Status section should become visible again.


You have now used JavaScript and Client API to implement business requirements that aren't possible to implement using declarative options like business rules.