Exercise - Create a basic report
This exercise uses the CRONUS sample company from the US version of Business Central. You might need to adjust the steps if you use the sample company from your country or region.
Scenario
You are a developer working for CRONUS. You have been asked to create a report to list all customers. This report needs to have an RDLC, a Word, and an Excel layout.
Create a report that has the following requirements:
Prints all customers.
Creates the RDLC report layout.
Creates the Word report layout.
Creates the Excel layout.
Tasks
Create the page extension.
Create the dataset.
Create an RDLC layout for the report.
Create a Word layout for the report.
Create an Excel layout for the report.
Steps
Create the page extension for the Customer List.
In Visual Studio Code, add a new file with the name
CustomerList.PageExt.al.Create an extension for the Customer List by using the following code:
pageextension 50123 CustomerList extends "Customer List"
{
    trigger OnOpenPage();
    begin
        report.Run(Report::LABCustomerList);
    end
}
Create the dataset.
In Visual Studio Code, add a new file with the name
LABCustomerList.Report.al.Create the dataset for the report by using the following code:
report 50102 LABCustomerList
{
Caption = 'LAB CustomerList';
ApplicationArea = All;
UsageCategory = ReportsAndAnalysis;
PreviewMode = Normal;
DefaultRenderingLayout = Example_EXCELLayout;

dataset
{
    dataitem(Customer; Customer)
    {
        DataItemTableView = sorting(Name);

        column(No; "No.")
        {
            IncludeCaption = true;
        }
        column(Name; Name)
        {
            IncludeCaption = true;
        }
        column(Balance; "Balance (LCY)")
        {
            IncludeCaption = true;
        }
    }
}
rendering
{
    layout(Example_RDLCLayout)
    {
        Type = RDLC;
        LayoutFile = './src/Reports/LABS/layouts/LABCustomerList.rdl';
        Caption = 'LABCustomerList';
        Summary = 'An example of an RDLC Layout.';
    }
    layout(Example_WORDLayout)
    {
        Type = Word;
        LayoutFile = './src/Reports/LABS/layouts/Example_WORDLayout.docx';
        Caption = 'LABCustomerList';
        Summary = 'An example of an WORD Layout.';
    }
    layout(Example_EXCELLayout)
    {
        Type = Excel;
        LayoutFile = './src/Reports/LABS/layouts/Example_EXCELLayout.xlsx';
        Caption = 'LABCustomerList';
        Summary = 'An example of an Excel Layout.';
    }
}
Add a subfolder named layouts in the project.
Build the report by using the Ctrl+Shift+B keyboard shortcut, which will generate the RDLC and Word layouts.

Create an RDLC layout for the report.
Right-click the LABCustomerList.rdl file and then select Open Externally.
Report Builder should open.
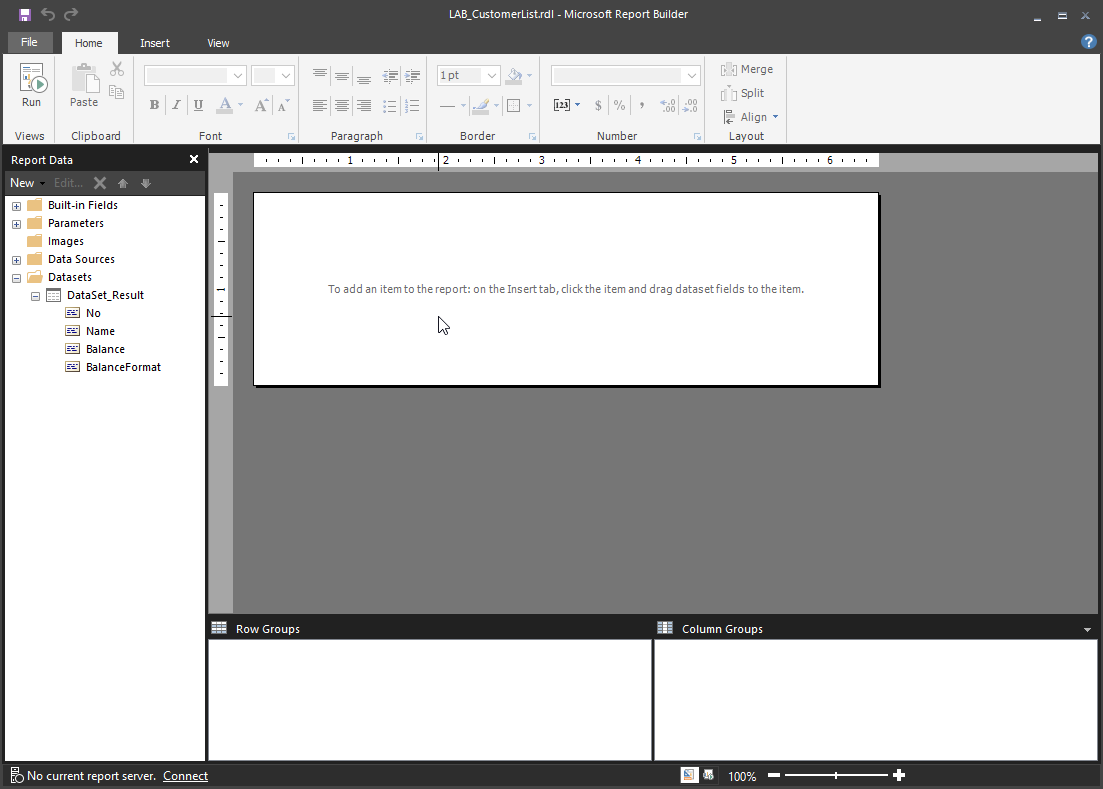
In the Insert menu, select Table > Table Wizard.

In the New Table or Matrix window, select DataSet_Result and then select Next.
Drag the No, Name, and Balance fields onto the Values section.
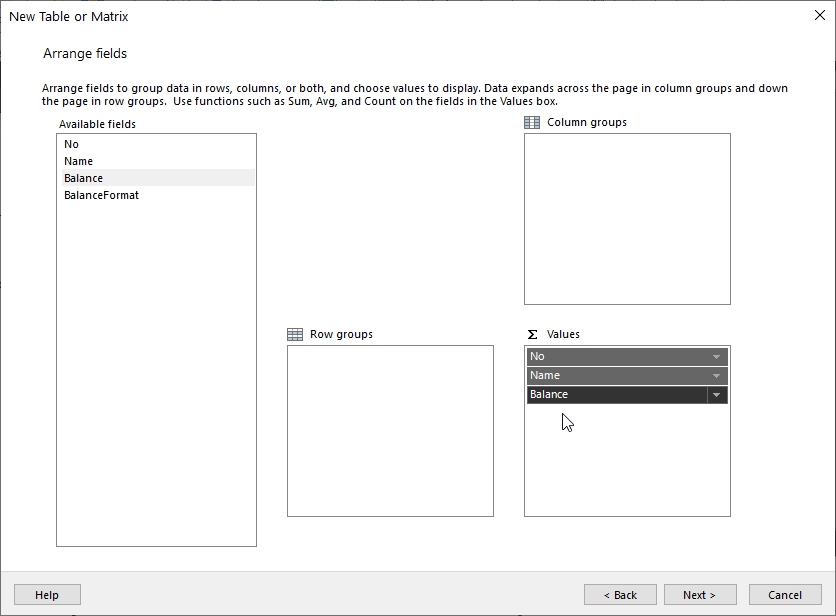
Select Next.
Select Next.
Select Finish.
Select the Name column and make it wider.
Select the first row and then align the content to the left.
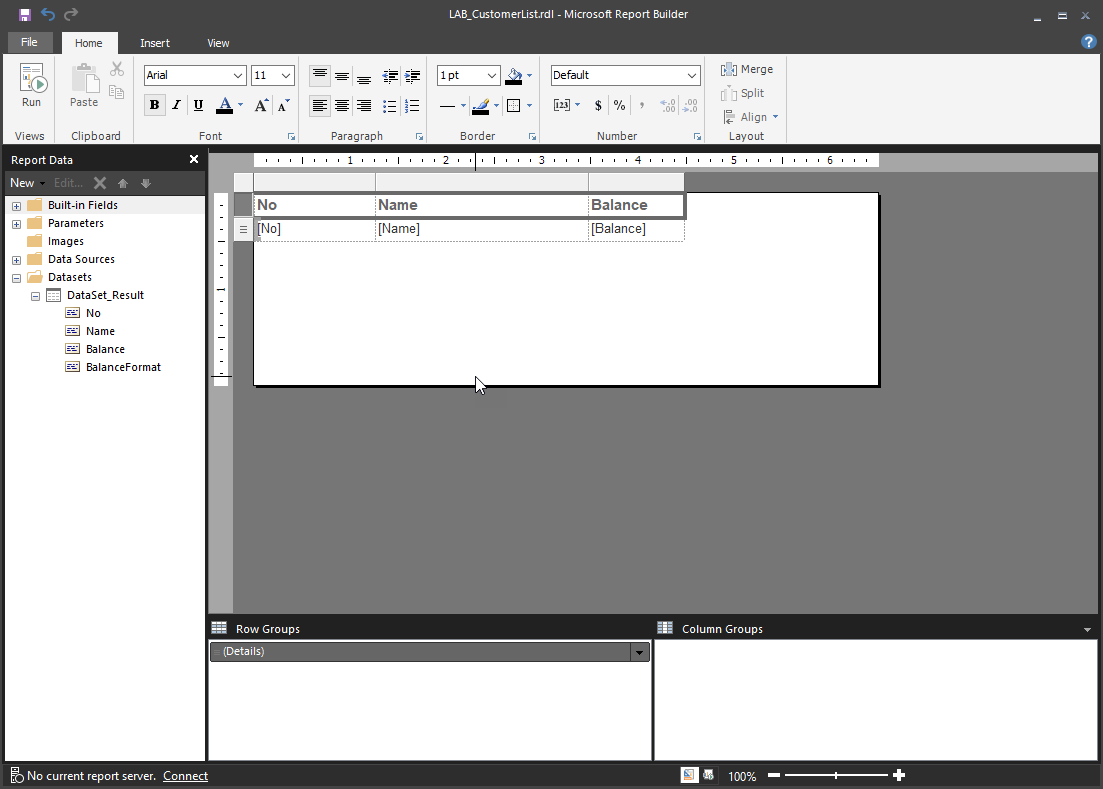
Save and Close Report Builder.


Create a Word layout for the report.
Right-click the LAB_CustomerList.docx file and then select Open Externally.
Microsoft Word will open.
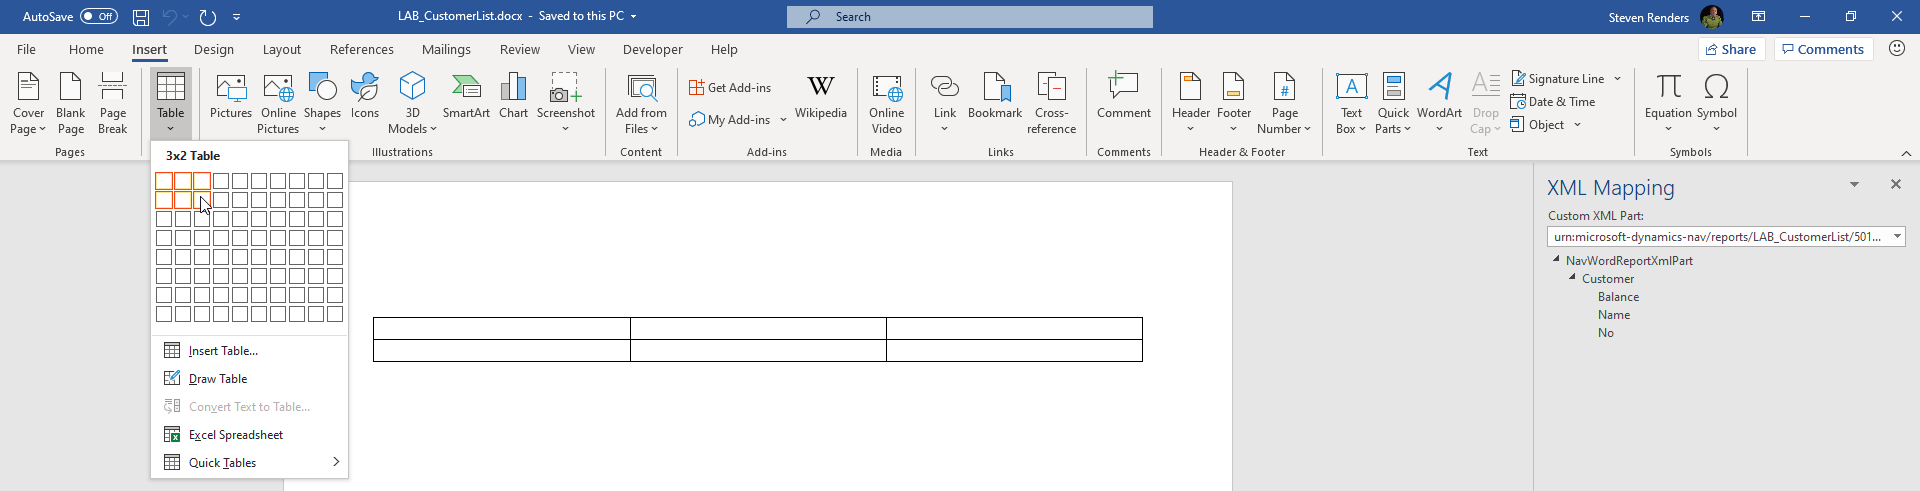
Create a table in Word with two rows and three columns.
On the Insert tab, select Table.
Select two rows and three columns.
In the ribbon, right-click and select Customize the Ribbon.
In the column on the right, enable Developer.
Select OK.
On the Developer tab in the ribbon, select XML Mapping Pane.
On Custom XML Part, select urn:microsoft-dynamics-nav/reports/LABCustomerList/50102/.
Expand Customer.
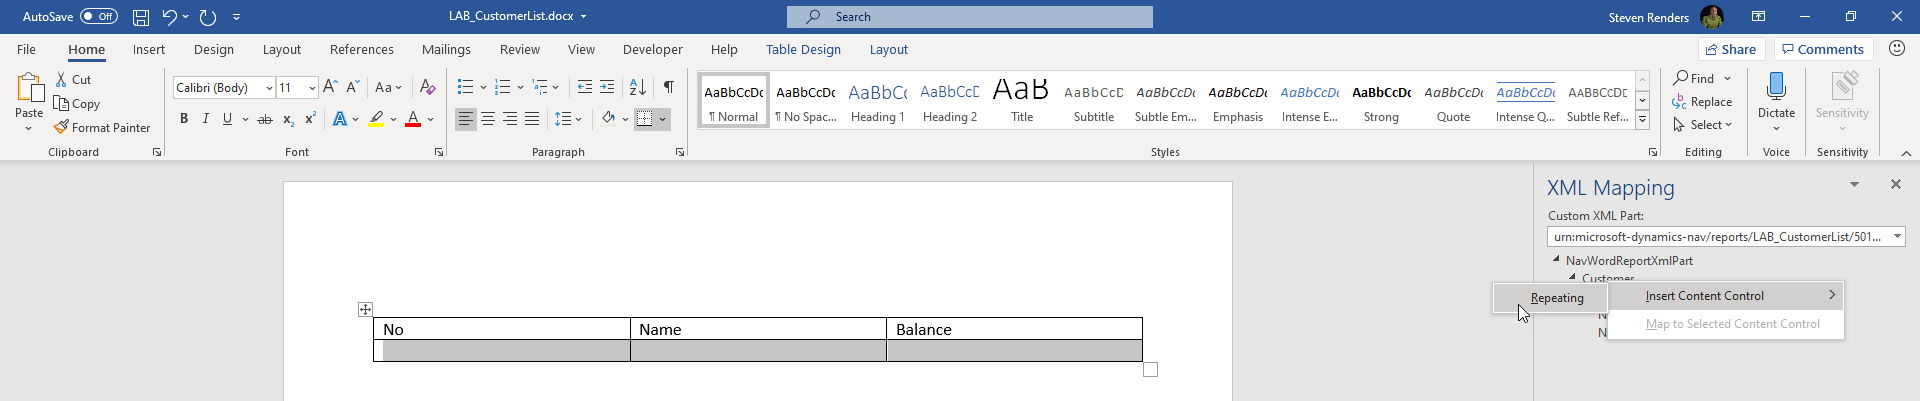
On the first row, enter No, Name, and Balance in the first, second, and third columns, respectively.

Select the second row.
In the XML Mapping pane to the right, right-click Customer and then select Insert Content Control > Repeating.
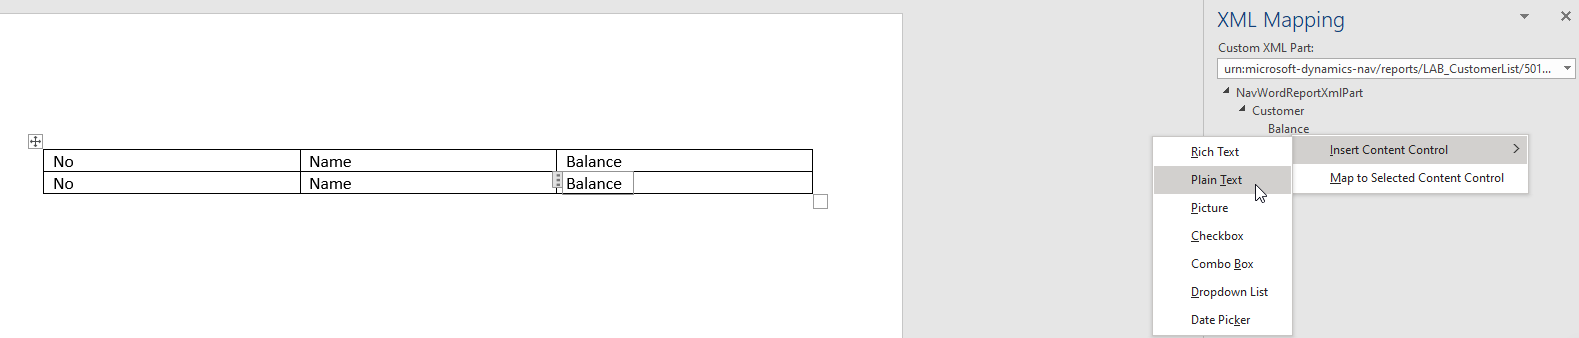
In each column of the second row of the table, right-click the Customer field and select Insert Content Control > Plain Text to set the following DataSet Result fields:
No
Name
Balance
Close the Word document and select Save.


Create an Excel layout for the report.
Right-click the
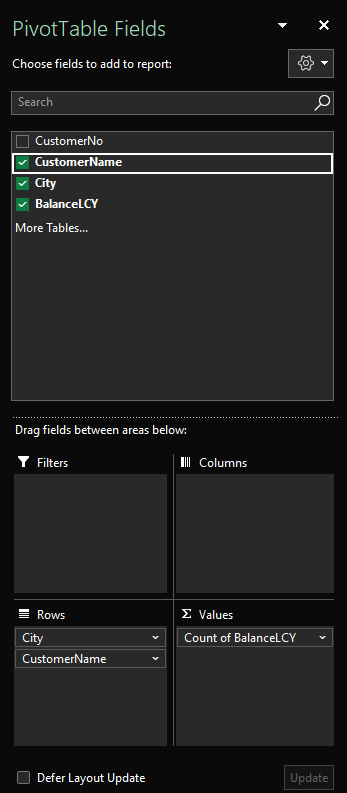
Example_EXCELLayout.xlsxfile and then select Open Externally.Microsoft Excel will open. In Excel, click Insert, PivotTable, From Table/Range.
If not present, enter Data in the Table/Range:

In the PivotTable Fields, add Name and Customer.
Close and Save the Excel file.

