Exercise – Use the prebuilt entity extraction model in Power Automate
In this exercise, you'll create a Power Automate cloud flow that's triggered on new incoming emails and then processes the messages with entity extraction.
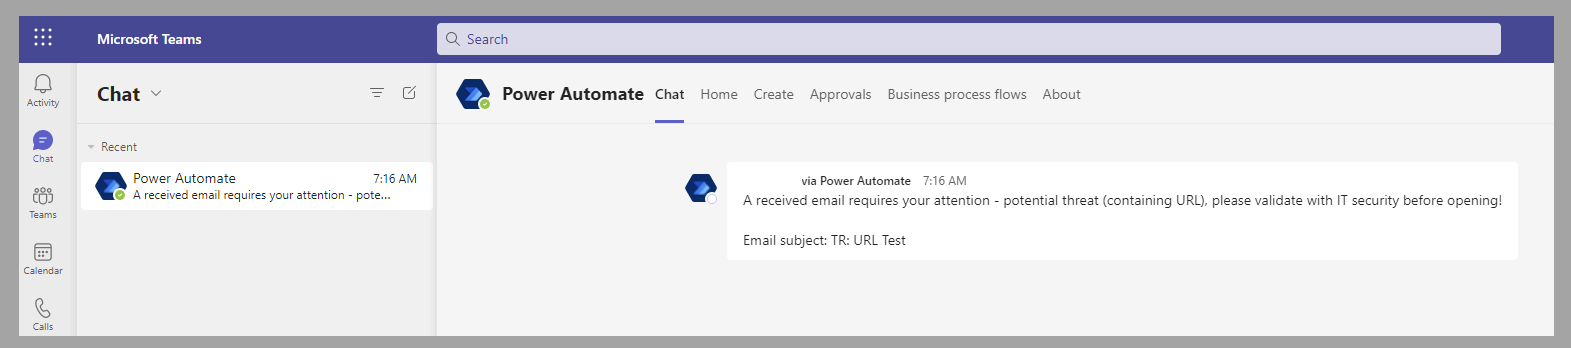
Based on the results, if one of the recognized entities is a URL, you'll receive a Microsoft Teams notification to inform you that this email is a potential threat. The IT security team should confirm whether the link is legitimate and if an email can be considered safe or should be quarantined.
Get started
As a prebuilt model, entity extraction is ready to be used and doesn't require training. You can create a Power Automate cloud flow and then add the AI Builder entity extraction action to it.
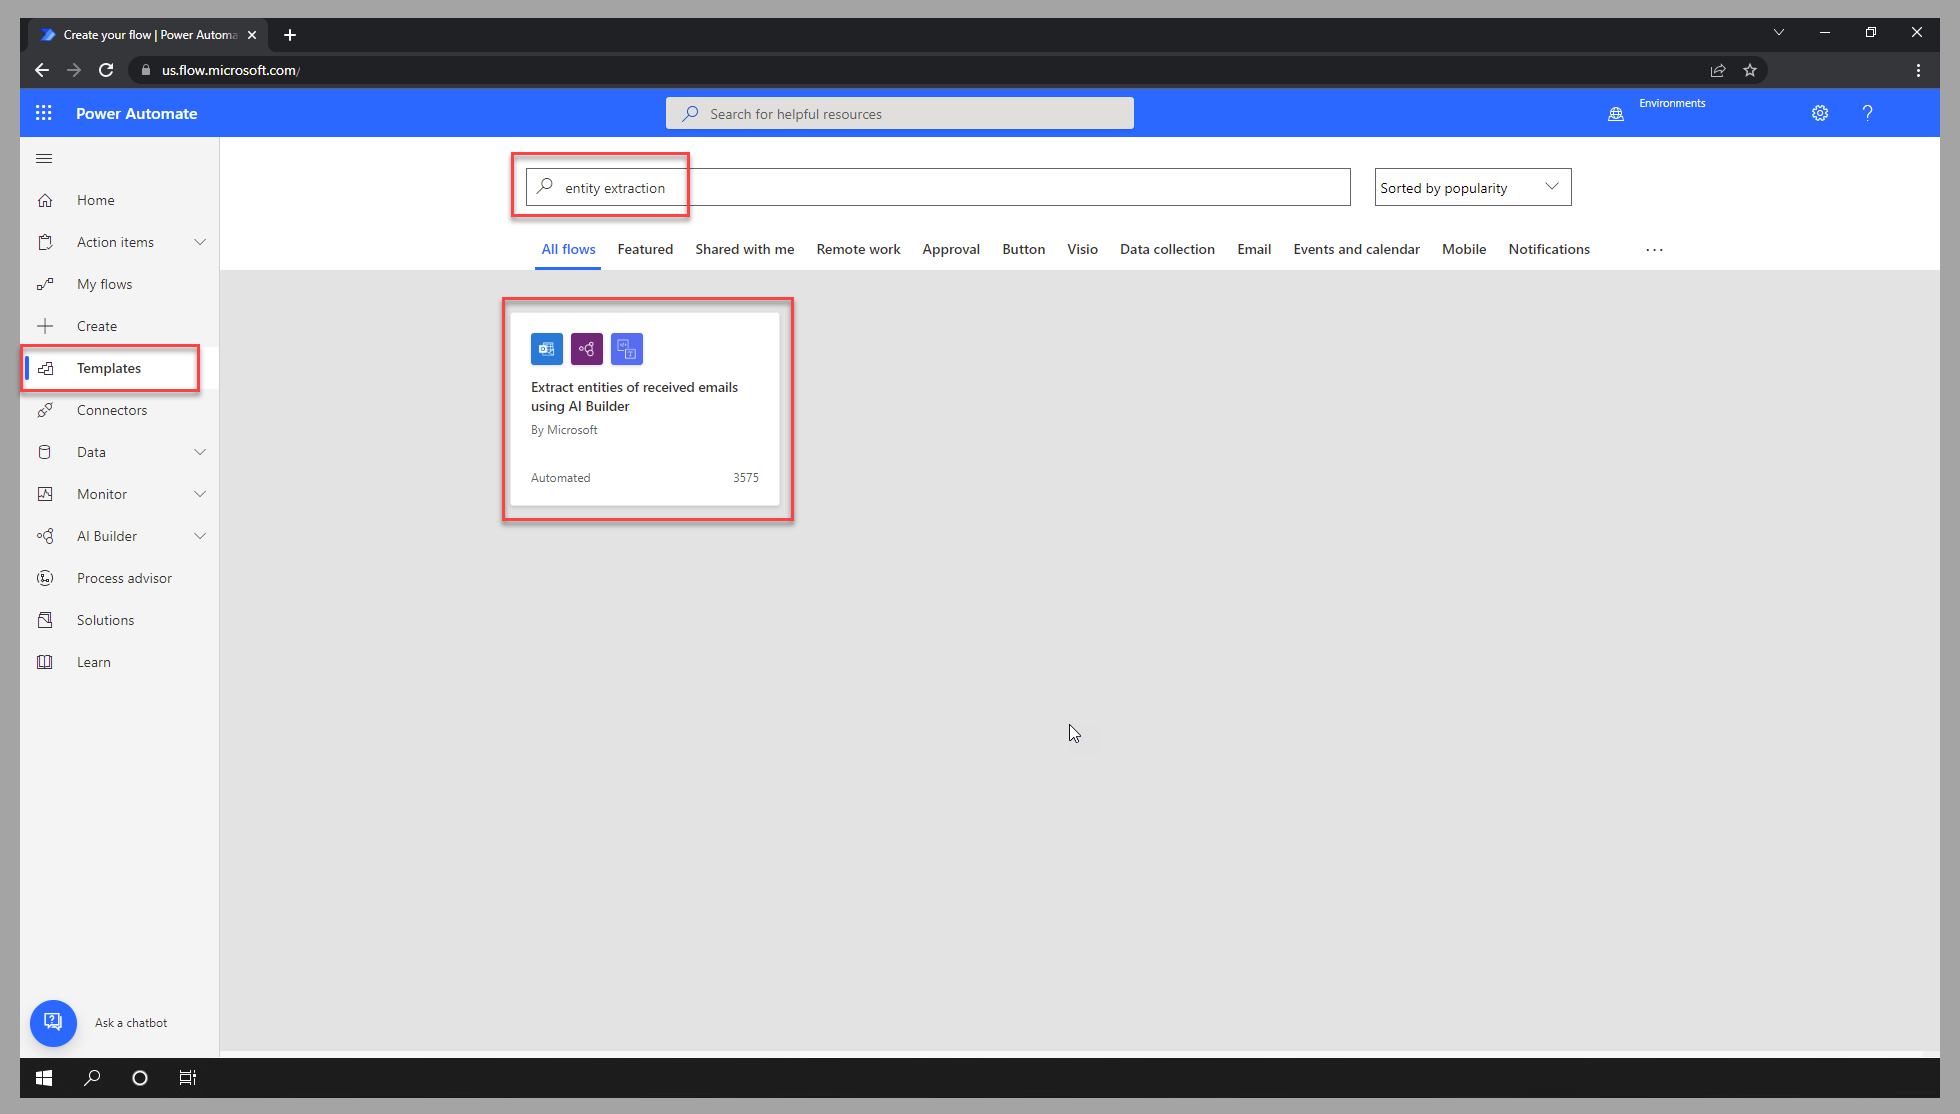
However, for this exercise, you'll take advantage of an existing Power Automate template to get started.
In Power Automate studio, go to the Templates section and search for entity extraction. Select the tile for the Extract entities of received emails using AI Builder template.
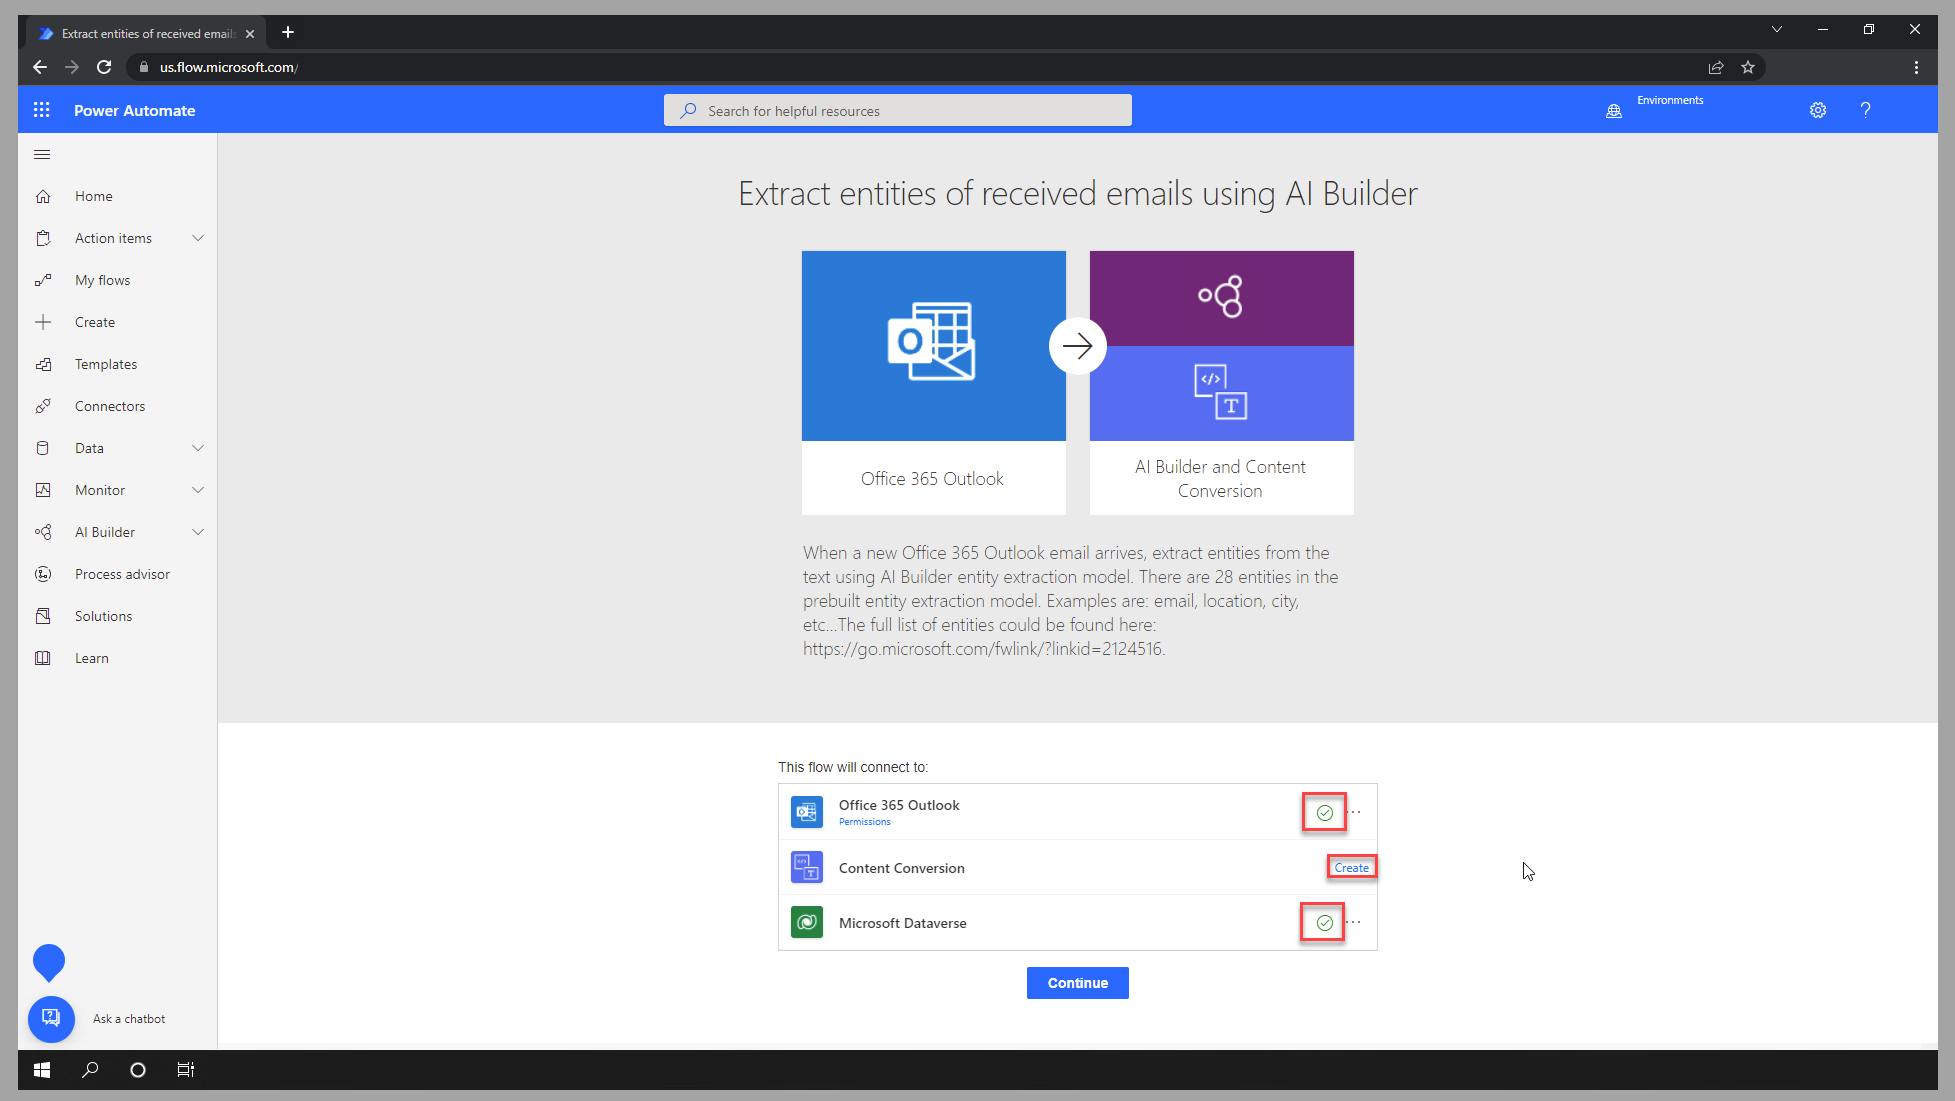
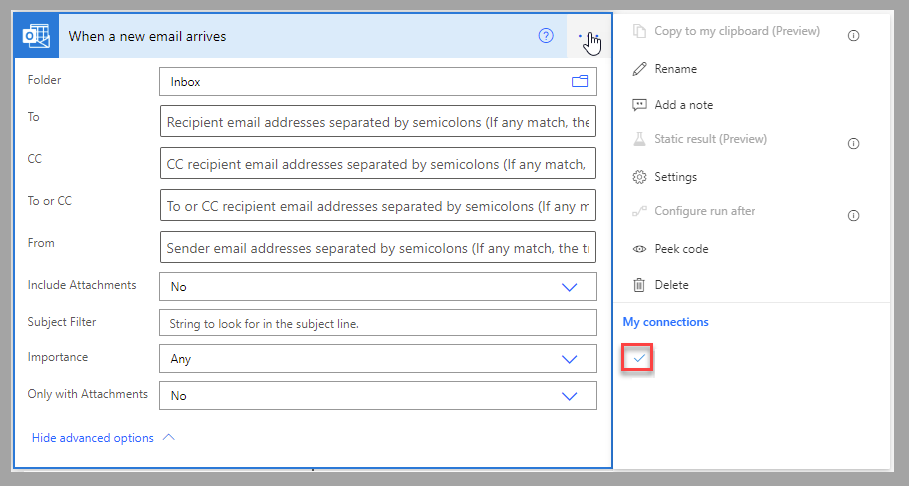
Ensure that all required connections are linked to your email account. If needed, create the connection by selecting Create.
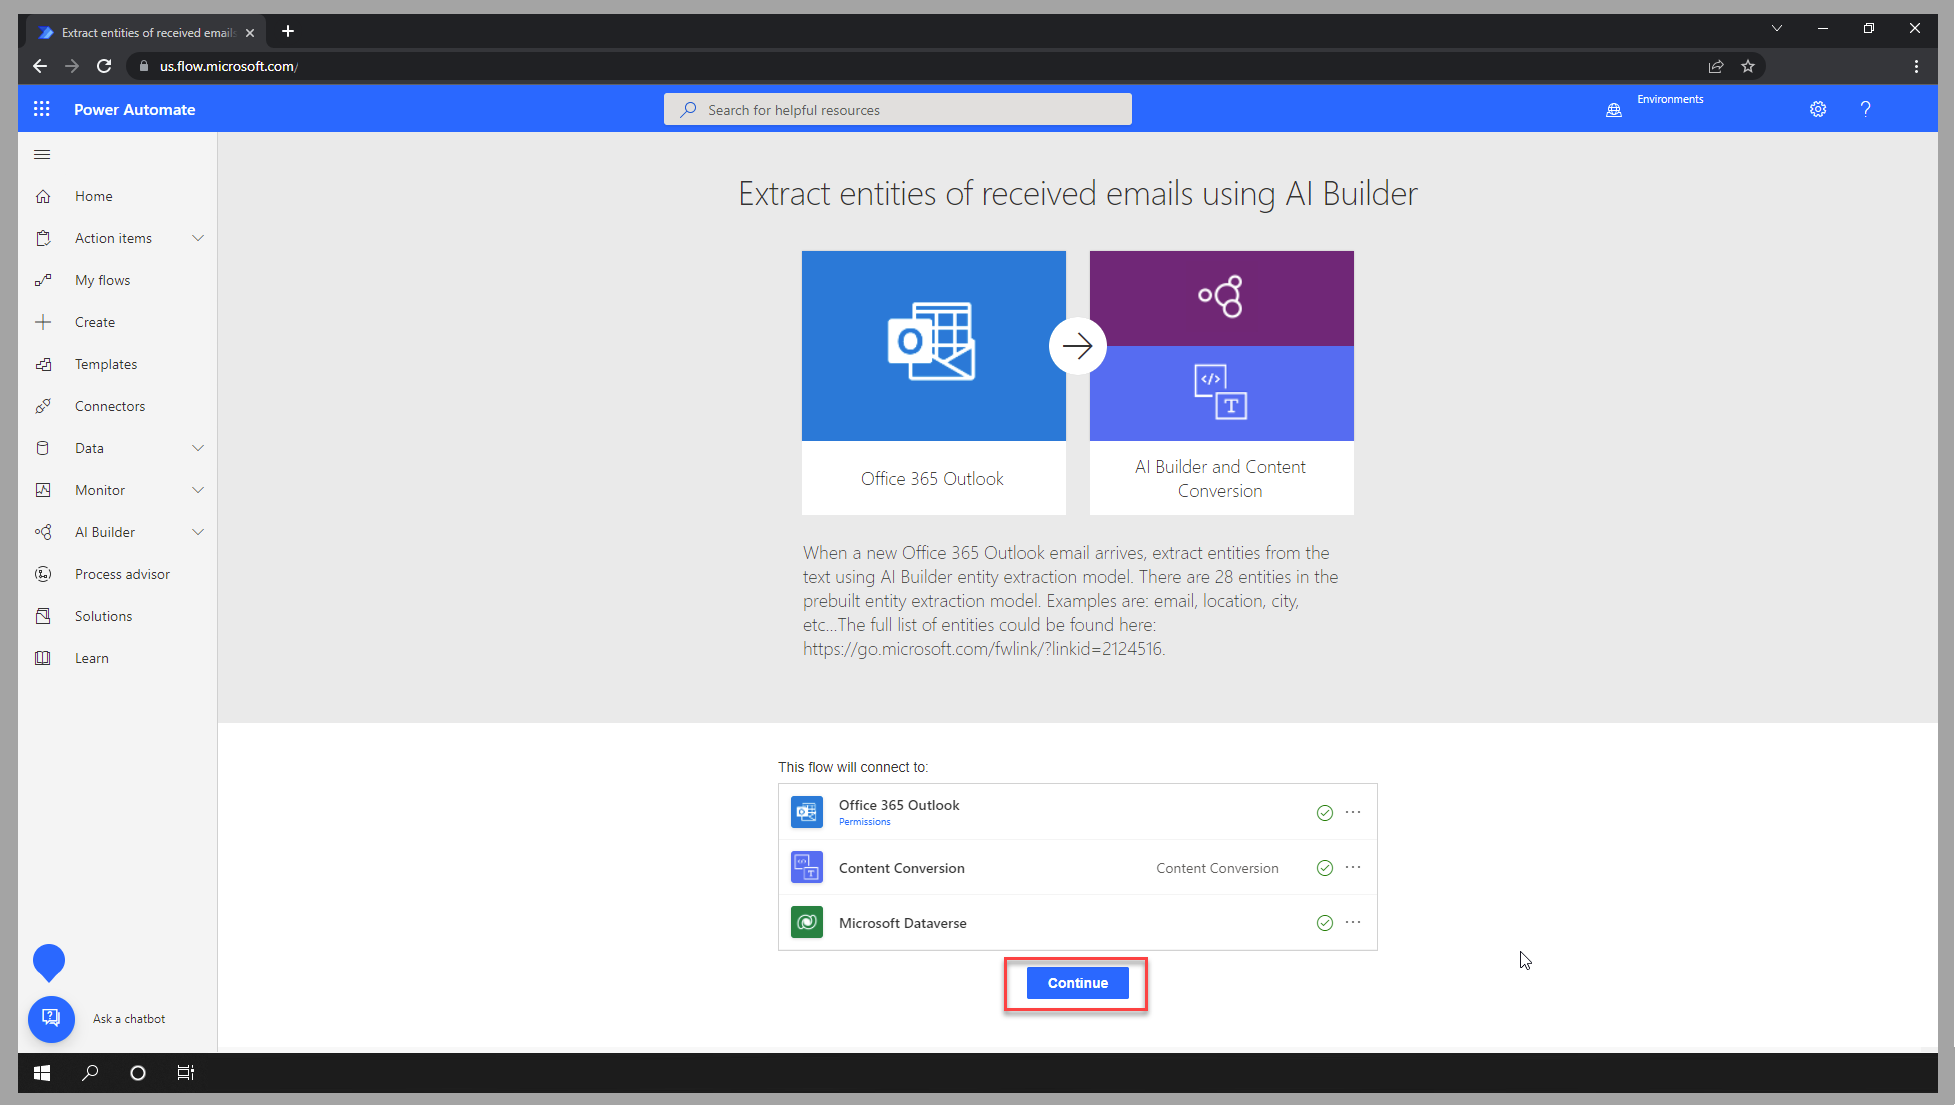
After the connection has been created, select Continue.
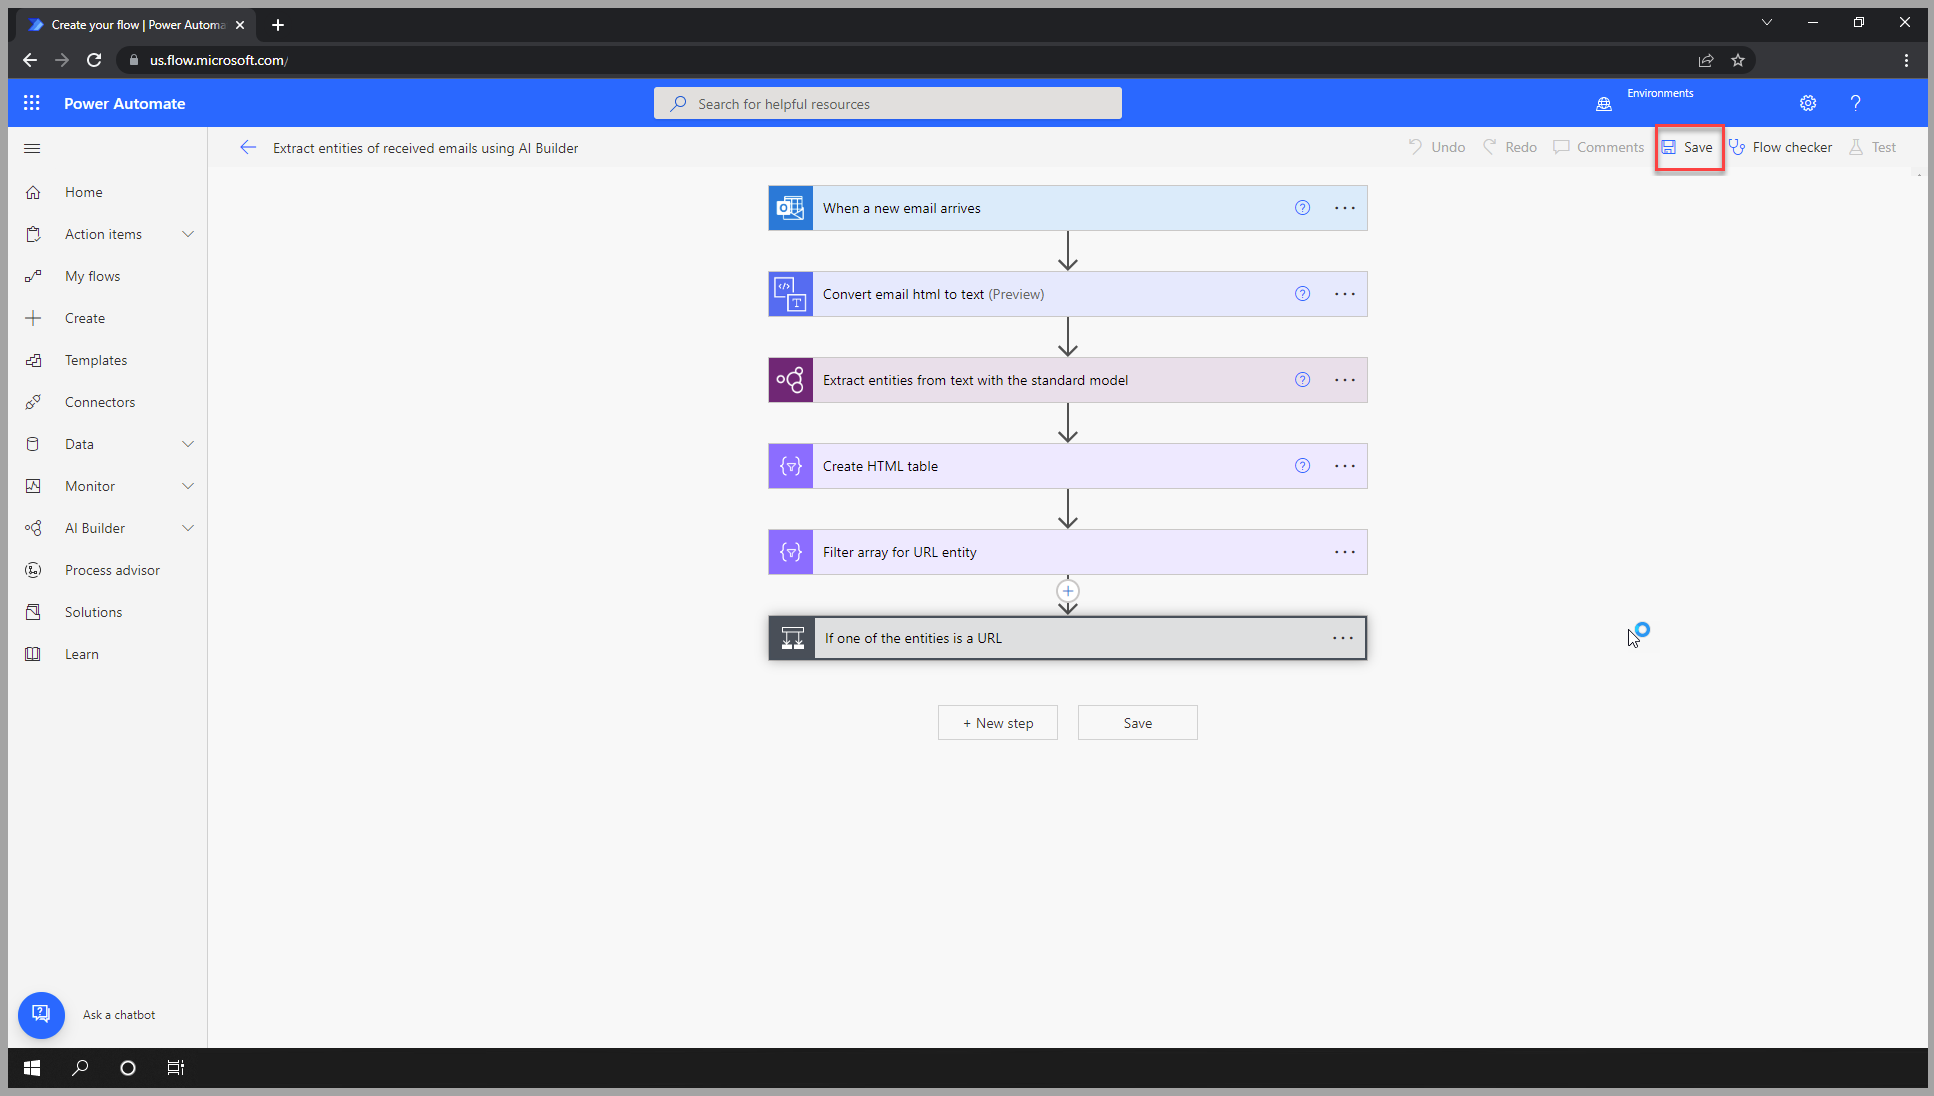
Save your flow.
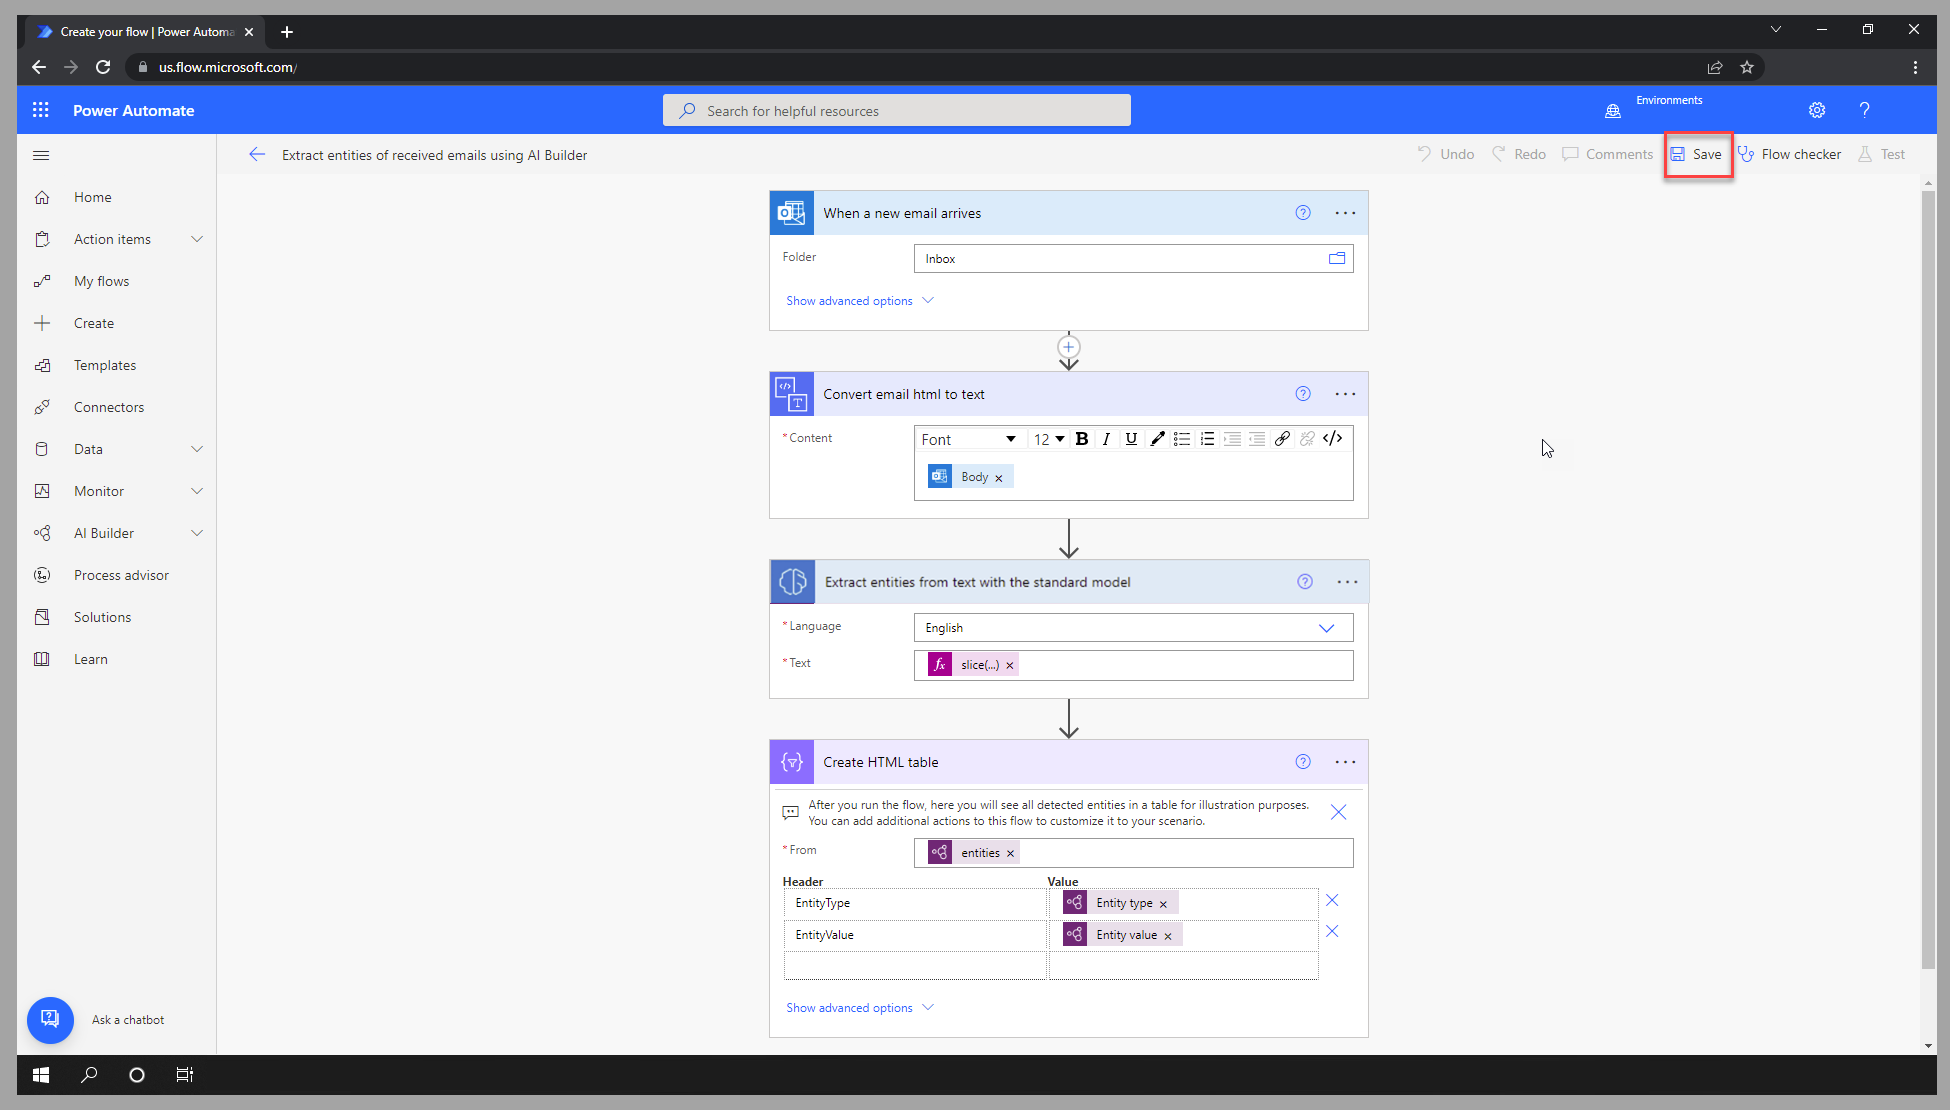


Review the flow actions
The template has generated a cloud flow that's triggered on email arrival, and then it will process that email with entity extraction.
Make sure that you familiarize yourself with the different sequential actions that are contained in the new flow, as follows:
The trigger will monitor the inbox for the account of the connection that you've selected.
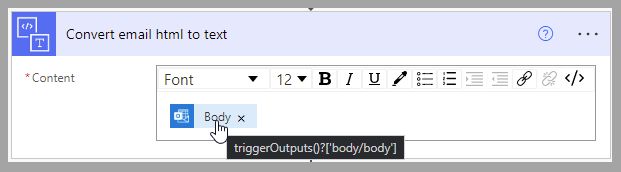
To ensure that no HTML tags interfere with the entity extraction process, the system will convert the content of the message (Body) from HTML to plain text.
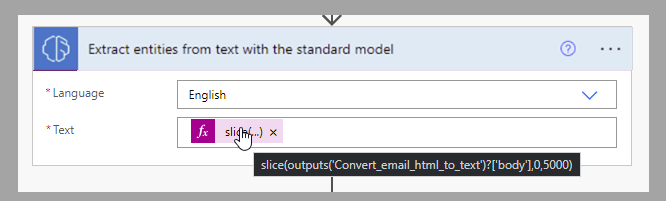
Assuming that the message is in English, the entity extraction model will process the first 5,000 characters (limitation of the model) of the converted text.
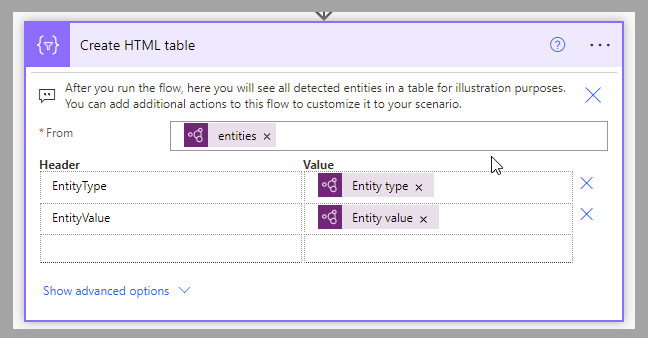
Results are converted in an HTML table so that you can review them when testing the flow.


Process the results
The entity extraction action returns a series of results that consist of the list of detected entities with detailed information, such as:
Type - Which entity type was detected.
startIndex and length - Indication of the position and length of the text portion that this entity is for.
Value - The extracted portion of the text that represents the entity.
Score - Level of confidence for this detected entity.
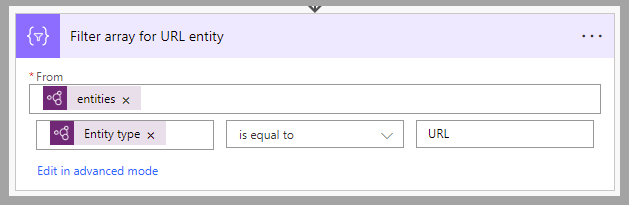
This scenario focuses on one type of entity: URL. As a result, the following procedure will filter the results to only continue and send the notification when that entity is detected.
Add a filter array action to keep only the URL entity type.
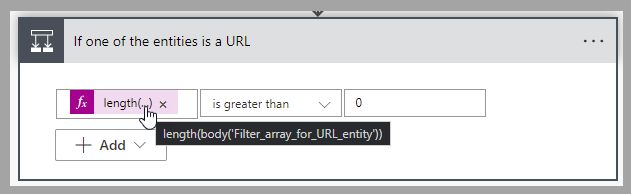
Add a condition action to continue only if at least one item is left in the filtered array.
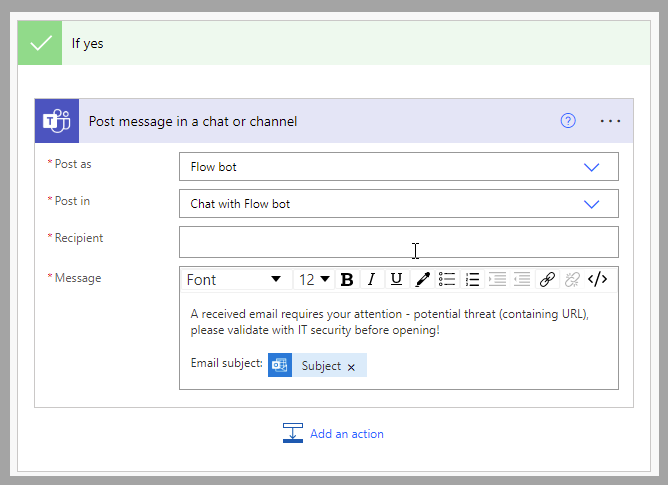
When condition is valid, post a Teams notification.


Test the flow
The last step is to confirm that the flow is processing the incoming emails as expected and is sending out a Teams notification if a URL is part of a received email message.
To test the flow, follow these steps:
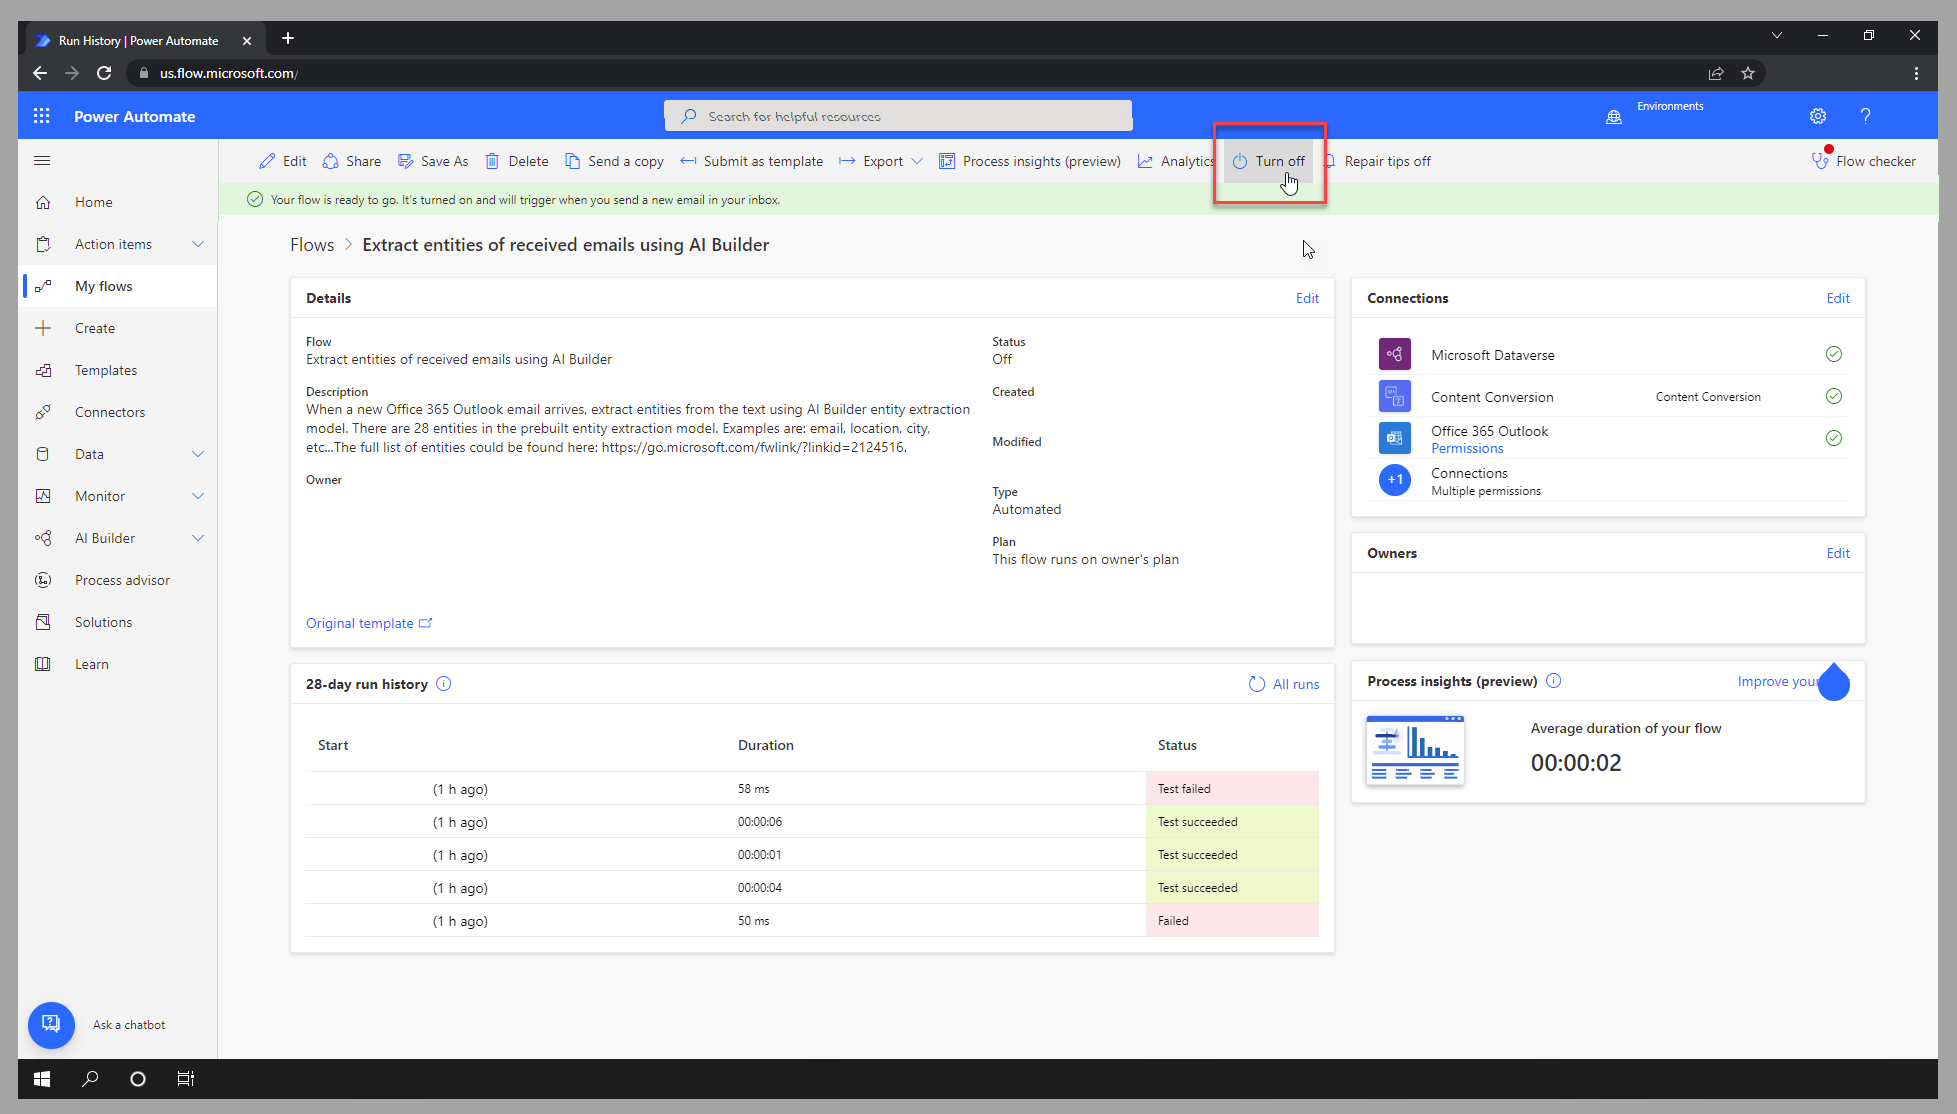
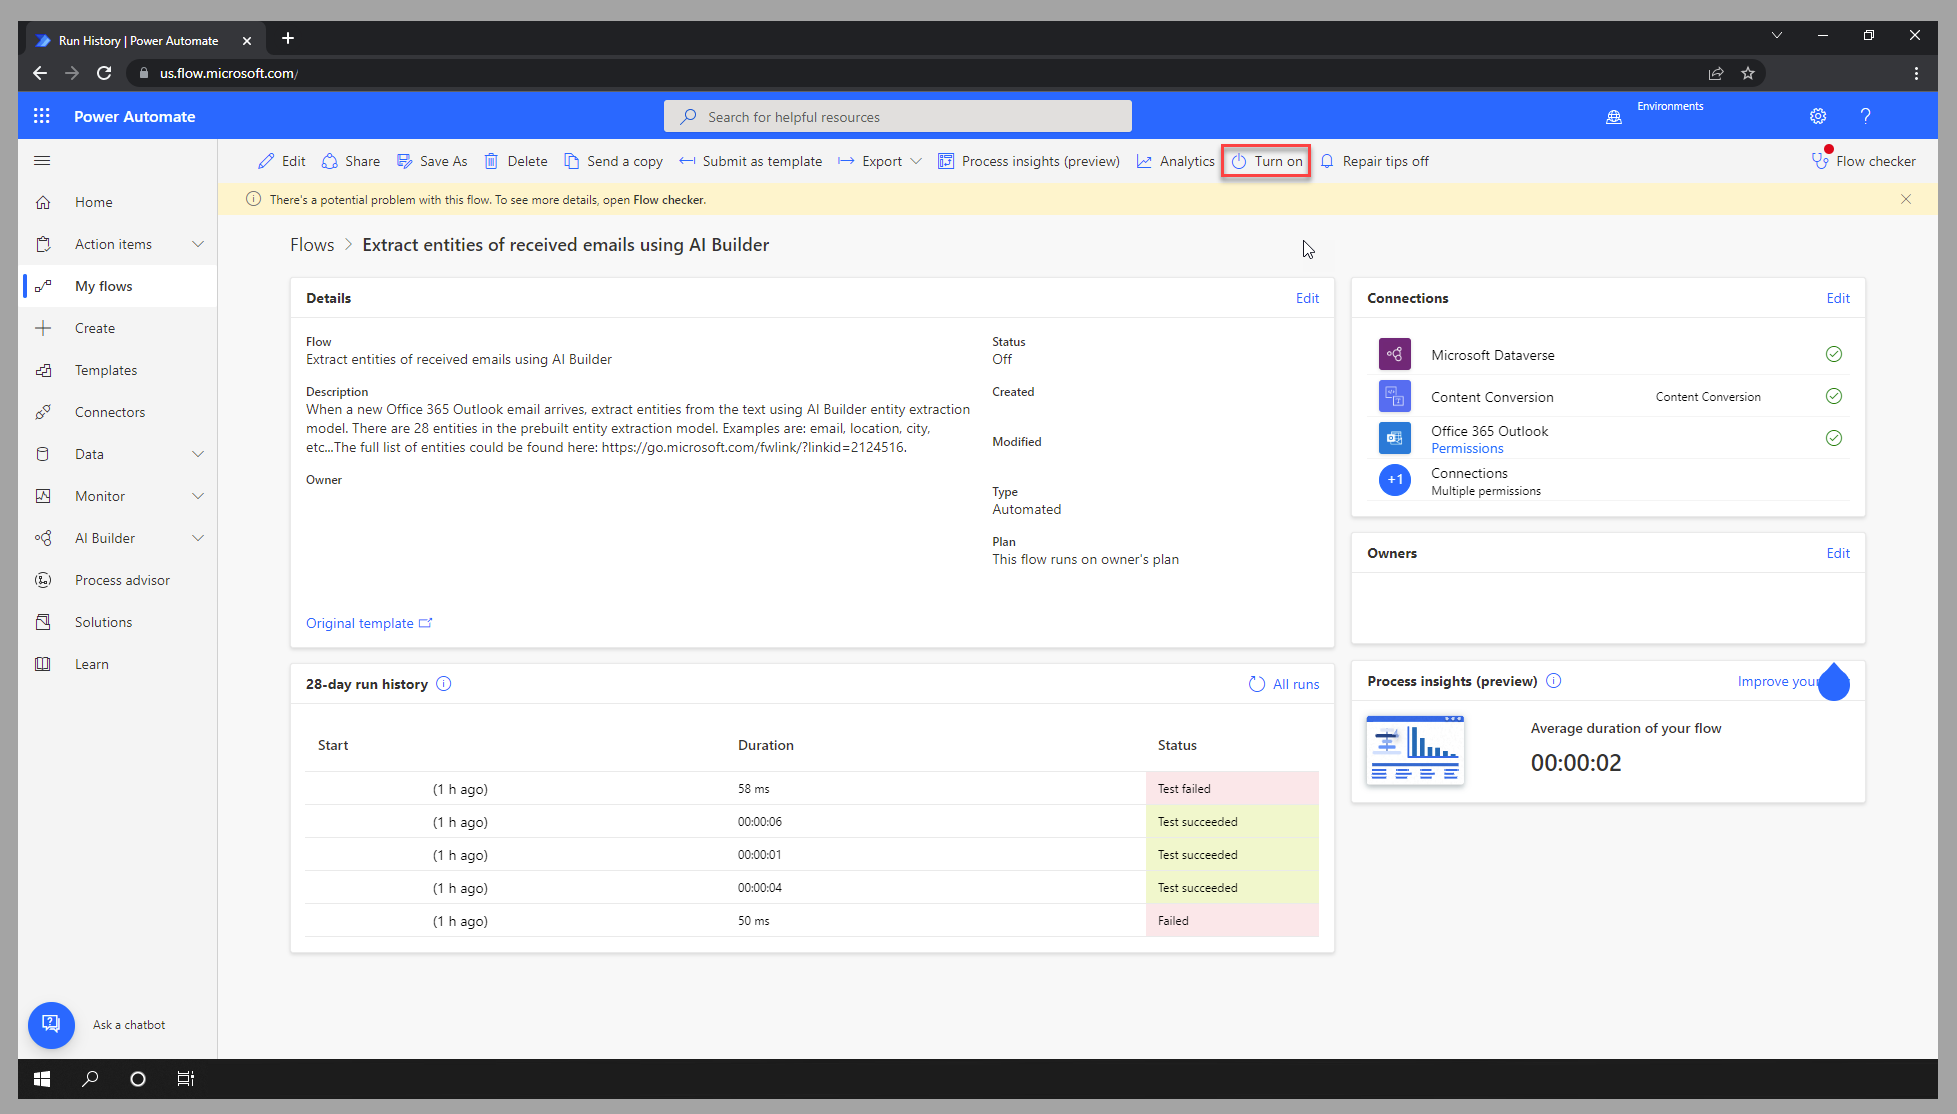
Save the flow.
Confirm that the flow is active. Select Turn on if available.
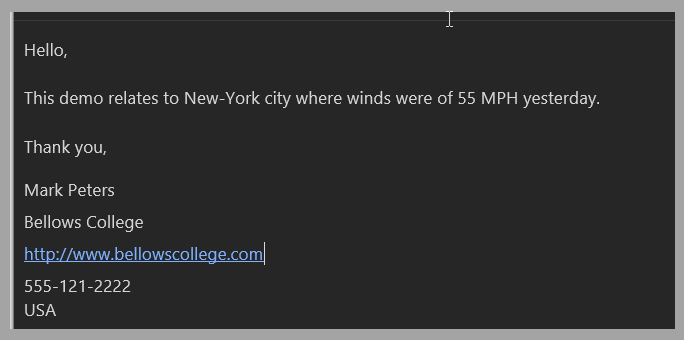
In Outlook, send yourself (or the monitored email address) a message that contains different sentences and items. For the first test scenario, include a link to a website in the email message.
In Teams, confirm that you've received a notification for this email.
For the second test scenario, create a new email message that doesn't contain a website link. A Teams notification isn't received.
To stop processing incoming emails, turn off the flow.