Exercise - Create an Azure Notebook
The first order of business is to create a new Azure Notebook. Azure Notebooks are contained in libraries whose primary purpose is to group related notebooks. In this unit, you'll create a new project and then create a notebook inside it.
Navigate to https://notebooks.azure.com in your browser.
Sign in using your Microsoft account.
Click My Projects in the top menubar.

Navigating to the Projects page
Click + New Project. Enter "Climate Change" (without quotation marks) for the project name and "climate-change" as the project ID. Uncheck the Public project box, and then click Create.
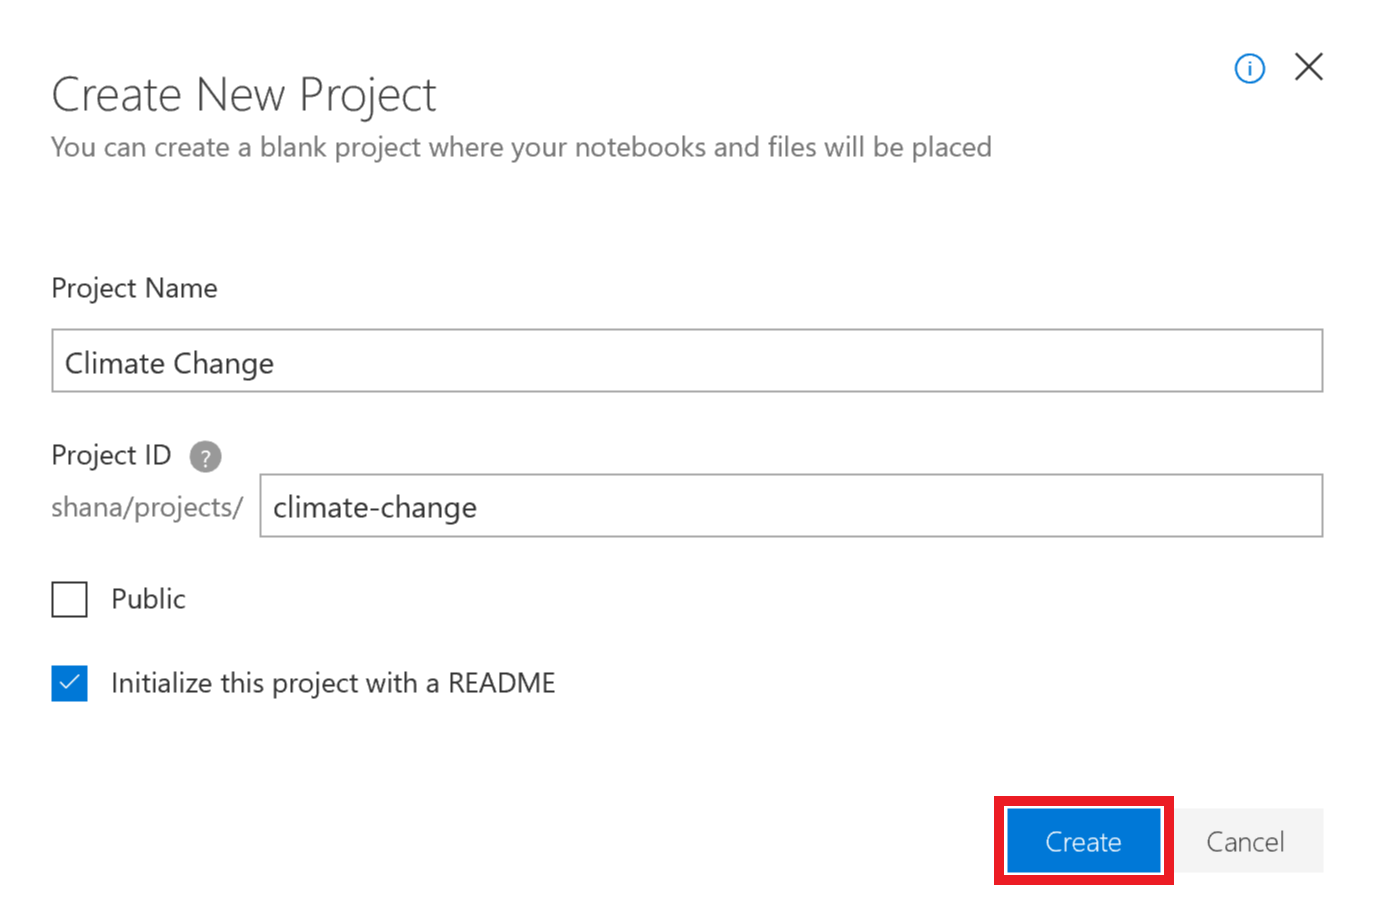
Creating a project
Click the + sign to add a notebook to the project.
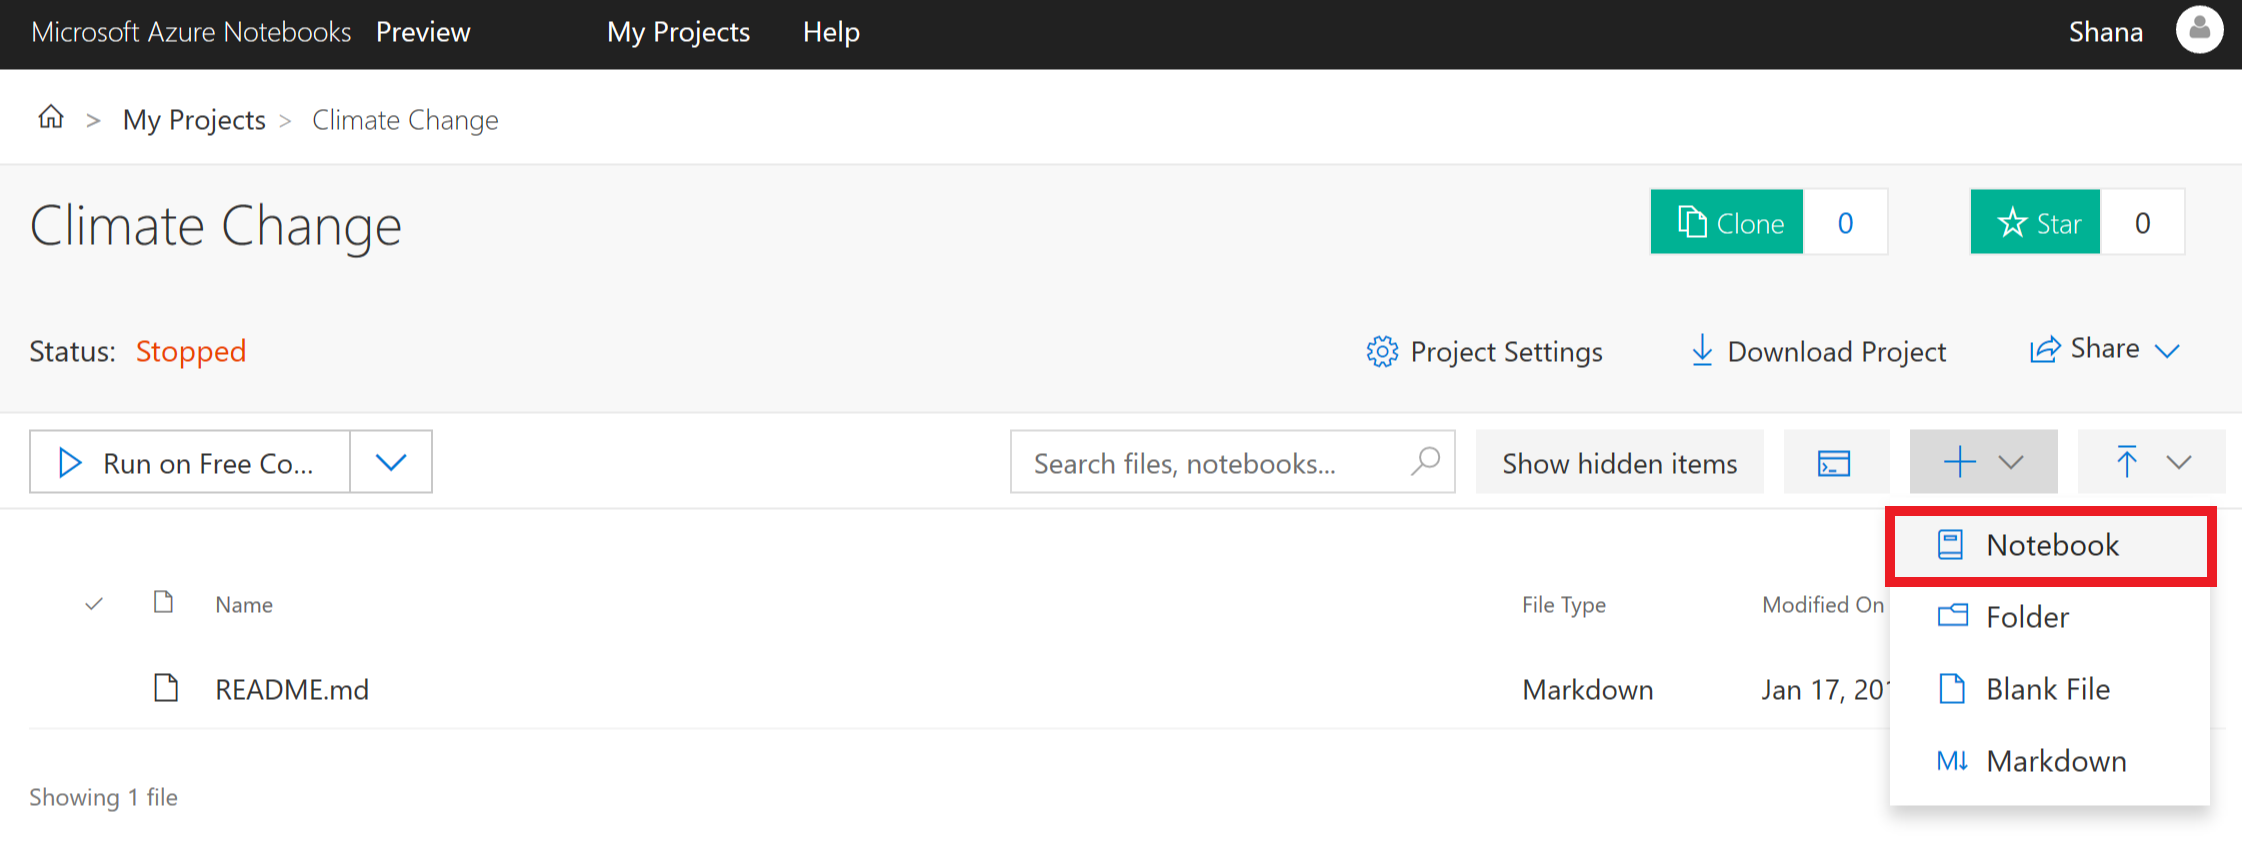
Adding a notebook to the project
Name the notebook "climatechange.ipynb" and select Python 3.6 Notebook as the item type. This will create a notebook with a Python 3.6 kernel. One of the strengths of Jupyter notebooks is that you can use different languages by choosing different kernels.
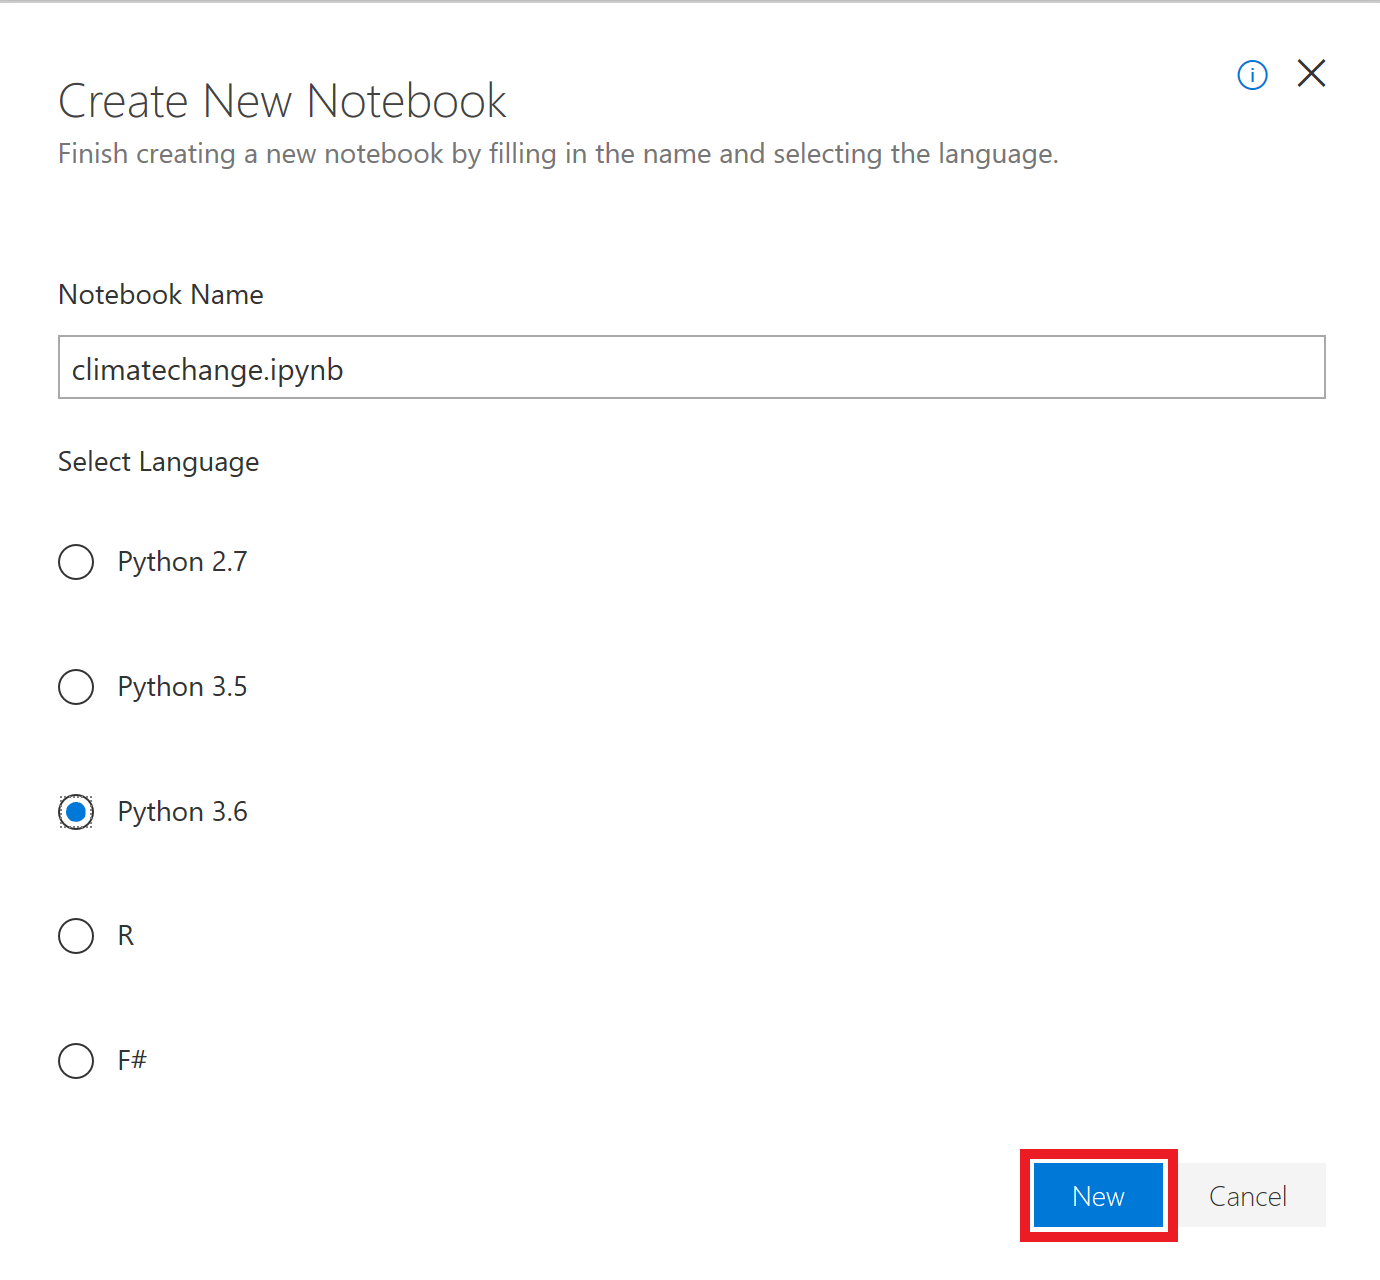
Creating a notebook
If you're curious, the .ipynb file-name extension stands for "IPython notebook." Jupyter notebooks were originally known as IPython (Interactive Python) notebooks, and they only supported Python as a programming language. The name Jupyter is a combination of Julia, Python, and R — the core programming languages that Jupyter supports.
Click the new notebook. This will launch the notebook and allow you to start editing it.
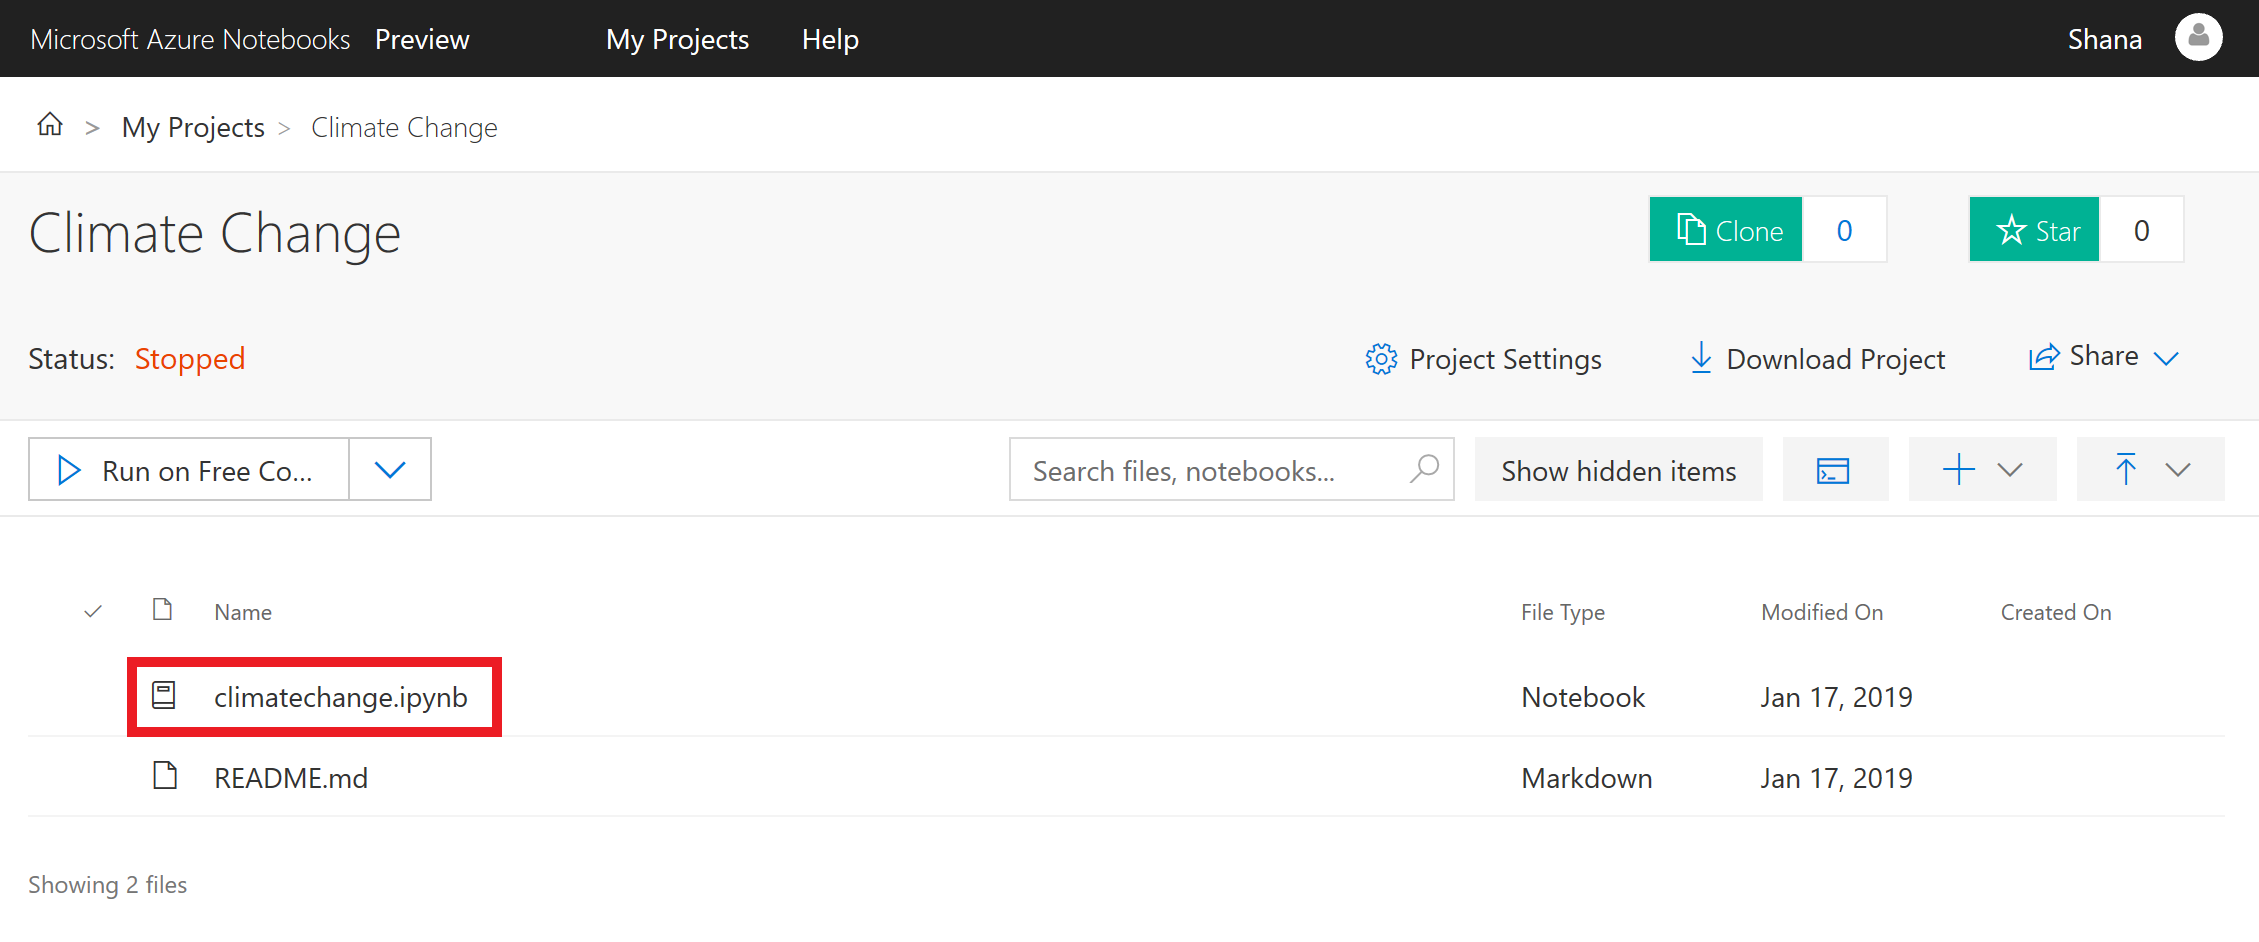
Opening the notebook
You can create additional projects and notebooks as you work with Azure Notebooks. Projects provide a means for grouping related notebooks. You can create notebooks from scratch, or you can upload existing notebooks. In the next unit, you'll build a notebook from scratch and learn the basics of working with cells.