Exercise – Create a survey invitation
Exercise 1: Send a survey
In this exercise, you use Microsoft Power Automate to send a Dynamics 365 Customer Voice survey.
Task 1: Select a Power Automate template
In this task, you use Power Automate to send the survey that you created in the Work with Dynamics 365 Customer Voice projects module.
Go to Customer Voice and sign in with your credentials.
Select the environment where you have Dynamics 365 Customer Engagement installed. The Dynamics 365 Customer Voice survey should be created in the same environment.
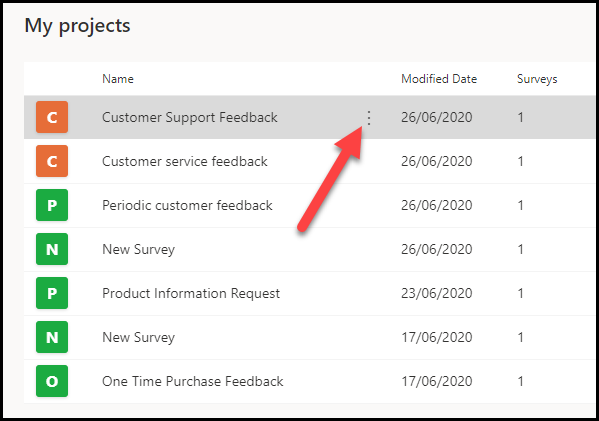
Locate the Customer Support Feedback project that you created previously and select its name.
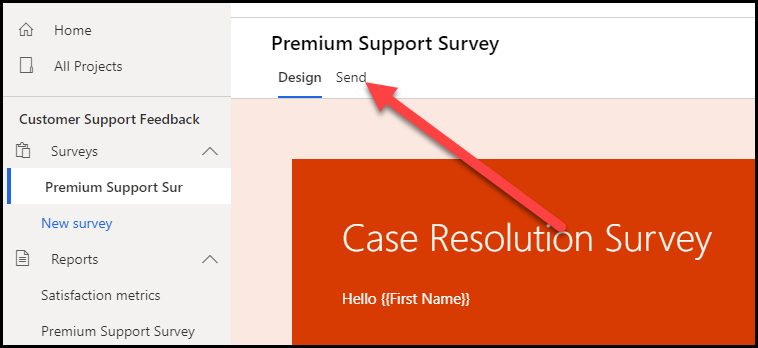
Select the Premium Support Survey that was created previously and then select the Send tab.
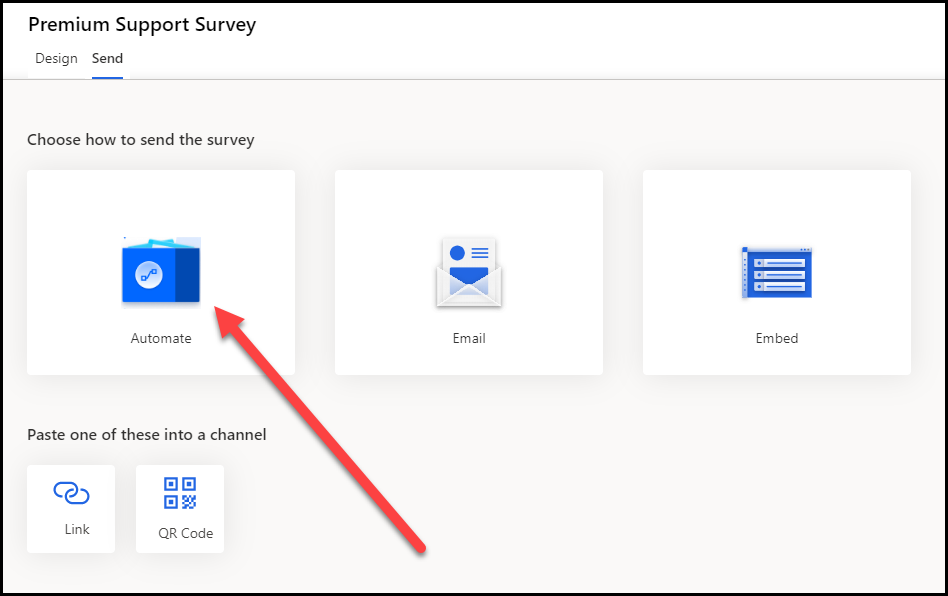
Select Automate.
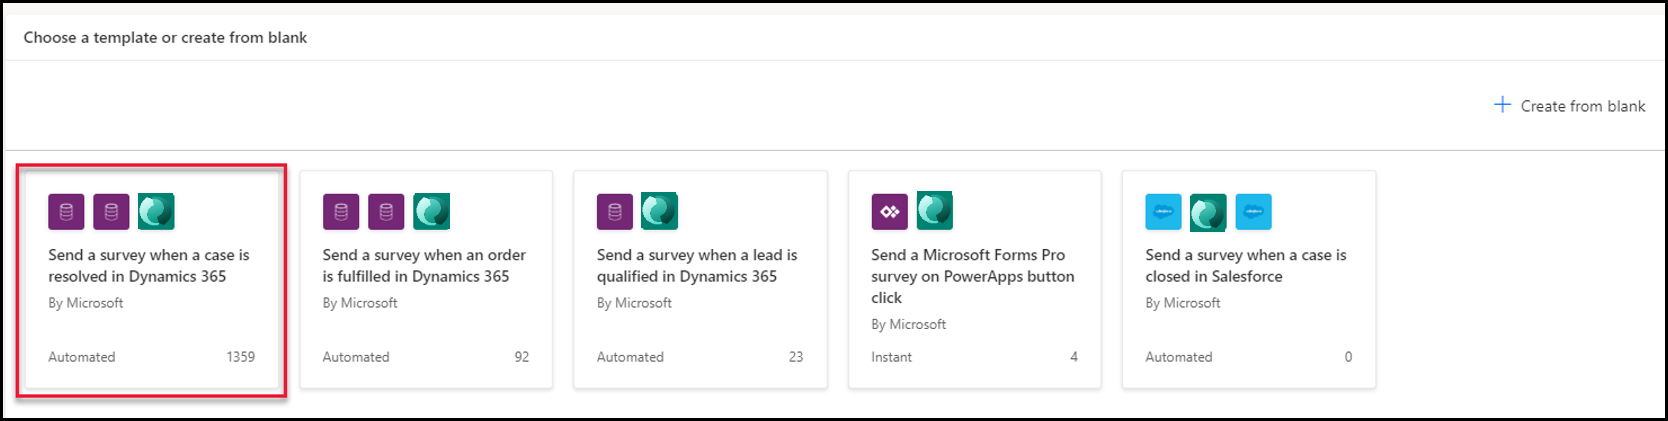
Select Send a survey when a case is resolved in Dynamics 365.
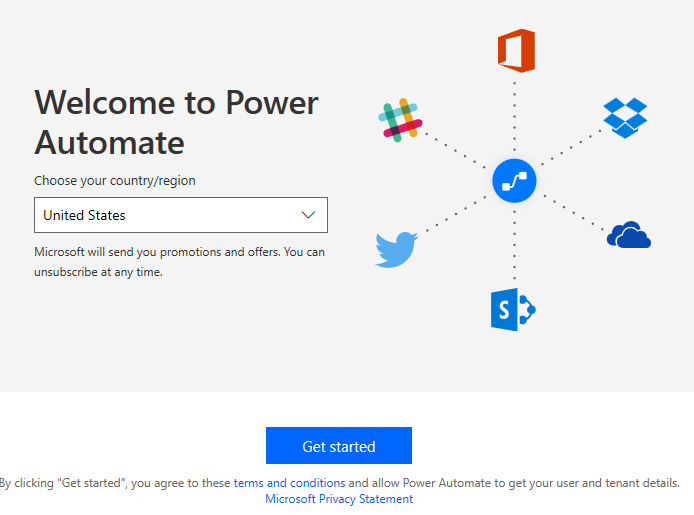
Follow the subsequent steps if this is your first time creating a flow. If you're not prompted to select a region, move on to the next step.
a. Select your Country/Region and then select Get started, if prompted.
b. Select Sign in or Update, if prompted to sign in to your Microsoft Forms environment.
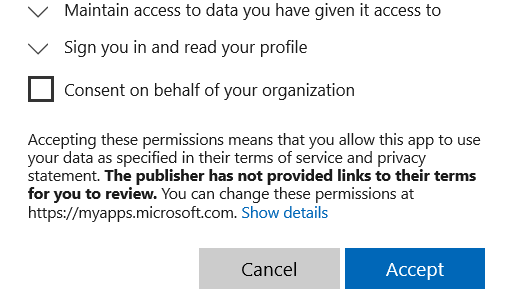
c. Select Accept.
d. Select Continue.
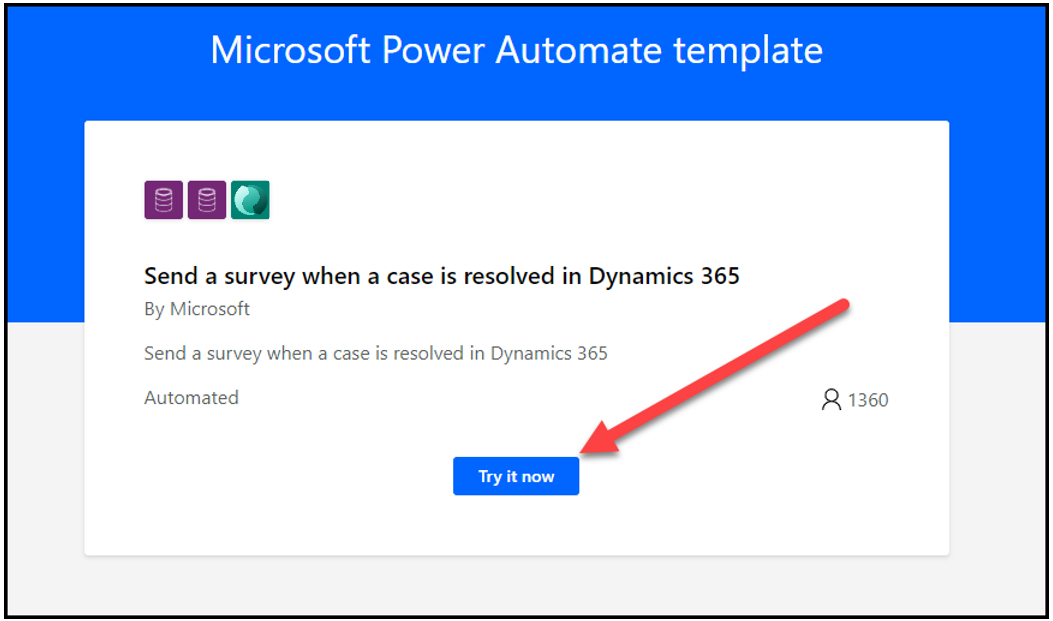
If you see the following screen (depending on if this is the first time you've signed in), select Try it now.
Select the environment where you have Dynamics 365 Customer Engagement installed and then select Create.

The flow opens in a new tab.

Do not navigate away from this page.
Task 2: Examine and edit the flow
In this task, you examine the flow that was created by the template and add a filter to the trigger. This filter ensures that the flow is triggered only when the Status Reason column changes instead of running on every change that is made to the case record.
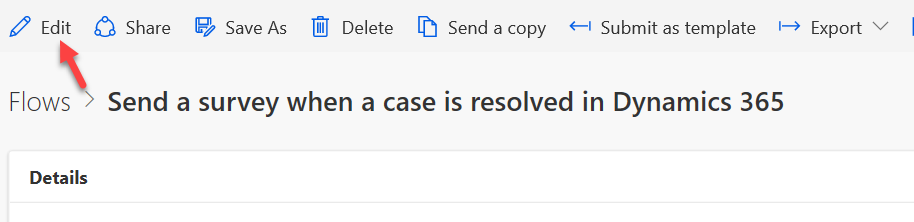
You should already be in edit mode for the flow that was created in Task 1. If not, and you're viewing the Details screen for the flow, select Edit.
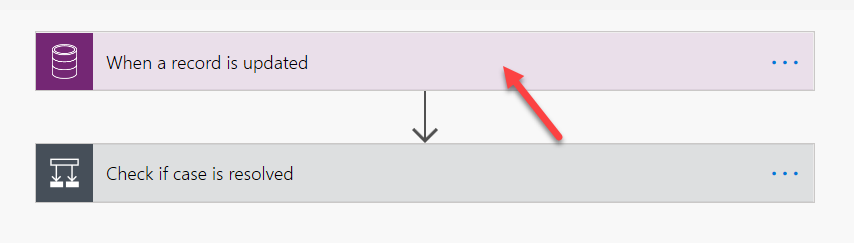
The flow should open in edit mode. Expand the trigger by selecting the header.
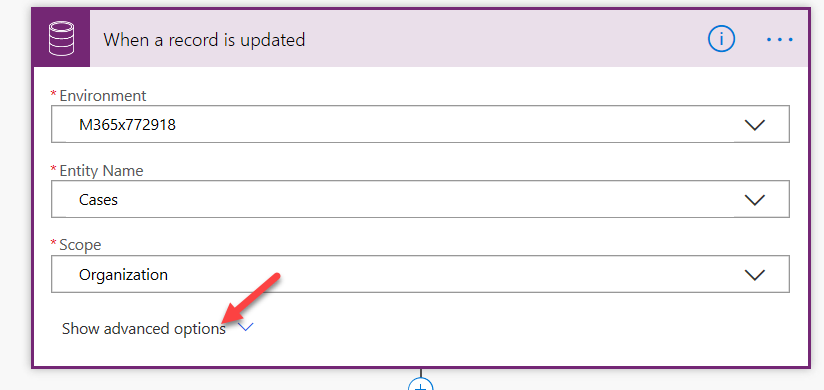
Select Show advanced options.
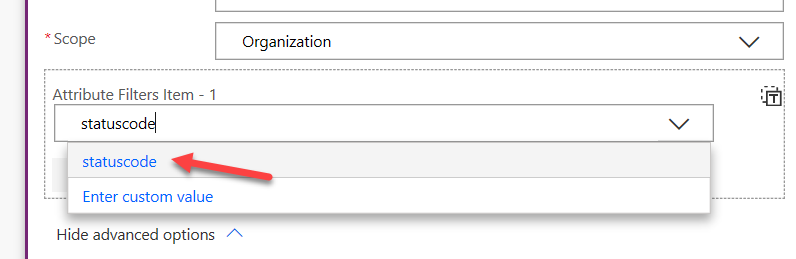
Select status code for Attribute filter. This action ensures that the flow is triggered only when the status of the case changes.
Select Hide advanced options.

Collapse the trigger by selecting the header again.
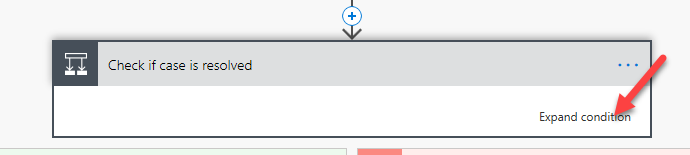
Expand the condition.
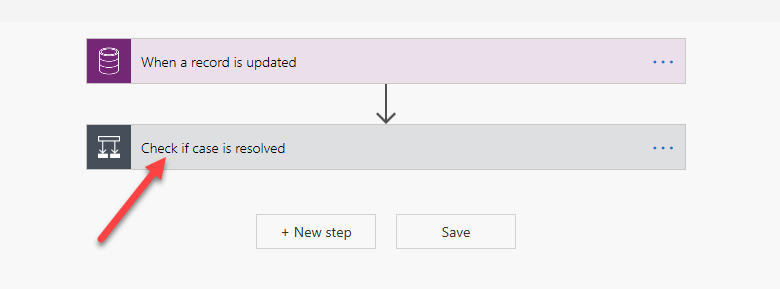
Select Expand condition.
The first condition checks if the Status Reason value is 5 (Resolved).
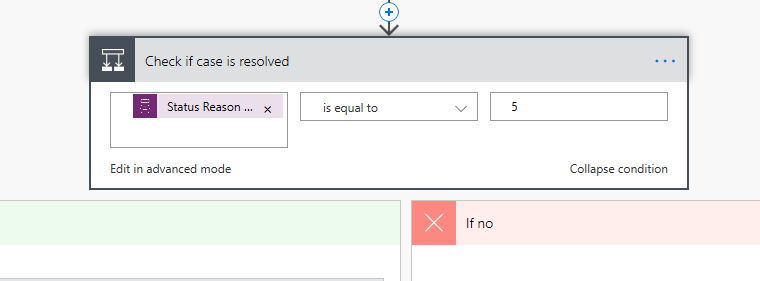
You only take action if the case was resolved. Expand the condition inside the If yes branch.
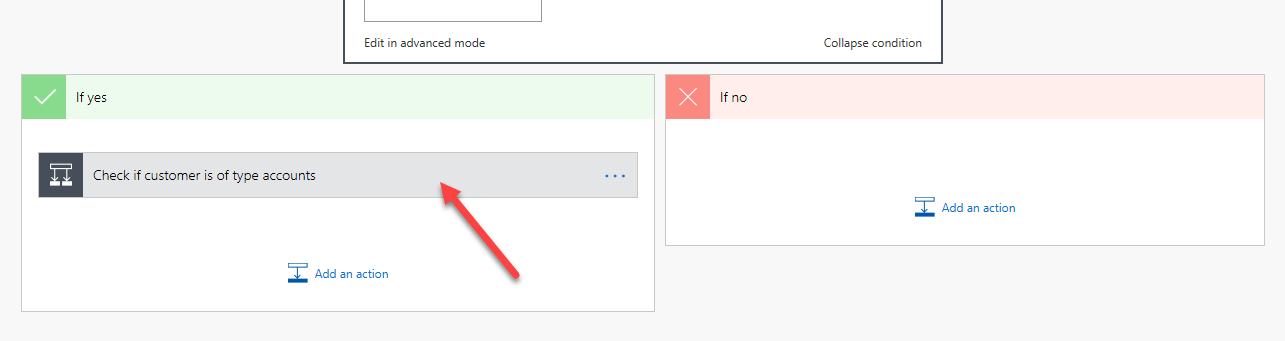
Select Expand condition.

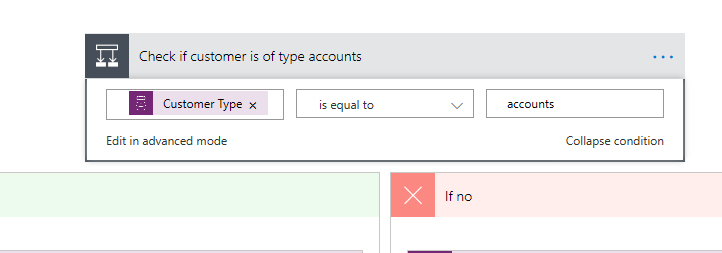
This condition checks if the customer type of the case is an account.
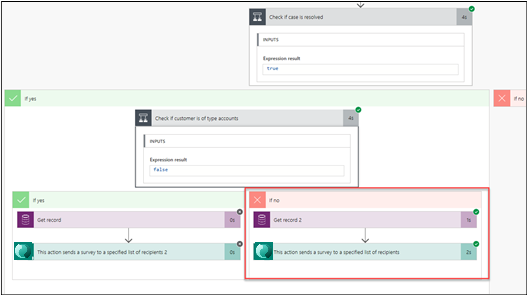
Evaluate both branches of the flow (you aren't making changes, just viewing what is created).
If the customer type of the case is an account:
- The flow gets the account record.
- Add the Send survey action.
- Use the information from the prior actions to fill out the send survey columns.
- Select the correct survey and email template.
If the customer type of the case is not an account:
- The flow gets the contact record.
- Add the Send survey action.
- Use the information from the prior actions to fill out the send survey columns.
- Select the correct survey and email template.
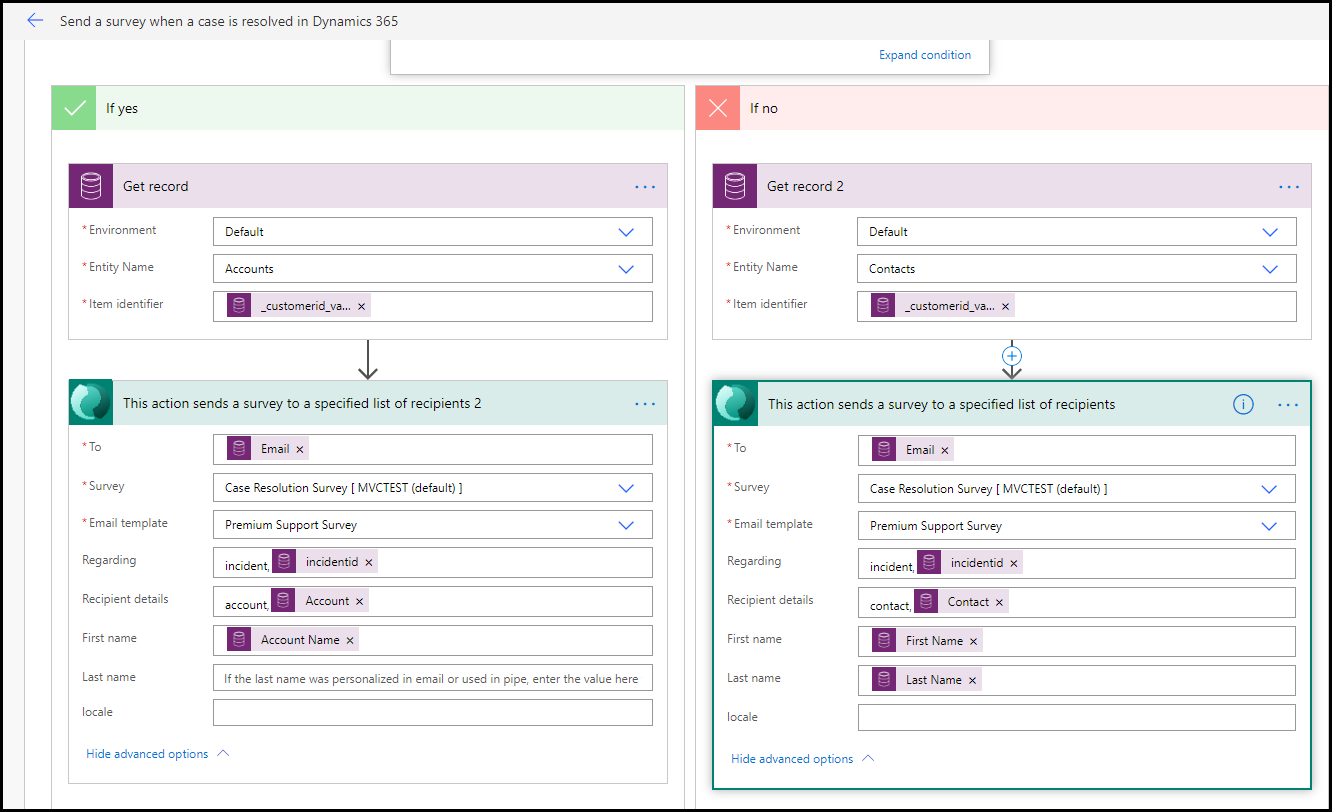
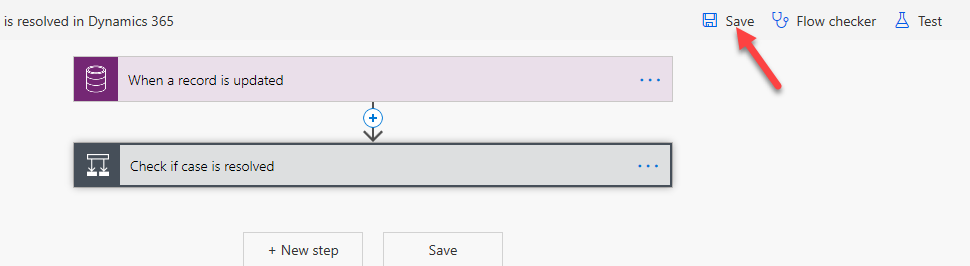
Collapse all actions and then select Save.
Don't navigate away from this page.
Task 3: Test the flow
In this task, you test the flow and see what the flow sends to the customer.
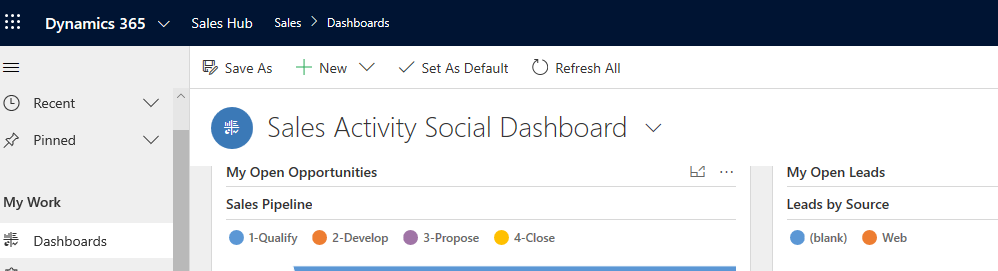
Start a new browser tab and navigate to your Dynamics 365 Sales Hub application.
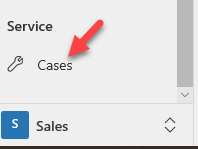
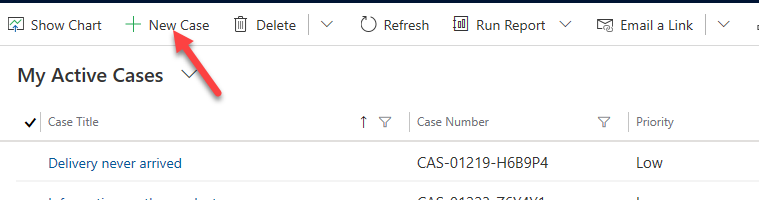
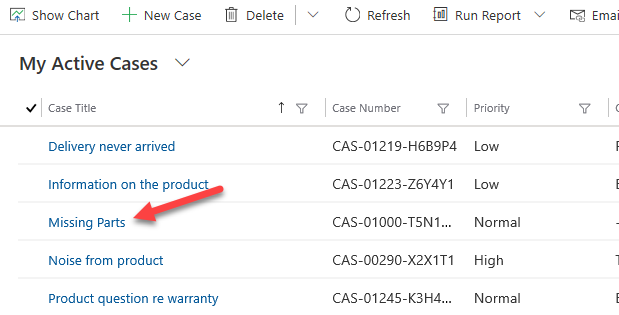
Select Cases.
Select + New.
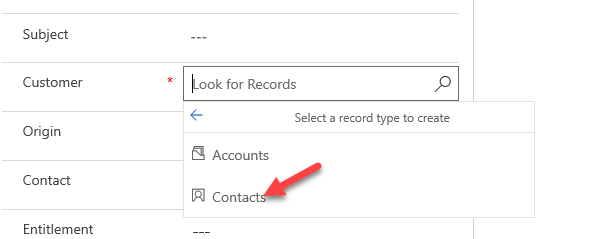
Enter Missing parts for Case Title, select the Customer column, and then select + New Record.

Select Contacts.
Provide the first name, last name, and your organization user's email.

Select Save and Close to save the form.
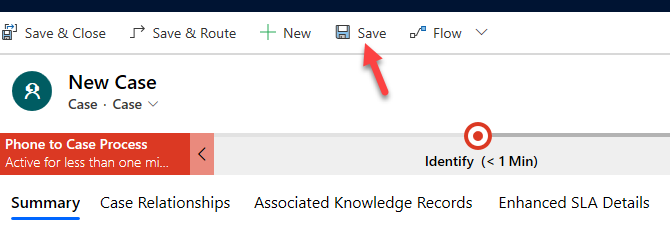
Select Save to save the case record.
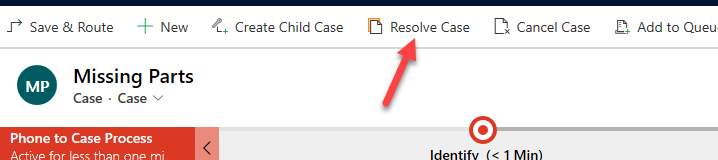
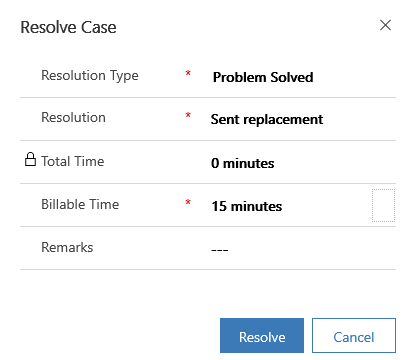
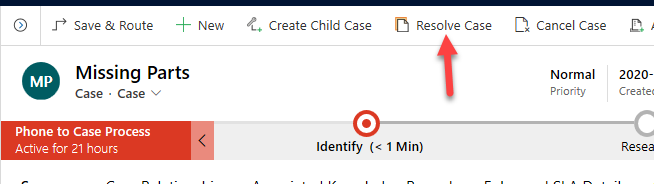
Select Resolve Case.
Enter Sent replacement for Resolution, select 15 minutes for Billable Time, and then select Resolve.
Go to Power Automate and select the back button.

You should have at least one flow run that succeeded. Select to open the run.
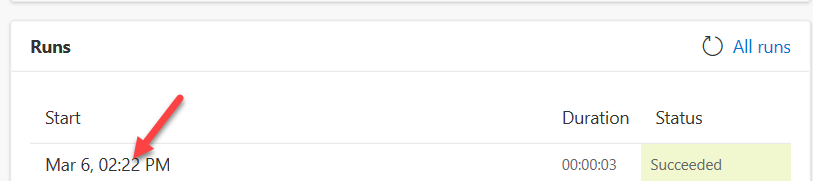
Your flow should take the If no path and run successfully.
Start a new browser tab/window.
Go to Outlook and sign in with your credentials.
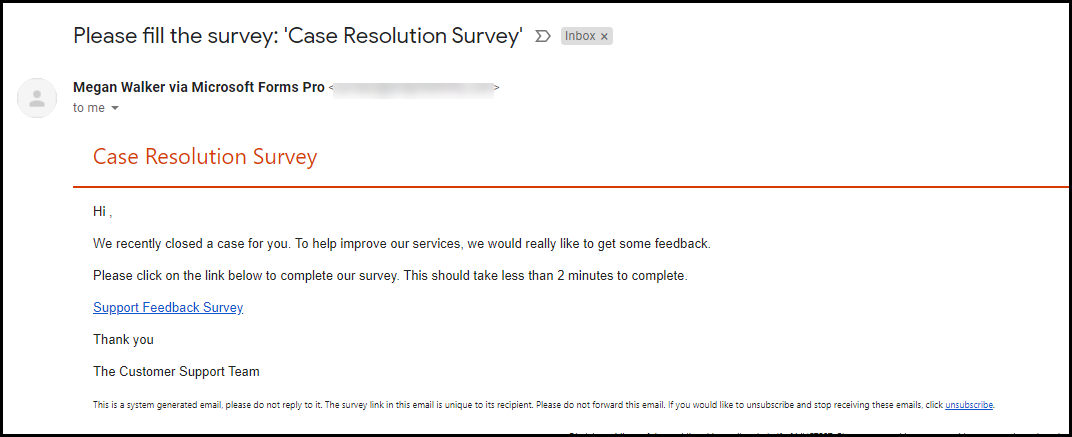
You should receive an email similar to the following image.
Select Start Survey.
The survey should open.
Close the survey browser window or tab.
Return to the case and select Reactivate Case.
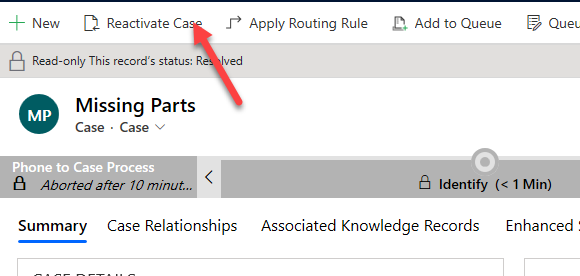
Select Reactivate to confirm.
Exercise 2: Create and send a survey invitation
The current flow uses the email template that you selected to send the survey. In this exercise, you add more variables to the survey, create an invitation, and then send it in an email.
Task 1: Replace the Send survey action
In this task, you delete the Send survey action that came with the Power Automate template and replace it with Create invitation action.
Return to the flow in Power Automate that was created in Task 1.
Select Edit.

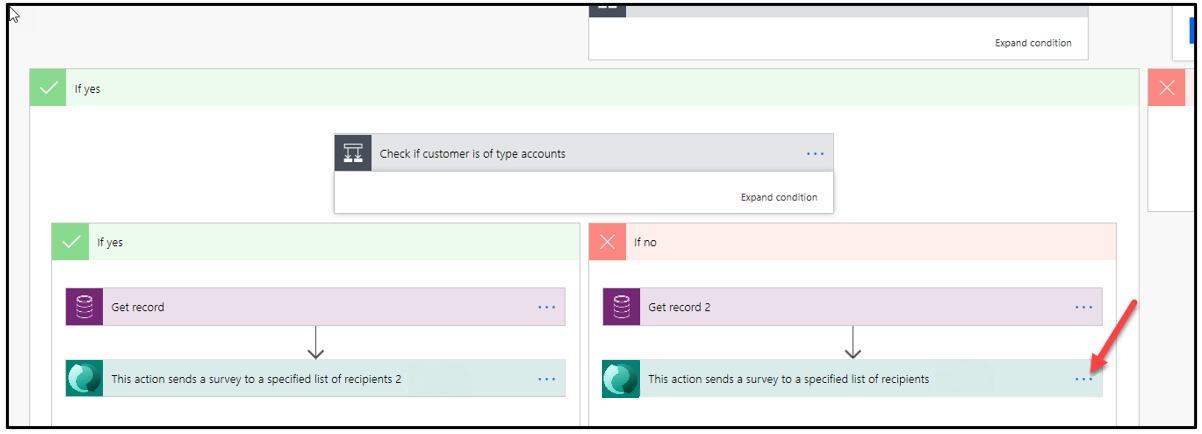
Expand the conditions and select the ellipsis (...) button of the Send survey action located in the If no branch.
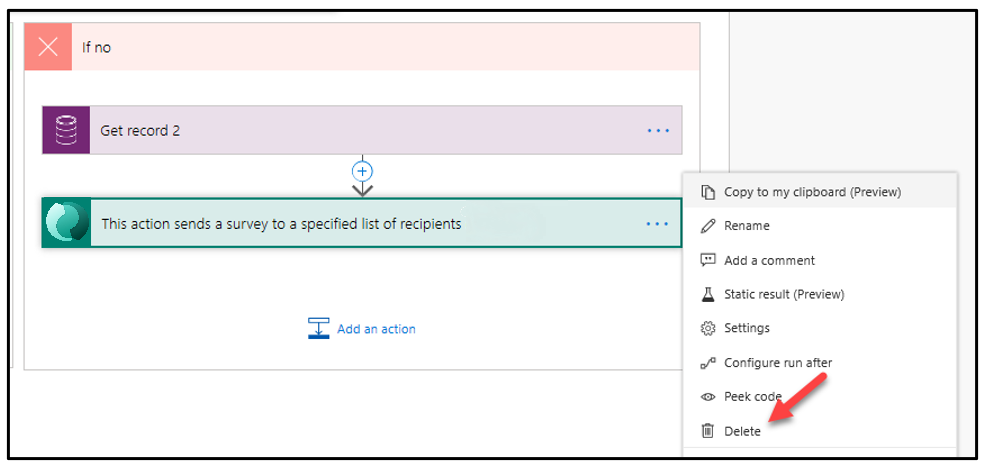
Select Delete.
Select OK.
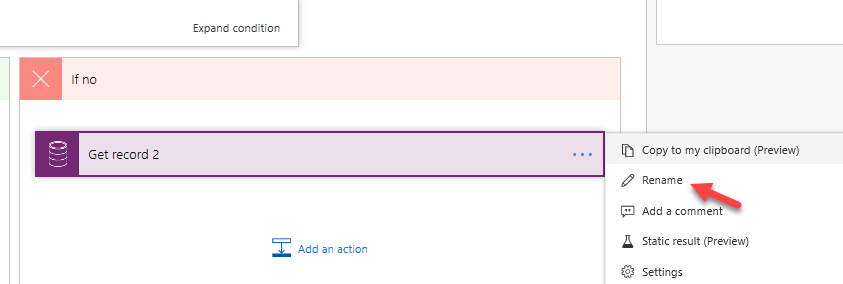
It's a good idea to name your flow actions. Select the ellipsis (...) button of Get record 2 and then select Rename.
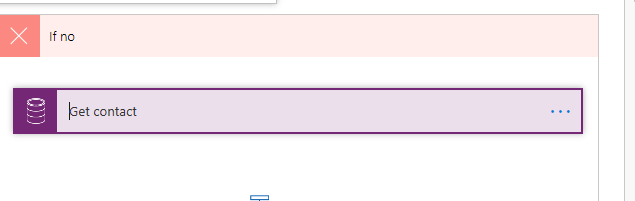
Rename the action Get contact.
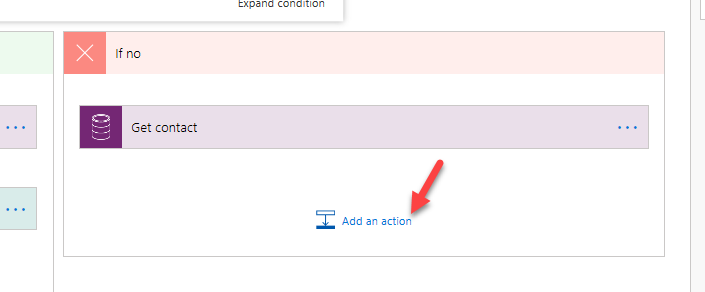
Select Add an action.
Search for invitation and select Create an invitation.
Rename the invitation Create contact invitation.
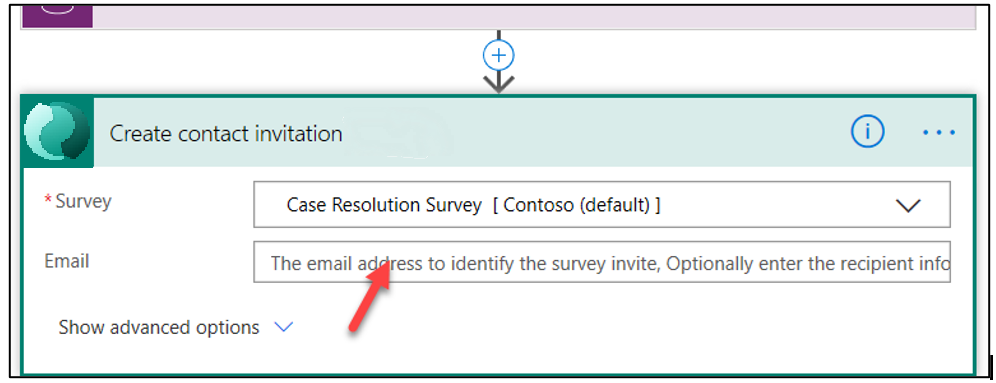
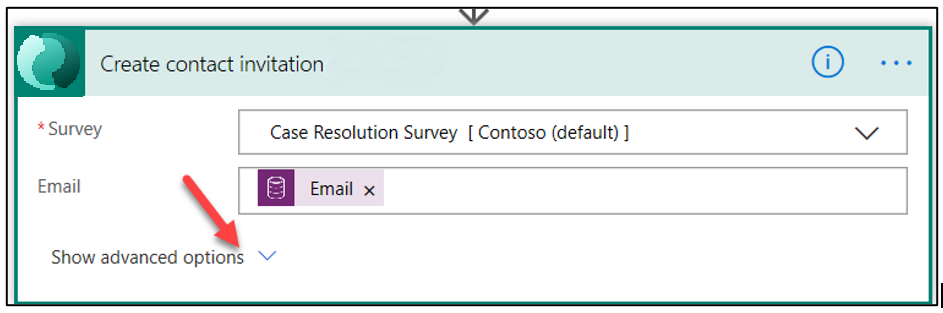
Select Case Resolution Survey for Survey and select the Email column.
Search for email and select Email from the Get contact action.
Select Show advanced options.
Select the First Name column and select First Name from the Dynamic content pane.

Select the Last Name column and select Last Name from the Dynamic content pane.
Type Incident in the Regarding column and select Case from the Dynamic content pane.
Type Contact in the Recipient details column and select Contact from the Dynamic content pane.
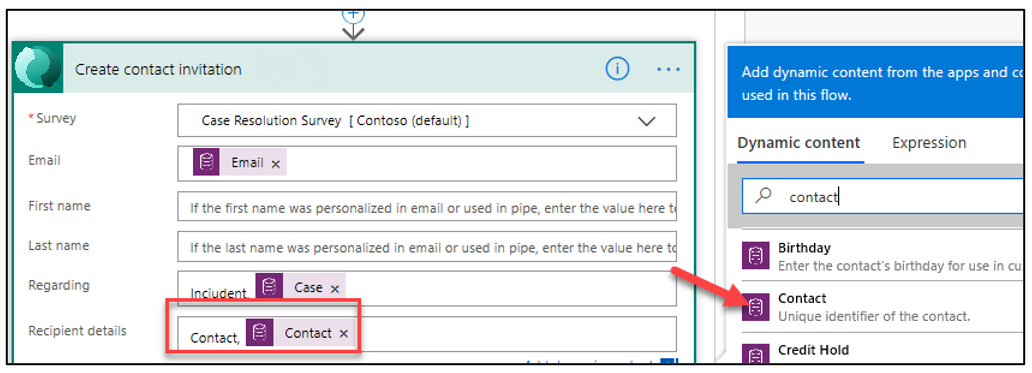
The invitation should now look like the following image.

Save your progress by selecting the Save button.
Don't navigate away from this page.
Task 2: Send email
In this task, you create a Send email action that sends the survey invitation.
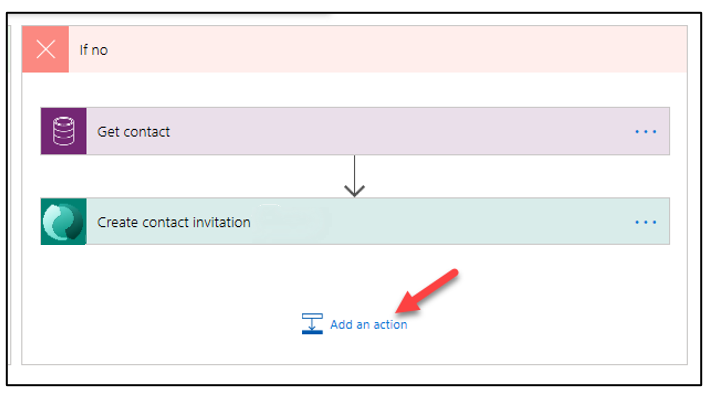
Return to the If no path and select Add an action.
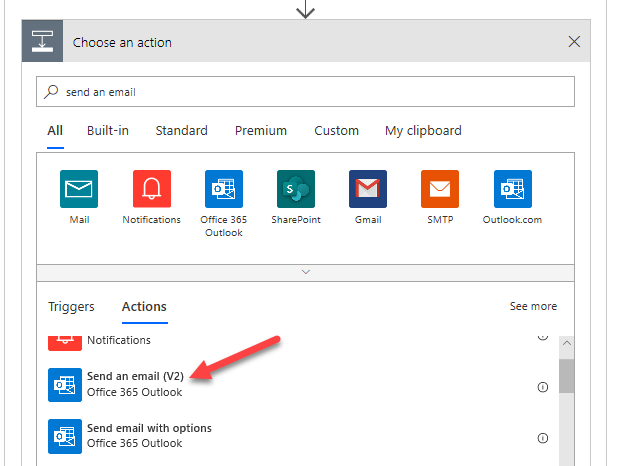
Search for send an email and select Send an email (v2). If this is the first time that you use this action, you might need to authenticate. If this connection doesn't work for you, check your user license.
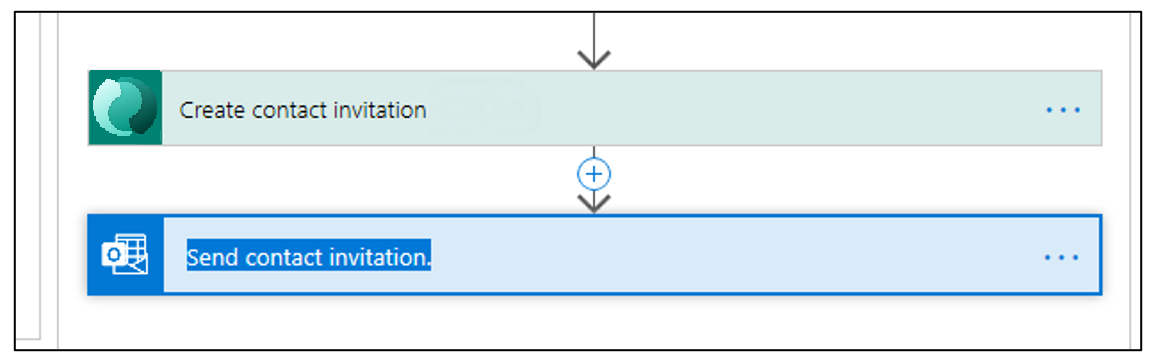
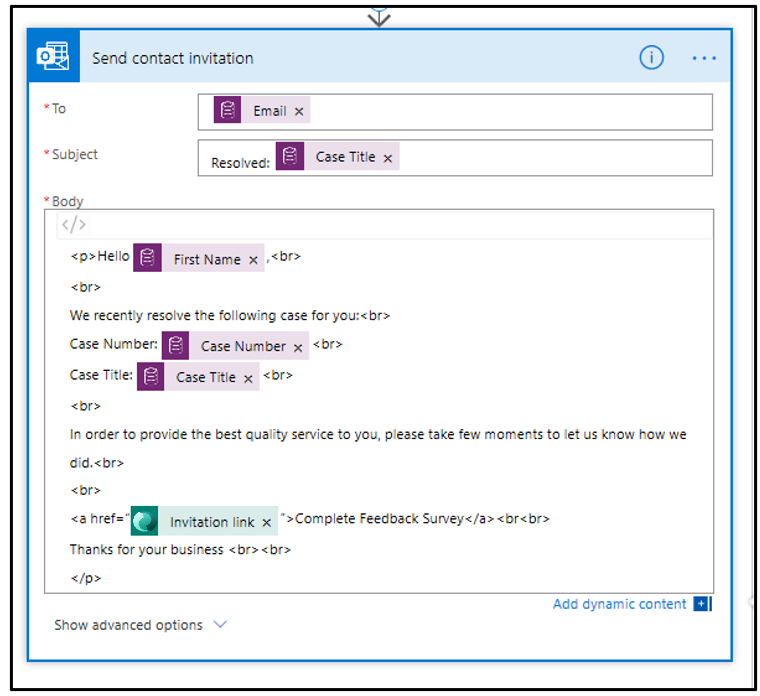
Rename the action Send contact invitation.
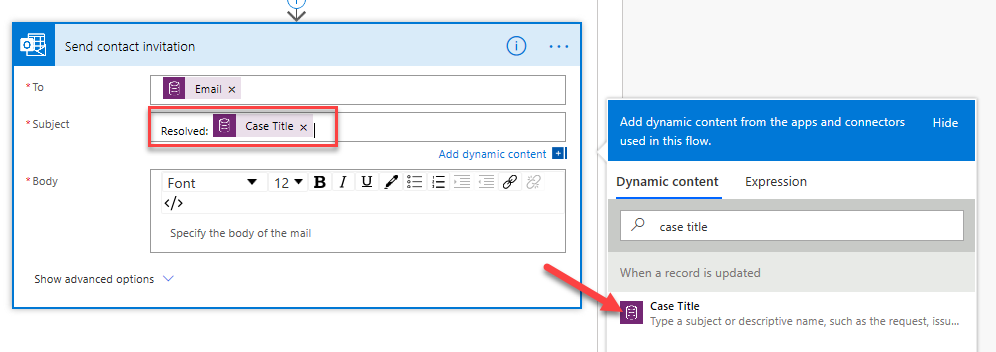
Select the To column and select Email from the Dynamic content pane.
Type Resolved: and select Case Title from the Dynamic content pane.
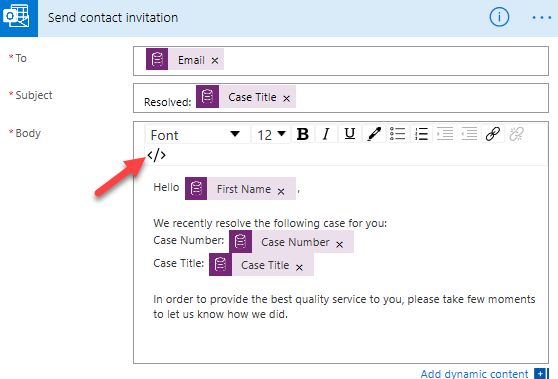
Type Hello in the Body column and select First Name from the Dynamic content pane.
Add a comma after the first name and press the Enter key twice.
Type We recently resolved the following case for you: and then press the Enter key.
Type Case Number: and select Case Number from the Dynamic content pane. Press the Enter key.
Type Case Title: and select Case Title from the Dynamic content pane. Press the Enter key twice.
Enter In order to provide the best quality service to you, please take few moments to let us know how we did. Press the Enter key twice.
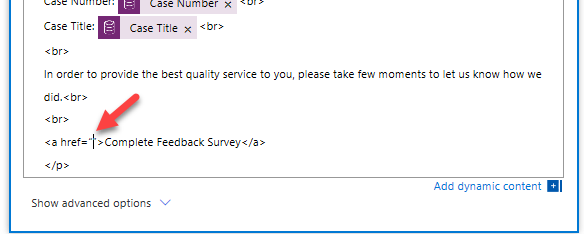
Switch to Code View by selecting the </> button.
Enter <a href="">Complete Feedback Survey</a> and then place your cursor between the two double quotation marks.
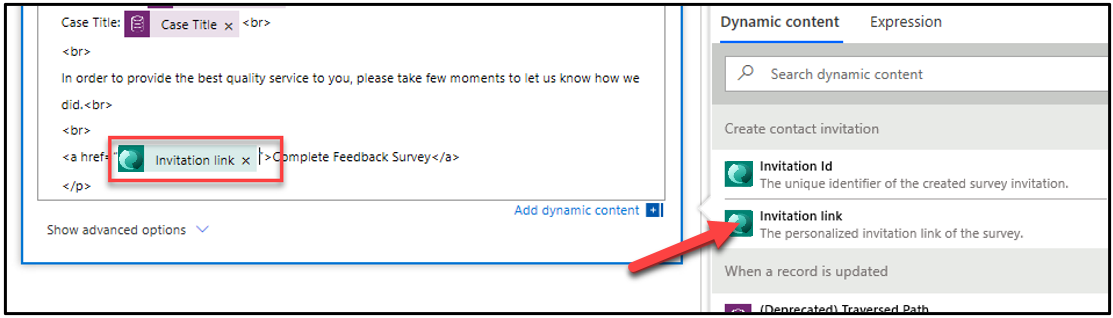
Select Invitation link from the Dynamic content pane.
Type <br> <br> and then press the Enter key.
Type Thanks for your business <br><br>.
Your email should now look like the following image.
Select Save.
Task 3: Test the send survey invitation
In this task, you test the send survey invitation flow.
Go to your Dynamics 365 Sales Hub application.
Select Cases and select to open the case that you created.
Select Resolve Case.
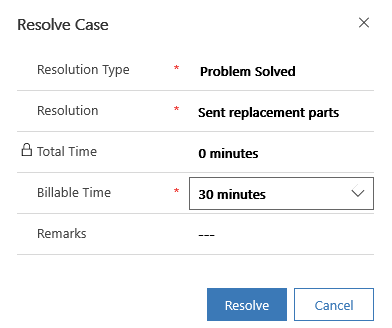
Enter Sent replacement parts for Resolution, select 30 minutes for Billable Time, and select Resolve.
You should get an email from the flow.
Select to open the email.
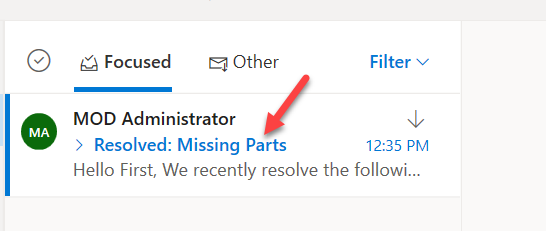
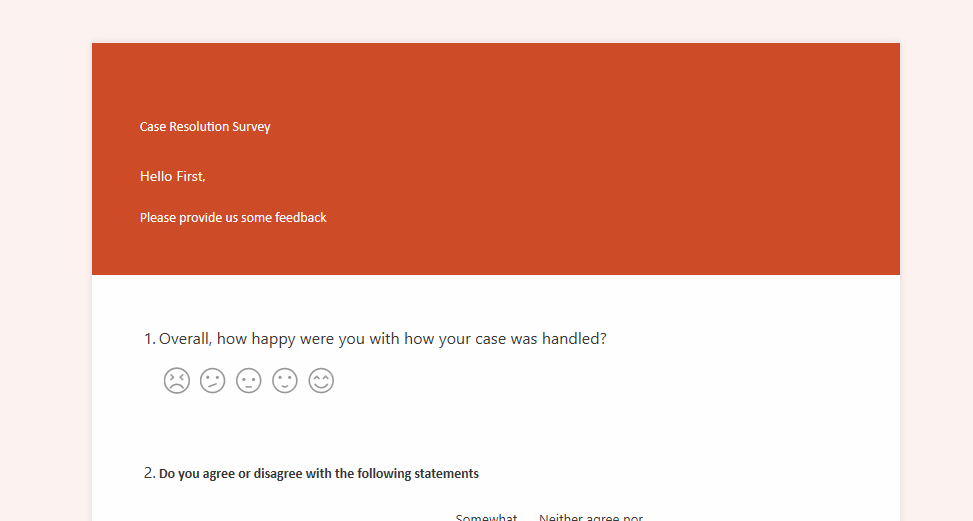
Your survey invitation email should look like the following image. Select the survey link.
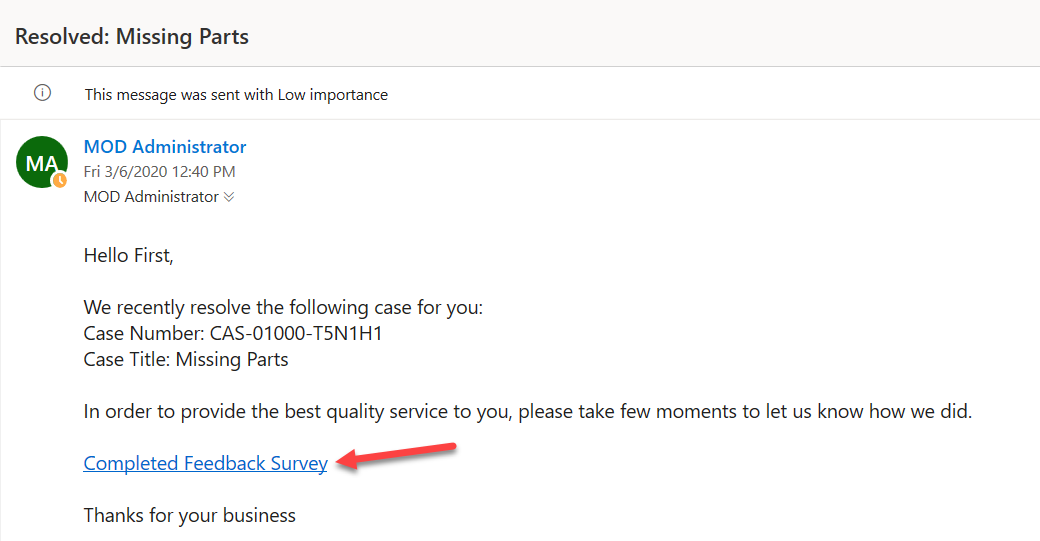
The survey should load.

Close the survey browser window or tab.