Exercise - Integrate Azure Custom Vision
In this module, you'll learn how to use Azure Custom Vision. You'll take a set of photos of a Tracked Object, upload them to the Custom Vision service, and start the training process. Then, you'll use the service to detect the Tracked Object by capturing photos from the webcam feed.
Understand Azure AI Custom Vision
Azure AI Custom Vision is part of the Cognitive Services family, and is used to train image classifiers. The image classifier is an AI service that uses the trained model to apply matching tags. Our application will use this classification feature to detect Tracked Objects.
Learn more about Custom Vision.
Prepare Custom Vision
Before you can start, you need to create a Custom Vision project. The fastest way to create your Custom Vision project is using the Custom Vision portal.
Follow this quickstart tutorial to set up your account and project. Follow the steps up to the Upload and tag images section. You should create one tag with five images.
Warning
To train a model, you need to have at least two tags and five images per tag. Later, we'll add more images via the application. However, to use this application, you must at least create one tag with five images so that the training process won't fail later.
Prepare the scene
In the Project window, navigate to the Assets > MRTK.Tutorials.AzureCloudServices > Prefabs > Manager folder.

From there, drag the ObjectDetectionManager prefab into the scene Hierarchy.
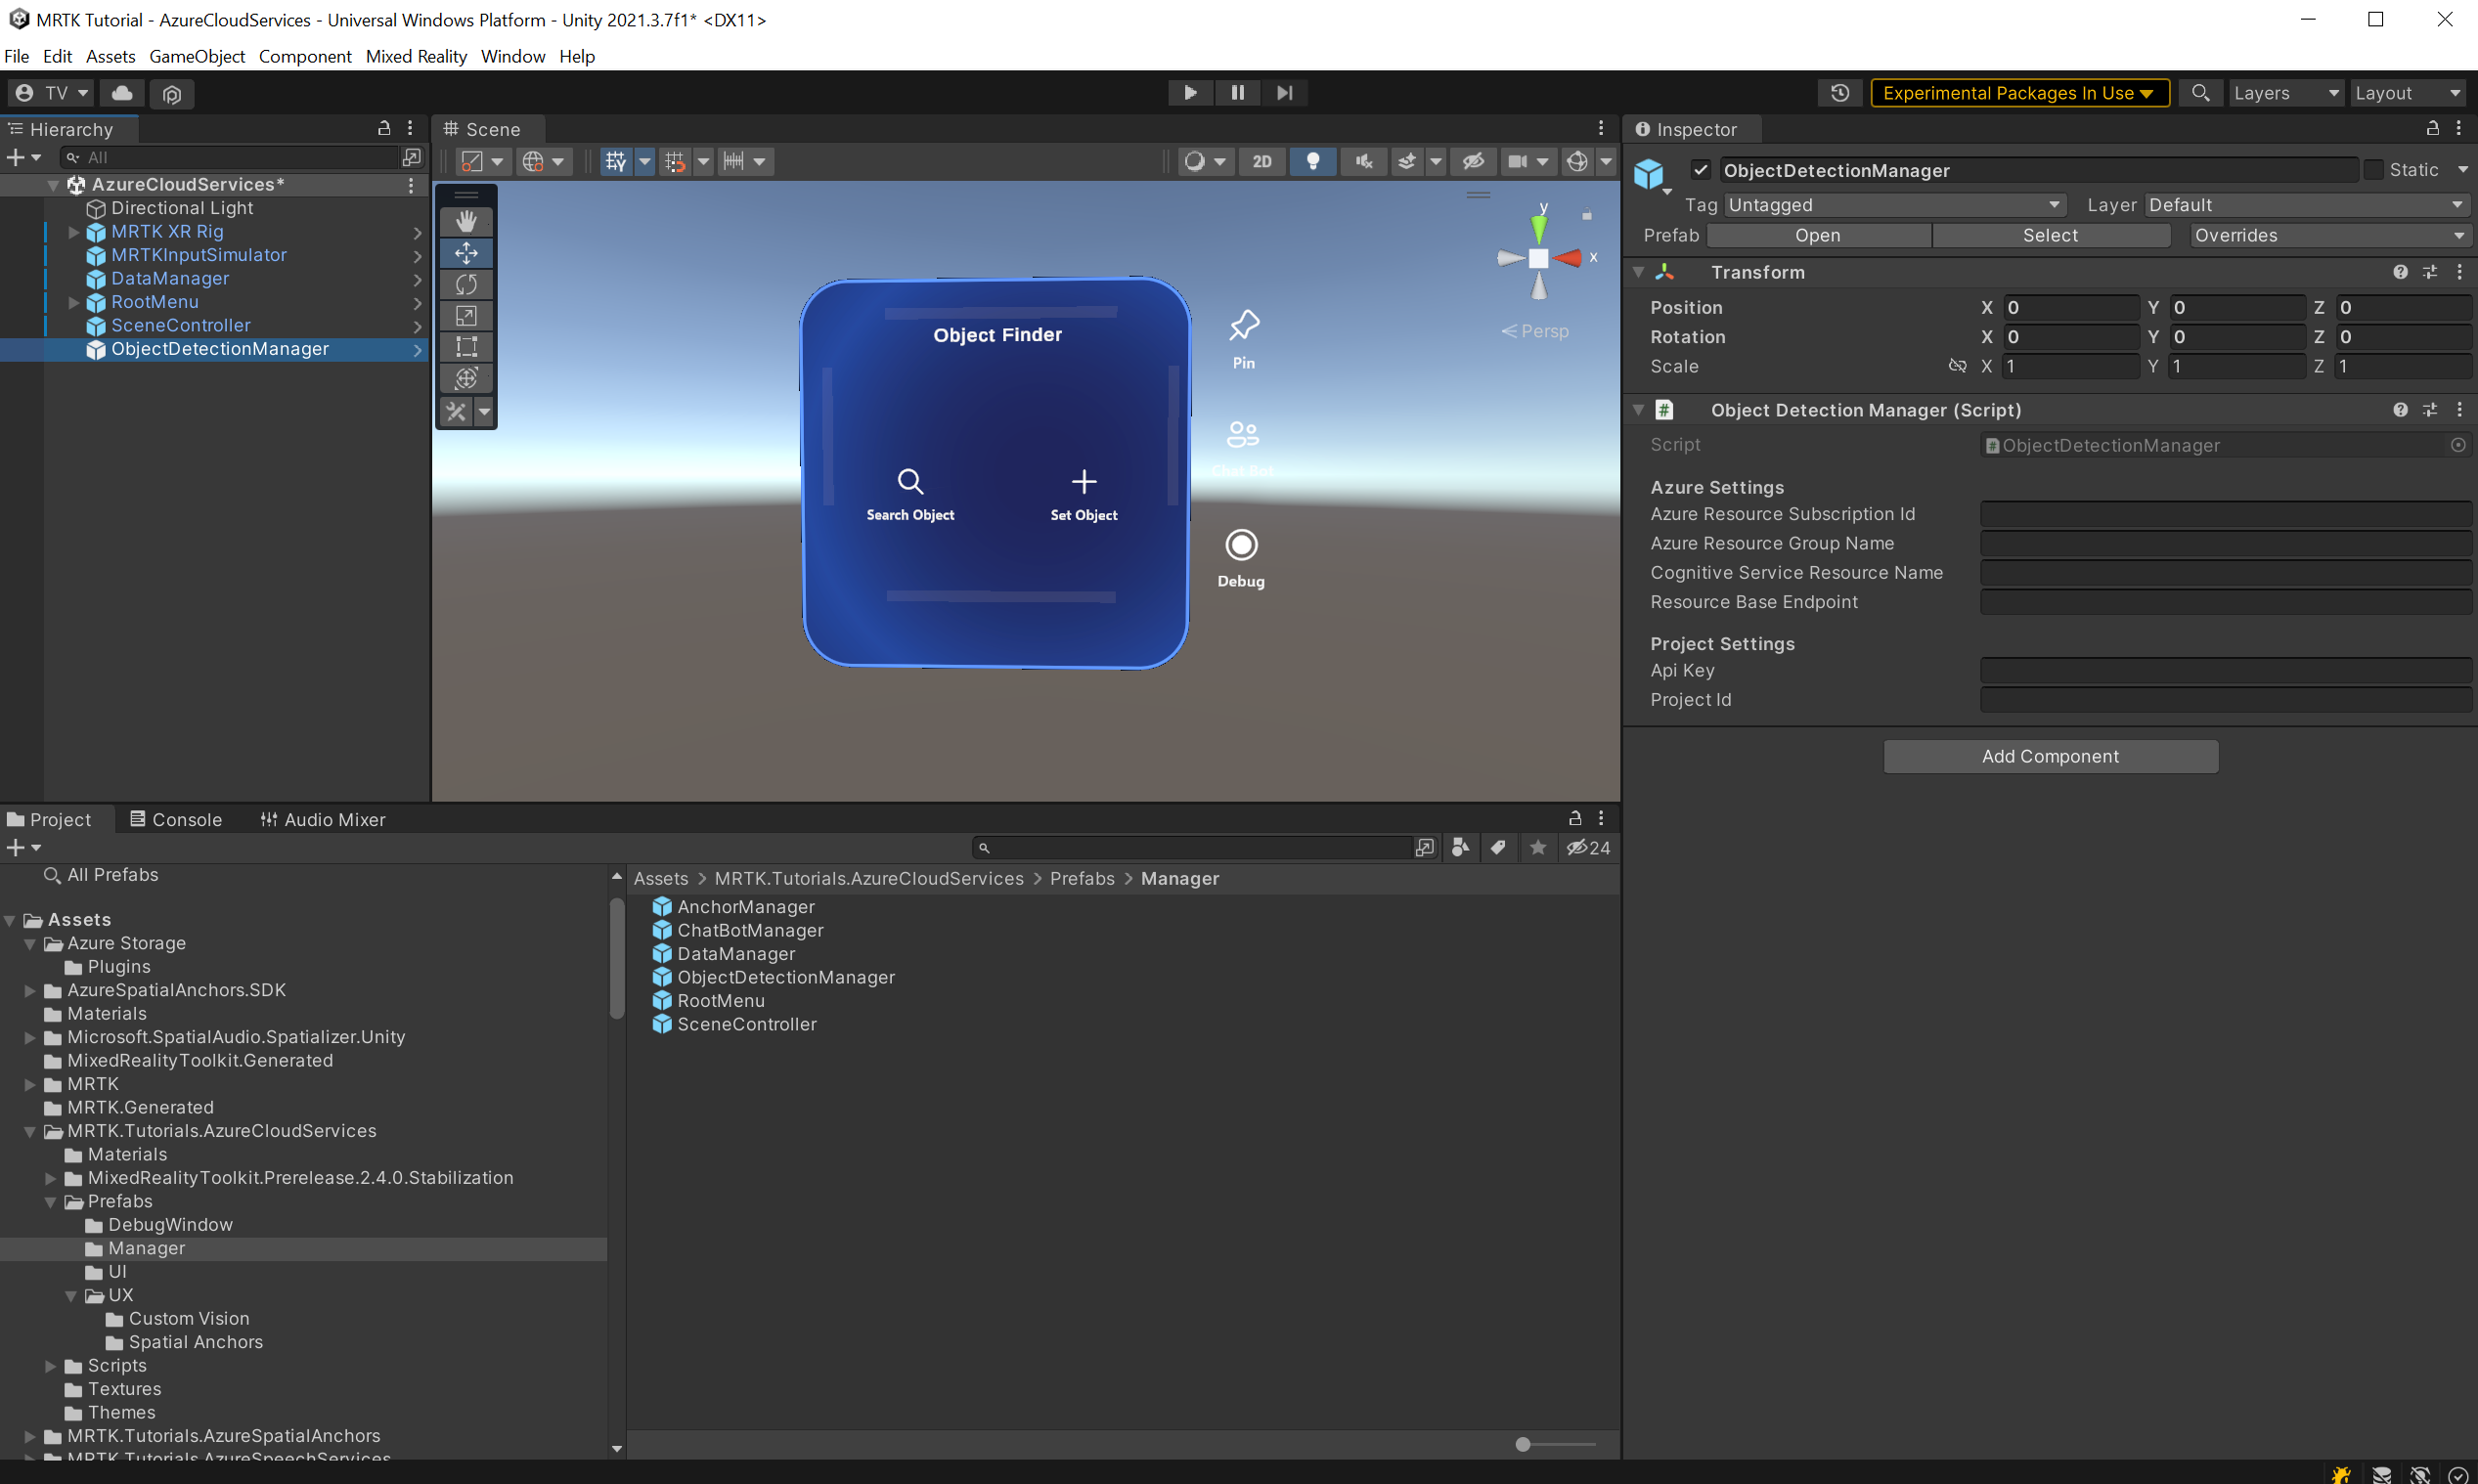
In the Hierarchy window, locate and select the ObjectDetectionManager object. The ObjectDetectionManager prefab contains the ObjectDetectionManager (script) component and, as you can see from the Inspector window, it depends on Azure settings and Project settings.


Retrieve Azure API resource credentials
You can retrieve the necessary credentials for the ObjectDetectionManager (script) settings from the Azure portal and the Custom Vision portal.
Retrieve Azure settings credentials
Find and locate the Custom Vision resource of the Cognitive Services type you created in the Preparing the scene section of this tutorial. There, select Overview or Keys and Endpoint to retrieve the necessary credentials.
- Azure Resource Subscription Id: Use the Subscription ID from the Overview section.
- Azure Resource Group Name: Use the resource group name from the Overview section.
For Cognitive Service Group Name, use the Custom Vision resource name that's followed by -Prediction.
- Resource Base Prediction Endpoint: Use the Endpoint from the Keys and Endpoint in the Custom Vision -Prediction resource.
- Api Prediction Key: Use Key 1 from the Keys and Endpoint in the Custom Vision -Prediction resource.
Retrieve project settings credentials
In the Custom Vision dashboard, open the project you created for this tutorial, then select the Settings (gear) icon on the top-right corner of the page to open the Settings page. You'll find the necessary credentials in the Resources section on the right-hand side and the General section on the left-hand side.
- Resource Base Endpoint : Use the Endpoint from the Resources section. This should match the endpoint under Keys and Endpoint in the Custom Vision resource.
- Api Key: Use the Key from the Resources section. This should match the key under Keys and Endpoint in the Custom Vision resource.
- Project Id: Use the Project Id from the General section.
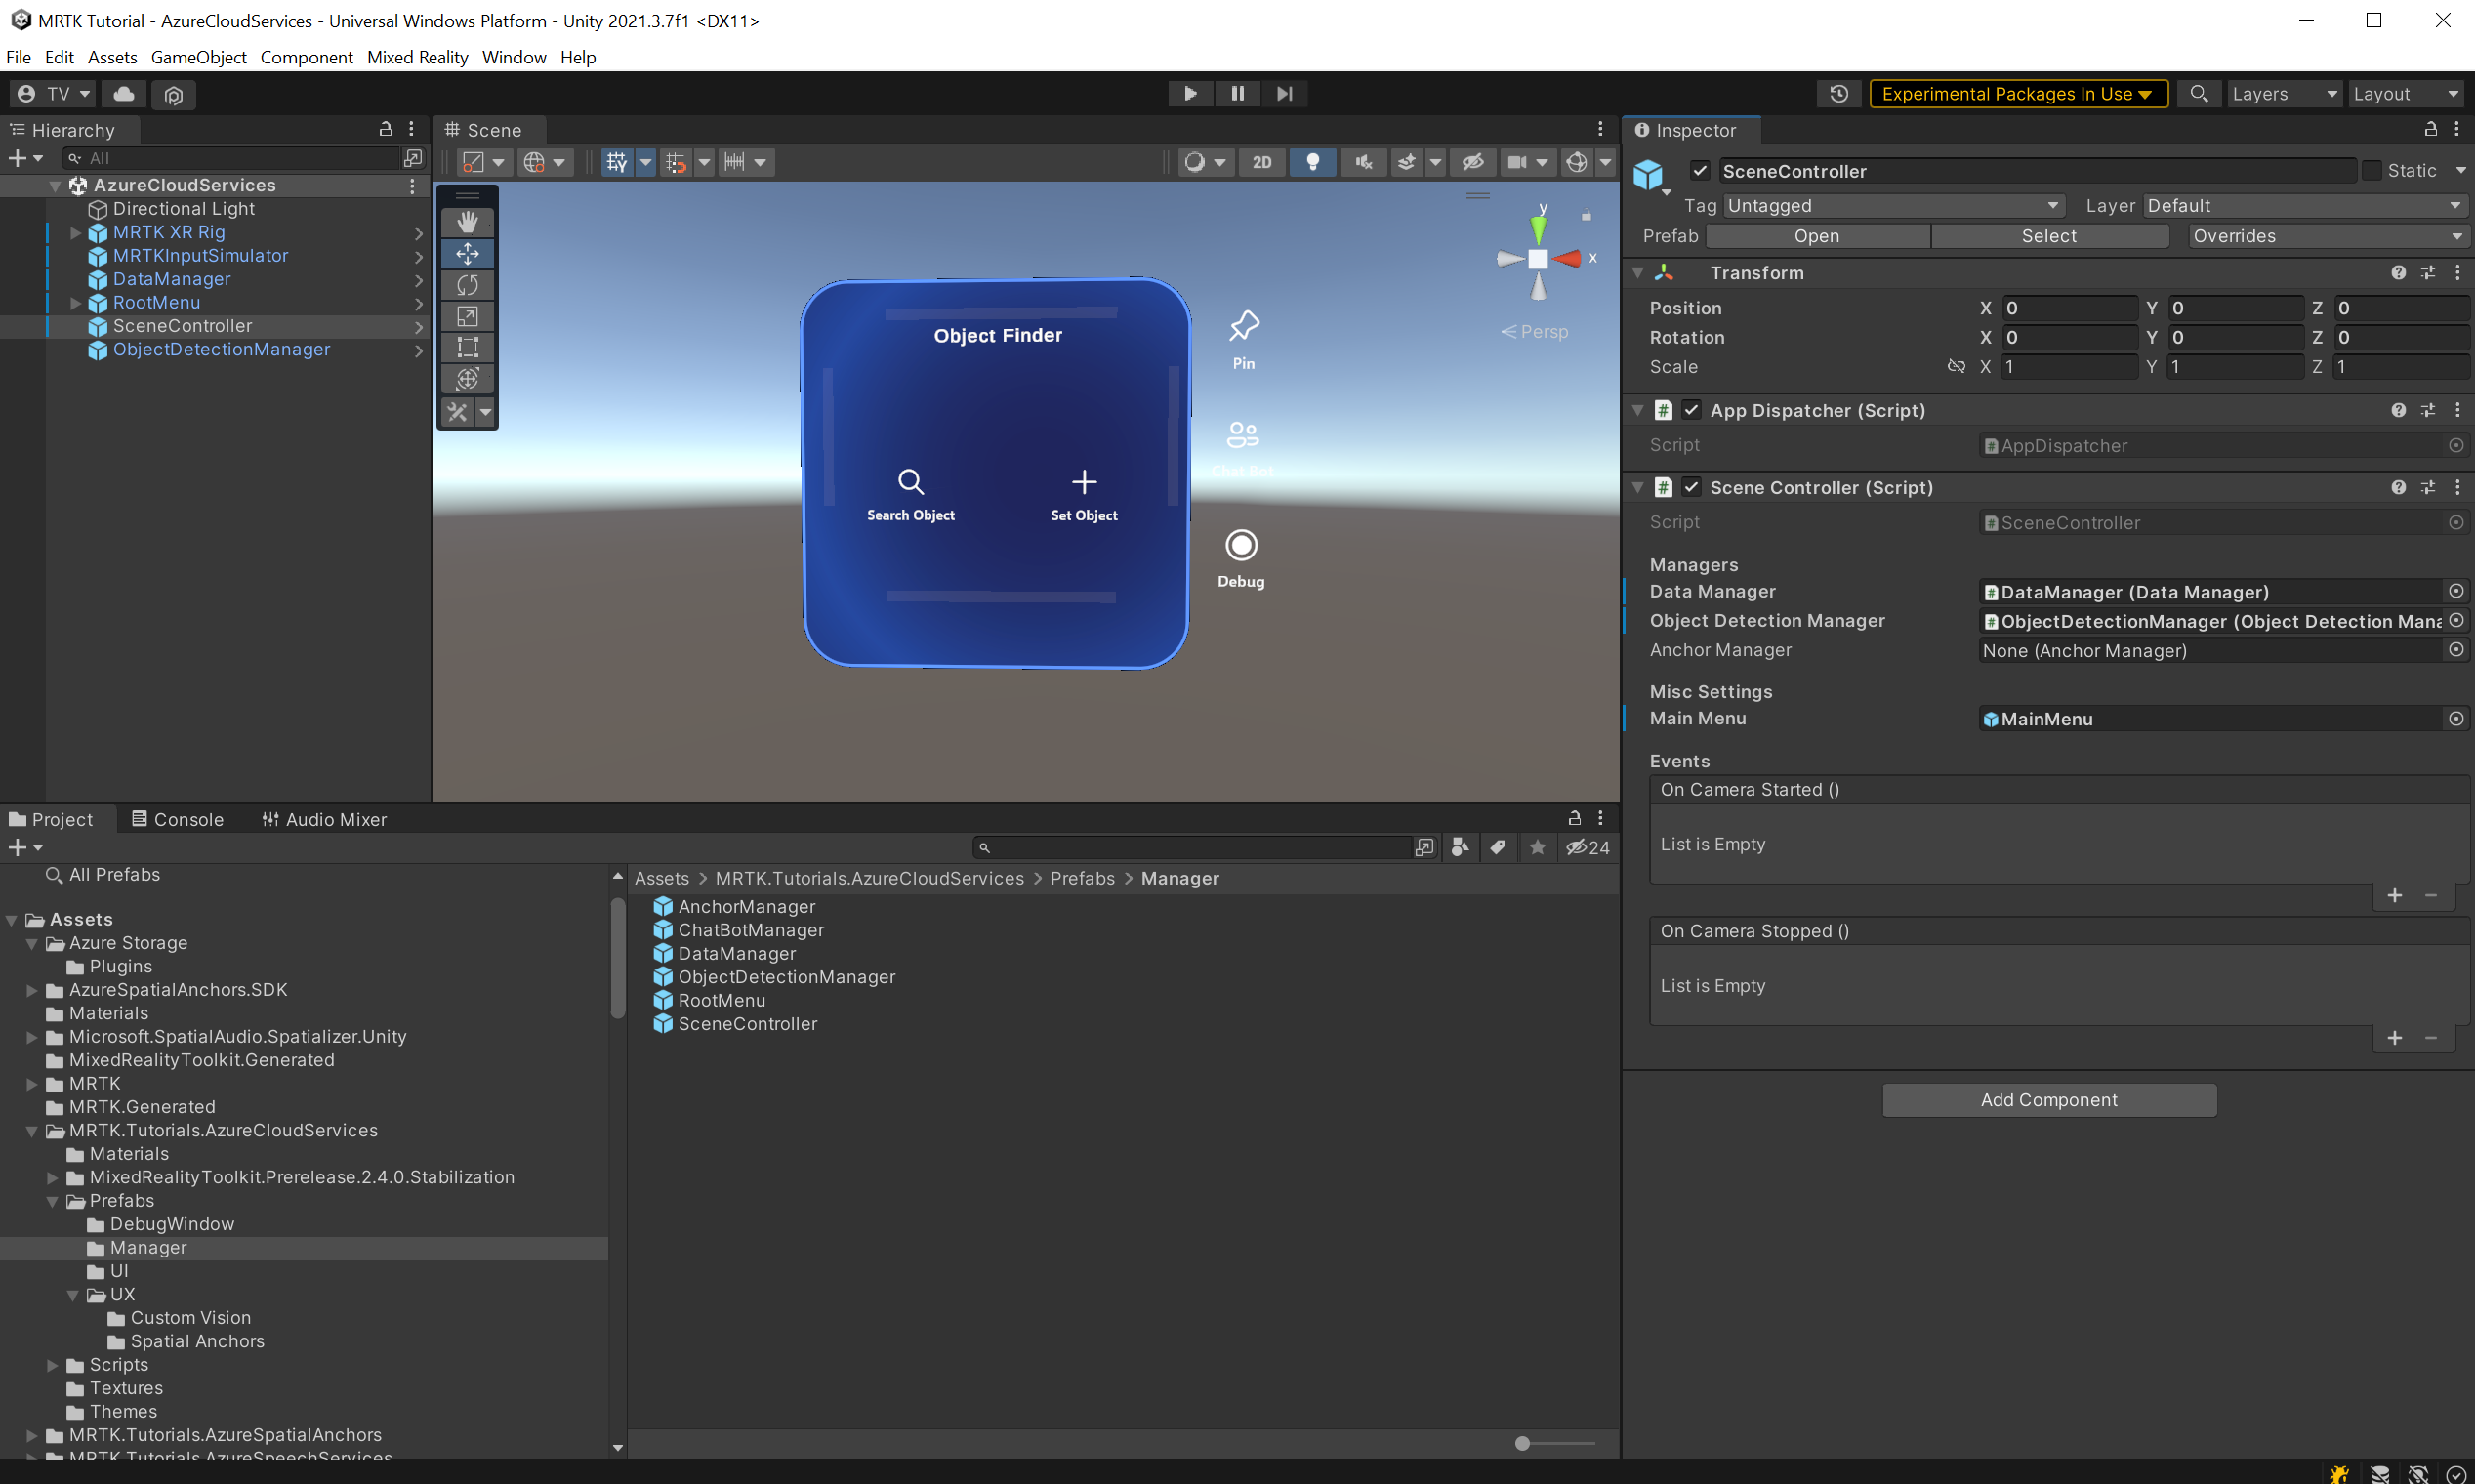
Now, with the ObjectDetectionManager (script) set up correctly, find the SceneController object in your scene Hierarchy and select it.

The Object Detection Manager field in the SceneController component is empty. Drag the ObjectDetectionManager from the Hierarchy into the SceneController component and save the scene.


Take and upload images
Run the scene and select Set Object. Enter the name for one of the Tracked Objects you created in the previous lesson. Select the Computer Vision button at the bottom of the Object Card.
A new window will open. You'll take six photos to train the model for image recognition. Select the Camera button and perform an AirTap see the object you'd like to track. Do this six times.
Tip
To improve the model training, try to take each image from different angles and lighting conditions.
Once you have enough images, select the Train button to start the model-training process in the cloud. This uploads all the images and starts the training. The process might take a few minutes. A message inside the menu indicates the current progress. Once it indicates the process is complete, you can stop the application.
Tip
The ObjectDetectionManager (script) directly uploads taken images into the Custom Vision service. As an alternative, the Custom Vision API accepts URLs to the images. As an exercise, you can modify the ObjectDetectionManager (script) to upload the images to a Blob storage instead.
Warning
If the training fails, check your Custom Vision dashboard and ensure that you have at least two tags and that each tag has at least five images.
Detect objects
You can now put the trained model to the test. Run the application. From the Main menu, select Search Object and enter the name of the Tracked Object in question. The Object Card will appear. Next, select the Custom Vision button. The *ObjectDetectionManager will start taking image captures in the background from the camera. The menu will indicate the application progress. Point the camera to the object you used to train the model. Soon, it should detect the object.