Exercise - Create and run a basic pipeline
Important
You need your own Azure subscription to complete this exercise, and you might incur charges. If you don't already have an Azure subscription, create a free account before you begin.
You want to automate deployment of updates to your toy company's website. As a first step, you create a basic pipeline in Azure DevOps.
In this exercise, you'll:
- Create an Azure DevOps organization and project.
- Create a basic pipeline.
- Execute your basic pipeline.
Create a project in Azure DevOps
In a browser, go to dev.azure.com. Sign in or create a new account.
If you created a new account, follow the prompts to create an Azure DevOps organization. Azure DevOps then prompts you to create a new project. Continue to the next step to set up the project.
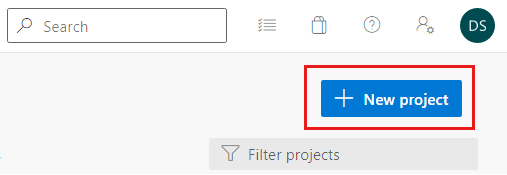
If you signed in to an existing Azure DevOps organization, select New project to create a new project.
In the Create a project to get started pane, enter the following details for your new project:
- Project name: Use a meaningful but short name. For this exercise, enter toy-website.
- Description: Enter a description of the project's purpose. For this exercise, enter Toy company website.
- Visibility: You can use Azure DevOps to create public and private repositories. In this case, the repository should be private because your company website files should be accessed only by people within your organization. You can grant access to other users later.
Your project configuration should look like this example:
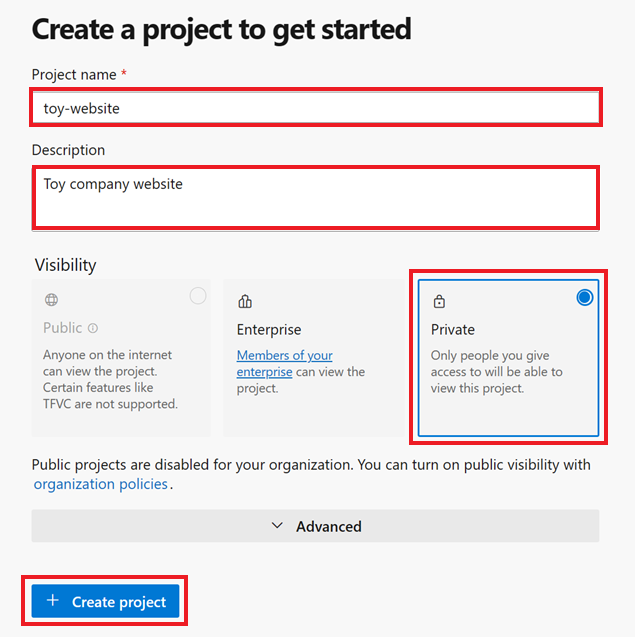
Select Create project.
Clone the repository
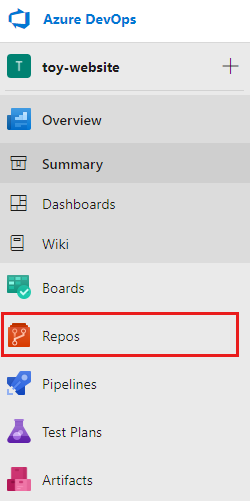
In the Welcome pane, or on the resource menu, select Repos.
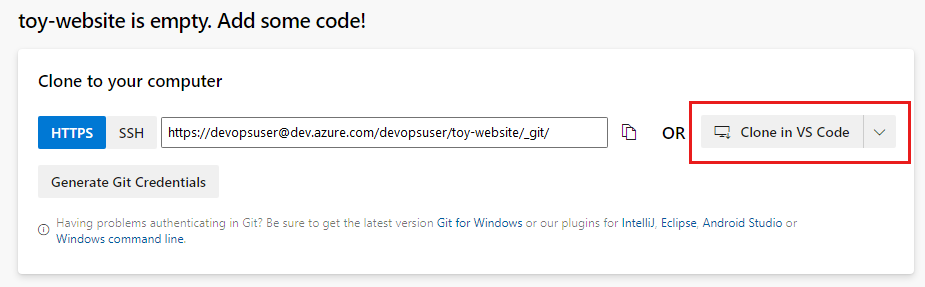
If you're using macOS, you need a special password to clone the Git repository. Select Generate Git credentials and copy the username and password displayed to somewhere safe.
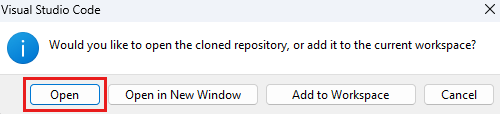
In the Clone to your computer section, select Clone in VS Code. If you're prompted to allow Visual Studio Code to open, select Open.
If a dialog box appears, prompting you to allow an extension to open the repository URI, select Open.
Create a folder on your local device to use for this repository, and then select Select as Repository Location.
If you're using this repository for the first time, you're prompted to sign in.
For Windows, enter the same credentials you used to sign in to Azure DevOps earlier in this exercise.
For macOS, enter the Git username and password that you generated a few moments ago.
Visual Studio Code prompts you to open the repository. Select Open.
Install the Azure Pipelines extension
Microsoft publishes an Azure Pipelines extension for Visual Studio Code. The extension can help you write pipeline YAML files. It's a good idea to install this extension, so your YAML files are validated as you work.
In Visual Studio Code, select View > Extensions (shortcut is Ctrl+Shift+x).
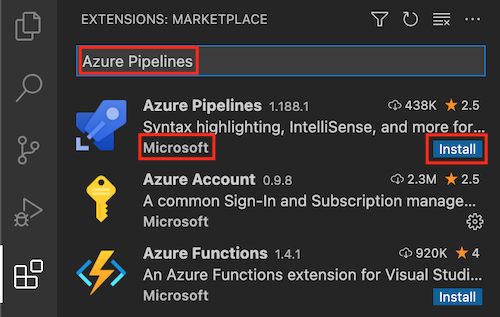
In the Search box, enter Azure Pipelines, and then select the Azure Pipelines extension published by Microsoft. Select Install.
Create a YAML pipeline definition
Now that you've created your organization, project, and repository, you're ready to create a basic pipeline definition.
In Visual Studio Code, open the Explorer.
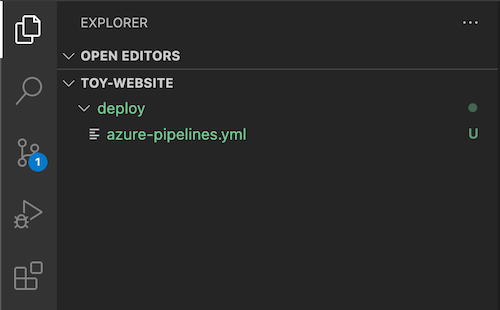
In Explorer, hover over your TOY-WEBSITE project folder and select the New Folder icon. Name that folder deploy.
Select the deploy folder, and select the New File icon in the TOY-WEBSITE project. Name that file azure-pipelines.yml.
The YML file is open in the main panel. Paste the following pipeline definition code into the file:
trigger: none

pool:
  vmImage: ubuntu-latest

jobs:
- job:
  steps:
  - script: echo Hello world!
    displayName: 'Placeholder step'
Save your changes to the file.
Open a Visual Studio Code terminal window by selecting Terminal > New Terminal.
A terminal window opens, usually in the lower half of your screen.
To commit and push the azure-pipelines.yml file to your Git repository, paste this code in the terminal panel, and then press Enter.
git add deploy/azure-pipelines.yml
git commit -m "Add initial pipeline definition"
git push
Set up the pipeline in Azure Pipelines
You've created a pipeline definition. Next, register the pipeline with Azure Pipelines.
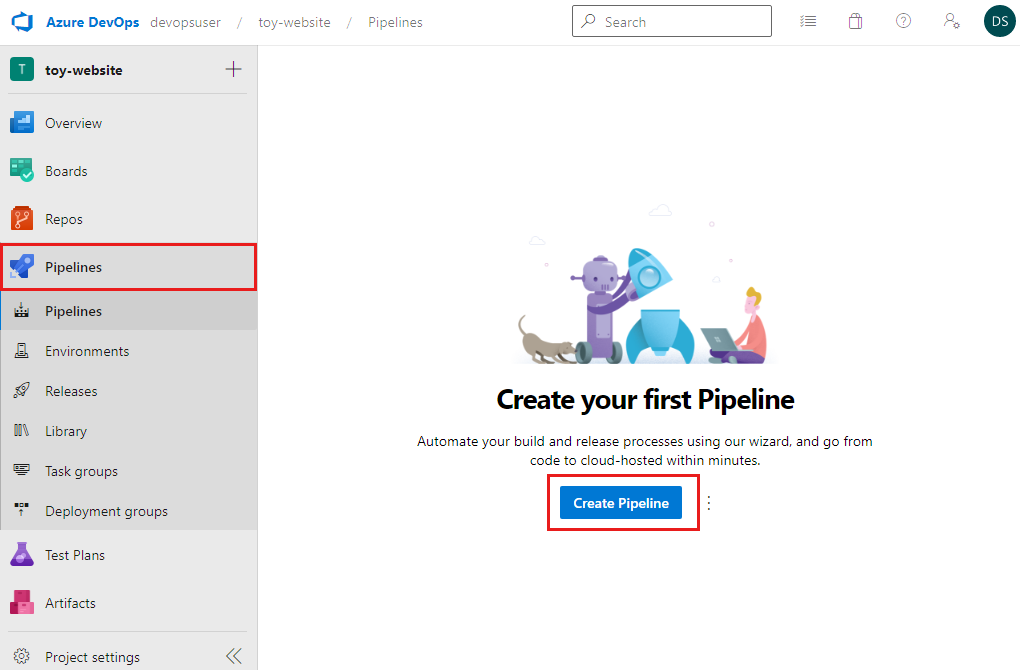
In the resource menu of your Azure DevOps session, select Pipelines, and in the Create your first Pipeline pane, select Create Pipeline.
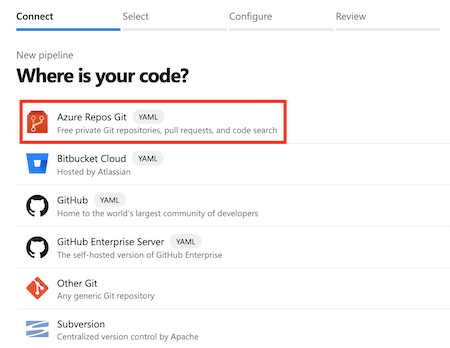
On the Connect tab's Where is your code? pane, select Azure Repos Git.
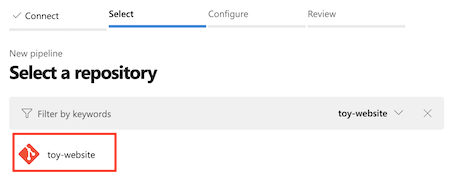
On the Select tab's Select a repository pane, select toy-website.
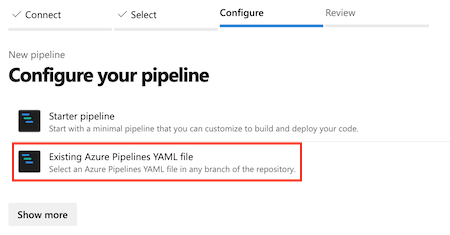
On the Configure tab's Configure your pipeline pane, select Existing Azure Pipelines YAML file.
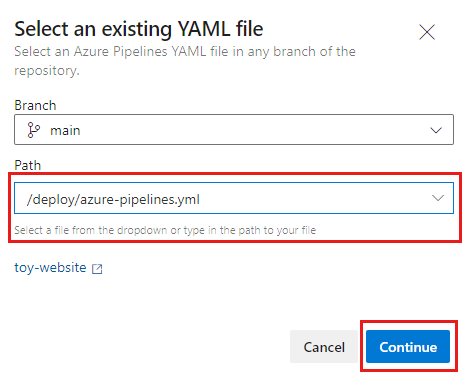
On the Select an existing YAML file pane's Path dropdown, select /deploy/azure-pipelines.yml, and then select Continue.
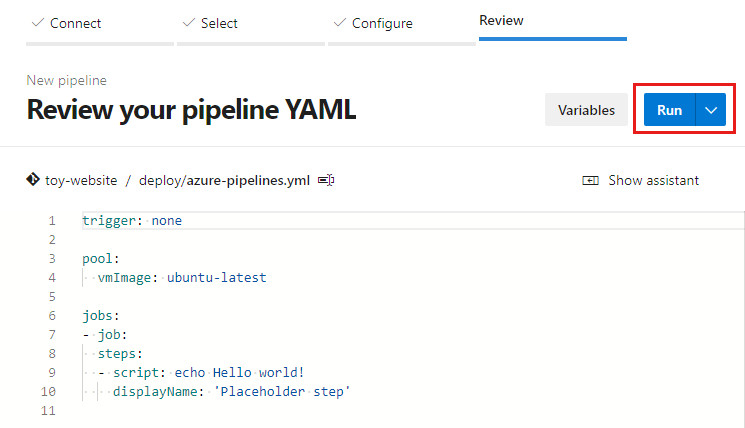
The Review tab's Review your Pipeline YAML pane shows your YAML pipeline definition as a new pipeline.
Tip
The Azure Pipelines web interface provides an editor that you can use to manage your pipeline definition. In this module, you work with the definition file in Visual Studio Code, but you can explore the Azure Pipelines editor to see how it works.
Select Run.
Azure Pipelines creates the pipeline and starts a first run.
Verify the pipeline run
Important
If this is your first time using pipelines in this Azure DevOps organization, you might see an error saying:
No hosted parallelism has been purchased or granted.
In order to protect against misuse, Azure DevOps requires that new organizations be approved before they can use Microsoft-hosted pipeline agents without a charge.
When the pipeline run starts, a page displays information about the run.
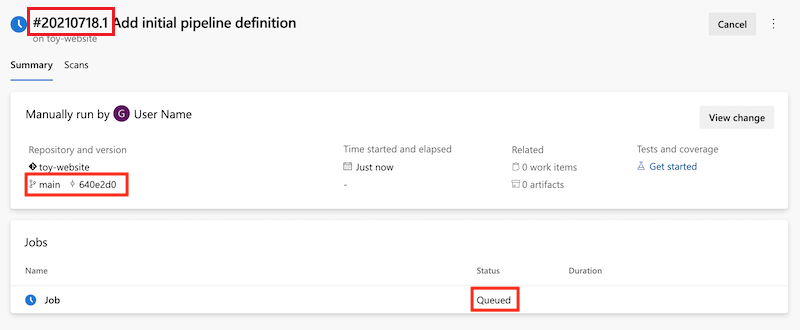
Each pipeline run includes an identifier. You can use this identifier to help you find a specific pipeline run.
The job status initially is displayed as Queued. Your pipeline might not start immediately. Your job is added to a queue for an agent. When an agent is available, Azure Pipelines assigns the agent and starts the job. The job status then becomes Running.
The page includes the branch name and the identifier for the Git commit the run used. This information indicates the version of your repository's content the pipeline used.
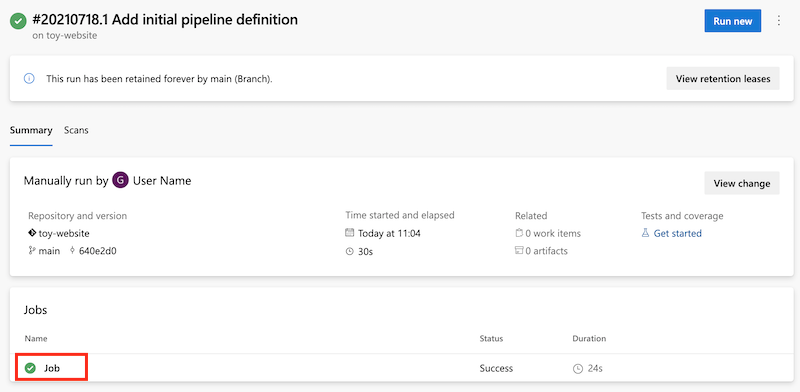
Refresh the page until the job status changes to Success. Then, under Jobs, select Job.
The job information page shows the log of the steps that the pipeline ran. Your Placeholder step is listed in the steps in the left menu.
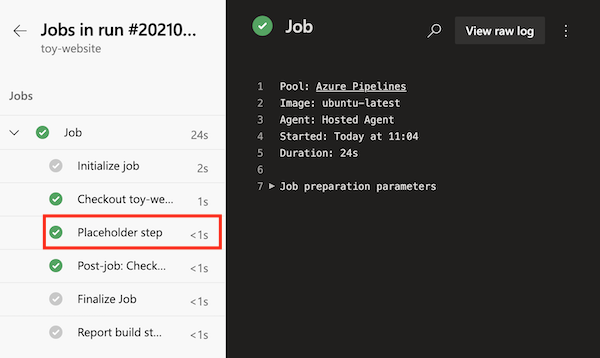
The list of steps in the job includes steps that you didn't create. These steps are created automatically by Azure Pipelines. In some organizations, you might also see steps that your organization automatically includes in all its pipelines. You can select any step to view the log file of that step.
Select the Checkout toy-website@main to s.
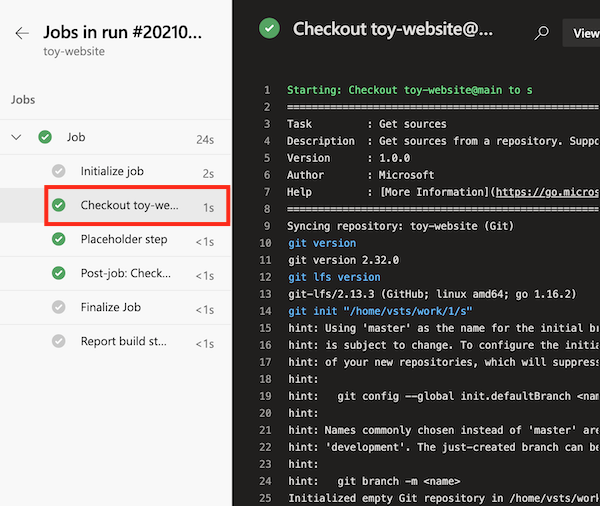
The log for each step provides details about exactly what happened during the pipeline run. Log information is helpful if you need to diagnose a problem with a pipeline. You don't have direct access to the agent that ran your steps.
In this case, the repository's contents were downloaded from Azure Repos to the agent's file system.
Select Placeholder step.
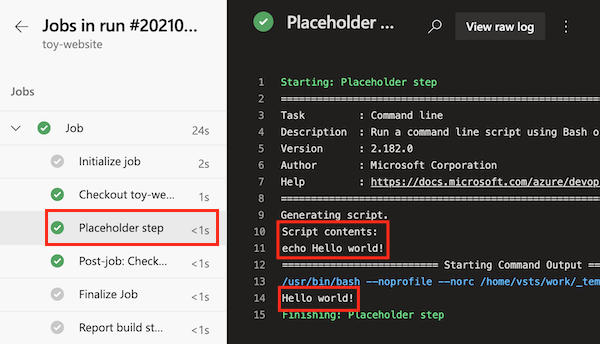
The log for this step includes the contents of the script as you created it in your pipeline's YAML file and the
Hello world!text output from running the script.
Link pipeline execution to a commit
It's good to understand how to cross-reference a pipeline run to the commit that the run contained. Linking a pipeline run to a commit can help you trace the history of your deployment and diagnose problems. Azure DevOps provides several ways to link a pipeline run to a commit. In this procedure, you manually inspect the commit history.
To return to the repository overview, in the DevOps resource menu, select Repos > Commits.
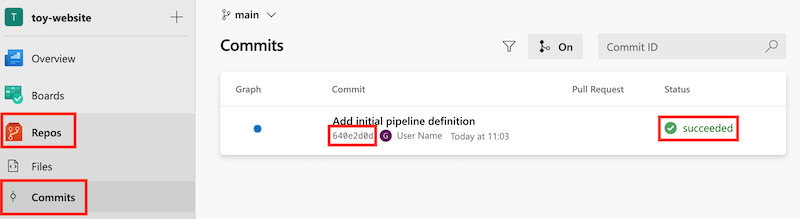
The commit identifier is the same as the commit identifier you noted from your pipeline run. Also, Azure Pipelines displays the status of the pipeline run that's associated with the commit.
Select the commit. The list of files that were changed and the changes from the commit is shown highlighted in green, indicated all the text is new.