Exercise - Create an expenses app for your organization
In this exercise, you will create an asset inventory app for mobile devices. This app starts from the Asset Checkout template. Many templates are available for you to choose from, each preconfigured with different logic/functionality to support its use case. As a first-time app creator, make sure that you explore these templates further to help inspire you when you're creating custom apps.
Keep in mind that you can use data from many other sources, including Microsoft Dataverse, SharePoint, cloud services like Azure SQL Server or Salesforce, and on-premises sources like Microsoft SQL Server.
Note
Power Apps requires a Microsoft Office 365 license or a free trial. For more information, see Licensing overview for Microsoft Power Platform.
Before you begin, watch the video for a brief overview of what to expect when creating your first canvas app with Power Apps. The video demonstrates the app's capabilities and how to add new items and edit existing ones.
Create your first app
To create your first app, follow these steps:
Open your browser and go to https://make.powerapps.com. If you're using the virtual environment, skip to step 2, otherwise, when prompted to sign in, enter your organizational account credentials.
From the Home screen, select Create from the left menu.
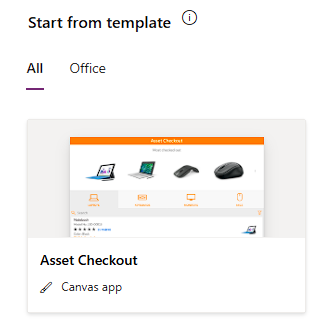
Scroll down to the bottom, under Start from template, select Asset Checkout.
Note
After you've selected the template, select Preview to test it.
In the App name field, enter My Asset Checkout App and then select Create.
Note
For the purposes of this lab, you will create the "Tablet" version of the app (selected by default), but know that the "Phone" version is available for a more mobile experience as well.

After a few moments, an "Almost there" pop-up window might display. If so, select Allow.
On the Welcome to Power Apps Studio pop-up window, select Skip.
As a best practice, after you create the app, immediately select Save to save your app. Power Apps has an AutoSave feature that saves your app every two minutes. However, that feature doesn't activate until the app is saved for the first time.
In the upper-right corner, select the Save icon to save your app.


Explore and edit your new app
Your newly created Asset Checkout app opens in Power Apps Studio, which allows you to review the various screens, controls, and functionality that make this app work.
If you want to play/preview the app, select the Play button in the upper-right corner. When you're ready to return to edit mode, select the X in the upper-right corner.
Note
This sample app includes locally saved information by using collections. If you want to use the app for business purposes, click the "Make my own app" button in the yellow banner at the top of the screen to connect to OneDrive and prepare your datasource. This will create a data.xlsx file and folder containing product images in your OneDrive.
When you're finished, you can close the app by clicking < Back in the top-left corner of Power Apps Studio. To view the app on your tablet, save and publish the app, then make sure that you install Power Apps for mobile first.
Install Power Apps for mobile devices
When building or updating an app, you should test it in the same form factor as the users. This app was designed for tablet form factor, so make sure that you test it on a tablet before putting the app into production.
Download Power Apps for mobile from the app store for the platform that you want to use.
Sign in by using your Office 365 username and password.
On your device, run the My Asset Checkout App in Power Apps for mobile. Alternatively, if you don't want to install the app, you can run it in a browser.
If the My Asset Checkout App doesn't show in Power Apps for mobile, select the user account menu and then turn on the Show non-production apps toggle. You might need to swipe to the left or tap your profile icon to get this option.