Exercise - Create an HTML page
In this exercise, you begin creating the web page for your resume. You start by adding some high-level information such as your name and section headers. You also add a few comments, which we use as markers of where to add information in a later exercise.
This exercise uses vscode.dev - a web-based version of Visual Studio Code and CodeSwing. These tools help streamline the development process. No local installation is required to complete the exercises that follow.
Create an HTML page with CodeSwing
You start by creating a folder, setting up your tooling, and creating a "swing" using CodeSwing in vscode.dev. A swing automatically displays the results of your code you author in vscode.dev. This allows you to quickly make modifications and the updates happen in real time.
The following video demonstrates how to install CodeSwing in Visual Studio Code. These steps are also in the exercise steps.
- Create a folder on your desktop named resume.
- Open vscode.dev.
- Select Open Folder.
- Navigate to the resume folder you created earlier and select Select Folder.
- When prompted to Let site view files, select View Files.
- Select the Extensions button.

- In the Search Extensions in Marketplace text box, type CodeSwing.
- Select Install to install CodeSwing.
- Open the Command Palette by selecting Ctl-Shift-P or Cmd-Shift-P on a Mac.
- Type CodeSwing in the Command Palette and select CodeSwing: New Swing in Directory....
- Select Select Folder to use the current directory (which is the one you created in a prior step).
- Select Basic: HTML-Only.
- When prompted to Save changes to resume select Save changes.
Visual Studio Code creates two windows side by side. The left side is your editor, where you can enter your HTML. The right behaves like a browser, displaying the results of your HTML code.
Add HTML to create the structure of your page
Next, you add the HTML to create the structure of your page. You create the three main elements of html, head, and body. Inside the body, you add a section that contains general information about you such as your name and social media information. You then add sections that list your education and experience.
The following video demonstrates how to author HTML in Visual Studio Code and have the code render in CodeSwing. These steps are also in the exercise steps.
Feel free to replace Your name with your name. In other exercises, you create lists and links to your email address, social media handles, and education and experience.
After adding the code, you'll review what code has been added.
- Inside index.html, add the following HTML:
<html>
<head>
  <title>Your Name resume</title>
</head>
<body>
  <h1>My Name</h1>
  <!-- email address -->
  <h2>Social Media</h2>
  <!-- social media -->
  <h2>Education</h2>
  <!-- education -->
  <h2>Experience</h2>
  <!-- experience -->
</body>
</html>
Each of the elements in the HTML does specific things. The following table describes the tags you used in your HTML and how the browser understands them.
| Tag | Description |
|---|---|
<html> |
The "container" tag for the entire HTML document. All other tags are written inside the HTML element. |
<head> |
The header container. The header typically includes references to other files the page or site needs. It also can include data that search engines and social media sites use to better find your website. |
<body> |
This tag creates the body container for the web page. Most of the display elements go in the body element. |
<div> |
The division tag creates a section in HTML. Sections usually have similar content or content that is related to one another. |
<h1> - <h6> |
These are header tags. They give some structure to the HTML document. They tell the browser to format the text between them in a specific way to show that hierarchy. |
<!-- comment text --> |
These tags are comments in HTML. They don't create rendered output. They're used by developers to make their code easier to find, share, and understand. |
/* CSS comment */ |
These comment tags are used in Cascading Style Sheets. |
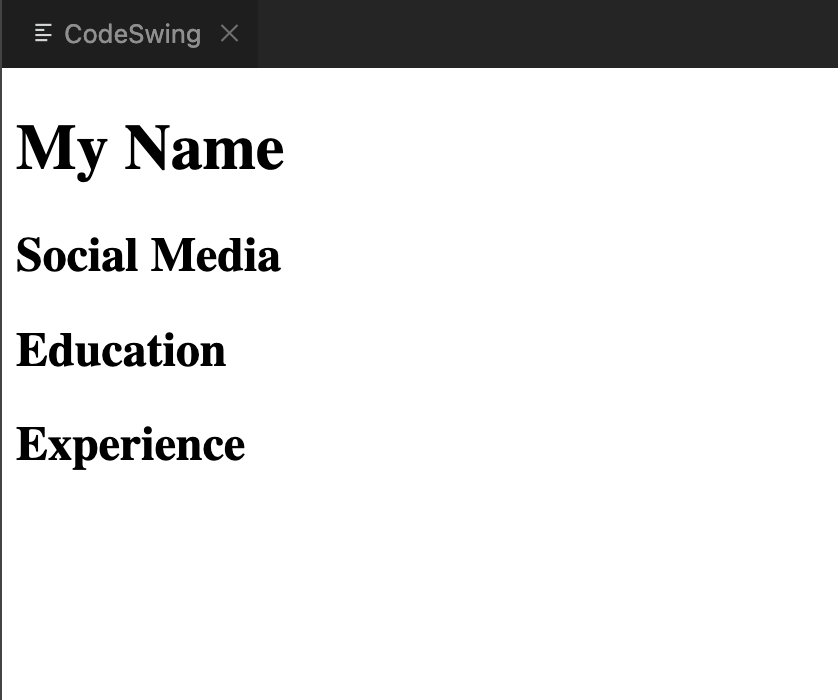
- As you type, the page automatically updates; the final result appears similar to the following image:
Reviewing the code
Every HTML page has html as the root core element, with all content contained inside of it. html normally has two direct children, head that contains metadata, and body that contains the information to be displayed.
Notice how you only use one h1 element for your name, and h2 elements for headers for each of the sections. This is to help highlight the most important parts of the page. Your name is the most important piece of information on the page; thus it gets top billing with h1.
Finally, there are comments for email address, social media, education, and experience. These are being used as placeholders and are replaced in a later exercise in this module.