Exercise - Create a workflow that triggers when a new message is created
In this exercise, you create your first flow by using Power Automate for Teams. For this example, you create an automated workflow that creates a Planner task each time a message with the word "task" in the subject line is posted to a Teams channel. The flow needs a Planner to create the tasks in. You can identify an existing Planner plan or create a new one.
Step 1: Create a new flow
To create a new flow, follow these steps:
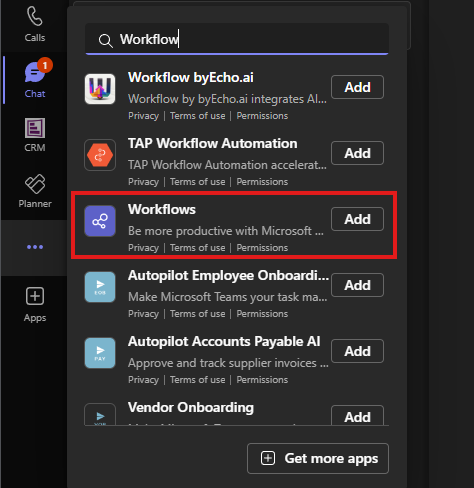
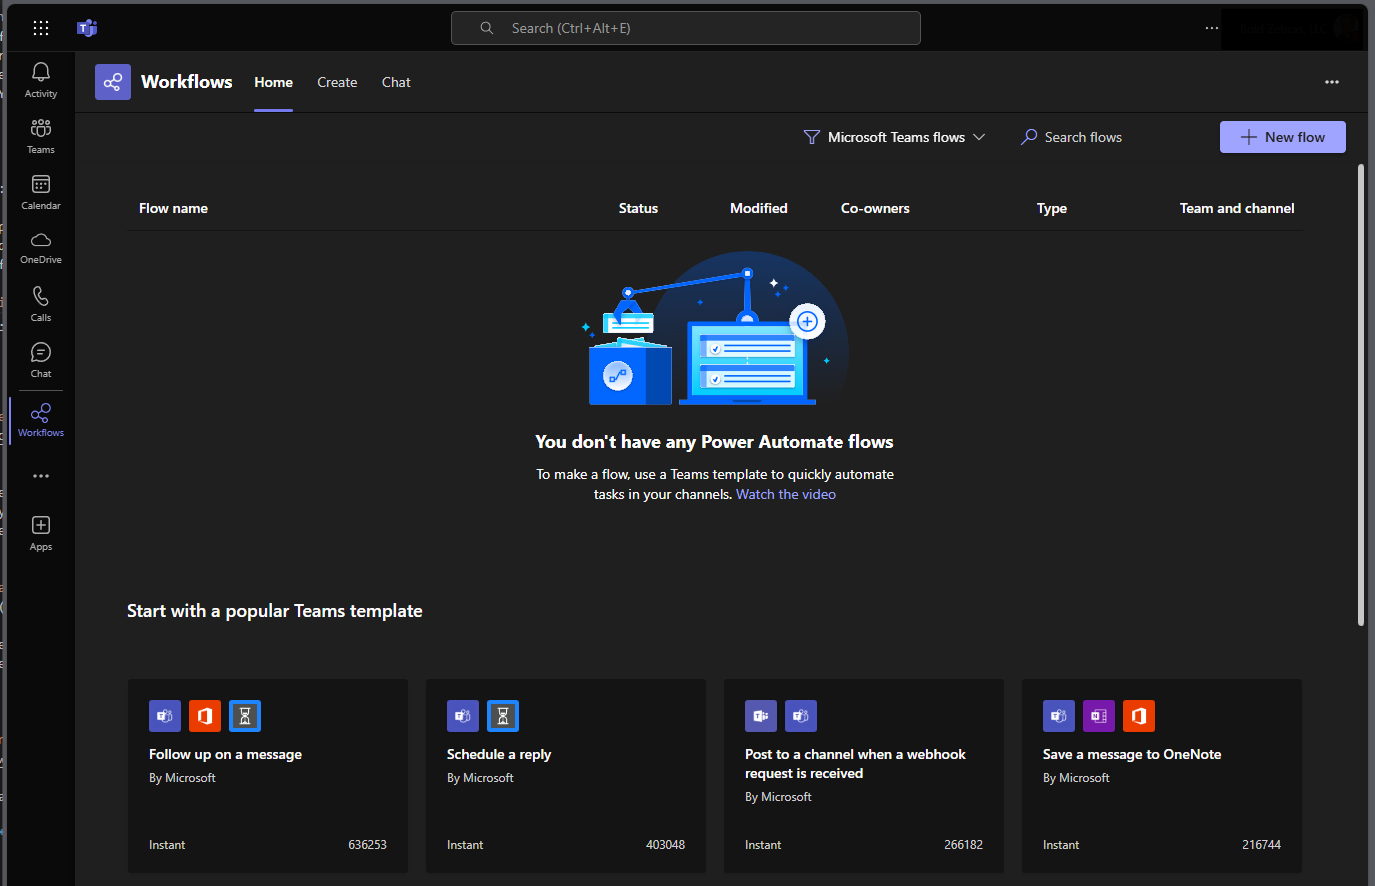
From Teams, open the Workflows application. (If Workflows doesn't appear in the rail, select the ellipsis in the rail and search for it). Notice that the Home tab includes a list of the currently active flows and some Teams templates to choose from.
From the Home tab, select + New flow, which takes you to the Create tab.
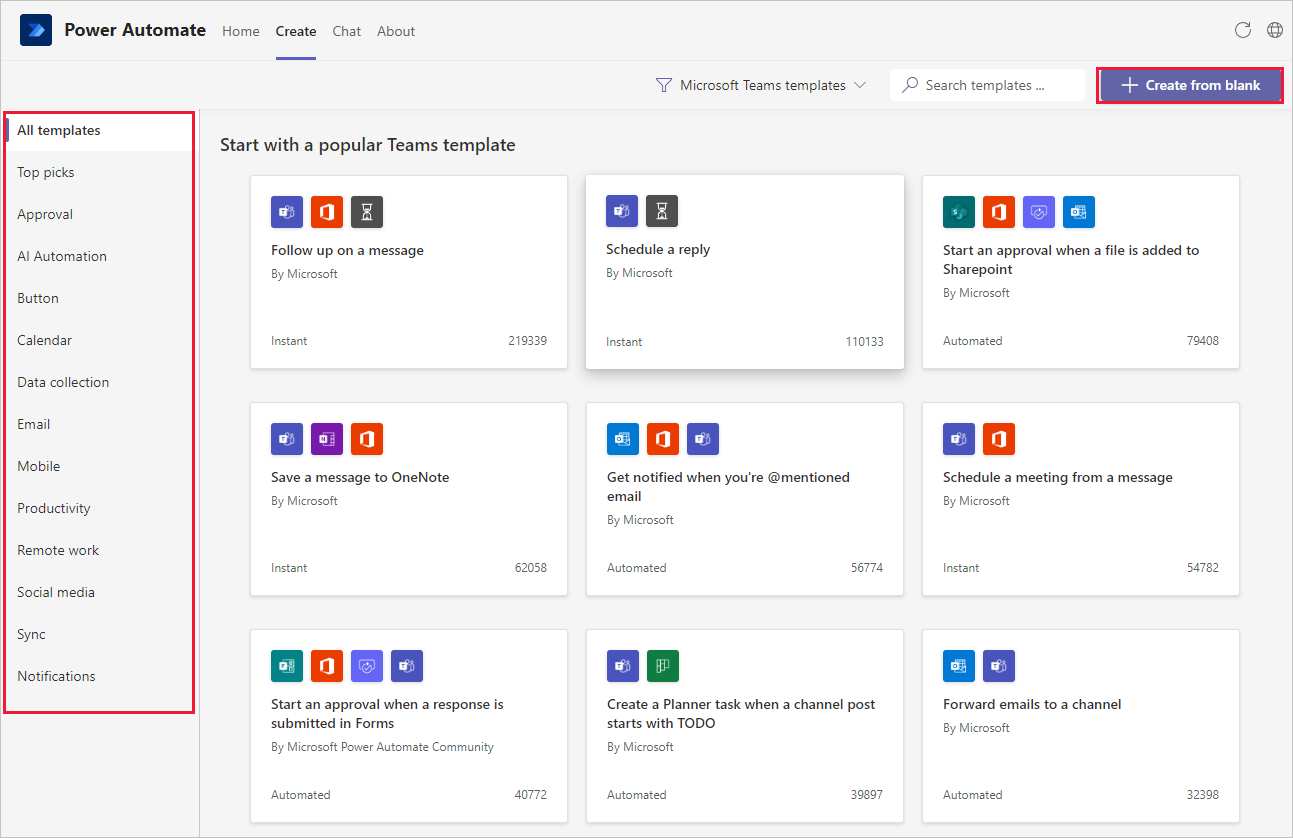
In the Create tab, notice that the menu down the left side gives you the option to select templates related to the task you’re trying to automate. Select + Create from blank in the top right of the screen.
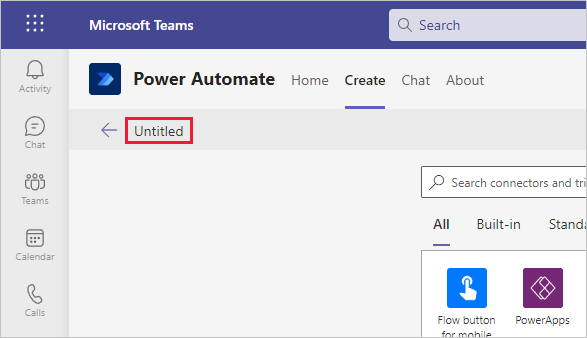
Notice how Power Automate initiates a new flow within Teams. Rename your flow by selecting the word Untitled in the upper left of the menu bar and type in a name. Next, we create the flow.


Step 2: Build the flow in Power Automate editor
In the Search connectors and triggers search field, search for "Teams when a new channel" and select the trigger When a new channel message is added.
To have the flow monitor the correct Teams channel for new messages, make selections from both the Team and Channel drop-downs. The channels automatically filter based on the Team that is selected.
Select New step to continue.

Now let's add a condition to search the subject of the messages to see if they have the word "task" in them. In the Choose an operation menu, select Condition from the available actions. (If you don't see it, enter Condition in the search field and then select it from the search results.)

Within the Condition step, select the Choose a value field to view the available dynamic content. Dynamic content is the information that the flow has available based on the triggers and previous steps that took place.

From the list of dynamic content, scroll down and select Message subject. (Alternatively, you can input subject in the Search field to narrow the results.)
In the middle drop-down menu, select contains.
Enter task in the box on the right.

Now, when the Message subject contains the word "task," it performs actions in the If yes area. The conditions in Power Automate are case-sensitive, so you need to add a few more conditions to detect common variations such as "Task" and "TASK." Select + Add and then select + Add Row. Use the same condition each time with Message subject from dynamic content.
A new selection appears at the top of the Condition window to switch between the following statements:
And - All conditions must be true.
Or - Only one of the conditions must be true.
Change the selection to Or.

The Condition action provides two options for further actions, If yes and If no. If the condition is true, then we create a new Planner task. We don't need any actions if the condition is false, so we leave the If no condition blank.
In the If yes condition box, select Add an action.
Enter planner and then select Create a task from the results.

The Create a task step appears in the If yes field for your Condition step. Fill out the needed information for the Planner task as in this table.
| Field | Value |
|---|---|
| Group ID | Select the group that has your Planner |
| Plan ID | Select the Planner for the new task |
| Title | Select dynamic content Message body content |
| Start Date Time | Select dynamic content Message created DateTime |
When you complete the task, select Save at the bottom of the editing window, or in the toolbar to complete the flow.
You can now review the flow and see how it works. The flow is triggered when a new message is posted in a specific Teams channel. Next, you should check for the word "task" in the message subject. If yes, the system creates a new Planner task. If no, the system doesn't take action.

Step 3: Test the flow
Send a message to the Teams channel that the flow is monitoring. Press the format icon under your message to bring up the format with the subject header.

In the subject line, enter a subject including the word task and send the message.

The Teams connector checks for a new message in three-minute intervals. Next, open Planner and watch for the new task to be created. The message body should be the task title. Select the task to check the start date and see if it was set to the same date as the message.

You can view the flow's run history for the last 28 days to see how long it takes the flow to run and if it was successful:
Open Power Automate for Teams.
From the Home tab, select the flow that you created, listed under Flow name. The details screen view shows you more information on your flow and the 28-day run history.

Select the run, by selecting the date/time to see more information and troubleshoot each step of the flow. You can select each step and expand it to see the data/results. In this screenshot, we expanded the Condition and Create a task steps so you can get an idea of the data flow.
