Modify forms
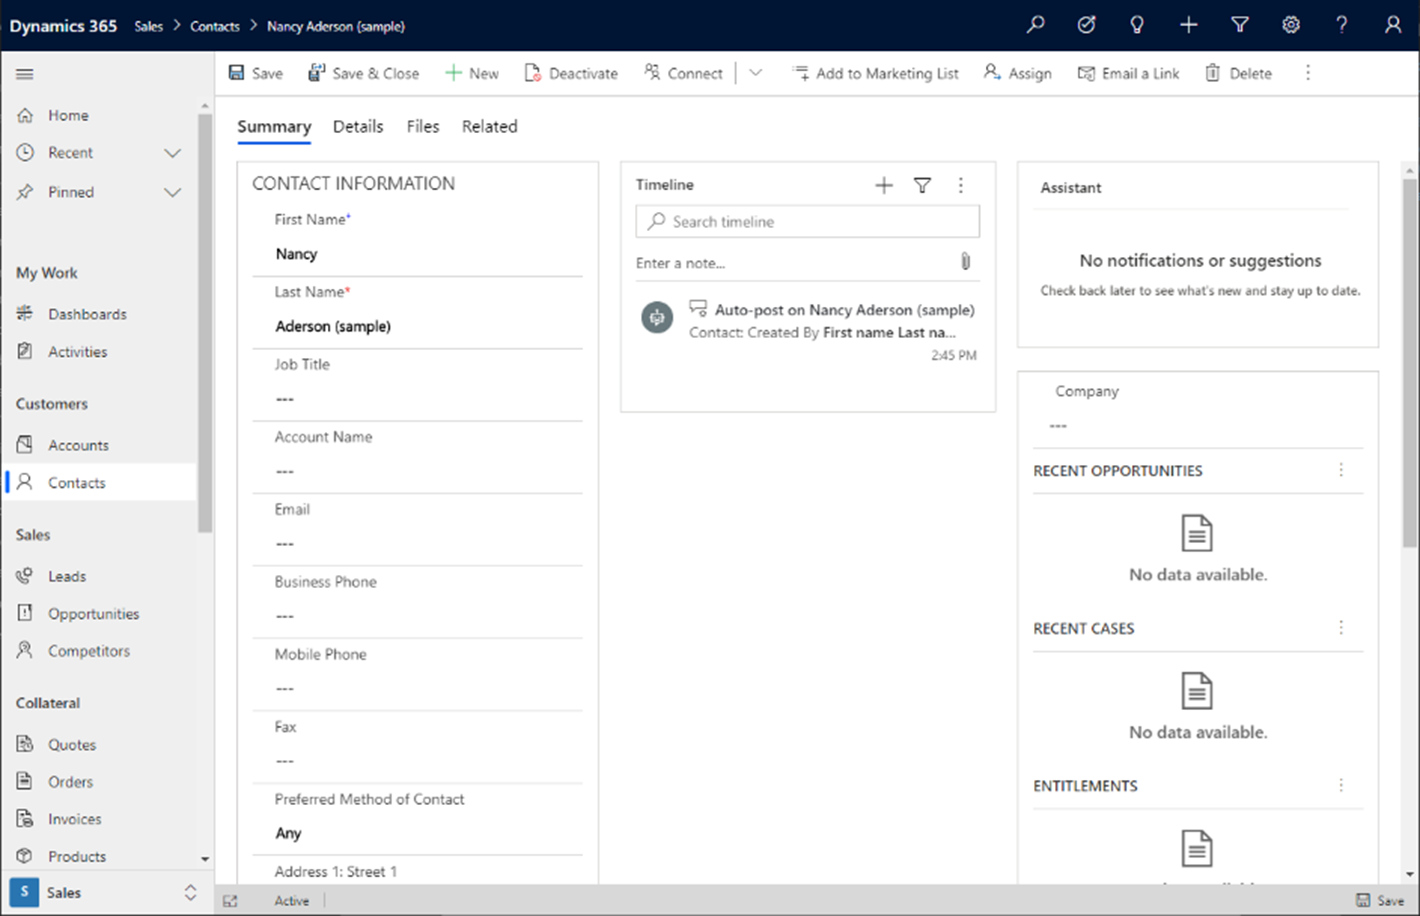
A form in a model-driven app is the primary user interface that allows users to view, create, and edit data stored in Microsoft Dataverse tables. They play a central role in how users interact with records in a model-driven app, offering a structured and customizable layout for presenting data.
Understanding form types in model-driven apps
In a model-driven application, there are many different types of forms available, and each of them serves a unique purpose to enhance user experience and productivity. For example, you may need to quickly create a new contract for an account. You don’t need to fill out all the data initially, you just want to capture the important data now and come back later to fill in the rest.
There are four types of forms used in model driven applications:
Main forms:
These forms are the primary interface for interacting with table data. Main forms provide a detailed and comprehensive view of the data, making them ideal for most standard interactions.Quick create forms:
Quick create forms are designed for speed, and allow users to rapidly input essential information and create new records without leaving their current screen. This capability is useful for streamlining workflows.Quick view forms:
Quick view forms display other read-only data from related tables directly within a main form. By providing context without requiring navigation, they improve data visibility and reduce interruptions.Card forms:
Card forms are perfect for mobile devices or scenarios where space is limited as they're compact and optimized for small screens or subgrid areas.
Each form type is thoughtfully designed to address specific needs. For instance, in our previous contact example, we would use a quick create form to simplify creating the contact and then use main form to complete the data entry at a later time.
By understanding and utilizing these form types effectively, you can create a more streamlined and user-friendly experience in your model-driven apps. Whether you're building forms for detailed data interaction or quick, on-the-go updates, Power Apps provides the flexibility to meet your requirements.
Create forms using the model-driven form designer
Creating forms in Power Apps involves selecting the appropriate form type and configuring its properties. Follow these steps to create a form:
- Sign into Power Apps.
- Navigate to Solutions and open the desired solution.
- Select a table (for example, Account) and go to the Forms area.
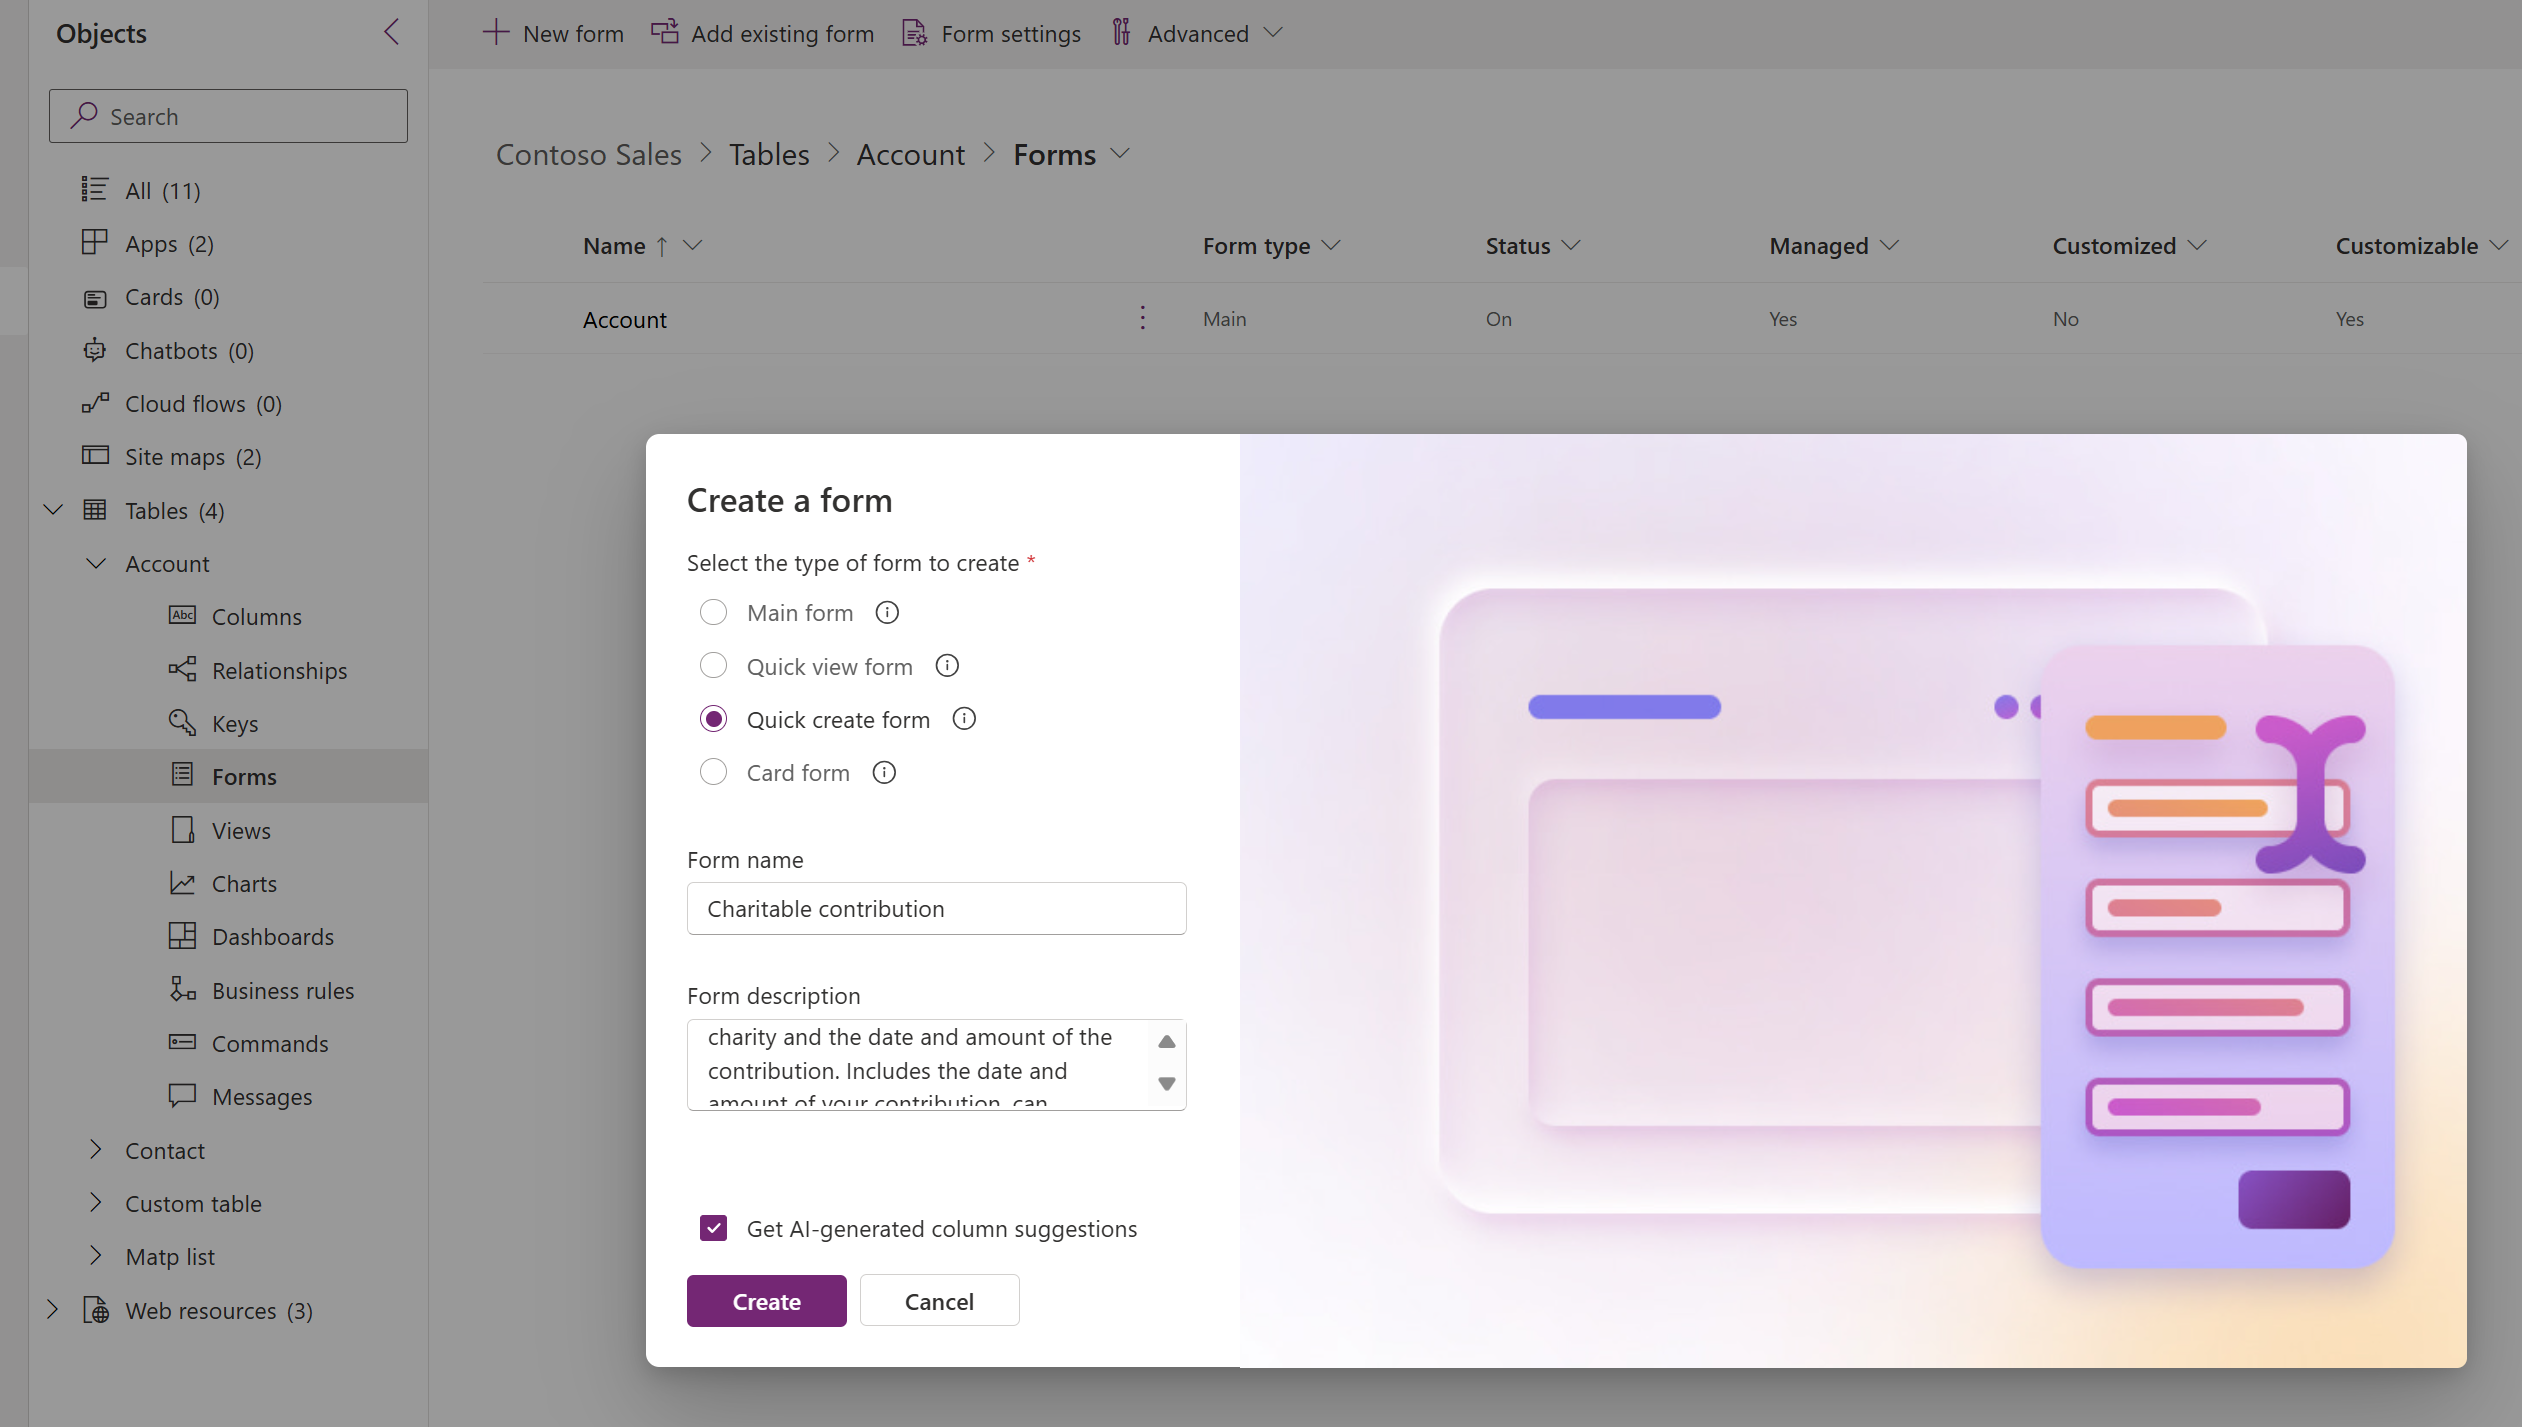
- Select New form and choose a form type:
- Main form
- Quick create form
- Quick view form
- Card form
- Enter a Form name and optionally add a Description.
- Use the form designer to add columns, components, and configure layout.
- Save and publish the form to make it available to users.
As you create your forms, there are several key configuration options that are used to define how the data is presented on the form. Those configuration components are:
- Columns: Allows you to add or remove Dataverse columns to display relevant data.
- Properties: This is where you can perform tasks such as adjusting display names, visibility, and data entry settings.
- Components: These are specialized tools, such as grids for listing related data and calendars. They also include Power BI reports, which enhance functionality.
Use Copilot to generate column suggestions for forms
As with other aspects of business, Copilot is changing how model-driven forms are being built. Copilot in Power Apps uses AI to provide column suggestions for your forms based on the form name and description provided during creation. This feature saves time as you don't have to add each column individually. It also improves overall form quality.
How to use Copilot for column suggestions
- When creating a new form, enter a Form name and Description.
- Select Get AI generated column suggestions.
- Review the suggested columns and make adjustments as needed.
Using Copilot can significantly streamline the form creation process, especially for complex tables with numerous columns.