Exercise - Create a model-driven app
Learning objective
Learners are able to create a model-driven app using Power Apps, including adding components such as tables, forms, and views, configuring navigation, and publishing the app for organizational use.
Scenario
You're a business user tasked with creating a model-driven app to manage customer accounts for your organization. The app should allow users to view, add, and update account information efficiently. By completing this lab, you gain foundational knowledge of building model-driven apps using Power Apps and Microsoft Dataverse.
Task 1: Access the Power Apps platform and create a new solution
Goal: Set up the foundational environment for your model-driven app by accessing Power Apps and creating a solution to house your app components.
- Sign in to Power Apps. If you don’t have an account, select Get started free to create one.
- Select an environment from the top-right corner. If your tenant allows you to create your own environment, select Try it now. For more information, see Get your developer environment.
- In the left navigation pane, select Solutions.
- Select New solution, enter a Display name (for example, "Customer Account Management"), select a publisher (for example, CDS Default Publisher), and select Create. For more information, see Create a solution.
Check your work: Access the Power Apps platform and create a new solution.
Ensure that your solution is visible in the Solutions section of the Power Apps platform. Verify that the display name matches what you entered during creation.
Task 2: Add the Account table to your solution and configure its components
Goal: Integrate the Account table into your solution and prepare its components, such as forms and views, for use in your app.
- In your solution, select Add existing and then Table.
- From the Add existing tables list, select Account and select Next.
- Leave the default settings for account table objects and metadata, then select Add.
Check your work: Add the Account table to your solution.
Verify that the Account table appears in your solution. Ensure that its components, such as forms and views, are accessible.

Task 3: Design and build a model-driven app
Goal: Use the app designer to create a model-driven app by adding pages and configuring navigation.
In your solution, select New, then App, and choose Model-driven app.
Enter a name for the app (for example, "Customer Account App") and select Create. The app designer opens.
In the app designer, select Add page on the command bar and select Dataverse table.

Choose Account from the list and select Add.

Check your work: Design and build a model-driven app.
Ensure that the Account table is added as a page in your app. Verify that the app preview displays the Account table with sample data (if available).
Task 4: Customize the app's layout and functionality
Goal: Modify forms and views in the app to meet specific business requirements.
- In the app designer, select the Account table page.
- Customize the default form by adding or removing fields as needed. For example:
- Add a field for "Account Type".
- Remove unnecessary fields like "Fax Number".
- Customize the default view by selecting columns to display. For example:
- Include "Account Name", "Email", and "Phone Number".
- Exclude less relevant columns like "Created On".
Check your work: Customize the app's layout and functionality.
Open the app preview and verify that the form and view reflect your customizations. Ensure that the changes align with your business requirements.
Task 5: Save, publish, and test the app
Goal: Finalize your app by saving and publishing it, then test its functionality to ensure it meets user expectations.
In the app designer, select Save to save your changes.
Select Publish to make the app available to users.
Test the app:
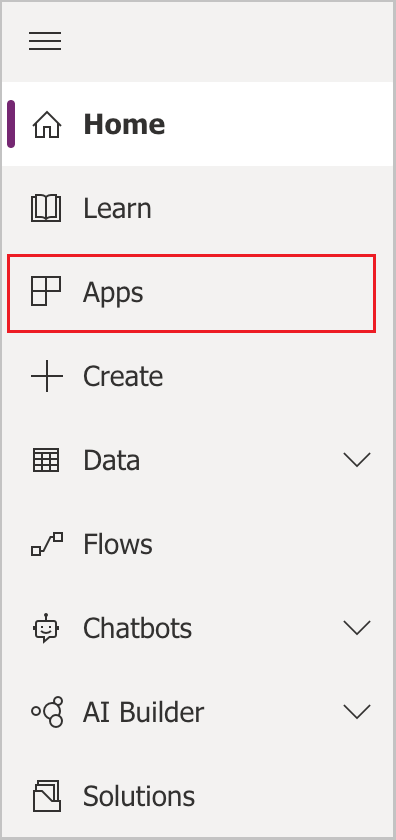
- Navigate to Power Apps and select Apps from the left navigation pane.
- Open your app from the list and verify its functionality:
- Add a new account record.
- Update an existing account record.
- View account details.
Check your work: Save, publish, and test the app.
Ensure that the app is published and accessible from the Apps section. Verify that you can successfully add, update, and view account records.
Next steps
Explore more features, such as adding custom pages or integrating charts and dashboards.
Learn more about sharing your app with others Share a model-driven app.