Share a model-driven app
Model-driven apps utilize role-based security to manage sharing and access control. This means that each security role includes a set of privileges, which define the specific actions users can perform on tables within the app. This means that structure allows for differentiated access levels: for example, two users may both use an app, but one user might only have permission to read records or view records they personally created, whereas another user could have broader access, such as viewing all records and even deleting them.
Every app user must be assigned at least one predefined or custom security role.
Share a model-driven app with others
Sharing a model-driven app allows others in your organization to access and use it. This fosters collaboration and ensures the right people have the tools they need to complete their tasks. Sharing a model-driven app requires careful configuration of security roles to ensure users or teams have the appropriate level of access to the app and its underlying data.
When you share a model-driven app, you're essentially granting access to both the app itself and the data tables it interacts with. This process involves two key steps: assigning security roles and sharing the app link. Security roles ensure that users or teams only have access to the data and features they need, based on their responsibilities. For example, some users may only require read-only access, while others may need full control over the app's data.
Before proceeding, it’s important to confirm that the necessary security roles were created and configured in Microsoft Dataverse. If these roles aren't yet defined, you need to work with your Power Platform administrator to set them up. Once the roles are ready, you can follow the steps outlined next to share your app effectively.
Steps to share a model-driven app
Assign security roles
- Open the Power Apps portal and locate the app you want to share.
- Select the app and select the Share button to begin the sharing process.
- In the sharing interface, assign security roles to individual users or teams. You can choose from predefined roles (such as Basic User or System Administrator) or create and assign custom roles tailored to specific needs.
- Ensure that the assigned roles provide the appropriate level of access to the app and its associated data tables. For example, if the app includes sensitive information, you may want to restrict access to certain users or teams.
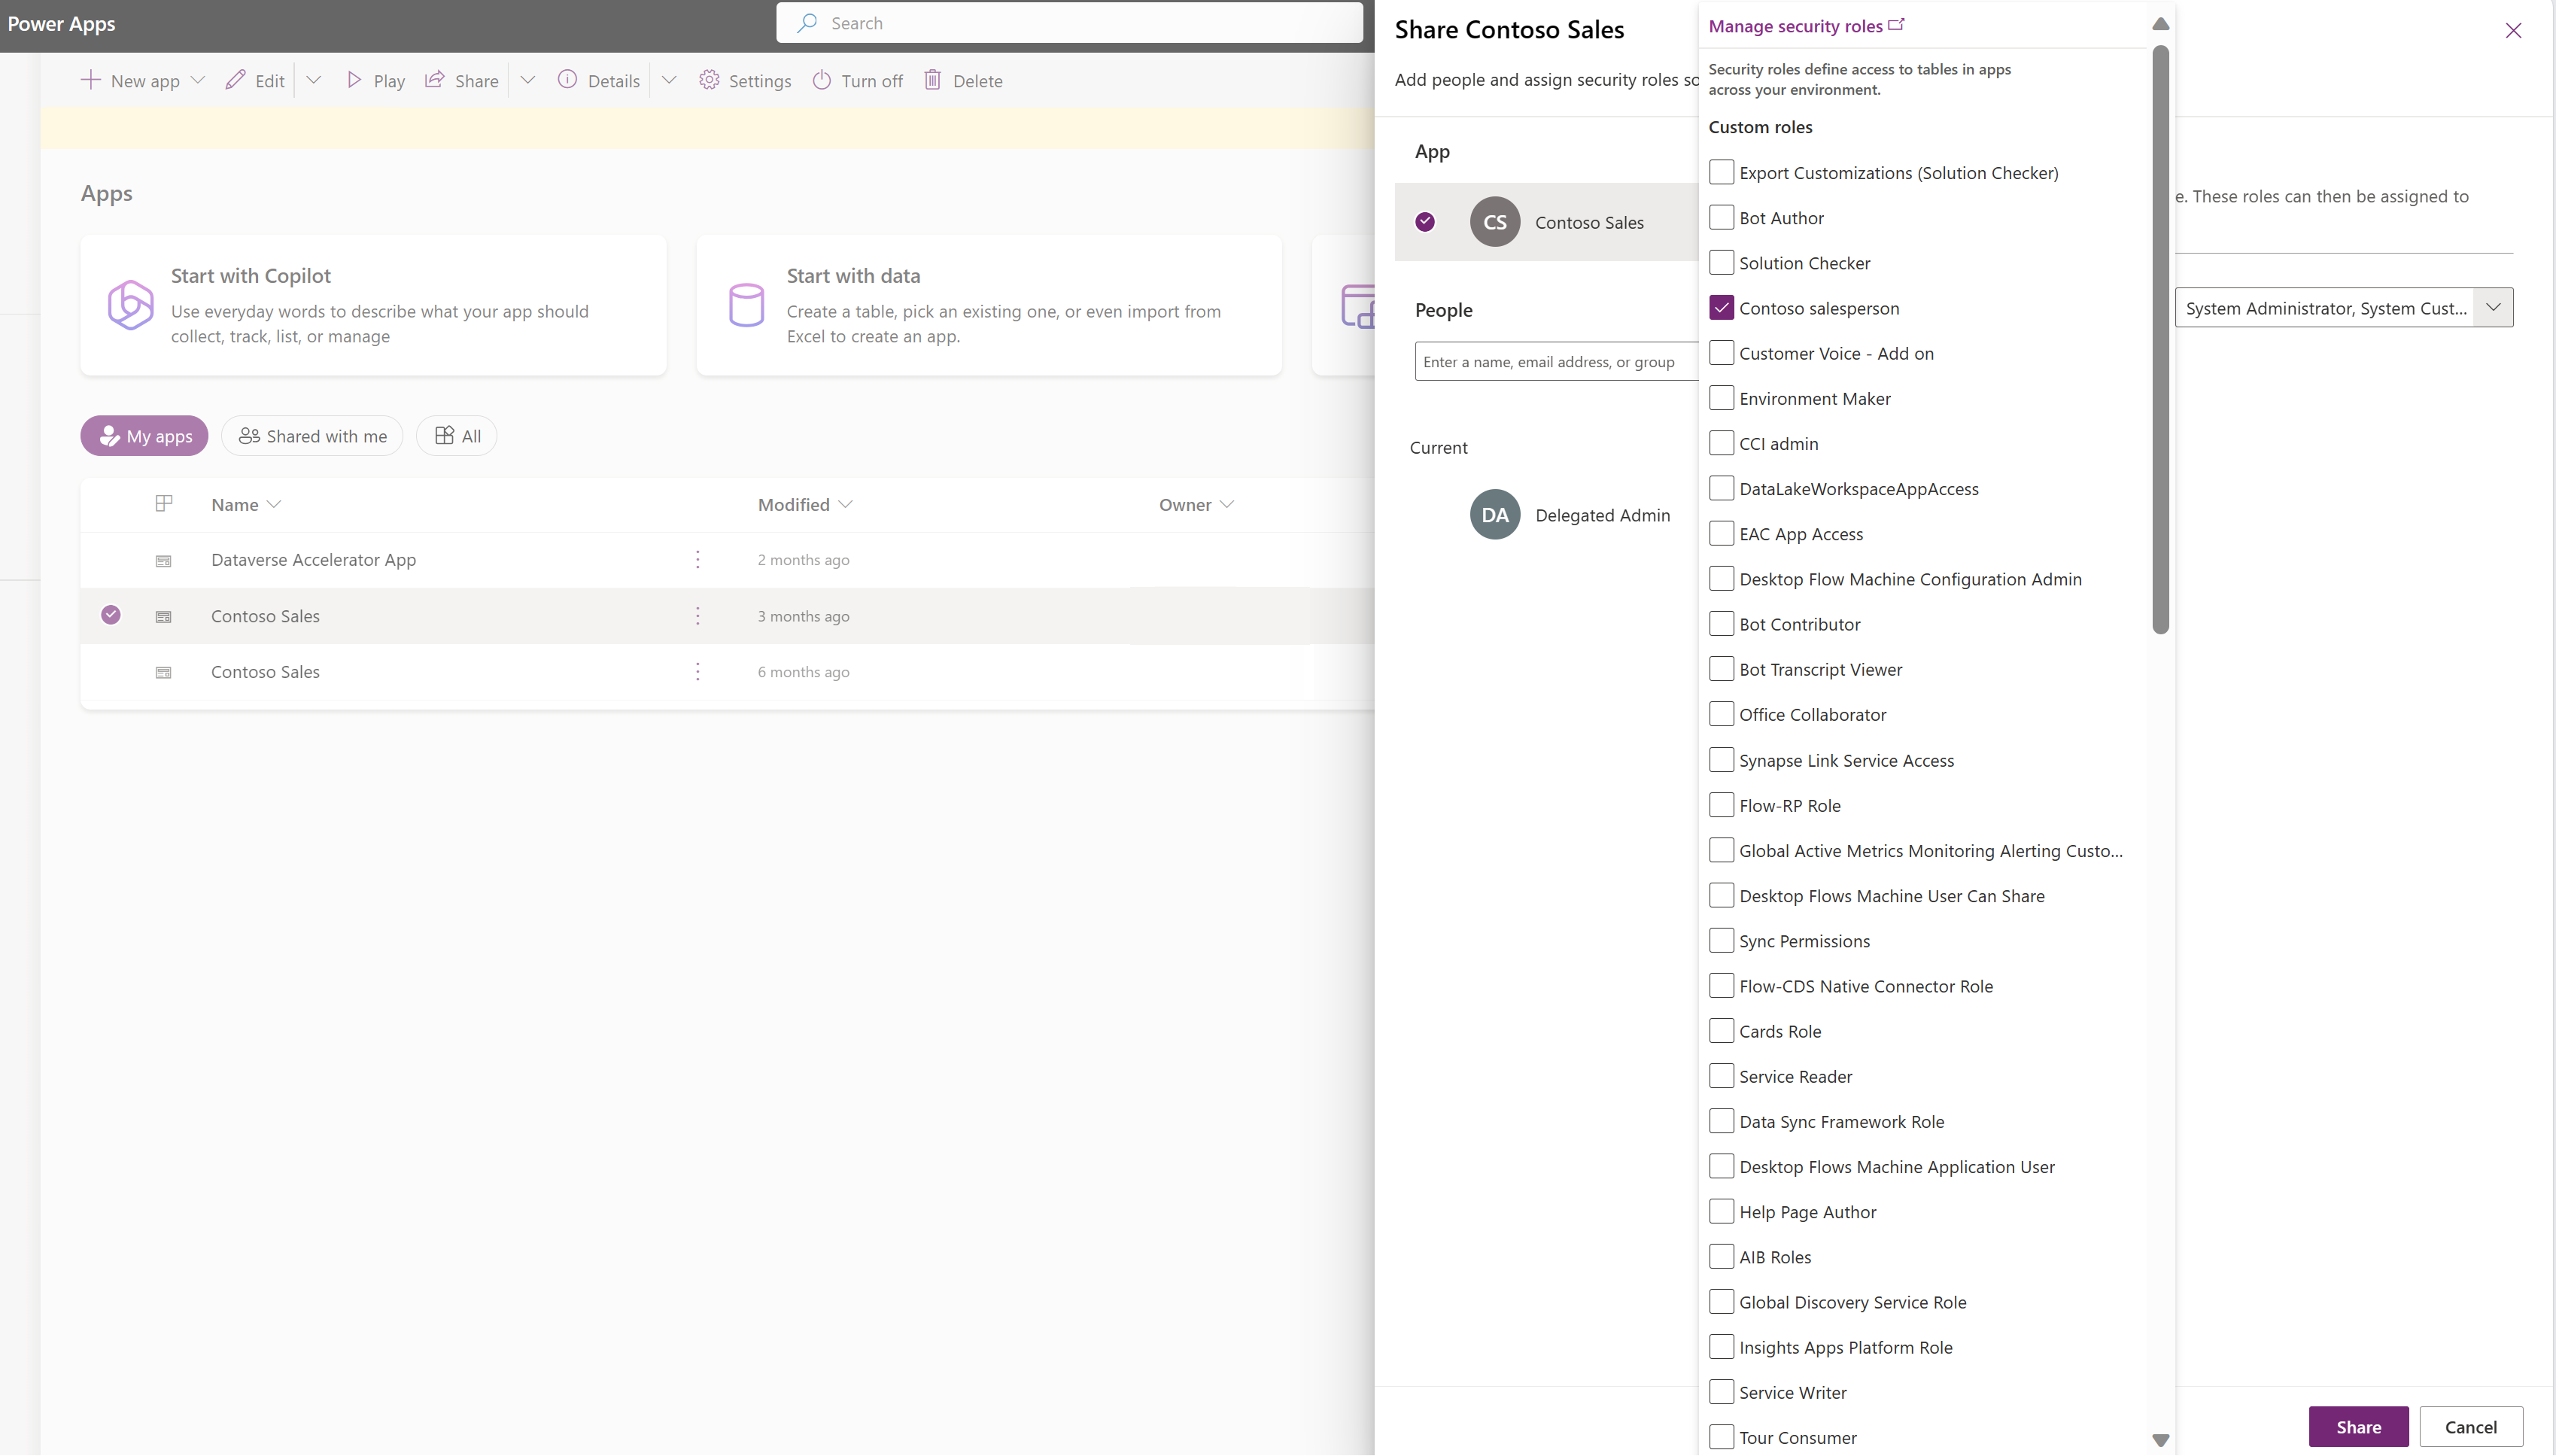

By completing this step, you ensure that users or teams have the necessary permissions to interact with the app and its data. Once security roles are assigned, you can proceed to share the app link, allowing users to access the app directly.
Run and test your model-driven app on different devices
Testing your model-driven app is a critical step in the development process to ensure it delivers a seamless user experience across various devices and platforms. Due to their responsive design, your app should adapt to different screen sizes and input methods, whether accessed on a desktop, tablet, or smartphone.
When testing, you should consider the different ways users might interact with your app. For instance, some users may primarily access the app on their desktop computers through a web browser, while others may rely on mobile devices for on-the-go access. Each platform has its own unique features. For example, mobile devices use touch-based navigation, while desktops rely on mouse and keyboard interactions. Testing ensures that your app performs consistently and intuitively across all these scenarios.
Additionally, testing provides an opportunity to verify that all features, workflows, and integrations function as intended. This testing includes checking data entry forms, dashboards, subgrids, and any custom components you added to the app. It’s also a chance to evaluate the app’s responsiveness, load times, and overall usability, ensuring it meets the needs of your end users.
Here are the steps to test your model-driven app on a desktop:
- Open the Power Apps portal or navigate to the Dynamics 365 homepage, depending on how your app is deployed.
- Launch your app and test its functionality in a desktop web browser. Ensure that all features, such as forms, views, dashboards, and workflows, operate as expected.
- Pay attention to the layout and responsiveness of the app. Verify that the interface adjusts.