Create a code component solution package
You must deploy a code component to a Microsoft Dataverse environment before using it in Power Apps or Power Pages. Your first task to deploy a component is to package your code component into a solution, allowing you to import it into an environment. You can accomplish this in two ways. You can use the CLI Push command to create a temporary solution to push your component to an environment to facilitate testing. This approach is great for use during the development of the component. The other option is to create a solution for the component and import it separately into your Dataverse environment. This option is good for use in build pipelines or manual deploys to other than your development environment. Let's explore both options in more detail.
In the following steps, you'll practice both techniques using the code component that you built in the last topic or one of the samples components available.
Prerequisites
You must have an existing code component project that is already built. You can follow these steps for any other code component project, such as the Sample components.
Push a component to a Dataverse environment during development
To push a code component using the Power Platform CLI, follow these steps:
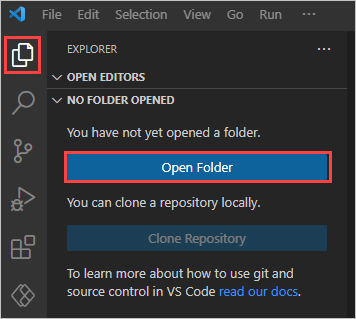
Start Visual Studio Code and select Explorer.
Select Open Folder.
Select the editable-pcf project folder you created in the previous lab and select Select Folder.
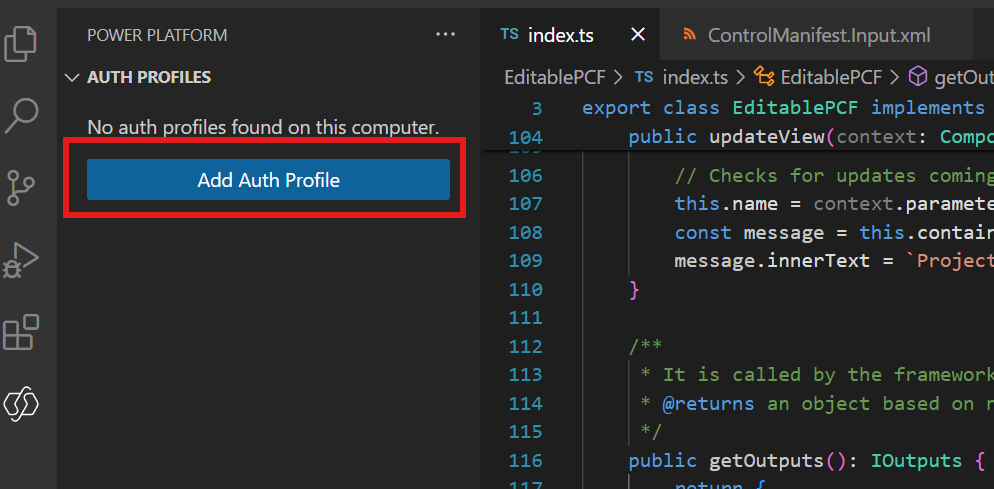
Select the Power Platform tab and select Add Auth Profile.
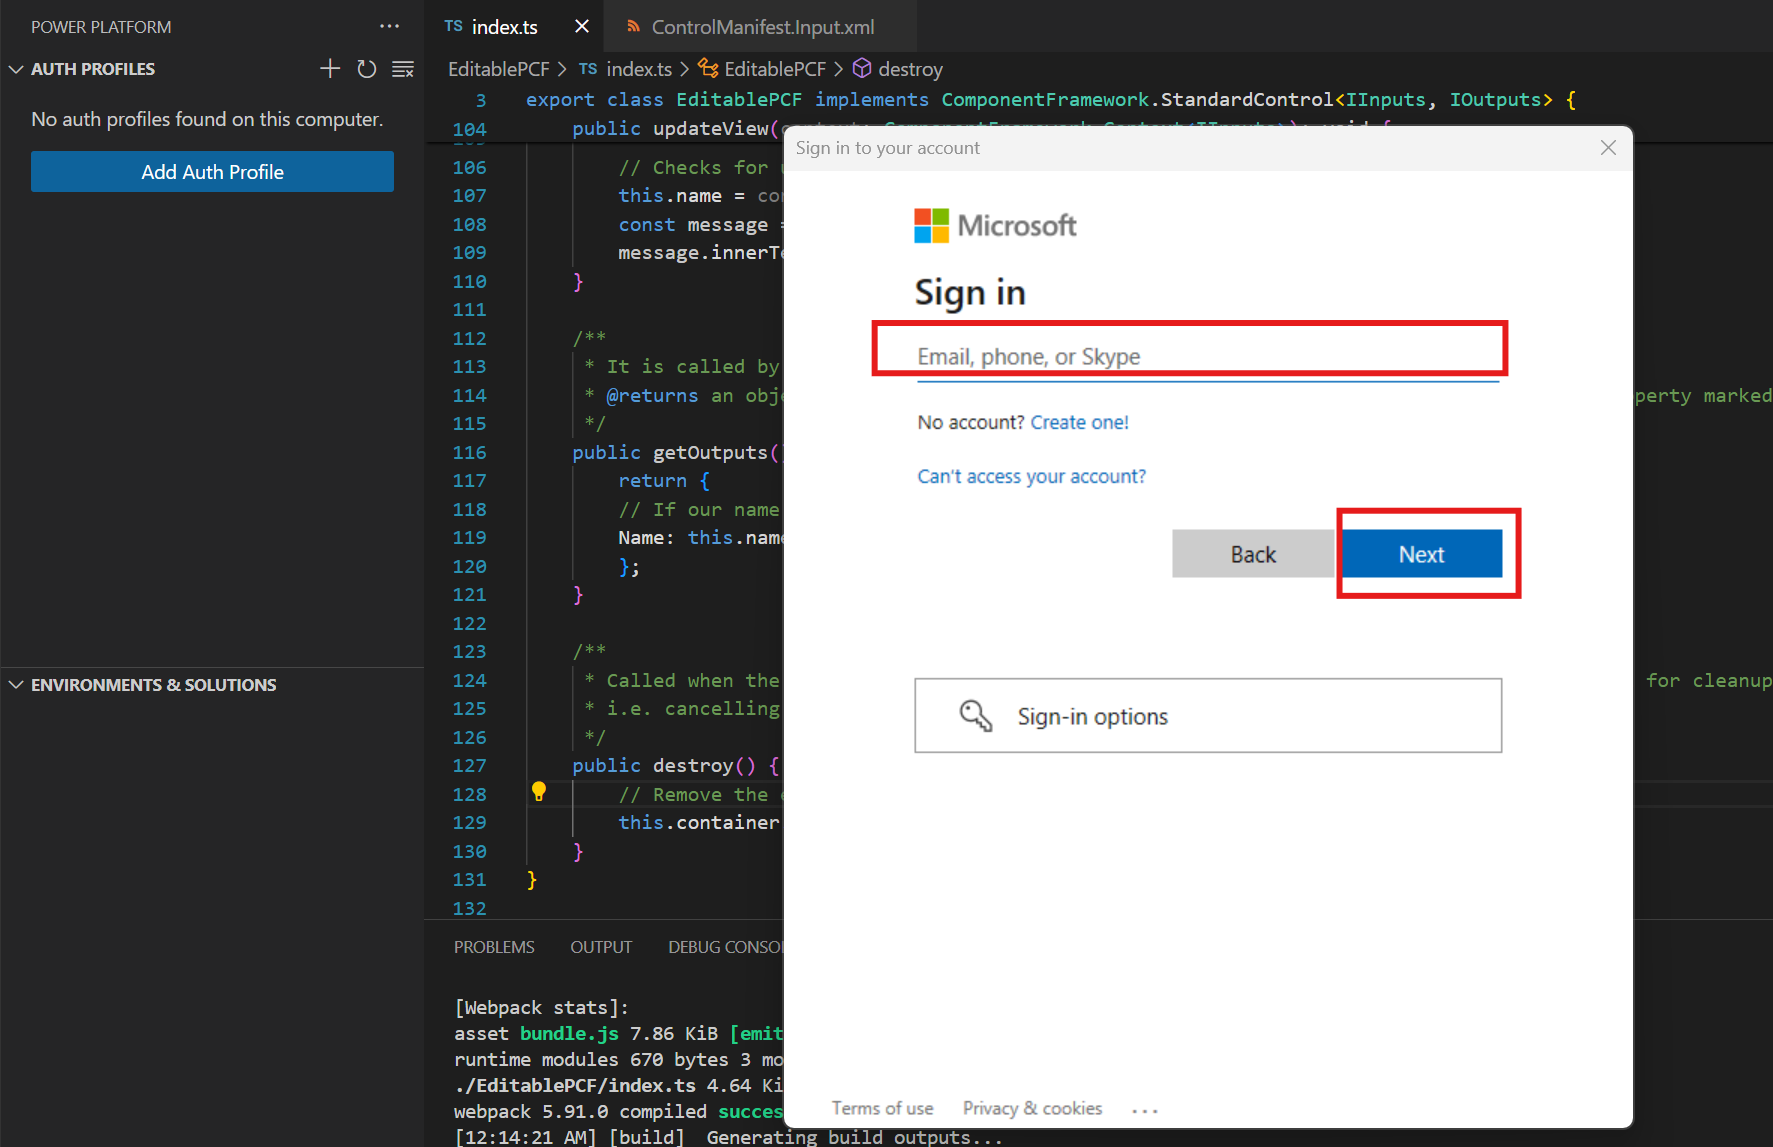
Look for a Sign in to your account popup and select the account you wish to use. Enter the appropriate username, select NEXT, and enter the password. You might need to provide MFA if it has been set up in your tenant.
The profile you added will show up under Auth Profiles, along with the associated Environments & Solutions. Be sure that you select the appropriate environment under Environment & Solutions. There will be a star you can select. Be sure the environment selected has the Component Framework enabled as well in the Environment Features section of the Power Platform Admin Center for the selected Environment.

Select Terminal and select New Terminal.
Build the project by running the command below and make sure it builds successfully.
npm run build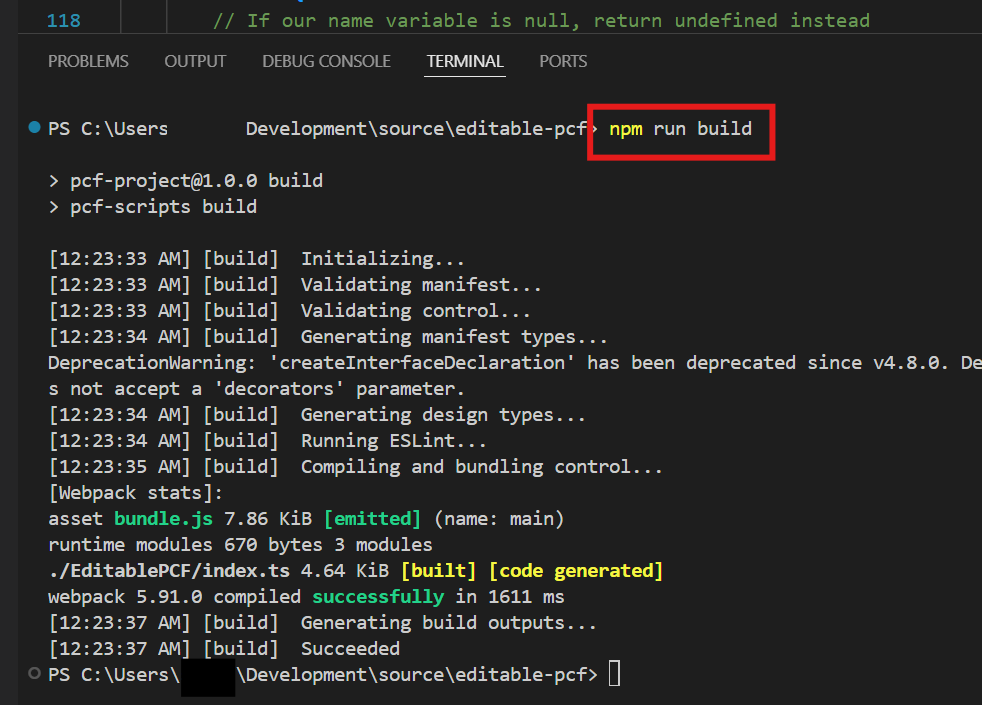
Push the custom control to your environment by running the command below.
pac pcf push --publisher-prefix msl
Notice in the image the red box that indicates the Connected as and Connected To sections. Ensure these match the AUTH PROFILE and selected ENVIRONMENT from your previous steps.
The solution should get imported into your environment and published.
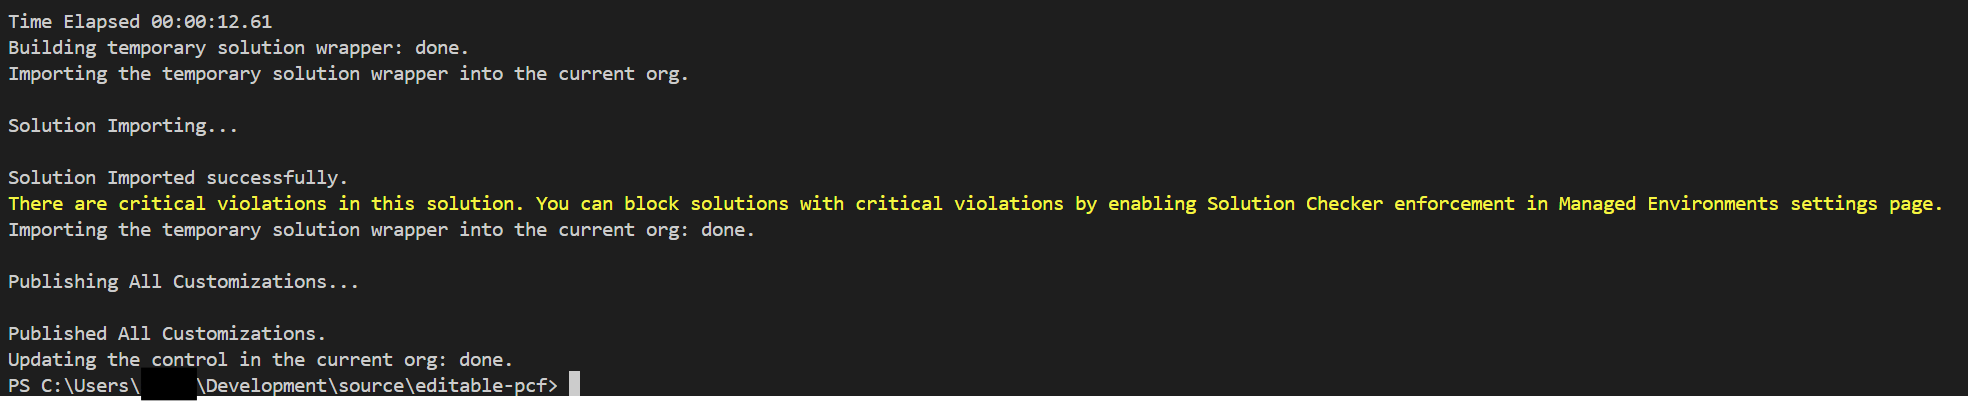
You can ignore the Yellow warning message if it's received.
Navigate to Power Apps maker portal and make sure you are in the correct environment.
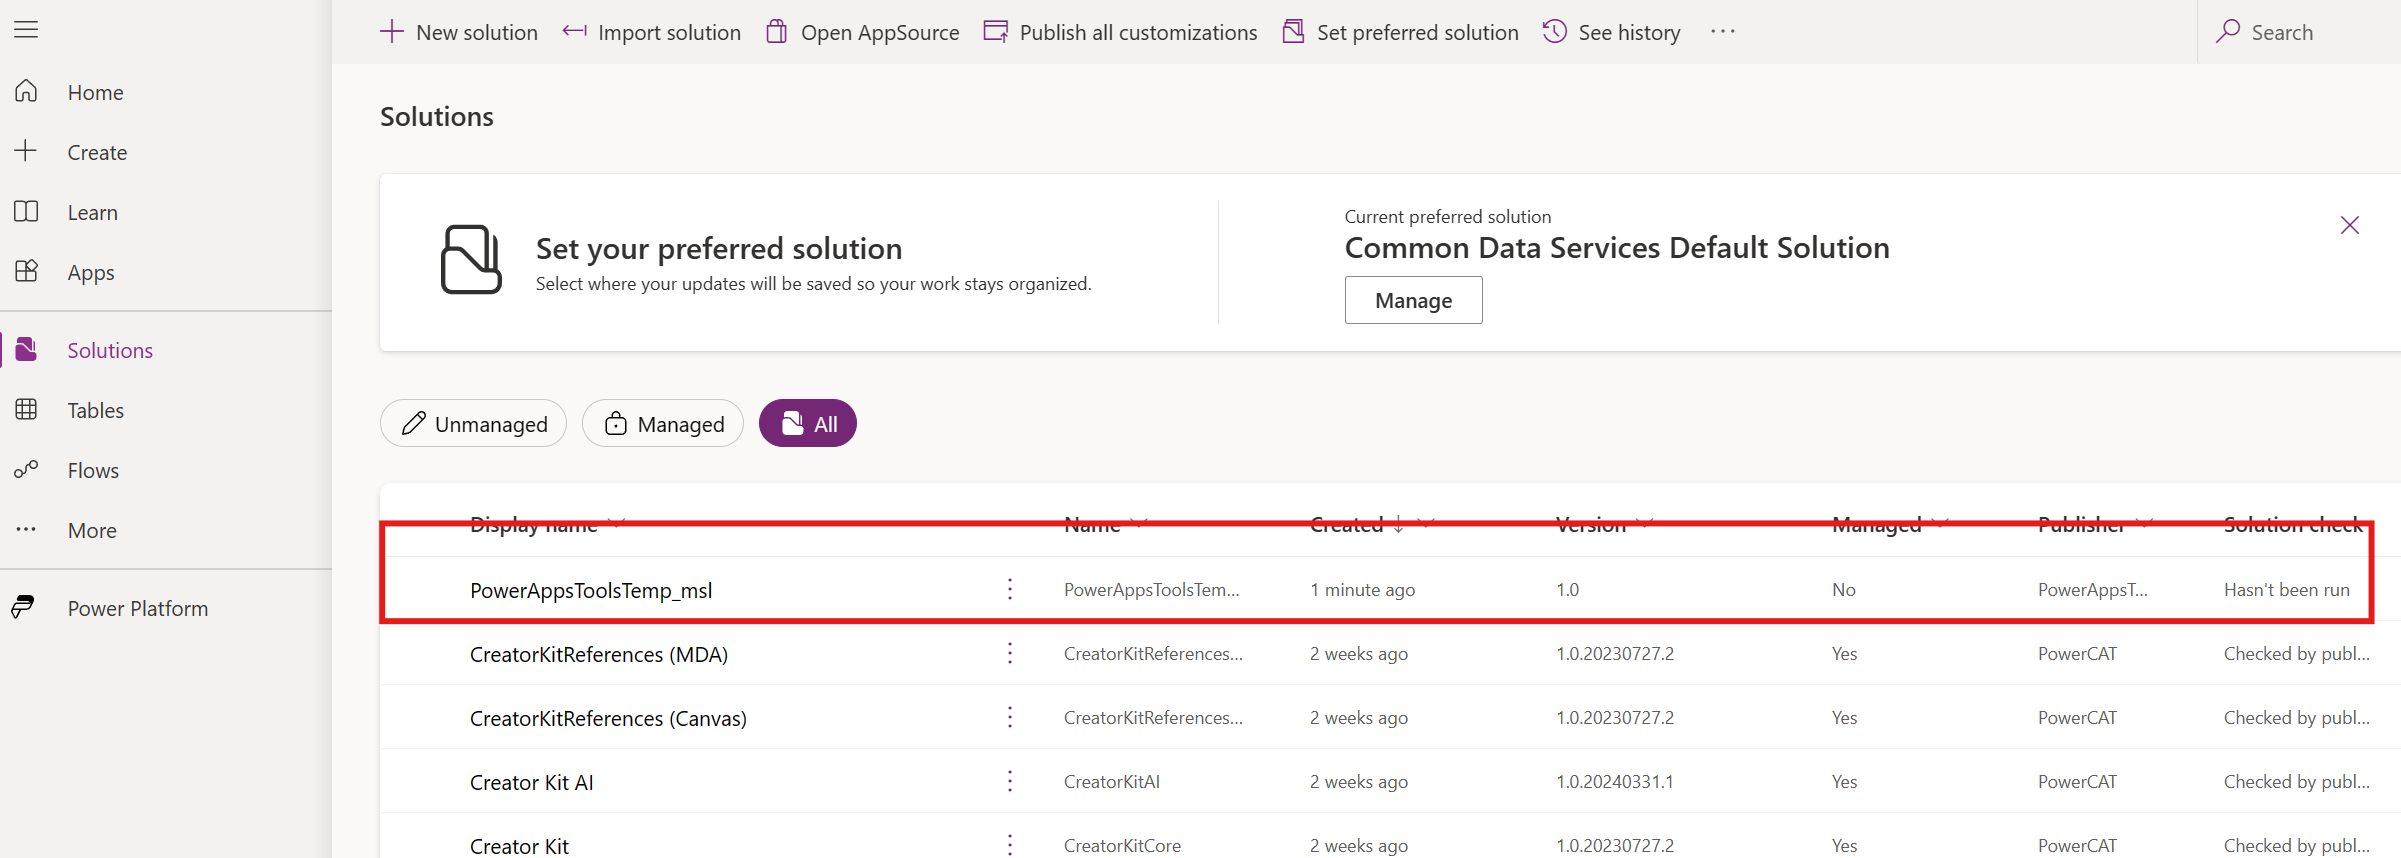
Select Solutions.
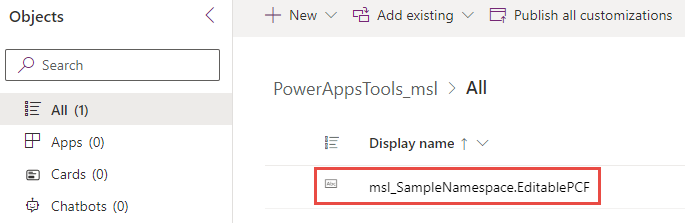
You should see PowerAppsTools_msl solution. Select to open the solution.
You should see the custom control you created.
Create a solution file with Power Platform CLI
To create a solution file with Power Platform CLI, follow these steps:
Go back Visual Studio Code and make sure you have the EDITABLE-PCF project open.
Go to the terminal and to Command prompt.
Create new folder by running the command below.
md SolutionChange the directory to the Solution folder you created. Run the command below.
cd SolutionInitialize your Dataverse solution project with the following command:
pac solution init --publisher-name mslearn --publisher-prefix mslInform your solution project its components will be added during the build. To accomplish this task, use the following command:
pac solution add-reference --path ..To generate your solution's zip file, use Microsoft Build Engine, or msbuild for short. You'll only need to use the /restore flag the first time the solution project is built. In every subsequent build, you'll need to run msbuild only. The path to your MSBuild.exe can be different depending on the version of Visual Studio you've installed on your machine.
"C:\Program Files (x86)\Microsoft Visual Studio\2022\BuildTools\MSBuild\Current\Bin\MSBuild.exe\" /t:build /restoreThe build should succeed.
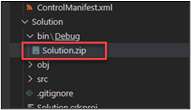
Locate the Solution folder you created and expand it.
Expand the bin\debug folder.
You should see the solution.zip file here.
Note
To run MSBuild, you need to have either Visual Studio or the Visual Studio Build Tools installed. You can install the build tools from the Visual Studio Downloads. To access MSBuild, you might need to add it to the path directory of your Windows environment variables. For example, Visual Studio 2022 stores MSBuild at C:\Program Files (x86)\Microsoft Visual Studio\2022\Enterprise\MSBuild\Current\Bin. You can also use the Visual Studio Developer Command Prompt to access MSBuild, or run it by using the full qualified path ("C:\Program Files (x86)\Microsoft Visual Studio\2022\Enterprise\MSBuild\Current\Bin\MSBuild.exe"/t:build /restore).
The default package type is a Managed solution. If you want to export as Unmanaged (or Both), you can clear (or uncomment) the comment in the following section from your Solutions.cdsproj and edit the SolutionPackageType node accordingly:
   <!-- Solution Packager overrides un-comment to use: SolutionPackagerType Managed, Unmanaged, Both)-->
        <PropertyGroup>
        <SolutionPackageType>Unmanaged</SolutionPackageType>
        </PropertyGroup>
You can set the msbuild configuration to Release to issue a production build, for example, msbuild /p:configuration=Release.
You can manually import the containing zip file that is found in bin\Debug or bin\Release, depending on your release configuration. You can also programmatically deploy your code components by using the Power Platform CLI. For more information, see Connecting to your environment and Deploying code components sections of the Package a code component documentation.