Exercise - Create a front-end app
In this exercise, you build the front-end app. You start with a scaffold, and then you build out the components you need to add data to the app.
Configure dev environment
A development container environment is available with all dependencies required to complete every exercise in this project. You can run the development container in GitHub Codespaces or locally using Visual Studio Code.
GitHub Codespaces runs a development container managed by GitHub with Visual Studio Code for the Web as the user interface. For the most straightforward development environment, use GitHub Codespaces so that you have the correct developer tools and dependencies preinstalled to complete this training module.
Important
All GitHub accounts can use Codespaces for up to 60 hours free each month with 2 core instances. For more information, see GitHub Codespaces monthly included storage and core hours.
Start the process to create a new GitHub Codespace on the
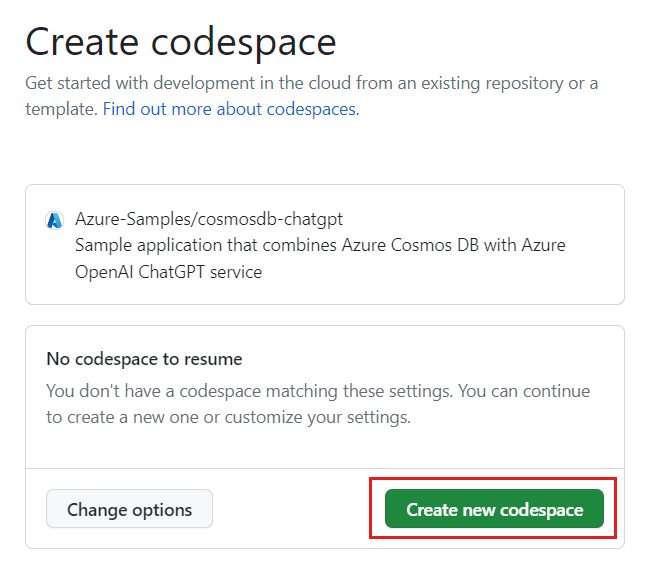
mainbranch of theMicrosoftDocs/minimal-api-work-with-databasesGitHub repository.On the Create codespace page, review the codespace configuration settings and then select Create new codespace
Wait for the codespace to start. This startup process can take a few minutes.
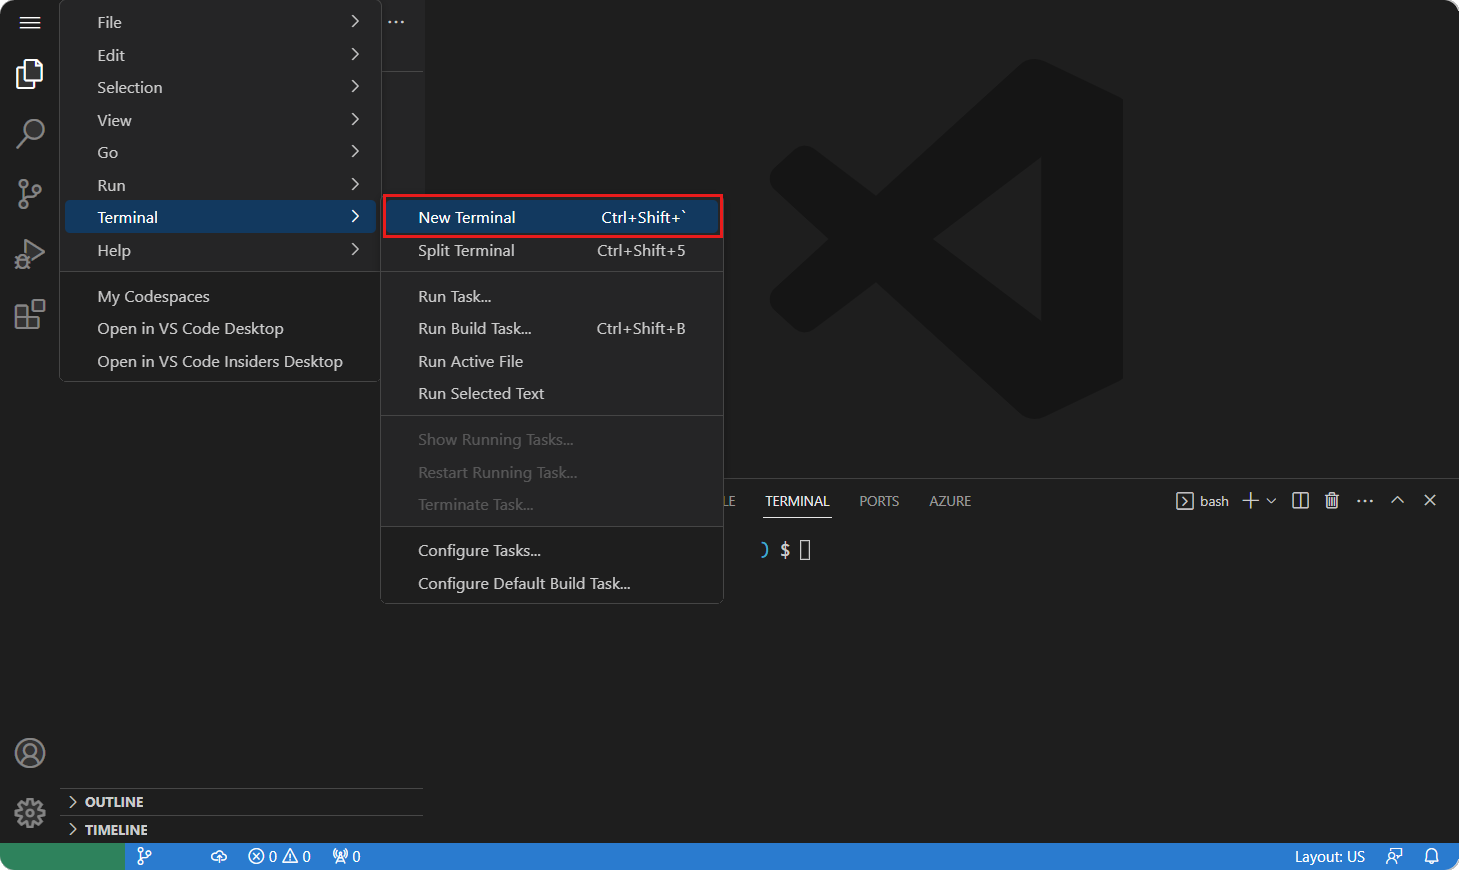
Open a new terminal in the codespace.
Tip
You can use the main menu to navigate to the Terminal menu option and then select the New Terminal option.
Validate that .NET 6 and Node.js are installed in your environment:
dotnet --list-sdks
node --version
Close the terminal.
The remaining exercises in this project take place in the context of this development container.


Scaffold an app
To scaffold an app, you use the Vite scaffolder. By using npx, you can call the scaffolder and have it create a working React app in a matter of seconds.
Open an integrated terminal, Ctrl + ` to create the app by using
npx create vite@latest PizzaClient --template react:npm create vite@latest PizzaClient --template react cd PizzaClientAnswer the CLI prompts as follows:
- Package name:
pizzaclient- The folder created by Vite uses Camel case,PizzaClient. - Select a framework:
React - Select a variant:
Javascript
What you get is a directory, PizzaClient, that contains your scaffolded React app.
- Package name:
Install dependencies by calling
npm install:npm installUpdate the
vite.config.jsto provide a consistent front-end port. Replace the contents of./vite.config.jswith the following code:import { defineConfig } from 'vite' import react from '@vitejs/plugin-react' // https://vitejs.dev/config/ export default defineConfig({ plugins: [react()], server: { port: 3000, // Client port host: true } })- PORT: The port is set to 3000, a common port number used for front-end apps.
Start the app by calling
npm run dev:npm run devWhen you see the notification to Open in browser, select that.
You should see the page render like this example:
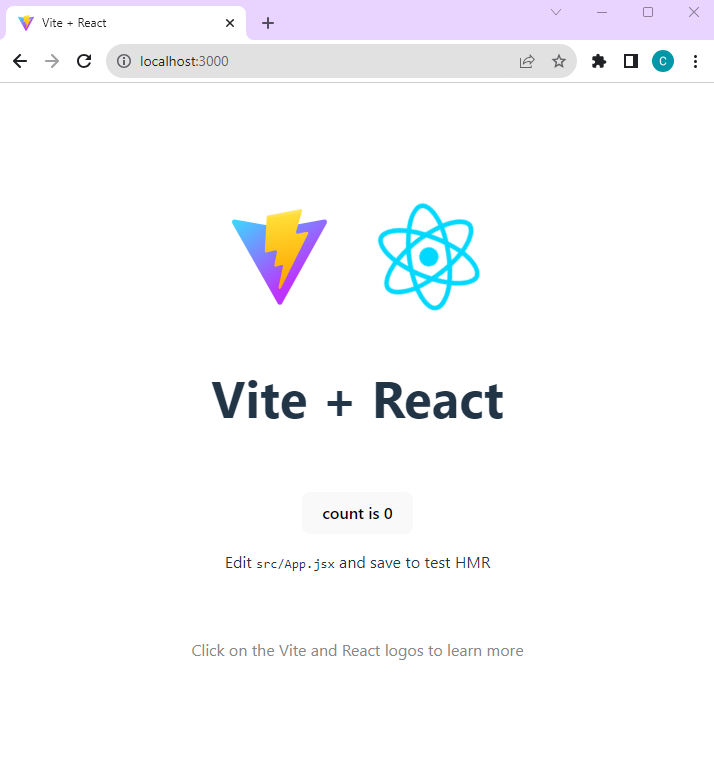
Leave the browser open, you will return to it several times in the training module.
When you are done in the browser and need to return to the development environment, you don't need to stop the app in the terminal. Vite will restart the app when it detects changes.
Build the Pizza component
Build the parent component that manages state for the pizza list. The initial data is hard-coded in the component. Later, you'll move the data to a server.
Create a file in the src subdirectory named Pizza.jsx and give it the following content:
import { useState, useEffect } from 'react';
import PizzaList from './PizzaList';

const term = "Pizza";

function Pizza() {
  const [data, setData] = useState([]);
  const [maxId, setMaxId] = useState(0);

  useEffect(() => {
    fetchPizzaData();
  }, []);

  const fetchPizzaData = () => {
    // Simulate fetching data from API
    const pizzaData = [
      { id: 1, name: 'Margherita', description: 'Tomato sauce, mozzarella, and basil' },
      { id: 2, name: 'Pepperoni', description: 'Tomato sauce, mozzarella, and pepperoni' },
      { id: 3, name: 'Hawaiian', description: 'Tomato sauce, mozzarella, ham, and pineapple' },
    ];
    setData(pizzaData);
    setMaxId(Math.max(...pizzaData.map(pizza => pizza.id)));
  };

  const handleCreate = (item) => {
    // Simulate creating item on API
    const newItem = { ...item, id: data.length + 1 };
    setData([...data, newItem]);
    setMaxId(maxId + 1);
  };

  const handleUpdate = (item) => {
    // Simulate updating item on API
    const updatedData = data.map(pizza => pizza.id === item.id ? item : pizza);
    setData(updatedData);
  };

  const handleDelete = (id) => {
    // Simulate deleting item on API
    const updatedData = data.filter(pizza => pizza.id !== id);
    setData(updatedData);
  };


  return (
    <div>
      <PizzaList
        name={term}
        data={data}
        onCreate={handleCreate}
        onUpdate={handleUpdate}
        onDelete={handleDelete}
      />
    </div>
  );
}

export default Pizza;
This component is responsible for managing the data and passing it to the
PizzaListchild component. It also handles thecreate,update, anddeletedata operations. This component has no visible UI. That functionality is handled by thePizzaListcomponent.The
Pizzacomponent uses theuseStateanduseEffecthooks to create data state. TheuseStatehook is used to manage thedataandmaxId. TheuseEffecthook is used to set the data on the initial page request. ThePizzacomponent passes thedatato thePizzaListcomponent.
Build a Pizza list component
Create a file in the src subdirectory named PizzaList.jsx and give it the following content:
import { useState } from 'react';

function PizzaList({ name, data, onCreate, onUpdate, onDelete, error }) {
  const [formData, setFormData] = useState({ id: '', name: '', description: '' });
  const [editingId, setEditingId] = useState(null);

  const handleFormChange = (event) => {
    const { name, value } = event.target;
    setFormData(prevData => ({
      ...prevData,
      [name]: value,
    }));
  };

  const handleSubmit = (event) => {
    event.preventDefault();
    if (editingId) {
      onUpdate(formData);
      setEditingId(null);
    } else {
      onCreate(formData);
    }
    setFormData({ id: '', name: '', description: '' });
  };

  const handleEdit = (item) => {
    setEditingId(item.id);
    setFormData({
      id: item.id,
      name: item.name,
      description: item.description,
    });
  };

  const handleCancelEdit = () => {
    setEditingId(null);
    setFormData({ id: '', name: '', description: '' });
  };


  return (
    <div>
      <h2>New {name}</h2>
      <form onSubmit={handleSubmit}>
        <input
          type="text"
          name="name"
          placeholder="Name"
          value={formData.name}
          onChange={handleFormChange}
        />
        <input
          type="text"
          name="description"
          placeholder="Description"
          value={formData.description}
          onChange={handleFormChange}
        />
        <button type="submit">{editingId ? 'Update' : 'Create'}</button>
        {editingId && <button type="button" onClick={handleCancelEdit}>Cancel</button>}
      </form>
      {error && <div>{error.message}</div>}
      <h2>{name}s</h2>
      <ul>
        {data.map(item => (
          <li key={item.id}>
            <div>{item.name} - {item.description}</div>
            <div><button onClick={() => handleEdit(item)}>Edit</button>
            <button onClick={() => onDelete(item.id)}>Delete</button></div>
          </li>
        ))}
      </ul>
    </div>
  );
}

export default PizzaList;
The PizzaList React component renders a form to create and edit pizza items. The component receives props from the parent Pizza.jsx and uses the useState and useEffect hooks to manage the form data and the editing state.
The PizzaList component renders a form with two input fields for the pizza name and description, and two buttons to create or update a pizza.
Add Pizza to your app
Open the main.jsx and replace the code with the following so the Pizza component is included.
import React from 'react'
import ReactDOM from 'react-dom/client'

import Pizza from './Pizza'

ReactDOM.createRoot(document.getElementById('root')).render(
  <React.StrictMode>
    <Pizza />
  </React.StrictMode>,
)
Test the app
Return to the browser and reload the app.
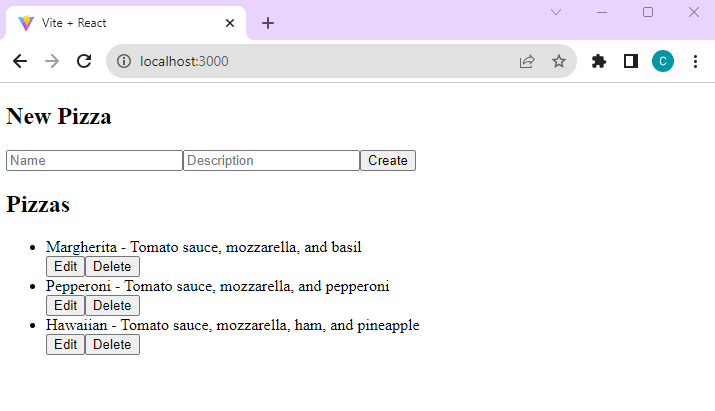
The app displays the form with the hard-coded data provided.