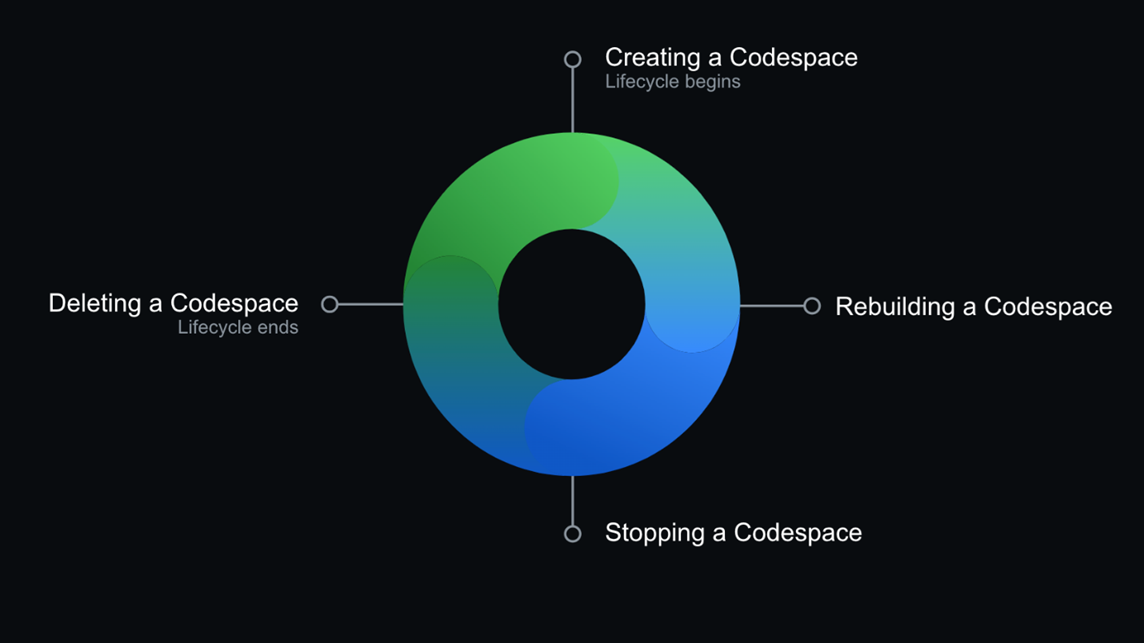
The Codespace lifecycle
GitHub Codespaces is configurable, allowing you to create a customized development environment for your project. By configuring a custom development environment for your project, you can have a repeatable Codespace configuration for all users of your project.
A Codespace's lifecycle begins when you create a Codespace and ends when you delete it. You can disconnect and reconnect to an active Codespace without affecting its running processes. You can stop and restart a Codespace without losing the changes that you make to your project.
Create a Codespace
You can create a Codespace on GitHub.com, in Visual Studio Code, or by GitHub CLI. There are four ways to create a Codespace:
- From a GitHub template or any template repository on GitHub.com to start a new project.
- From a branch in your repository, for new feature work.
- From an open pull request, to explore work-in-progress.
- From a commit in a repository's history to investigate a bug at a specific point in time.
You can temporarily use a Codespace in order to test code or you can return to the same Codespace to work on long-running feature work.
You can create more than one Codespace per repository or even per branch. However, there are limits to the number of Codespaces you can create and run at the same time. When you reach the maximum number of Codespaces and try to create another, a message is displayed. The message tells you that an existing Codespace needs to be removed/deleted before a new Codespace can be created.
You can create a new Codespace each time you develop in GitHub Codespaces or keep a long-running Codespace for a feature. If starting a new project, create a Codespace from a template and publish it to a repository on GitHub later.
When creating a new Codespace each time you work on a project, you should regularly push your changes to ensure that any new commits are on GitHub. When using a long-running Codespace for a new project, pull from the repository's default branch each time you start working in Codespace to enable your environment to get the latest commits. The workflow is similar to working with a project on a local machine.
Repository administrators can enable GitHub Codespaces prebuilds for a repository to speed up Codespace creation.
For an in-depth walkthrough and step-by-step guidance, see the resources titled A beginner’s guide to learning to code with GitHub Codespaces and Developing in a Codespace located in the Summary unit at the end of this module.
Codespace creation process

When you create a GitHub Codespace, four processes occur:
- A virtual machine and storage are assigned to your Codespace.
- A container is created.
- A connection to the Codespace is made.
- A post-creation setup is made.
Save changes in a Codespace
When you connect to a Codespace through the web, AutoSave is automatically enabled to save changes after a specific amount of time passes. When you connect to a Codespace through Visual Studio Code running on your desktop, you must enable AutoSave.
Your work saves to a virtual machine in the cloud. You can close and stop a Codespace and return to the saved work at a later time. If you have unsaved changes, you receive a prompt to save them before exiting. However, if your Codespace is deleted, then your work is lost. To save your work, you must commit your changes and push them to your remote repository or publish your work to a new one if you created your Codespace from a template.
Open an existing Codespace
You can reopen any of your active or stopped Codespaces on GitHub.com, in a JetBrains IDE, in Visual Studio Code, or by using GitHub CLI.
To resume an existing Codespace, you can go to the repository where the Codespace exists, select the , key and then select Resume this codespace. Or, you can open https://github.com/codespaces in the browser, select the repository, and then select the existing Codespace.
Timeouts for a Codespace
If a Codespace is inactive, or if you exit your Codespace without explicitly stopping, the application times out after a period of inactivity and stops running. The default timeout is after 30 minutes of inactivity. When a Codespace times out, your data is kept from the last time your changes were saved.
Internet connection while using GitHub Codespaces
A Codespace requires an internet connection. If the connection to the internet is lost while working in a Codespace, you aren't able to access your Codespace. However, any uncommitted changes are saved. When you reestablish the internet connection, you can access the Codespace in the same state that it was left in when the connection was lost.
If you have an unstable internet connection, you should frequently commit and push your changes.
Close or stop a Codespace
If you exit the Codespace without running the stop command or leave the Codespace running without interaction, the Codespace and its running processes continue during the inactivity timeout period. The default inactivity timeout period is 30 minutes. You can define your personal timeout setting for the Codespaces you create, but an organization's timeout policy can overrule the setting.
Only running Codespaces incur CPU charges. A stopped Codespace incurs only storage costs.
You can stop and restart a Codespace to apply changes. For example, if you change the machine type used for your Codespace, you need to stop and restart it for the change to take effect. When you close or stop your Codespace, all uncommitted changes are preserved until you connect to the Codespace again.
You can also stop Codespace and choose to restart or delete it if you encounter an error or something unexpected.
Rebuild a Codespace
You can rebuild your Codespace to implement changes to your dev container configuration. For most uses, you can create a new Codespace as an alternative to rebuilding a Codespace. When you rebuild your Codespace, images from the cache speed-up the rebuild process. You can also perform a full rebuild to clear the cache and rebuild the container with fresh images.
When you rebuild the container in a Codespace, changes you made outside the /workspaces directory are cleared. Changes you made inside the /workspaces directory, including the clone of the repository or template you created the Codespace from, are preserved over a rebuild.
Delete a Codespace
You can create a Codespace for a particular task. After you push your changes to a remote branch, then you can safely delete that Codespace.
If you try to delete a Codespace with unpushed git commits, the editor notifies you that you have changes that aren't yet pushed to a remote branch. You can push any desired changes and then delete your Codespace. You can also continue to delete your Codespace and any uncommitted changes or export the code to a new branch without creating a new Codespace.
Stopped Codespaces that remain inactive for a specified amount of time are deleted automatically. Inactive Codespaces delete after 30 days, but you can customize your Codespace retention intervals.