Set up credit and collections components
This unit explains how to set up credit and collections components.
Set up aging period definitions
You can use the Aging period definitions page to analyze the maturity of customer accounts and vendor accounts, based on a date that you enter. The date entered, together with the unit and interval information that you enter on the Periods tab in this page, is used to calculate a date interval for each Aging period (column header) in the Aging period definition page.
Each aging period that you set up for the aging period definition corresponds to a column on the list page or in the page or report when the analysis is performed.
The aging periods are shown on the list page, or in the page or report, in the order in which you set them. You need to use aging period definitions to create customer aging snapshots. The aging snapshots are used to display information in the Collections page and in related list pages.
An aging period definition defines the columns that appear on the Aged balances, Collections activities, and Collections cases list pages. It also defines the periods that appear on the Collections page.
If a customer pool is set up, the aging period definition for the pool is used.
If no customer pools are set up, the default aging period definition that is specified on the Accounts receivable parameters page is used.
If no default aging period definition is specified, the first aging period definition on the Credit and collections > Setup > Aging period definitions page is used.
Create a customer aging snapshot
Aging snapshots provide quick access to aging information for collections personnel by using the Aged balances list page in Credit and collections > Collections > Aged balances. This page includes icons next to the Amount due balance field that enable users to quickly identify accounts and their aging status.
An aging snapshot must be created before you can view information on the Credit and collections > Collections > Aged balances page.
Go to Credit and collections > Periodic tasks > Age customer balances to update the customer aging snapshot.
For each customer, an aging snapshot contains the following elements.
- An aging snapshot header
- One or more company aging snapshot headers
- Detail records for each aging period in the aging period definition
Create aging snapshot records for all customers or for the customers in a customer pool.
Optional - Set up customer pools
You can set up customer pools to represent groups of customers.
You can use customer pools as filters for the customer information that appears on Credit and collections > Collections > Setup > Customer pools page, or when you create aging snapshots.
The following are examples that might be used for customer pools.
- Customers who have balances over a specified amount
- Customers in specific countries, regions, or districts
- Types of customers
- Customers grouped by size, volume, or frequency of ordering
Optional - Create a collection agent
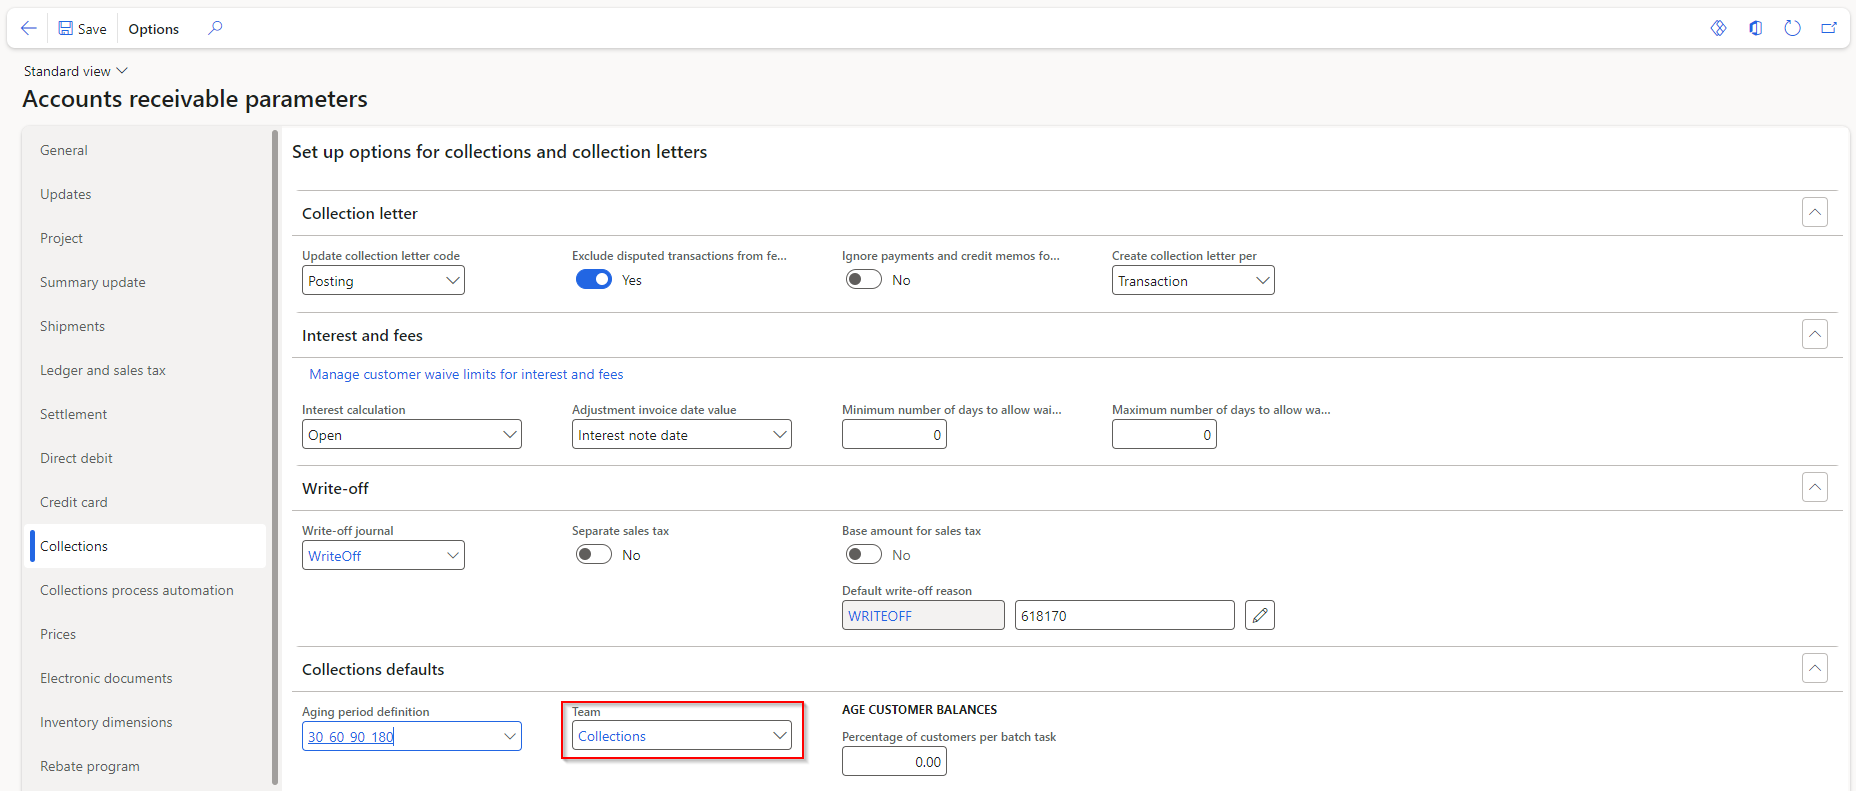
If multiple people in your organization do collections work, you can set up a collections team. You can select the team on the Accounts receivable parameters page.
Before workers can create activities or send email messages by using the Collections page, you need to verify that the Microsoft Outlook synchronization configuration key is selected, and that Outlook synchronization is set up for those workers.
If you don't create a collections team, a team is created automatically when you set up collection agents on the Credit and collections > Setup > Collection agents page.
Use the Collection agents page to set up employees and contractors as collections agents and optionally assign customer pools to them. A collection agent is a person who works with customers to make sure that payments are collected in a timely manner.
If multiple people in your organization do collections work, you can set up collection agents, who are set up as users on the User relations page.
You can assign customer pools (customer queries) to collection agents to help the agents organize their work. The collection agents are added to the team that is selected on the Accounts receivable parameters page. If a team isn't selected on that page, a new team that is named Collections is automatically created, and the collection agents are added to that team.
Set up a collections case category
If you plan to use cases to organize your collections work, set up a case category that has the Collections category type. Go to Organization administration > Setup > Cases > Case categories to create a collection case category.
This setup is required only if you want to use the case functionality on the Credit and collections > Collections > Collections cases page.
Set up email and address settings for collections customer contacts
Set up email addresses for customer contacts if you want to send email messages to those contacts from the Collections page. The collections contact is used as the default contact on the Collections page. You can set up a statement address for a customer if statements should use an address other than the primary address.
On the Credit and Collections FastTab for a customer, in the Collections contact field, select the person in the customer organization who works with your collection agent. This person is used as the default contact on the Collections page, and email messages are sent to him or her.
If a collections contact isn't specified for a customer, the primary contact for the customer is used. If a primary contact isn't specified, email messages are sent to the first address that is listed on the Contacts page.
