Configure views overview
This video discusses how to configure views for model-driven apps.
You can configure views via the View designer accessed by selecting Views from the Data experiences pane in the Tables dashboard.
The View designer gives you an interface very similar to the Form designer, where the table columns appear in a panel on the left side of the screen. On the right side is a Properties panel. You can add sorting and filtering options, as well as name/re-name and input a description for your view.
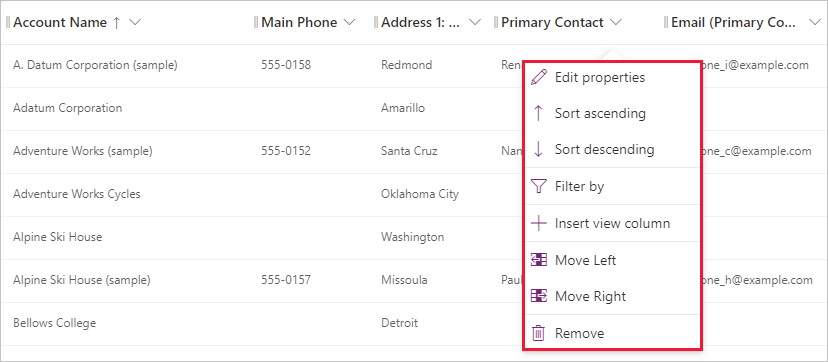
You can resize columns in the view designer, and you can reorder them by drag and drop. Each column has its own properties, viewable by selecting the column and then Edit properties. You can also sort and filter your views from the column header options.
Three types of views available are:
- Personal view - individually created and only visible to the person creating that view, unless they share the view with others.
- System view - special views the application depends on, which exist for system tables or are automatically created when you create custom tables. They're only editable by system admins or system customizers.
- Public view - general purpose views that are customizable. All app users have access to this kind of view, when a creator makes them available, through the view selector. You can add public views to subgrids in a form or as a list in a dashboard.


