Exercise - set up service connections
In this exercise, you'll investigate Service Connections.
Note
To follow along with this walkthrough, you'll need an existing Azure subscription containing an existing storage account.
Steps
You can set up a service connection to environments to create a secure and safe connection to the environment you want to deploy.
Service connections are also used to get resources from other places in a secure manner.
For example, you might need to get your source code from GitHub. Let's look at configuring a service connection to Azure in this case.
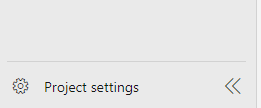
From the main menu in the Parts Unlimited project, click Project settings at the bottom of the screen.
In the Project Settings pane, from the Pipelines section, click Service Connections. Click the drop-down beside +New service connection.
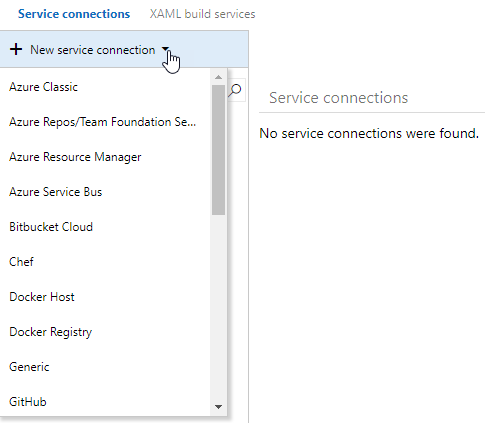
As you can see, there are many types of service connections. You can create a connection to:
- Apple App Store.
- Docker Registry
- Bitbucket.
- Azure Service bus.
In this case, we want to deploy a new Azure resource, so we'll use the Azure Resource Manager option.
Click Azure Resource Manager to add a new service connection.
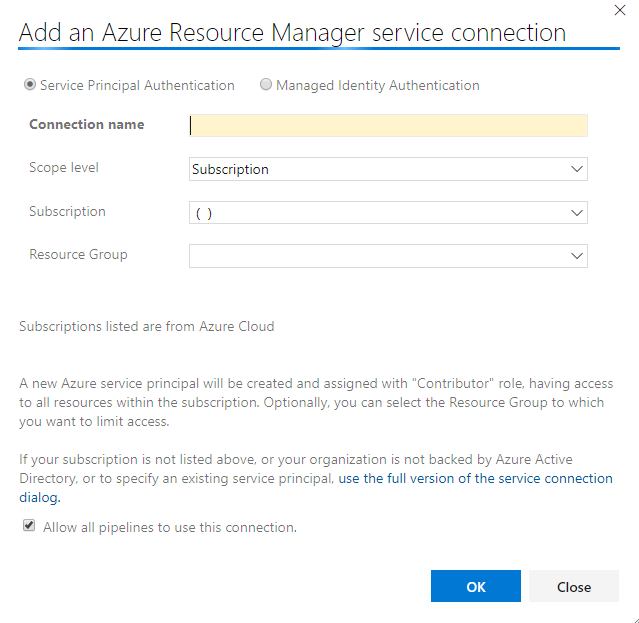
Set the Connection name to Azure Resource Manager Service Connection, click on an Azure Subscription, then select an existing Resource Group.
Note
You might be prompted to sign-in Azure at this point. If so, sign-in first.
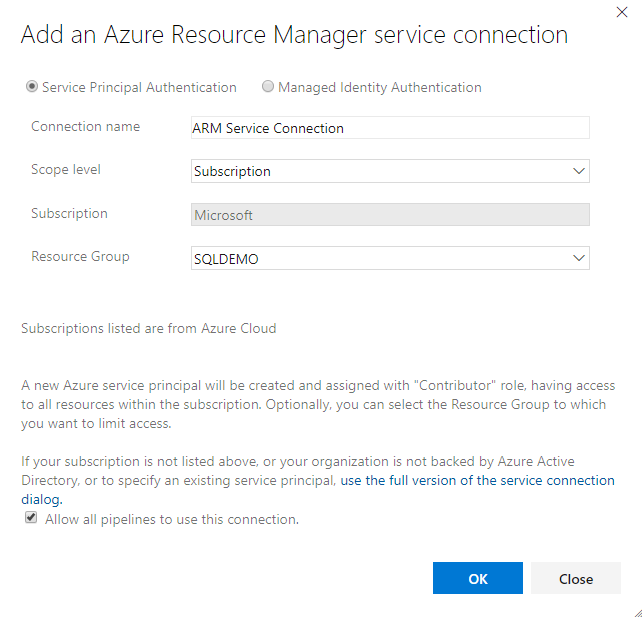
Notice that what we are creating is a Service Principal. We'll be using the Service Principal for authenticating to Azure. At the top of the window, there's an option to set up Managed Identity Authentication instead.
The Service Principal is a service account with only permissions in the specific subscription and resource group. It makes it a safe way to connect from the pipeline.
Important
When you create a service connection with Azure, the service principal gets a contributor role to the subscription or resource group. It's not enough to upload data to blob storage for the service principal. You must explicitly add the service principal to the Storage Blob Data Contributor role. Otherwise, the release gets failed with an authorization permission mismatch error.
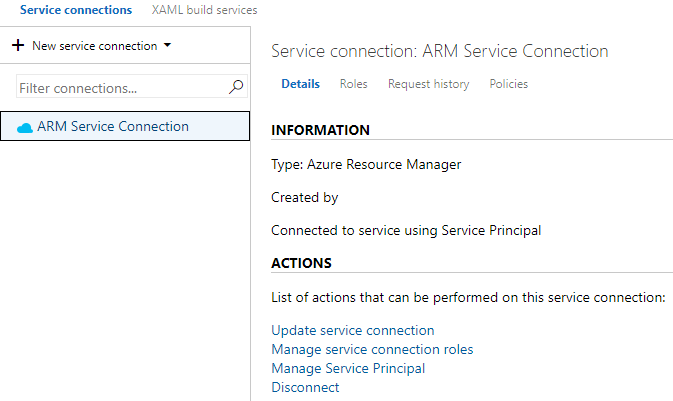
Click OK to create it. It will then be shown in the list.
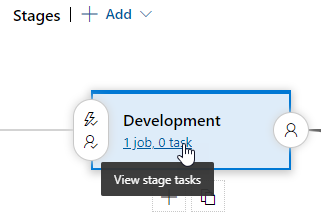
Click Pipelines, Releases, and Edit in the main Parts Unlimited menu to see the release pipeline. Click the link to View stage tasks.
The current list of tasks is then shown. Because we started with an empty template, there are no tasks yet. Each stage can execute many tasks.
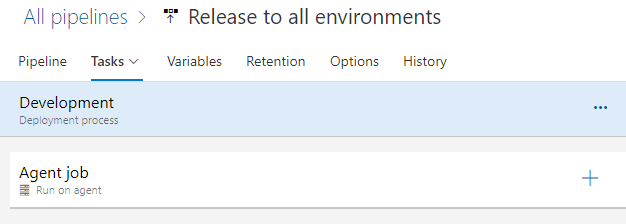
Click the + sign to the right of the Agent job to add a new task. See the available list of task types.
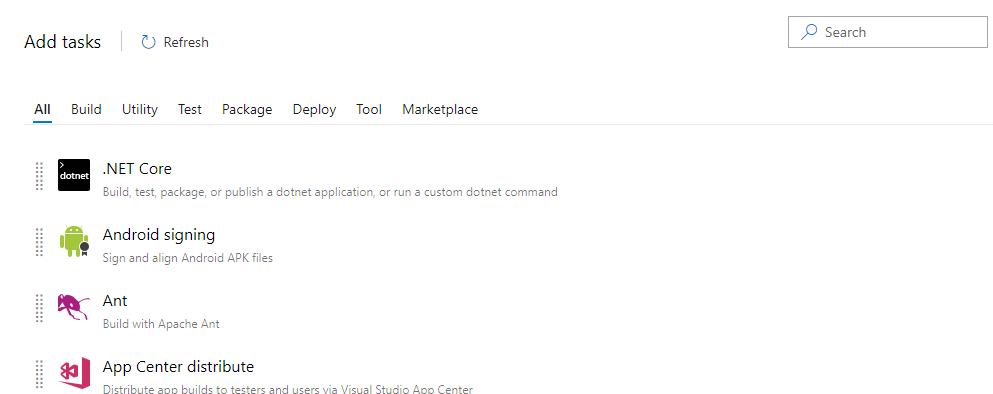
In the Search box, enter the word storage and see the list of storage-related tasks. These include standard tasks and tasks available from the Marketplace.
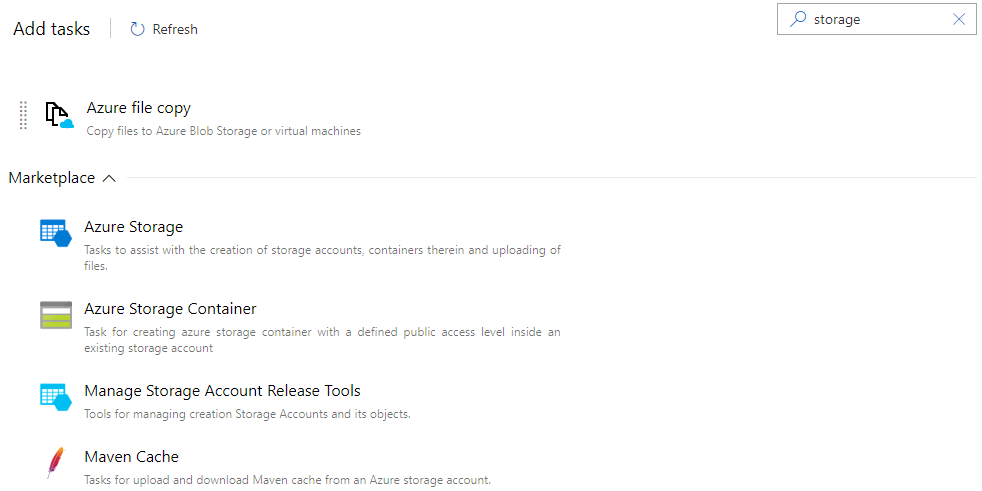
We'll use the Azure file copy task to copy one of our source files to a storage account container.
Hover over the Azure file copy task type and click Add when it appears. The task will be added to the stage but requires further configuration.
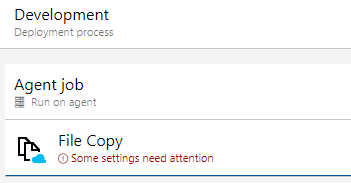
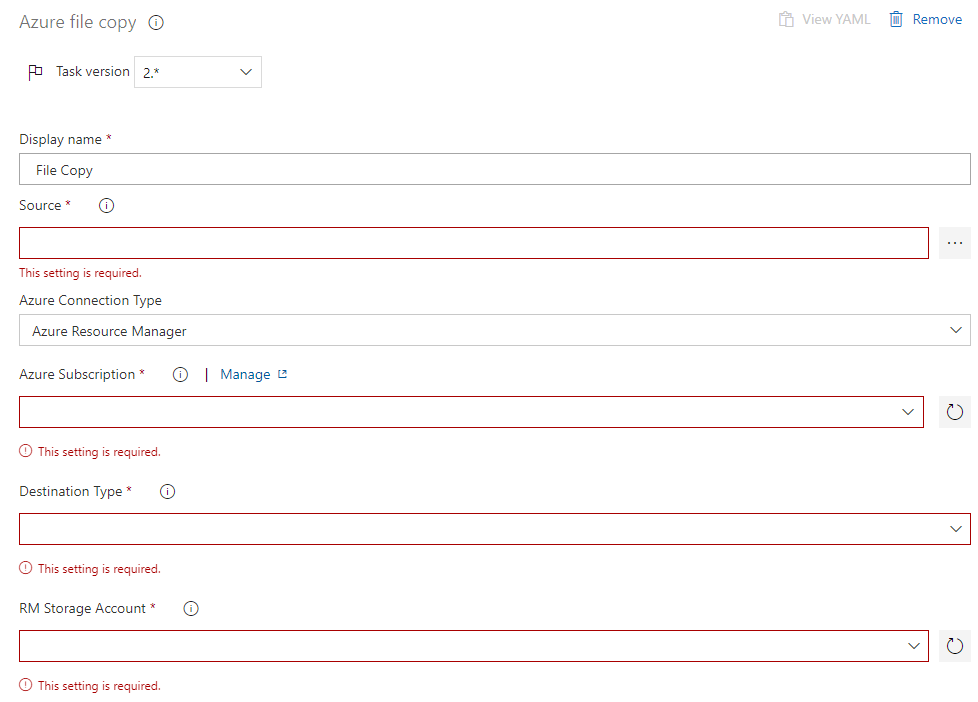
Click the File Copy task to see the required settings. Select the latest task version.
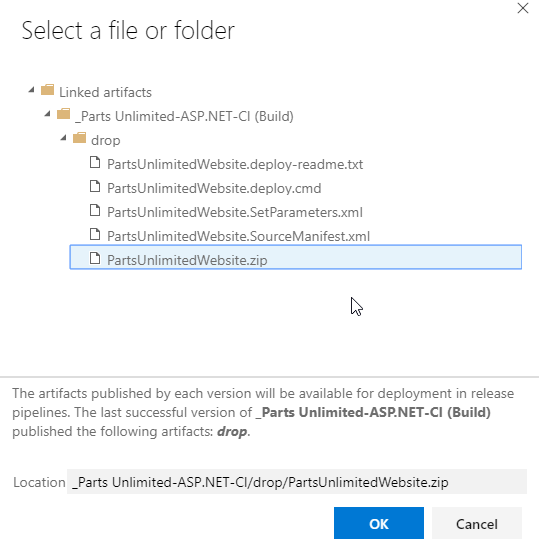
Set the Display Name to Backup website zip file, click the ellipsis beside Source, locate the file as follows, and click OK to select it.
We then need to provide details on connecting to the Azure subscription. The easiest and most secure way is to use our new Service Connection.
Find and select the Azure Resource Manager Service Connection we created from the Azure Subscription drop-down list.

From the Destination Type drop-down list, select Azure Blob, and from the RM Storage Account and Container Name, select the storage account, enter the container's name, then click Save at the top of the screen, OK.

To test the task, click Create release, and in the Create a new release pane, click Create.
Click the new release to view the details.
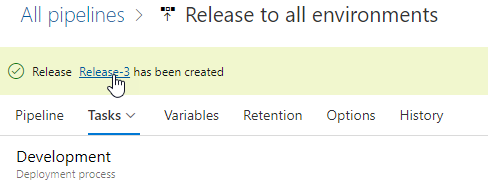
On the release page, approve the release so that it can continue.
Once the Development stage has been completed, you should see the file in the Azure storage account.

A key advantage of using service connections is that this type of connection is managed in a single place within the project settings. It doesn't involve connection details spread throughout the pipeline tasks.