Exercise - Create a declarative agent with an API plugin
Extending a declarative agent with actions allows it to retrieve and update data stored in external systems in real-time. Using API plugins, you can connect to external systems through their APIs to retrieve and update information.
Download the starter project
Start by downloading the sample project. In a web browser:
- Navigate to https://github.com/microsoft/learn-declarative-agent-api-plugin-typescript.
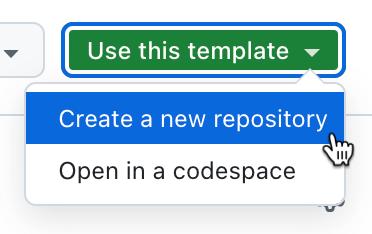
- If you have a GitHub account:
Select Use this template dropdown and from the menu choose Create a new repository.
From the list of available owners, choose your account.
Name the repository da-ristorante-api.
Confirm creating the repository using the Create repository button.
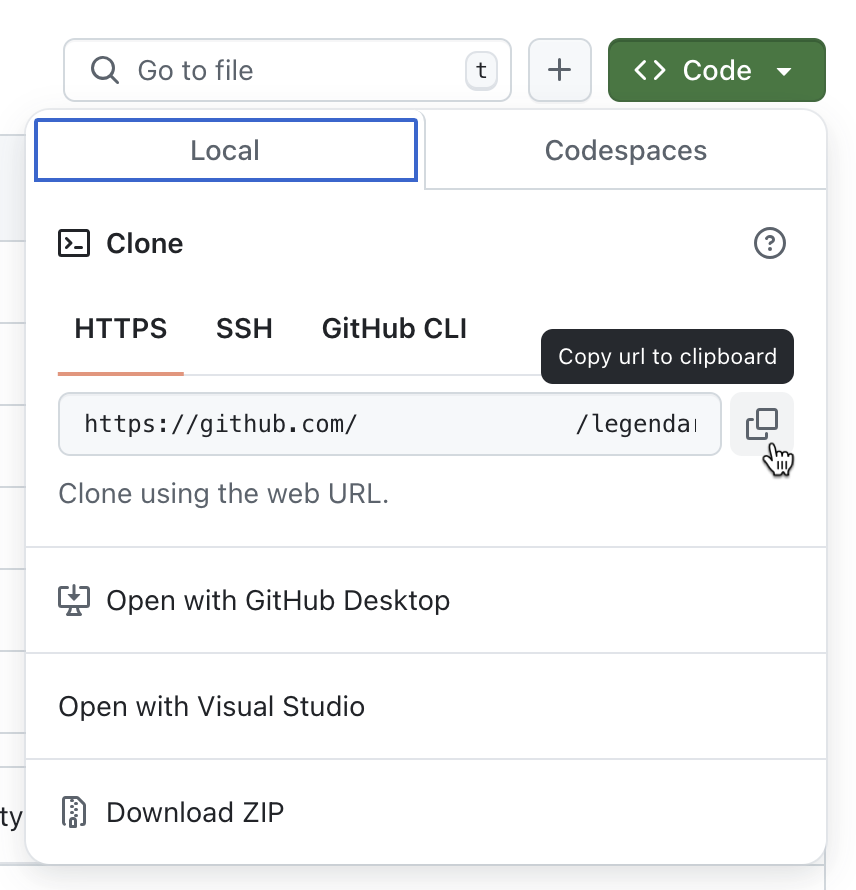
Wait for GitHub to create the repository. Then, copy the repository URL.
Open a command line.
In a command line, change the working directory to where you want to store the project on your disk.
Clone the repository using the following command:
git clone https://github.com/your-user/your-repo.Open the cloned folder in Visual Studio Code.
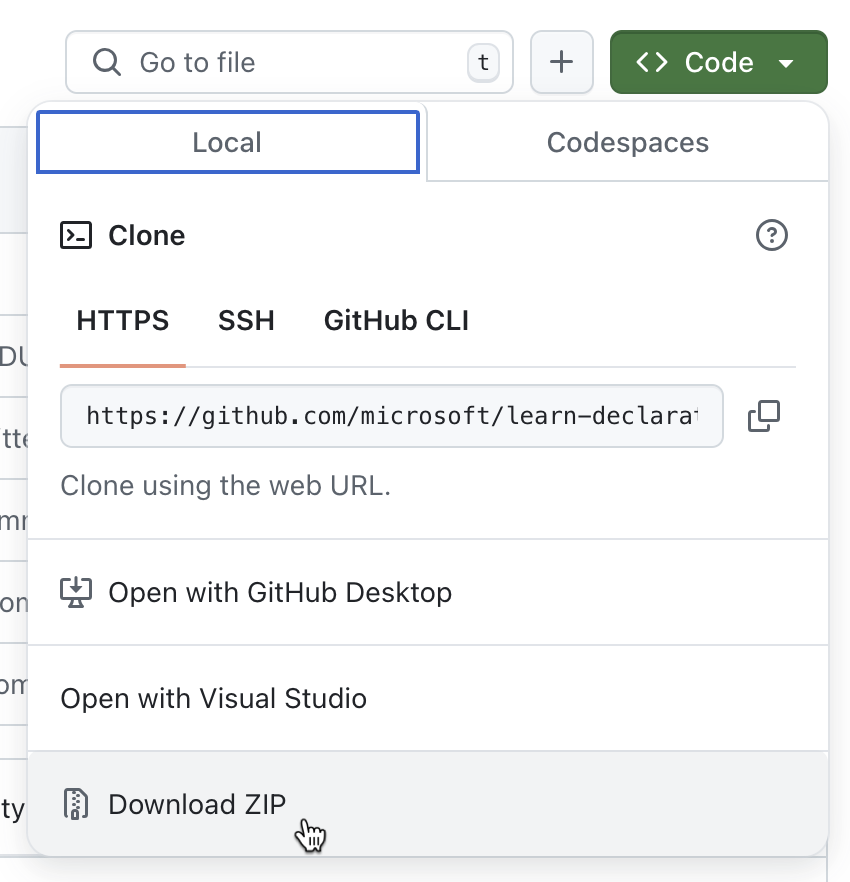
- If you don't have a GitHub account:
Download the repository contents as a ZIP.
Extract the contents of the ZIP on your disk.
Open the folder in Visual Studio Code.


The sample project is a Microsoft 365 Agents Toolkit project that includes a declarative agent and an anonymous API running on Azure Functions. The declarative agent is identical to a newly created declarative agent using Microsoft 365 Agents Toolkit. The API belongs to a fictitious Italian restaurant and allows you to browse today's menu and place orders.
Examine the API definition
First, look at the API definition of the Italian restaurant's API.
In Visual Studio Code:
In the Explorer view, open the appPackage/apiSpecificationFile/ristorante.yml file. The file is an OpenAPI specification that describes the API of the Italian restaurant.
Locate the servers.url property
servers:
  - url: http://localhost:7071/api
    description: Il Ristorante API server
Notice that it's pointing to a local URL which matches the standard URL when running Azure Functions locally.
Locate the paths property, which contains two operations: /dishes for retrieving today's menu, and /orders for placing an order.
Important
Notice that each operation contains the operationId property that uniquely identifies the operation in the API specification. Copilot requires each operation to have a unique ID so that it knows which API it should call for specific user prompts.
Examine the API implementation
Next, look at the sample API that you use in this exercise.
In Visual Studio Code:
In the Explorer view, open the src/data.json file. The file contains fictitious menu item for our Italian restaurant. Each dish consists of:
- name,
- description,
- link to an image,
- price,
- in which course it's served,
- type (dish or drink),
- optionally a list of allergens
In this exercise, APIs use this file as their data source.
Next, expand the src/functions folder. Notice two files named dishes.ts and placeOrder.ts. These files contain implementation of the two operations defined in the API specification.
Open the src/functions/dishes.ts file. Take a moment to review how the API is working. It starts with loading the sample data from the src/functions/data.json file.
import data from "../data.json";Next, it looks in the different query string parameters for possible filters that the client calling the API might pass.
const course = req.query.get('course');
const allergensString = req.query.get('allergens');
const allergens: string[] = allergensString ? allergensString.split(",") : [];
const type = req.query.get('type');
const name = req.query.get('name');
Based on the filters specified on the request, the API filters the data set and returns a response.
Next, examine the API for placing orders defined in the src/functions/placeOrder.ts file. The API starts with referencing the sample data. Then, it defines the shape of the order that the client sends in the request body.
interface OrderedDish {
  name?: string;
  quantity?: number;
}

interface Order {
  dishes: OrderedDish[];
}
When the API processes the request, it first checks if the request contains a body and if it has the correct shape. If not, it rejects the request with a 400 Bad Request error.
let order: Order | undefined;
try {
  order = await req.json() as Order | undefined;
}
catch (error) {
  return {
    status: 400,
    jsonBody: { message: "Invalid JSON format" },
  } as HttpResponseInit;
}

if (!order.dishes || !Array.isArray(order.dishes)) {
  return {
    status: 400,
    jsonBody: { message: "Invalid order format" }
  } as HttpResponseInit;
}
Next, the API resolves the request into dishes on the menu and calculates the total price.
let totalPrice = 0;
const orderDetails = order.dishes.map(orderedDish => {
  const dish = data.find(d => d.name.toLowerCase().includes(orderedDish.name.toLowerCase()));
  if (dish) {
    totalPrice += dish.price * orderedDish.quantity;
    return {
      name: dish.name,
      quantity: orderedDish.quantity,
      price: dish.price,
    };
  }
  else {
    context.error(`Invalid dish: ${orderedDish.name}`);
    return null;
  }
});
Important
Notice how the API expects the client to specify the dish by a part of its name rather than its ID. This is on purpose because large language models work better with words than numbers. Additionally, before calling the API to place the order, Copilot has the name of the dish readily available as part of the user's prompt. If Copilot had to refer to a dish by its ID, it would first need to retrieve which requires additional API requests and which Copilot can't do now.
When the API is ready, it returns a response with a total price, and a made-up order ID, and status.
const orderId = Math.floor(Math.random() * 10000);

return {
  status: 201,
  jsonBody: {
    order_id: orderId,
    status: "confirmed",
    total_price: totalPrice,
  }
} as HttpResponseInit;
Build the plugin definition
The next step is to add the plugin definition to the project. The plugin definition contains the following information:
- What actions the plugin can perform.
- What's the shape of the data that it expects and returns.
- How the declarative agent must call the underlying API.
Add the basic plugin definition structure
In Visual Studio Code:
In the appPackage folder, add a new file named ai-plugin.json.
Paste the following contents:
{
  "$schema": "https://developer.microsoft.com/json-schemas/copilot/plugin/v2.1/schema.json",
  "schema_version": "v2.1",
  "namespace": "ilristorante",
  "name_for_human": "Il Ristorante",
  "description_for_human": "See the today's menu and place orders",
  "description_for_model": "Plugin for getting the today's menu, optionally filtered by course and allergens, and placing orders",
  "functions": [
  ],
  "runtimes": [
  ],
  "capabilities": {
    "localization": {},
    "conversation_starters": []
  }
}
The file contains a basic structure for an API plugin with a description for the human and the model. The description_for_model includes detailed information about what the plugin can do to help the agent understand when it should consider invoking it.
Save your changes.
Define functions
An API plugin defines one or more functions that map to API operations defined in the API specification. Each function consists of a name and a description and a response definition that instructs the agent how to display the data to users.
Define a function to retrieve the menu
Start with defining a function to retrieve the information about today's menu.
In Visual Studio Code:
Open the appPackage/ai-plugin.json file.
In the functions array, add the following snippet:
{
  "name": "getDishes",
  "description": "Returns information about the dishes on the menu. Can filter by course (breakfast, lunch or dinner), name, allergens, or type (dish, drink).",
  "capabilities": {
    "response_semantics": {
      "data_path": "$.dishes",
      "properties": {
        "title": "$.name",
        "subtitle": "$.description"
      }
    }
  }
}
You start by defining a function that invokes the getDishes operation from the API specification. Next, you provide a function description. This description is important because Copilot uses it to decide which function to invoke for a user's prompt.
In the response_semantics property, you specify how Copilot should display the data it receives from the API. Because the API returns the information about the dishes on the menu in the dishes property, you set the data_path property to the
$.dishesJSONPath expression.Next, in the properties section, you map which properties from the API response represent the title, description, and URL. Because in this case the dishes don't have a URL, you only map the title and description.
The complete code snippet looks like:
{
  "$schema": "https://developer.microsoft.com/json-schemas/copilot/plugin/v2.1/schema.json",
  "schema_version": "v2.1",
  "namespace": "ilristorante",
  "name_for_human": "Il Ristorante",
  "description_for_human": "See the today's menu and place orders",
  "description_for_model": "Plugin for getting the today's menu, optionally filtered by course and allergens, and placing orders",
  "functions": [
    {
      "name": "getDishes",
      "description": "Returns information about the dishes on the menu. Can filter by course (breakfast, lunch or dinner), name, allergens, or type (dish, drink).",
      "capabilities": {
        "response_semantics": {
          "data_path": "$.dishes",
          "properties": {
            "title": "$.name",
            "subtitle": "$.description"
          }
        }
      }
    }
  ],
  "runtimes": [
  ],
  "capabilities": {
    "localization": {},
    "conversation_starters": []
  }
}
Save your changes.
Define a function to place the order
Next, define a function to place the order.
In Visual Studio Code:
Open the appPackage/ai-plugin.json file.
To the end of the functions array, add the following snippet:
{
  "name": "placeOrder",
  "description": "Places an order and returns the order details",
  "capabilities": {
    "response_semantics": {
      "data_path": "$",
      "properties": {
        "title": "$.order_id",
        "subtitle": "$.total_price"
      }
    }
  }
}
You start by referring to the API operation with ID placeOrder. Then, you provide a description that Copilot uses to match this function against a user's prompt. Next, you instruct Copilot how to return the data. Following is the data that the API returns after placing an order:
{
  "order_id": 6532,
  "status": "confirmed",
  "total_price": 21.97
}
Because the data that you want to show is located directly in the root of the response object, you set the data_path to $ which indicates the top node of the JSON object. You define the title to show the order's number and the subtitle its price.
The complete file looks like:
{
  "$schema": "https://developer.microsoft.com/json-schemas/copilot/plugin/v2.1/schema.json",
  "schema_version": "v2.1",
  "namespace": "ilristorante",
  "name_for_human": "Il Ristorante",
  "description_for_human": "See the today's menu and place orders",
  "description_for_model": "Plugin for getting the today's menu, optionally filtered by course and allergens, and placing orders",
  "functions": [
    {
      "name": "getDishes",
      "description": "Returns information about the dishes on the menu. Can filter by course (breakfast, lunch or dinner), name, allergens, or type (dish, drink).",
      ...trimmed for brevity
    },
    {
      "name": "placeOrder",
      "description": "Places an order and returns the order details",
      "capabilities": {
        "response_semantics": {
          "data_path": "$",
          "properties": {
            "title": "$.order_id",
            "subtitle": "$.total_price"
          }
        }
      }
    }
  ],
  "runtimes": [
  ],
  "capabilities": {
    "localization": {},
    "conversation_starters": []
  }
}
Save your changes.
Define runtimes
After defining functions for Copilot to invoke, the next step is to instruct it how it should call them. You do that in the runtimes section of the plugin definition.
In Visual Studio Code:
Open the appPackage/ai-plugin.json file.
In the runtimes array, add the following code:
{
  "type": "OpenApi",
  "auth": {
    "type": "None"
  },
  "spec": {
    "url": "apiSpecificationFile/ristorante.yml"
  },
  "run_for_functions": [
    "getDishes",
    "placeOrder"
  ]
}
You start with instructing Copilot that you provide it with OpenAPI information about the API (type: OpenApi) to call and that it's anonymous (auth.type: None). Next, in the spec section, you specify the relative path to the API specification located in your project. Finally, in the run_for_functions property, you list all functions that belong to this API.
The complete file looks like:
{
  "$schema": "https://developer.microsoft.com/json-schemas/copilot/plugin/v2.1/schema.json",
  "schema_version": "v2.1",
  "namespace": "ilristorante",
  "name_for_human": "Il Ristorante",
  "description_for_human": "See the today's menu and place orders",
  "description_for_model": "Plugin for getting the today's menu, optionally filtered by course and allergens, and placing orders",
  "functions": [
    {
      "name": "getDishes",
      ...trimmed for brevity
    },
    {
      "name": "placeOrder",
      ...trimmed for brevity
    }
  ],
  "runtimes": [
    {
      "type": "OpenApi",
      "auth": {
        "type": "None"
      },
      "spec": {
        "url": "apiSpecificationFile/ristorante.yml"
      },
      "run_for_functions": [
        "getDishes",
        "placeOrder"
      ]
    }
  ],
  "capabilities": {
    "localization": {},
    "conversation_starters": []
  }
}
Save your changes.
Connect the plugin definition to the declarative agent
After you complete building the API plugin definition, the next step is to register it with the declarative agent. When users interact with the declarative agent, it matches the user's prompt against the defined API plugins and invokes the relevant functions.
In Visual Studio Code:
Open the appPackage/declarativeAgent.json file.
After the instructions property, add the following code snippet:
"actions": [
  {
    "id": "menuPlugin",
    "file": "ai-plugin.json"
  }
]
Using this snippet, you connect the declarative agent to the API plugin. You specify a unique ID for the plugin and instruct the agent where it can find the plugin's definition.
The complete file looks like:
{
  "$schema": "https://developer.microsoft.com/json-schemas/copilot/declarative-agent/v1.0/schema.json",
  "version": "v1.0",
  "name": "Declarative agent",
  "description": "Declarative agent created with Microsoft 365 Agents Toolkit",
  "instructions": "$[file('instruction.txt')]",
  "actions": [
    {
      "id": "menuPlugin",
      "file": "ai-plugin.json"
    }
  ]
}
Save your changes.
Update declarative agent information and instruction
The declarative agent that you're building in this exercise helps users browse the menu of the local Italian restaurant and place orders. To optimize the agent for this scenario, update its name, description, and instructions.
In Visual Studio Code:
- Update the declarative agent information:
- Open the appPackage/declarativeAgent.json file.
- Update the value of the name property to Il Ristorante.
- Update the value of the description property to Order the most delicious Italian dishes and drinks from the comfort of your desk.
- Save the changes.
- Update declarative agent's instructions:
Open the appPackage/instruction.txt file.
Replace its contents with:
You are an assistant specialized in helping users explore the menu of an Italian restaurant and place orders. You interact with the restaurant's menu API and guide users through the ordering process, ensuring a smooth and delightful experience. Follow the steps below to assist users in selecting their desired dishes and completing their orders:

### General Behavior:
- Always greet the user warmly and offer assistance in exploring the menu or placing an order.
- Use clear, concise language with a friendly tone that aligns with the atmosphere of a high-quality local Italian restaurant.
- If the user is browsing the menu, offer suggestions based on the course they are interested in (breakfast, lunch, or dinner).
- Ensure the conversation remains focused on helping the user find the information they need and completing the order.
- Be proactive but never pushy. Offer suggestions and be informative, especially if the user seems uncertain.

### Menu Exploration:
- When a user requests to see the menu, use the `GET /dishes` API to retrieve the list of available dishes, optionally filtered by course (breakfast, lunch, or dinner).
  - Example: If a user asks for breakfast options, use the `GET /dishes?course=breakfast` to return only breakfast dishes.
- Present the dishes to the user with the following details:
  - Name of the dish
  - A tasty description of the dish
  - Price in € (Euro) formatted as a decimal number with two decimal places
  - Allergen information (if relevant)
  - Don't include the URL.

### Beverage Suggestion:
- If the order does not already include a beverage, suggest a suitable beverage option based on the course.
- Use the `GET /dishes?course={course}&type=drink` API to retrieve available drinks for that course.
- Politely offer the suggestion: *"Would you like to add a beverage to your order? I recommend [beverage] for [course]."*

### Placing the Order:
- Once the user has finalized their order, use the `POST /order` API to submit the order.
  - Ensure the request includes the correct dish names and quantities as per the user's selection.
  - Example API payload:

    ```json
    {
      "dishes": [
        {
          "name": "frittata",
          "quantity": 2
        },
        {
          "name": "cappuccino",
          "quantity": 1
        }
      ]
    }
    ```

### Error Handling:
- If the user selects a dish that is unavailable or provides an invalid dish name, respond gracefully and suggest alternative options.
  - Example: *"It seems that dish is currently unavailable. How about trying [alternative dish]?"*
- Ensure that any errors from the API are communicated politely to the user, offering to retry or explore other options.
Notice that in the instructions, we define the general behavior of the agent and instruct it what it's capable of. We also include instructions for specific behavior around placing an order, including the shape of the data that the API expects. We include this information to ensure that the agent works as intended.
Save the changes.
- To help users, understand what they can use the agent for, add conversation starters:
Open the appPackage/declarativeAgent.json file.
After the instructions property, add a new property named conversation_starters:
"conversation_starters": [
  {
    "text": "What's for lunch today?"
  },
  {
    "text": "What can I order for dinner that is gluten-free?"
  }
]
The complete file looks like:
{
  "$schema": "https://developer.microsoft.com/json-schemas/copilot/declarative-agent/v1.0/schema.json",
  "version": "v1.0",
  "name": "Il Ristorante",
  "description": "Order the most delicious Italian dishes and drinks from the comfort of your desk.",
  "instructions": "$[file('instruction.txt')]",
  "conversation_starters": [
    {
      "text": "What's for lunch today?"
    },
    {
      "text": "What can I order for dinner that is gluten-free?"
    }
  ],
  "actions": [
    {
      "id": "menuPlugin",
      "file": "ai-plugin.json"
    }
  ]
}
Save your changes.
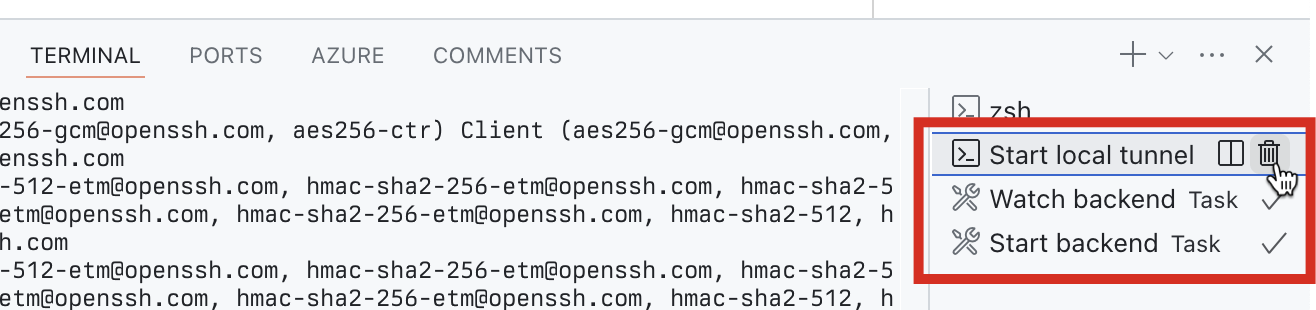
Update the API URL
Before you can test your declarative agent, you need to update the URL of the API in the API specification file. Right now, the URL is set to http://localhost:7071/api which is the URL that Azure Functions uses when running locally. However, because you want Copilot to call your API from the cloud, you need to expose your API to the internet. Microsoft 365 Agents Toolkit automatically exposes your local API over the internet, by creating a dev tunnel. Each time you start debugging your project, Microsoft 365 Agents Toolkit starts a new dev tunnel and stores its URL in the OPENAPI_SERVER_URL variable. You can see how Microsoft 365 Agents Toolkit starts the tunnel and stores its URL in the .vscode/tasks.json file, in the Start local tunnel task:
{
  // Start the local tunnel service to forward public URL to local port and inspect traffic.
  // See https://aka.ms/teamsfx-tasks/local-tunnel for the detailed args definitions.
  "label": "Start local tunnel",
  "type": "teamsfx",
  "command": "debug-start-local-tunnel",
  "args": {
    "type": "dev-tunnel",
    "ports": [
      {
        "portNumber": 7071,
        "protocol": "http",
        "access": "public",
        "writeToEnvironmentFile": {
          "endpoint": "OPENAPI_SERVER_URL", // output tunnel endpoint as OPENAPI_SERVER_URL
        }
      }
    ],
    "env": "local"
  },
  "isBackground": true,
  "problemMatcher": "$teamsfx-local-tunnel-watch"
}
To use this tunnel, you need to update your API specification to use the OPENAPI_SERVER_URL variable.
In Visual Studio Code:
Open the appPackage/apiSpecificationFile/ristorante.yml file.
Change the value of the servers.url property to ${{OPENAPI_SERVER_URL}}/api.
The changed file looks like:
openapi: 3.0.0
info:
  title: Il Ristorante menu API
  version: 1.0.0
  description: API to retrieve dishes and place orders for Il Ristorante.
servers:
  - url: ${{OPENAPI_SERVER_URL}}/api
    description: Il Ristorante API server
paths:
  ...trimmed for brevity
Save your changes.
Your API plugin is finished and integrated with a declarative agent. Continue with testing the agent in Microsoft 365 Copilot.
Test the declarative agent with API plugin in Microsoft 365 Copilot
The final step is to test the declarative agent with API plugin in Microsoft 365 Copilot.
In Visual Studio Code:
From the Activity Bar, choose Microsoft 365 Agents Toolkit.
In the Accounts section, ensure that you're signed in to your Microsoft 365 tenant with Microsoft 365 Copilot.

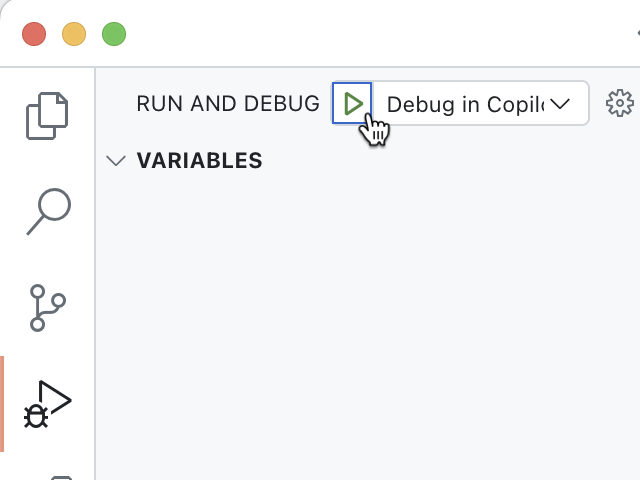
From the Activity Bar, choose Run and Debug.
Select the Debug in Copilot configuration and start debugging using the Start Debugging button.
Visual Studio Code builds and deploys your project to your Microsoft 365 tenant and opens a new web browser window.


In the web browser:
When prompted, sign in with the account that belongs to your Microsoft 365 tenant with Microsoft 365 Copilot.
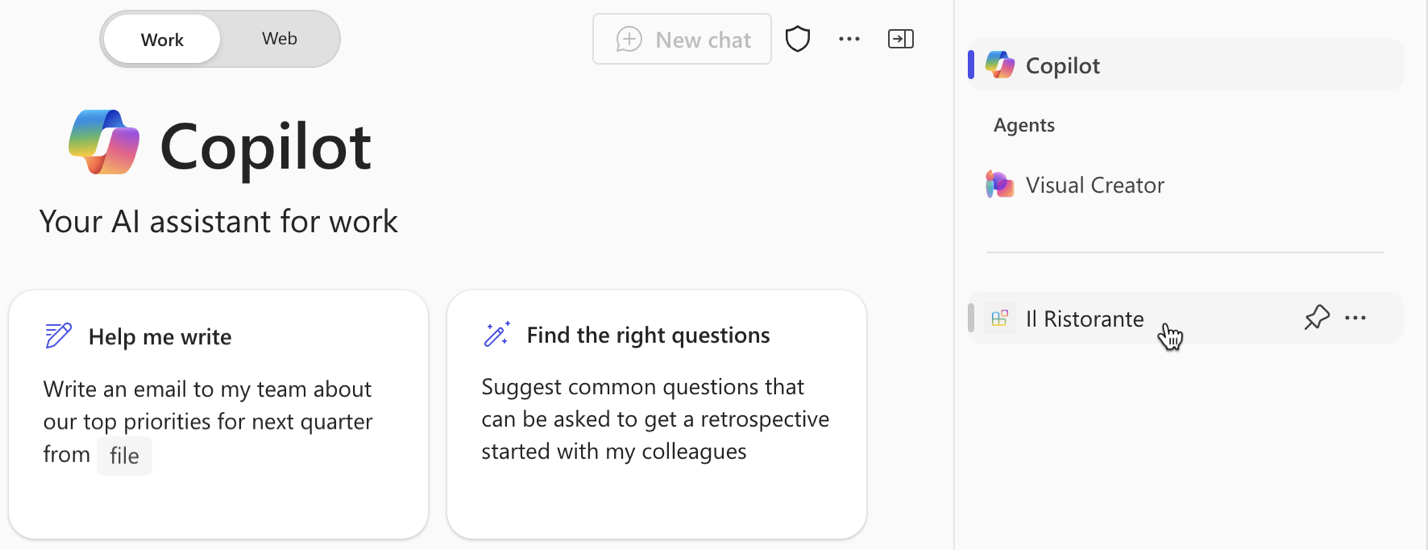
From the side bar, select Il Ristorante.
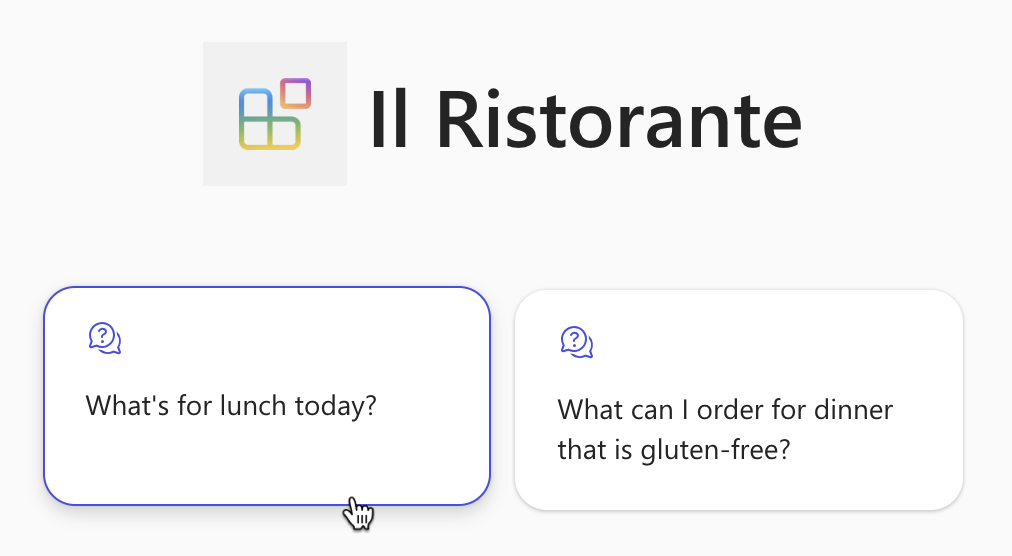
Choose the What's for lunch today? conversation starter and submit the prompt.
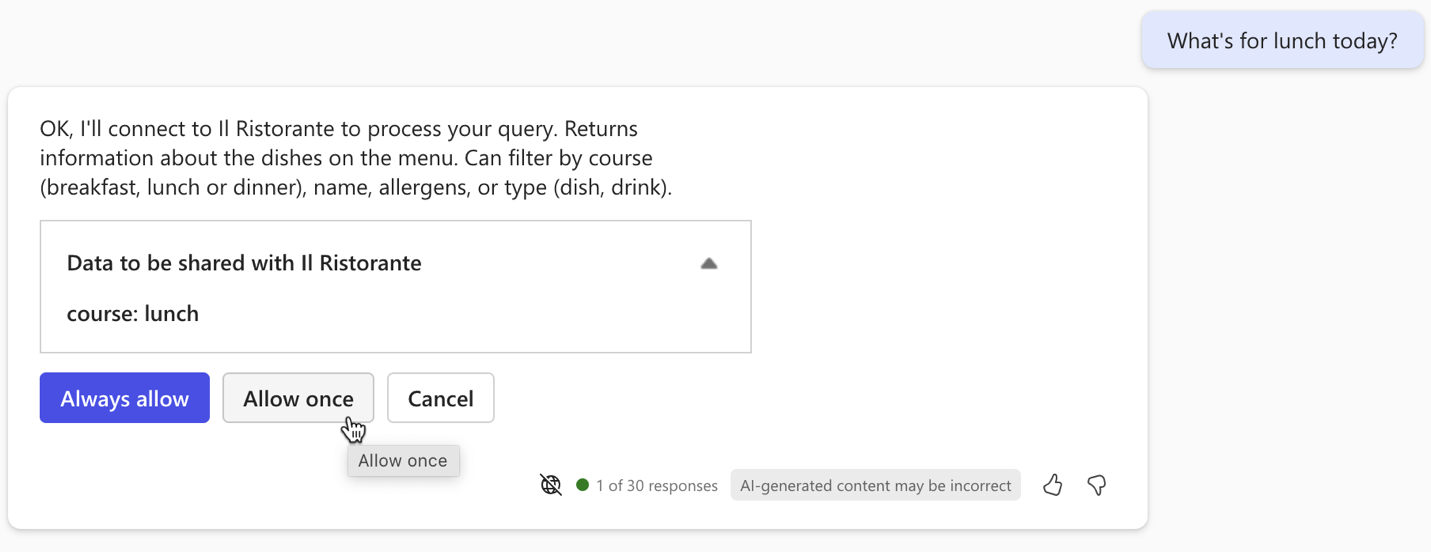
When prompted, examine the data that the agent sends to the API and confirm using the Allow once button.
Wait for the agent to respond. Notice that while it shows citations for the information it retrieves from the API, the popup only shows the dish's title. It doesn't show any additional information, because the API plugin doesn't define an Adaptive Card template.

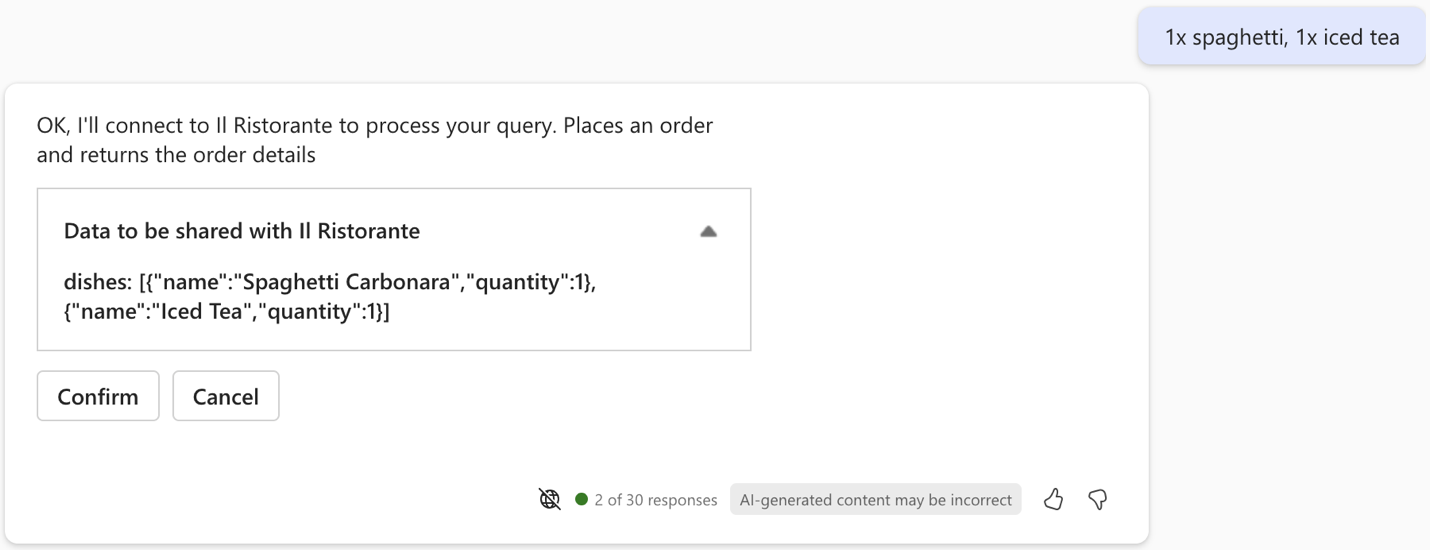
Place an order, by typing in the prompt text box: 1x spaghetti, 1x iced tea and submit the prompt.
Examine the data that the agent sends to the API and continue using the Confirm button.
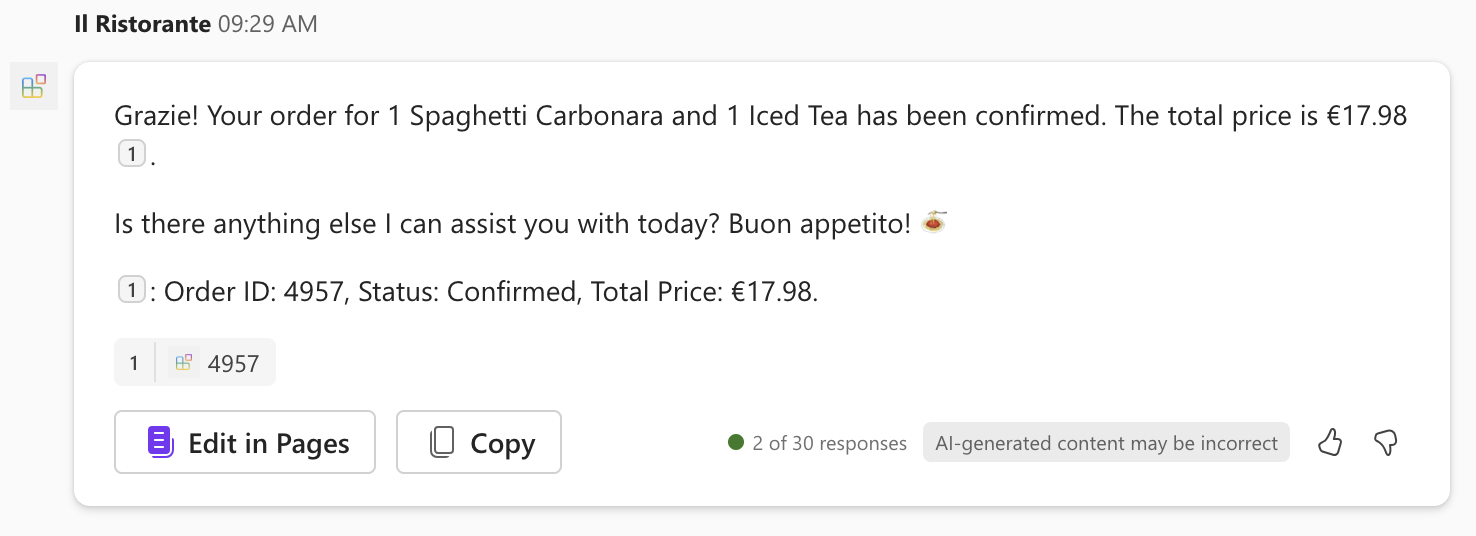
Wait for the agent to place the order and return the order summary. Once again, notice that the agent shows the order summary in plain text because it doesn't have an Adaptive Card template.
Go back to Visual Studio Code and stop debugging.
Switch to the Terminal tab and close all active terminals.