Exercise - Create a declarative agent
Create a declarative agent project from a template, update the manifest, upload the agent to Microsoft 365, and test the agent in Microsoft 365 Copilot.
Download the starter project
Start by downloading the sample project.
In a web browser:
- Navigate to https://github.com/microsoft/learn-declarative-agent-vscode template repository.
- If you have a GitHub account:
- Follow the steps to create a new repository from a template. Name your repository, da-product-support.
- Follow the steps to clone the repository to your computer.
- If you don't have a GitHub account:
- Follow the steps to download the repository source code to your computer.
- Extract the contents of the downloaded ZIP file to a folder on your computer.
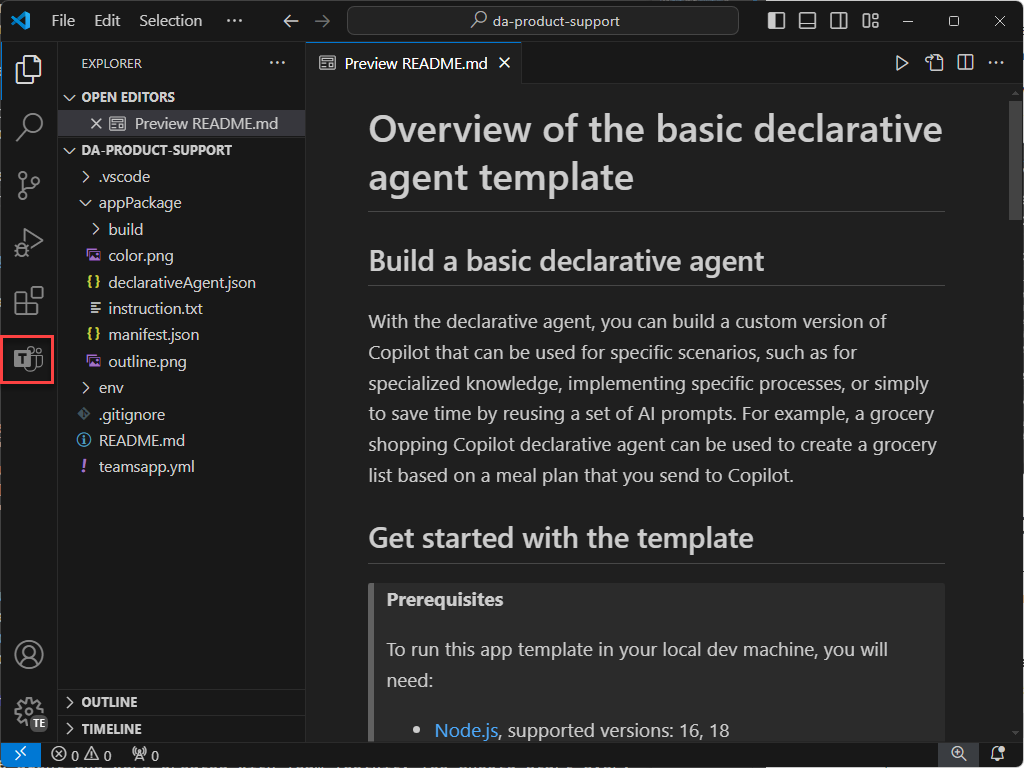
The starter project contains a Microsoft 365 Agents Toolkit project that includes a declarative agent.
- Open the project folder in Visual Studio Code.
- In the project root folder, open README.md file. Examine the contents for more information about the project structure.

Examine declarative agent manifest
Let's examine the declarative agent manifest file.
Open the appPackage/declarativeAgent.json file and examine the contents:
{
    "$schema": "https://developer.microsoft.com/json-schemas/copilot/declarative-agent/v1.3/schema.json",
    "version": "v1.3",
    "name": "da-product-support",
    "description": "Declarative agent created with Microsoft 365 Agents Toolkit",
    "instructions": "$[file('instruction.txt')]"
}
The value of the instructions property contains a reference to a file named instruction.txt. The $[file(path)] function is provided by Microsoft 365 Agents Toolkit. The contents of the instruction.txt are included in the declarative agent manifest file when provisioned to Microsoft 365.
In the appPackage folder, open instruction.txt file and review the contents:
You are a declarative agent and were created with Team Toolkit. You should start every response and answer to the user with "Thanks for using Microsoft 365 Agents Toolkit to create your declarative agent!\n\n" and then answer the questions and help the user.
Update the declarative agent manifest
Let’s update the name and description properties to be more relevant to our scenario.
- In the appPackage folder, open declarativeAgent.json file.
- Update the name property value to Product support.
- Update the description property value to Product support agent that can help answer customer queries about Contoso Electronics products.
- Save your changes
The updated file should have the following contents:
{
    "$schema": "https://developer.microsoft.com/json-schemas/copilot/declarative-agent/v1.3/schema.json",
    "version": "v1.3",
    "name": "Product support",
    "description": "Product support agent that can help answer customer queries about Contoso Electronics products",
    "instructions": "$[file('instruction.txt')]"
}
Upload the declarative agent to Microsoft 365
Important
Before you begin, ensure you have the Microsoft 365 Agents Toolkit extension installed in Visual Studio Code. If you haven't already installed the extension from the marketplace, do that now.
Next, upload your declarative agent to your Microsoft 365 tenant.
In Visual Studio Code:
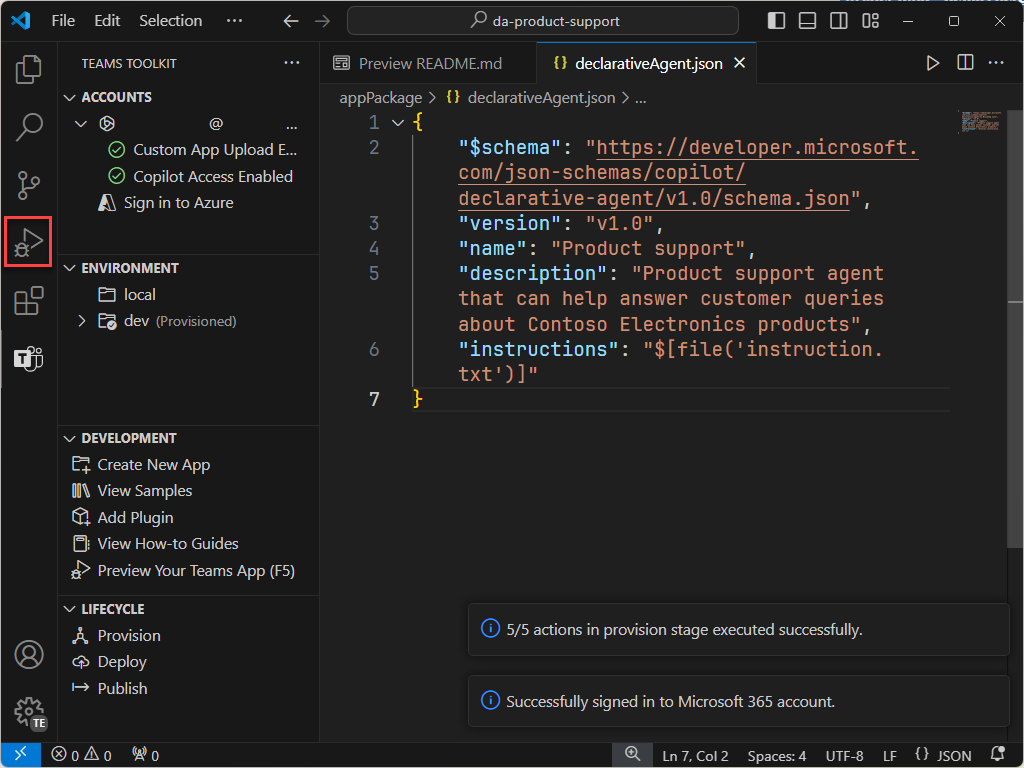
In the Activity Bar, open the Microsoft 365 Agents Toolkit extension.
In the Lifecycle section, select Provision.
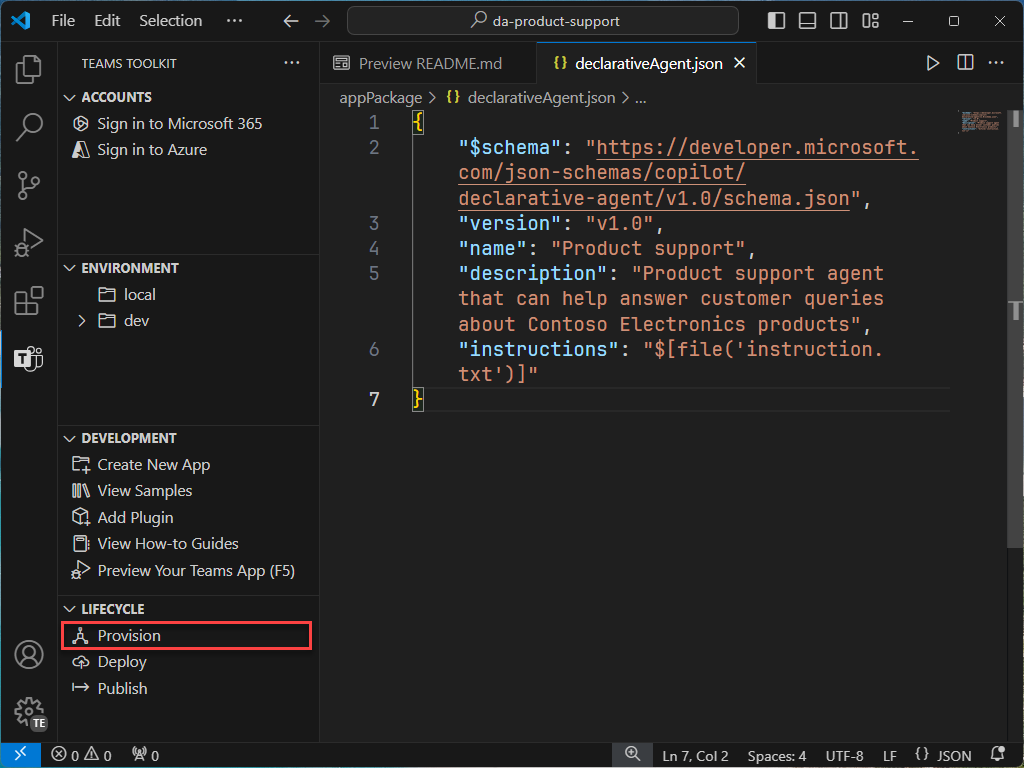
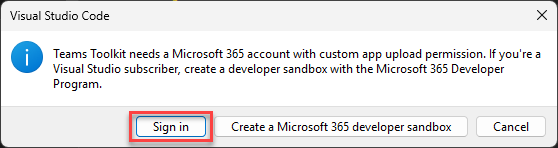
In the prompt, select Sign in and follow the prompts to sign in to your Microsoft 365 tenant using Microsoft 365 Agents Toolkit. The provisioning process starts automatically after you sign in.

Wait for the upload to complete before continuing.
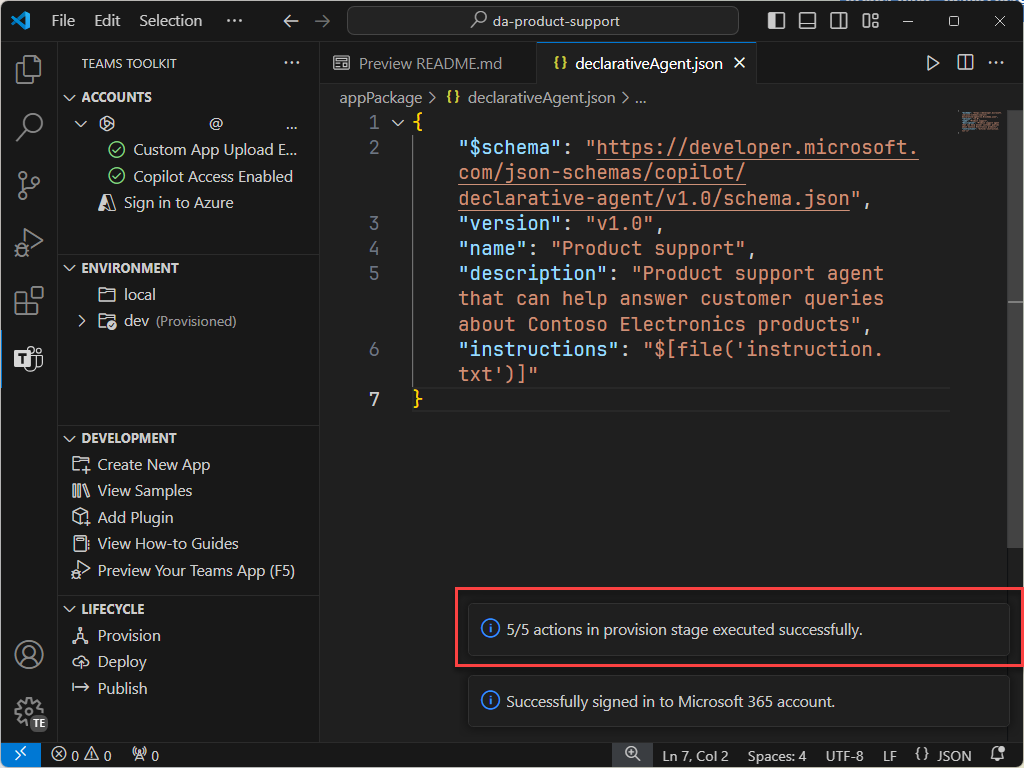


Next, review the output of the provisioning process.
- In the appPackage/build folder, open declarativeAgent.dev.json file.
Notice that the instructions property value contains the contents of the instruction.txt file. The declarativeAgent.dev.json file is included in the appPackage.dev.zip file along with the manifest.dev.json, color.png, and outline.png files. The appPackage.dev.zip file is uploaded to Microsoft 365.
Test the declarative agent in Microsoft 365 Copilot
Next, let’s run the declarative agent in Microsoft 365 Copilot and validate its functionality in both the in-context and immersive experiences.
In Visual Studio Code:
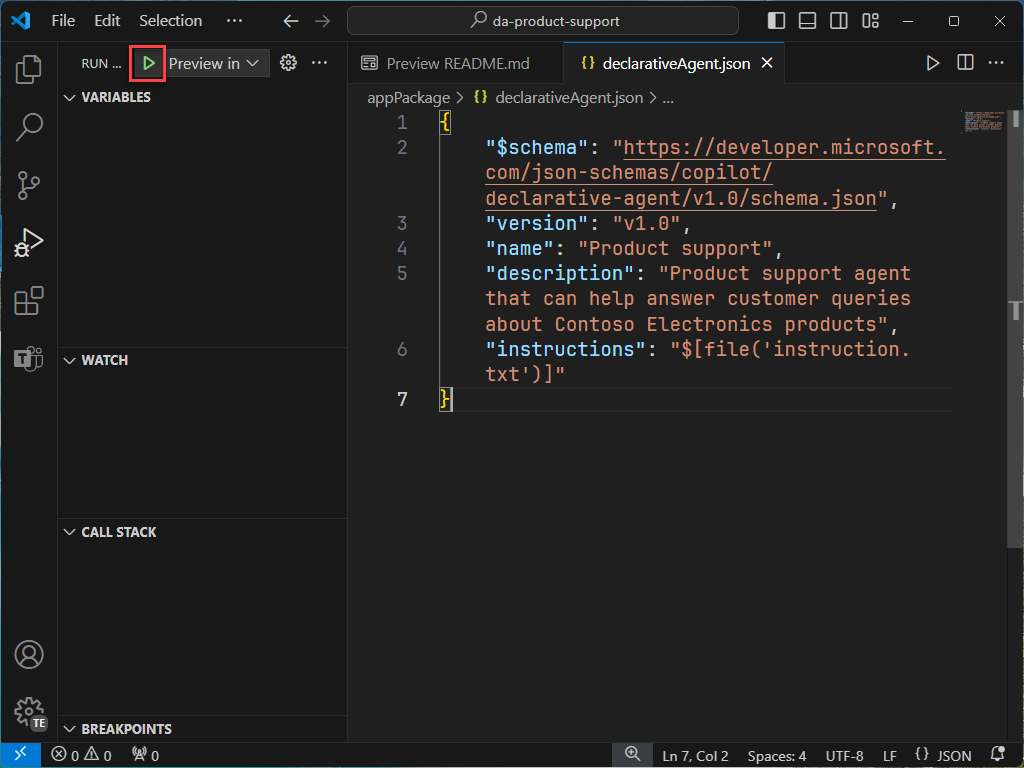
In the Activity Bar, switch to the Run and Debug view.
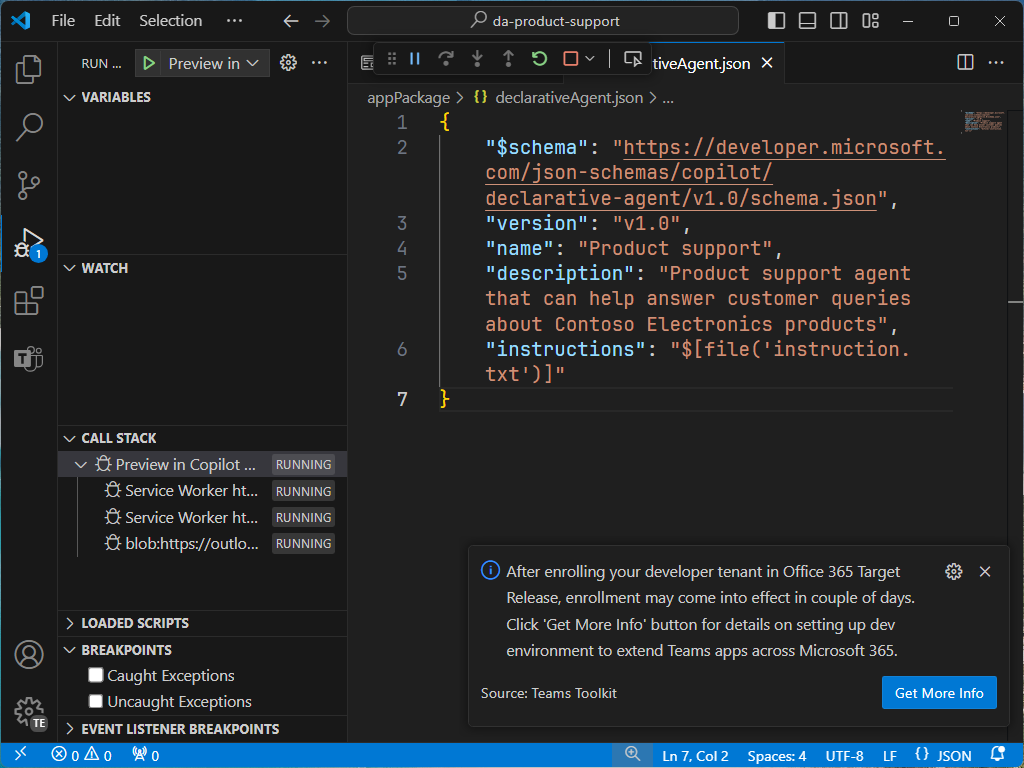
Select the Start Debugging button next to the configuration’s dropdown, or press F5. A new browser window is launched and navigates to Microsoft 365 Copilot.
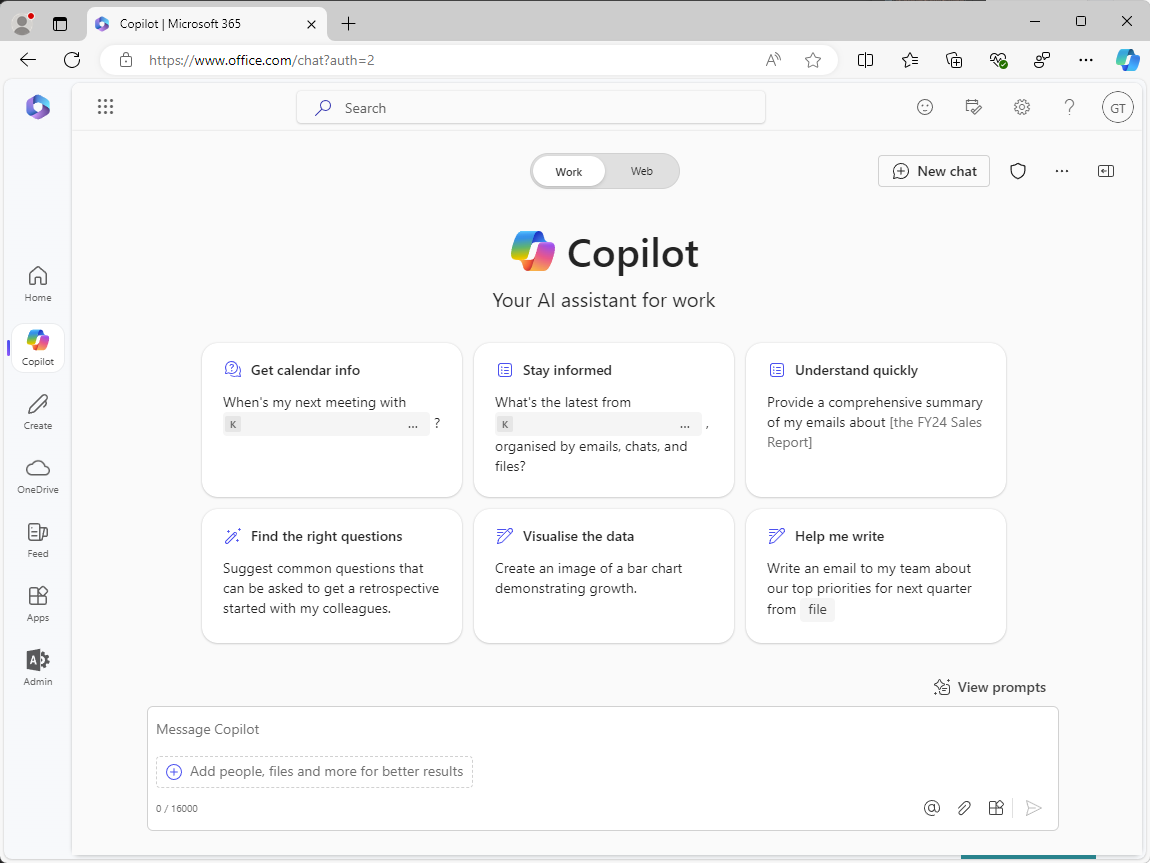


Continuing in the browser, let’s test the in-context experience.
In Microsoft 365 Copilot, in the message box enter the @ symbol. The flyout appears with a list of available agents.
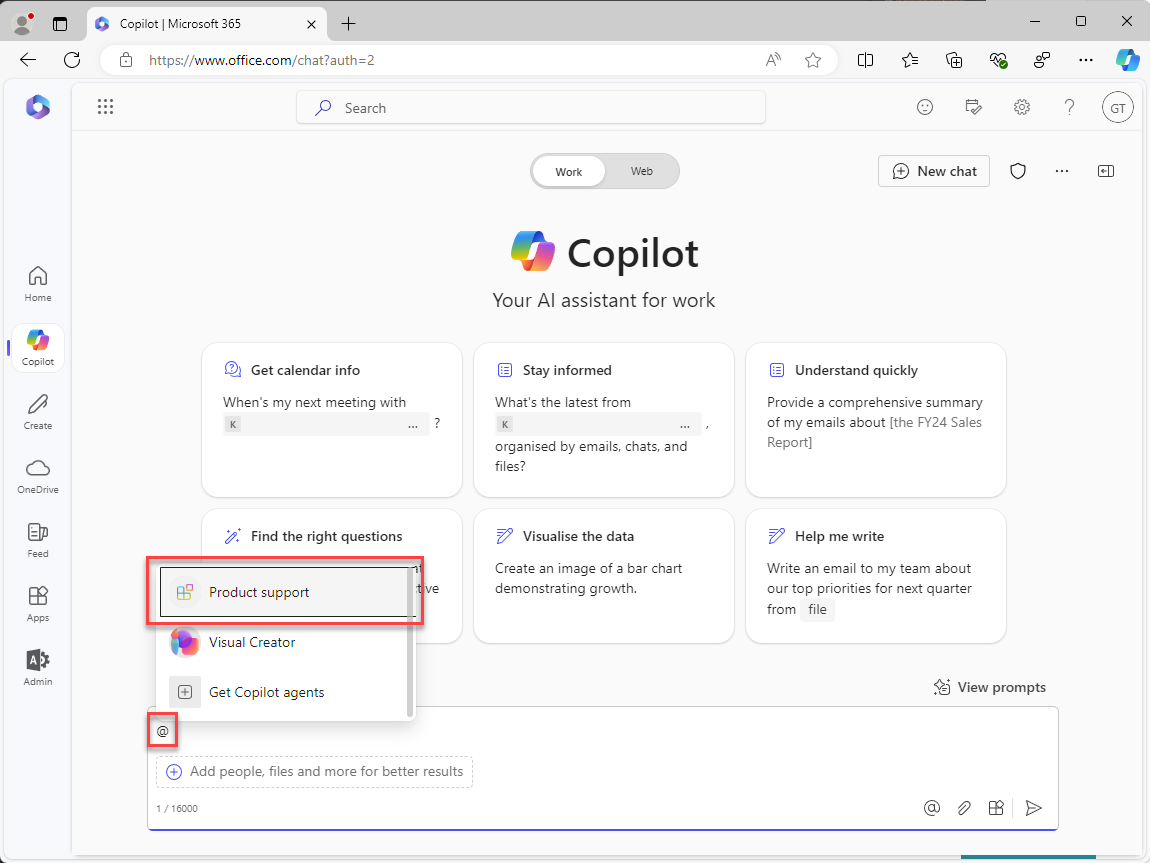
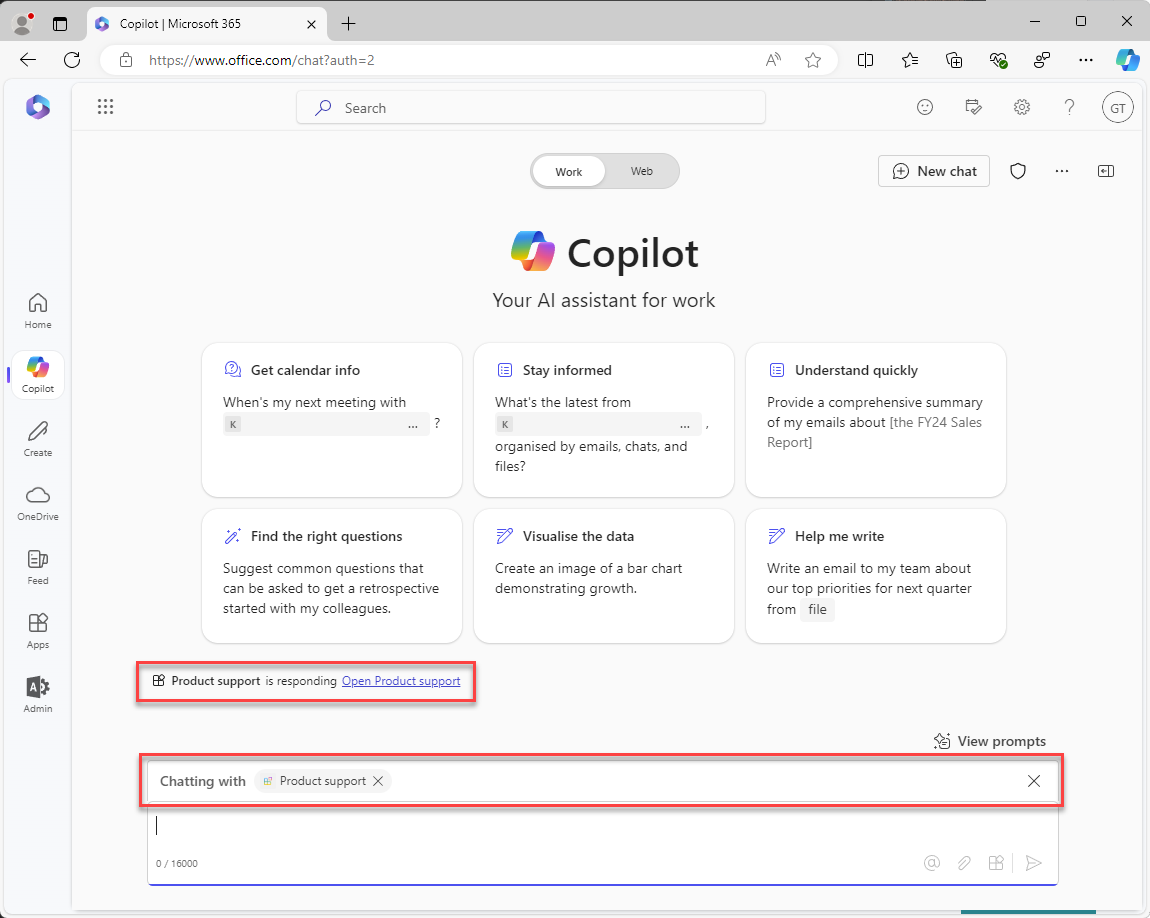
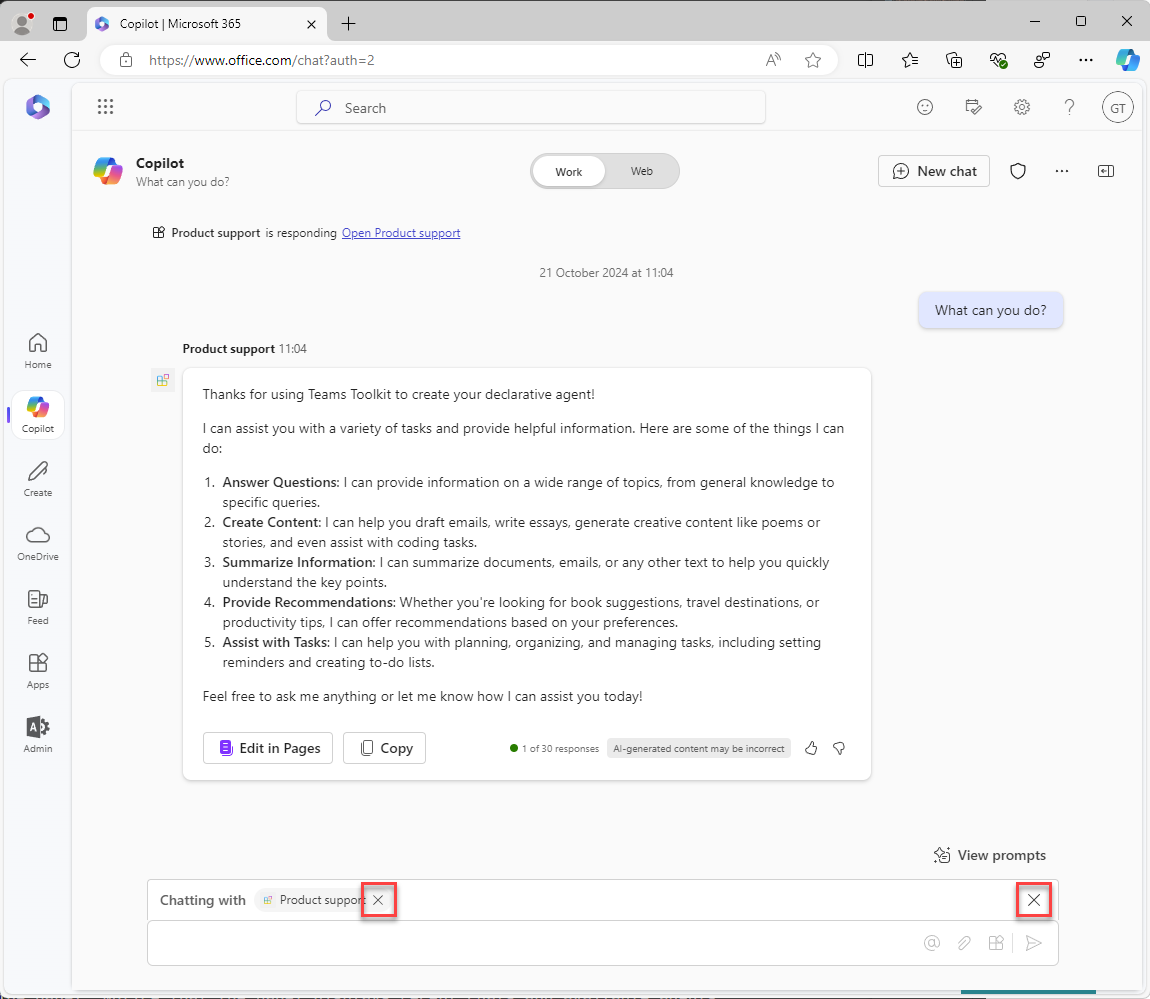
In the flyout, select Product support. Notice the status message above the message box. It displays Chatting with Product support, which signifies that you're using the in-context experience of the agent.
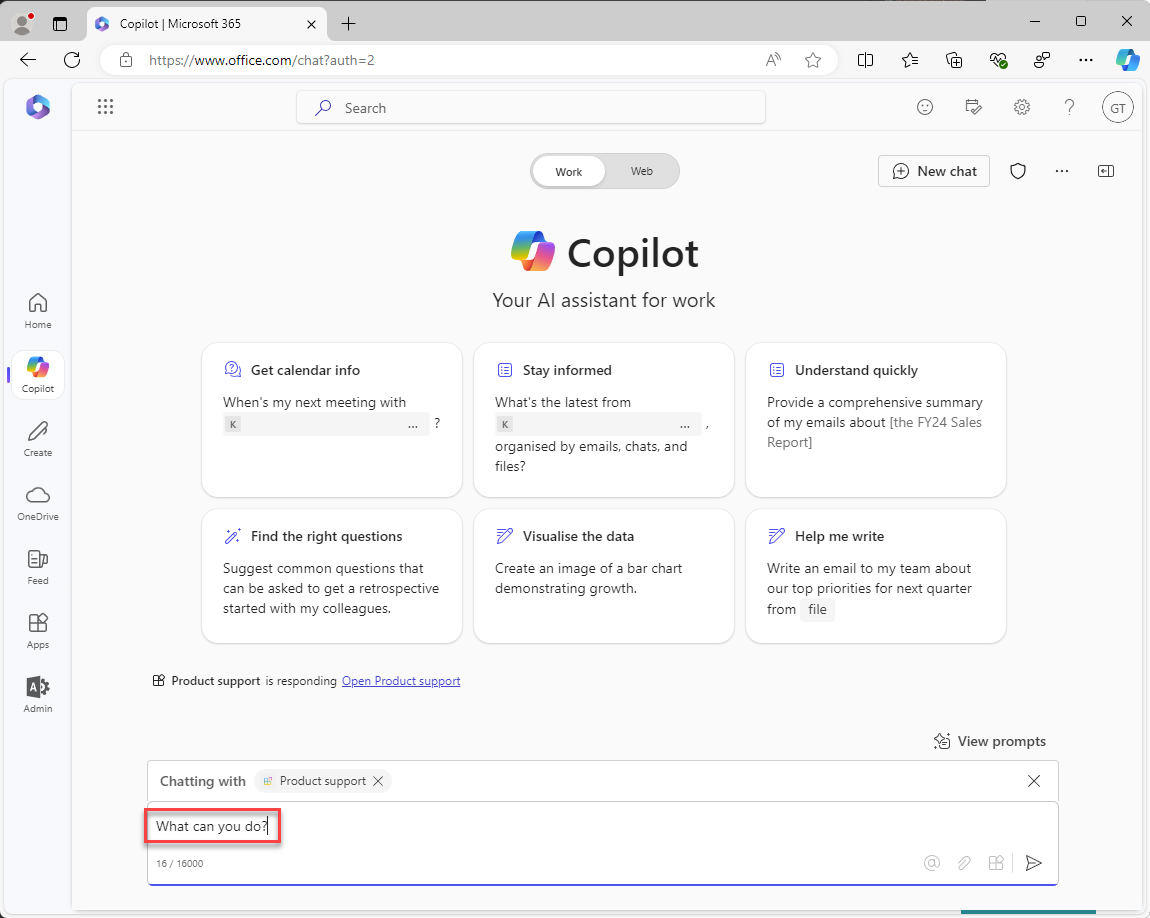
In the text box, enter What can you do? and submit your message.
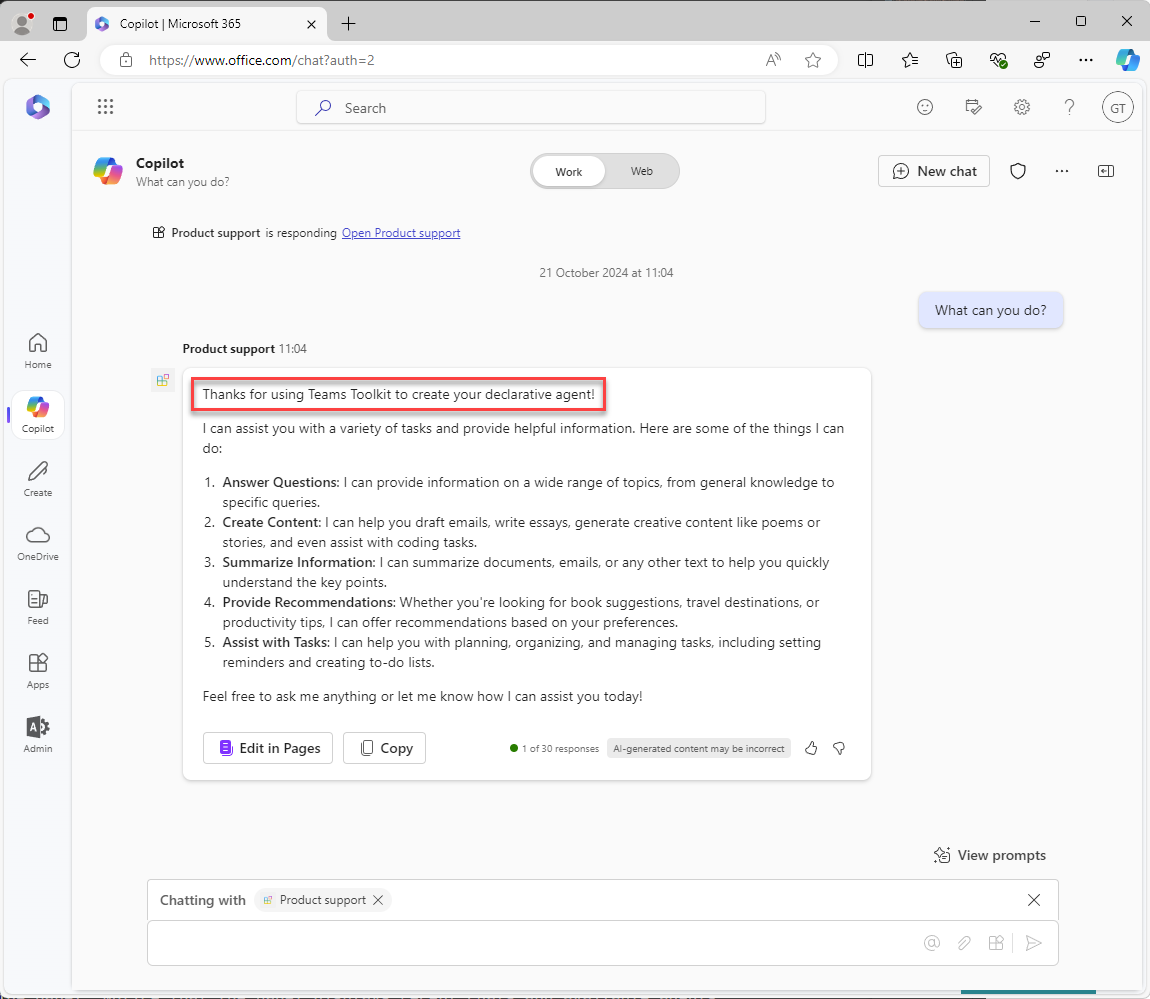
Wait for the response. Notice how the response starts with the text "Thanks for using Microsoft 365 Agents Toolkit to create your declarative agent!" as defined in the instructions you reviewed earlier.
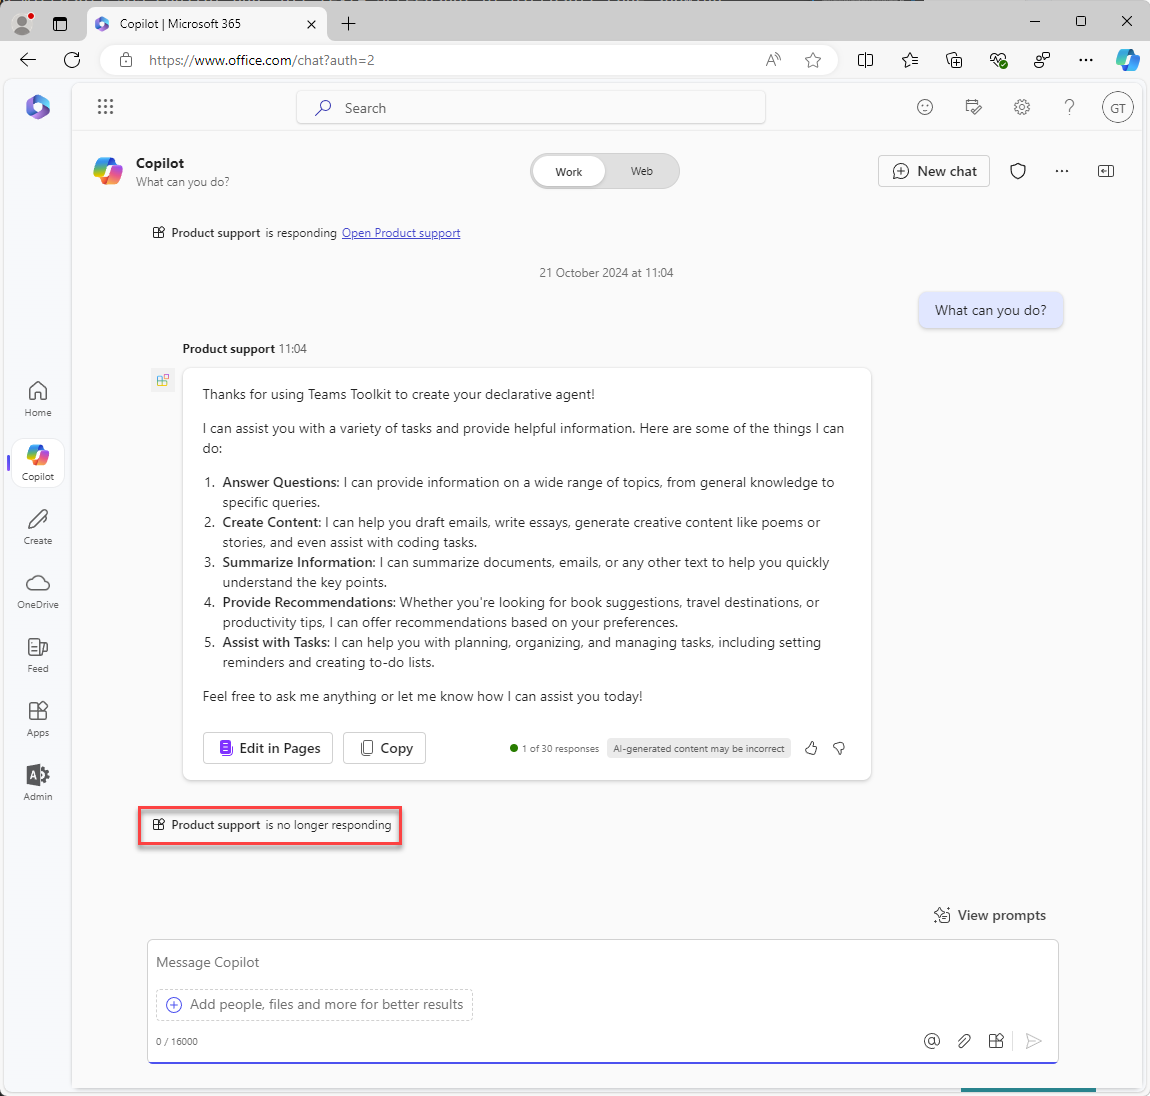
To exit the in-context experience, select the cross (X) in the status message. Notice the status message is removed and a message is displayed in the chat window that indicates that you're no longer chatting with the agent.


Finally, let’s test the immersive experience.
Continuing in the browser:
In Microsoft 365 Copilot, select the icon in the top right to expand the Copilot side panel. Notice that the panel displays recent chats and available agents.
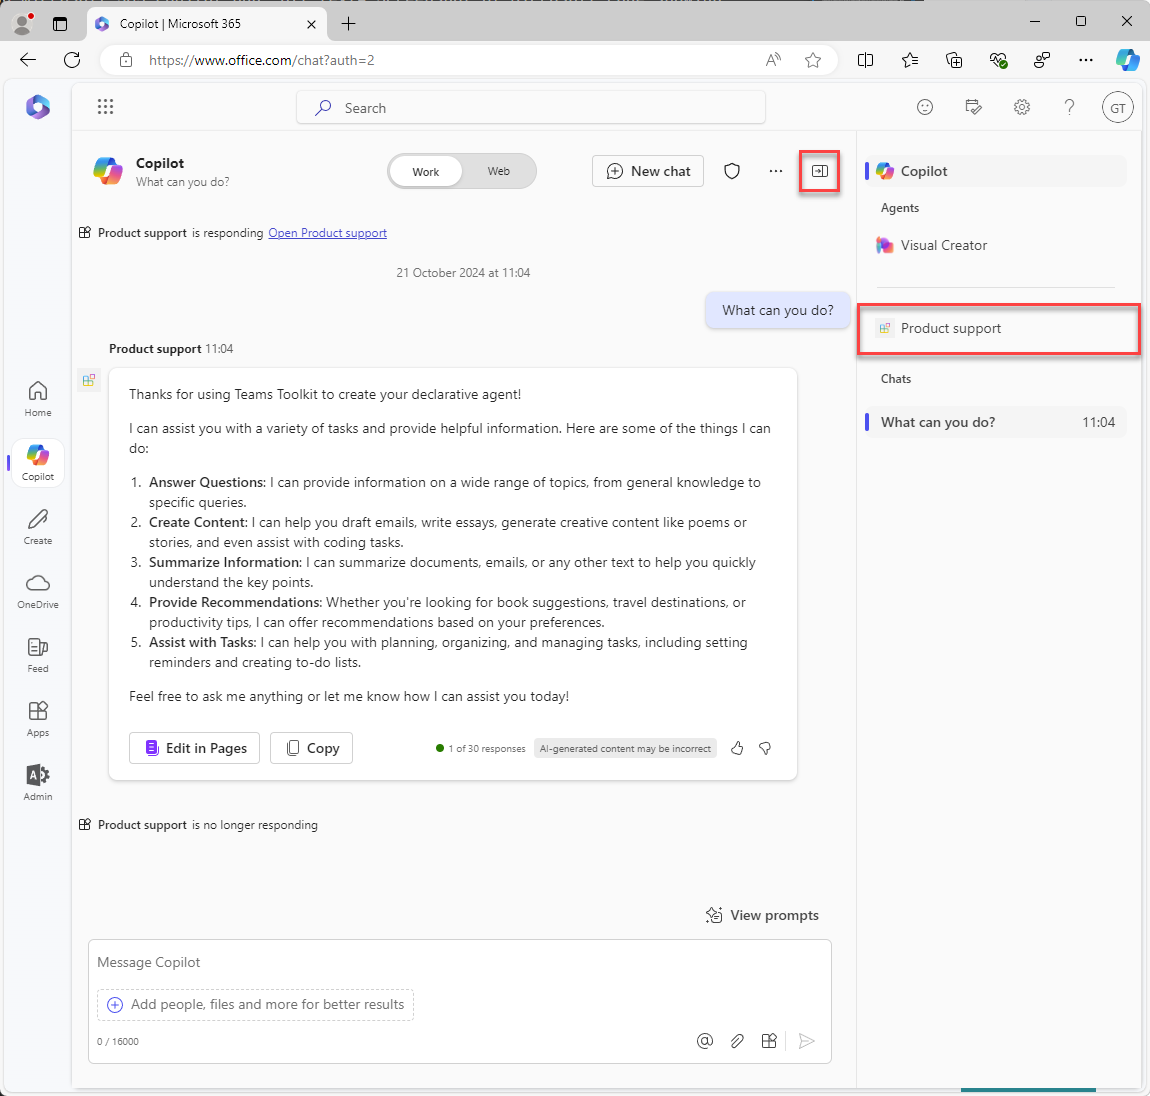
In the side panel, select Product support to enter the immersive experience and chat directly with the agent.
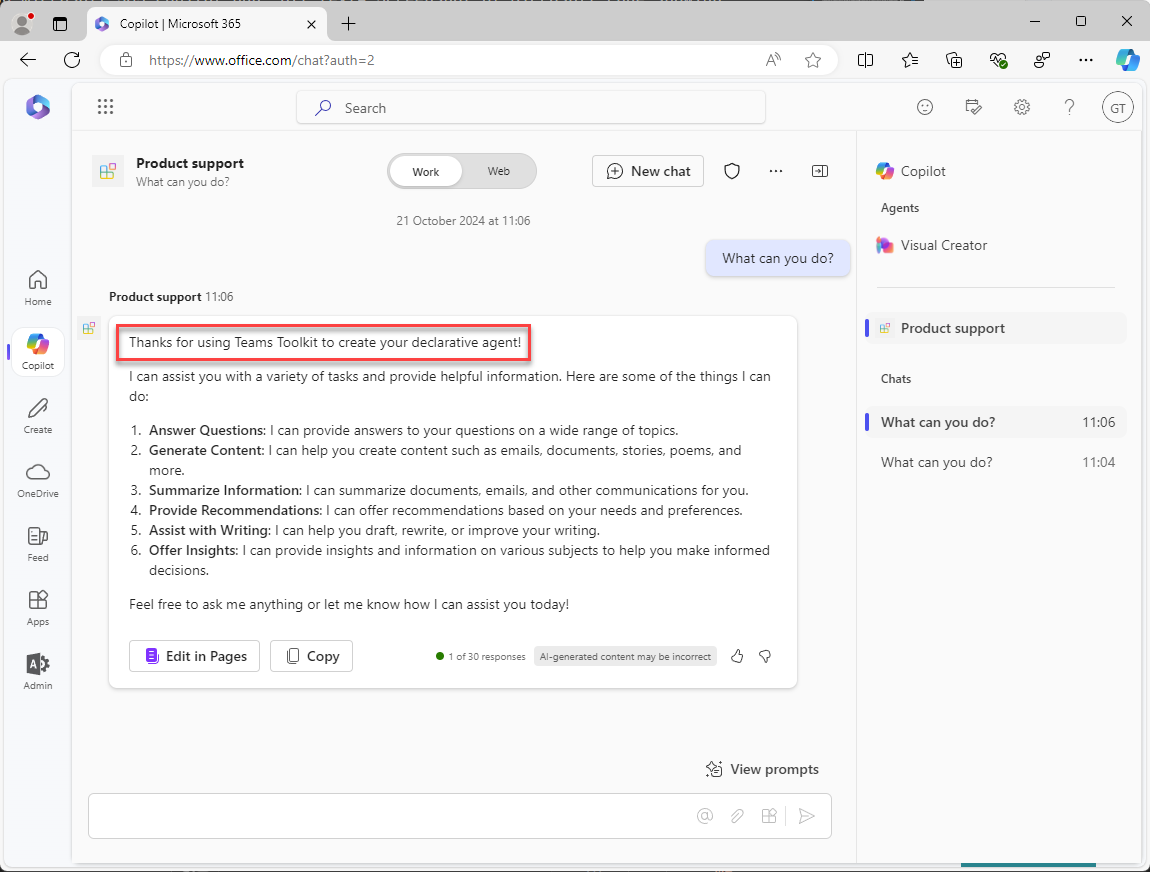
In the text box, enter What can you do? and submit your message.
Send the message and wait for the response. Notice how the response starts with the text "Thanks for using Microsoft 365 Agents Toolkit to create your declarative agent!" as defined in the instructions you reviewed earlier.


Finally, close the browser to stop the debug session in Visual Studio Code.