Exercise - Configure custom knowledge
Update the declarative agent with custom knowledge.
Prepare the grounding data
Let's upload the documents to Microsoft 365 that the declarative agent uses as grounding data.
In this exercise, you use OneDrive as a substitute for SharePoint Online. When you upload documents to a new SharePoint Online site, there's a delay before the documents are indexed and available for use by Copilot. Using OneDrive allows you to test the agent immediately.
Note
If you wish to use SharePoint Online, then upload the documents to an existing site. The documents will be indexed and available for use by Copilot without delay. If you choose to use a new SharePoint Online site, the documents will take longer to be indexed and available for use by Copilot. In the following exercises, replace the OneDrive URL with a SharePoint Online URL.
In a web browser:
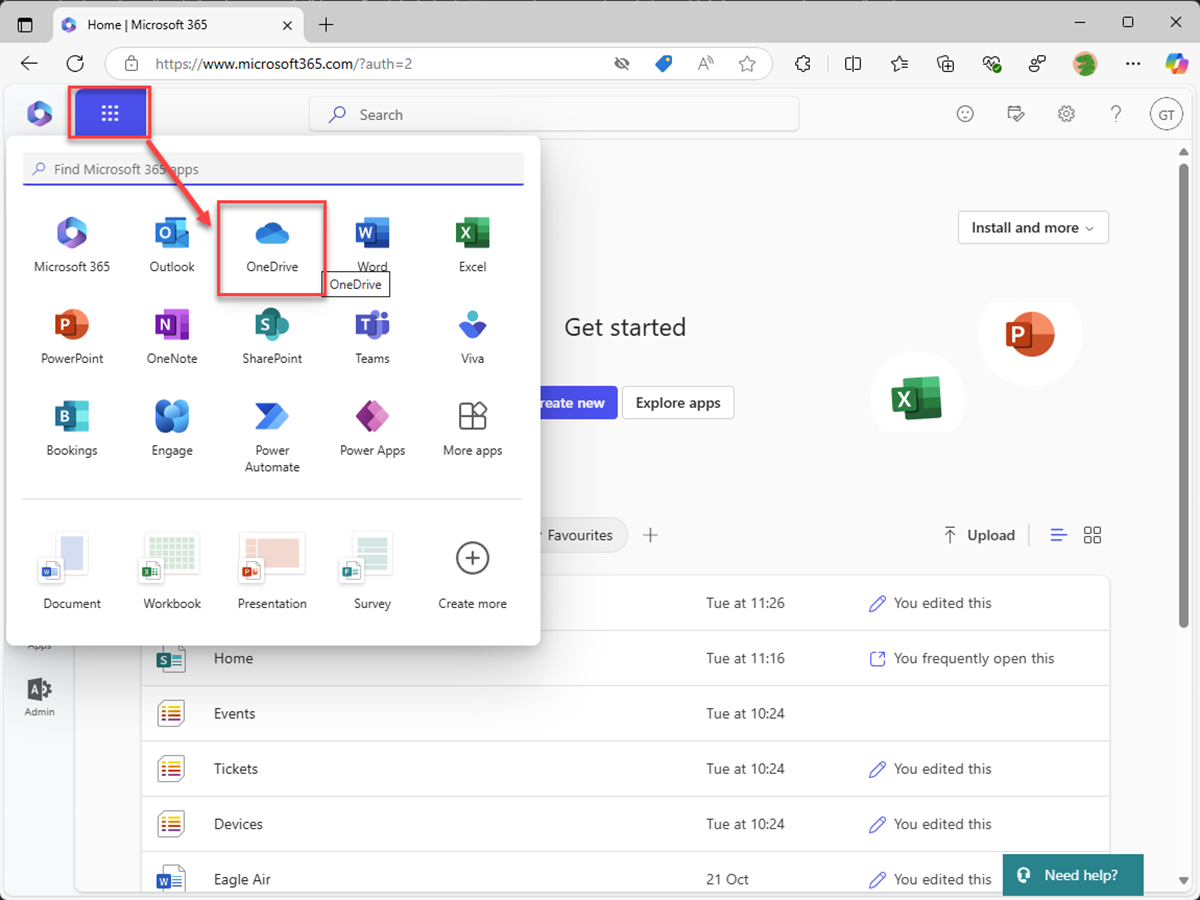
Navigate to Microsoft365.com
In the suite bar, open the app launcher and select OneDrive.
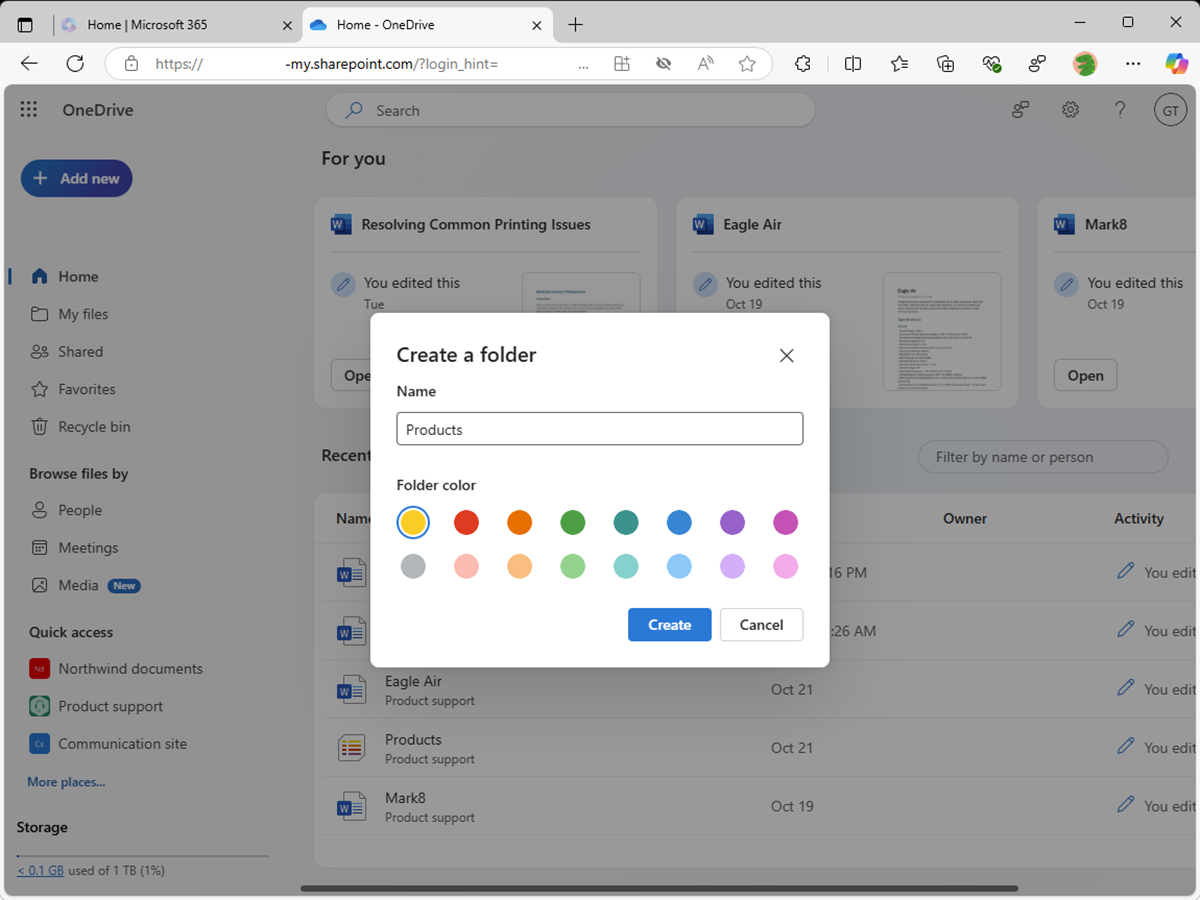
In the left hand menu, select Add new and then select Folder.

In the Create a folder dialog, enter Products and select Create.
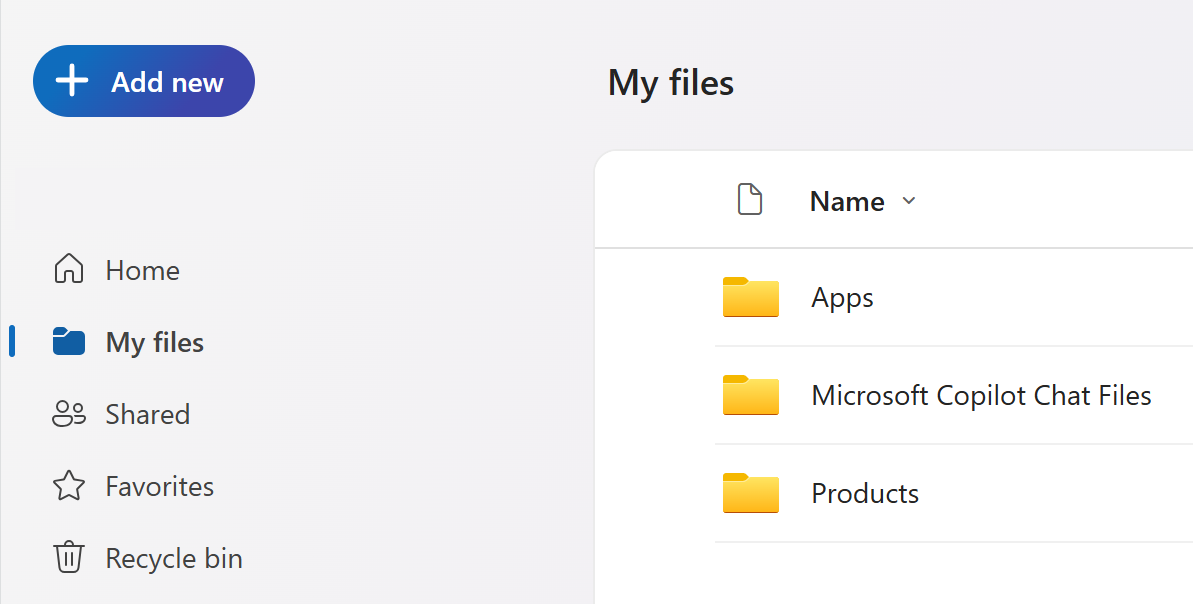
In the left hand menu, select My files and select the Products folder.
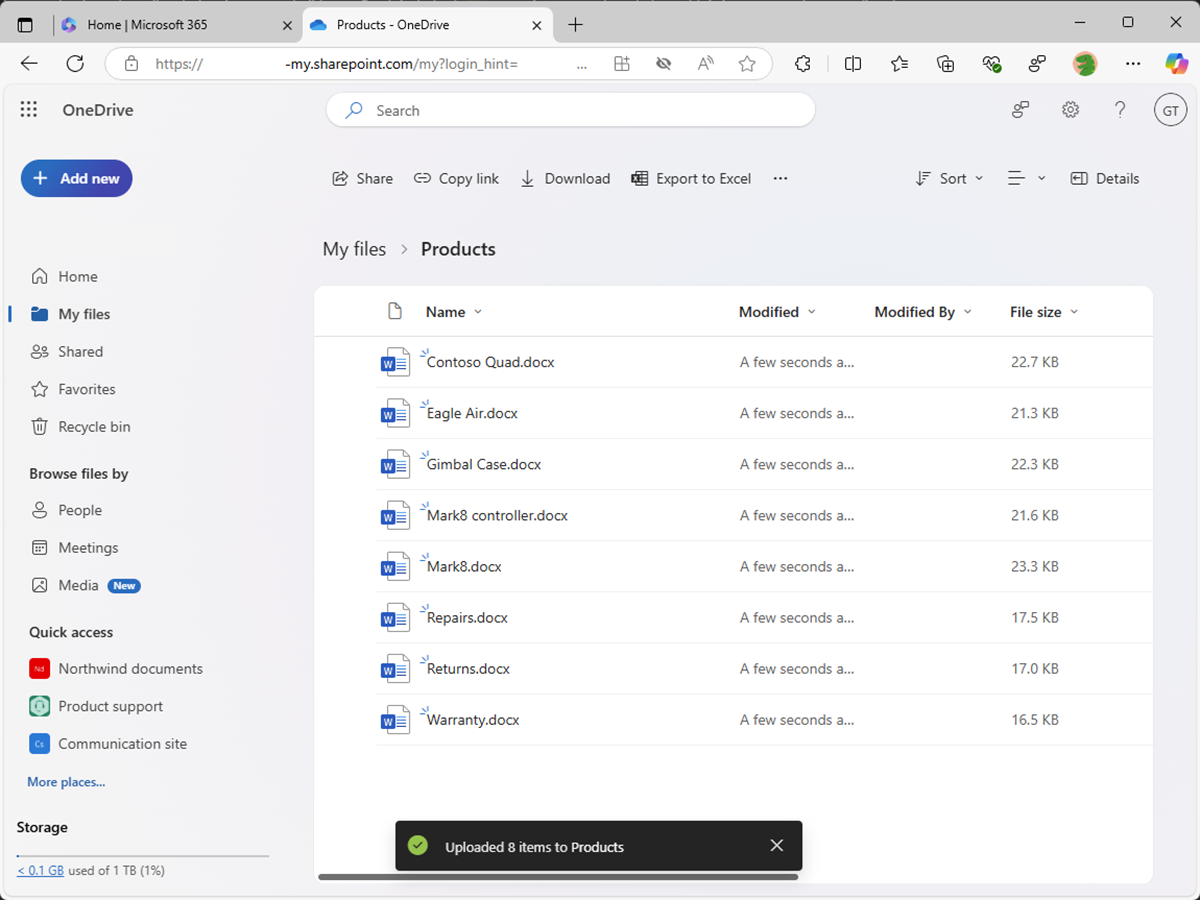
In the left hand menu, select Add new and then select Files upload.
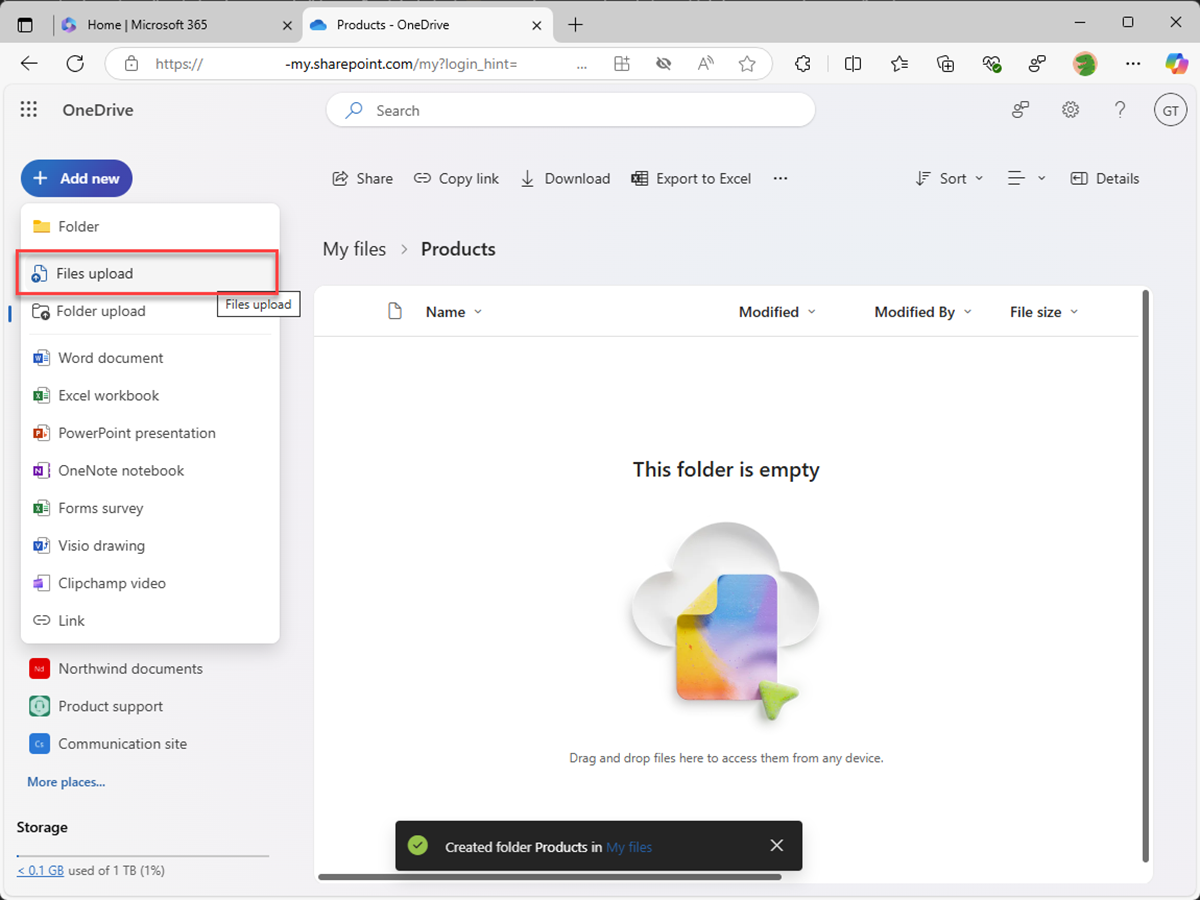
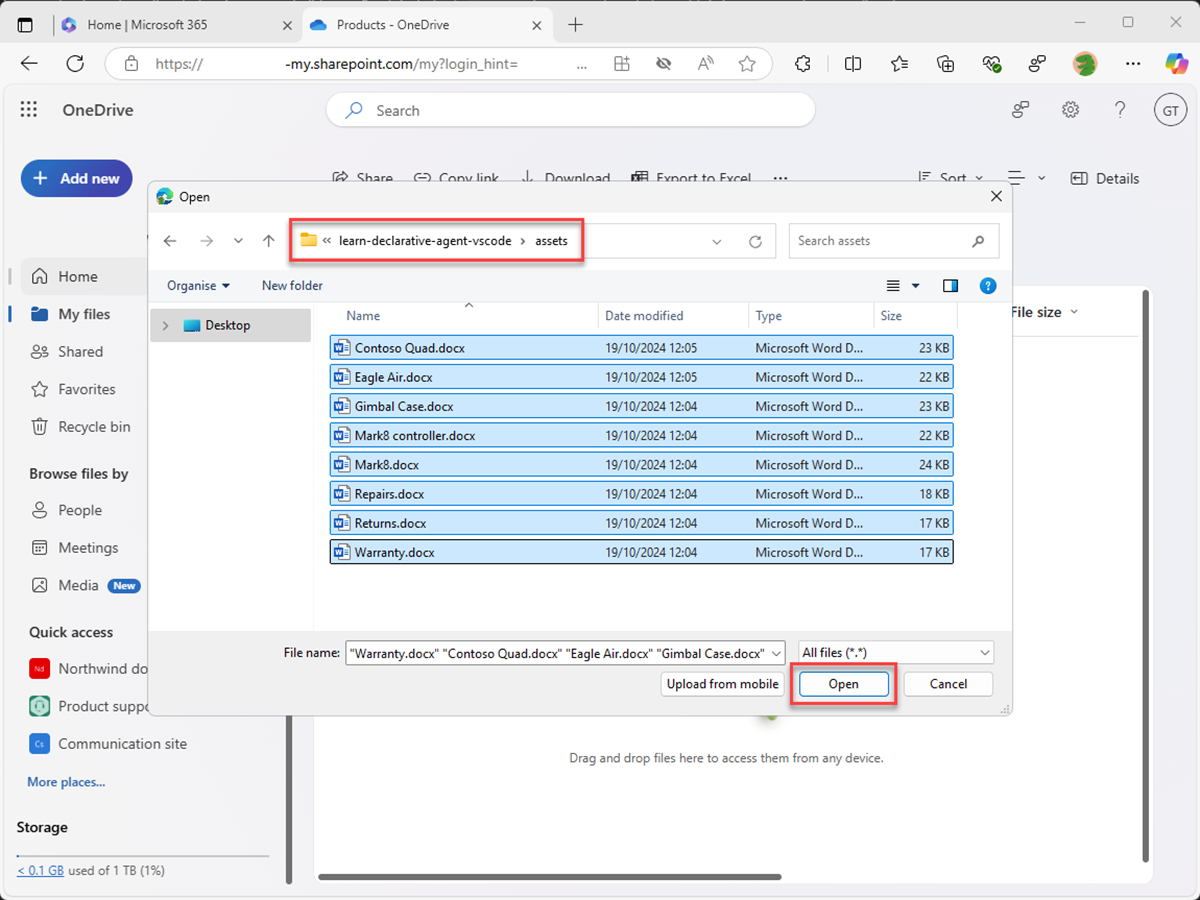
In the file picker dialog, navigate to the /assets folder of the project repository that you downloaded to your computer earlier. Select all the files in the folder and select Open.


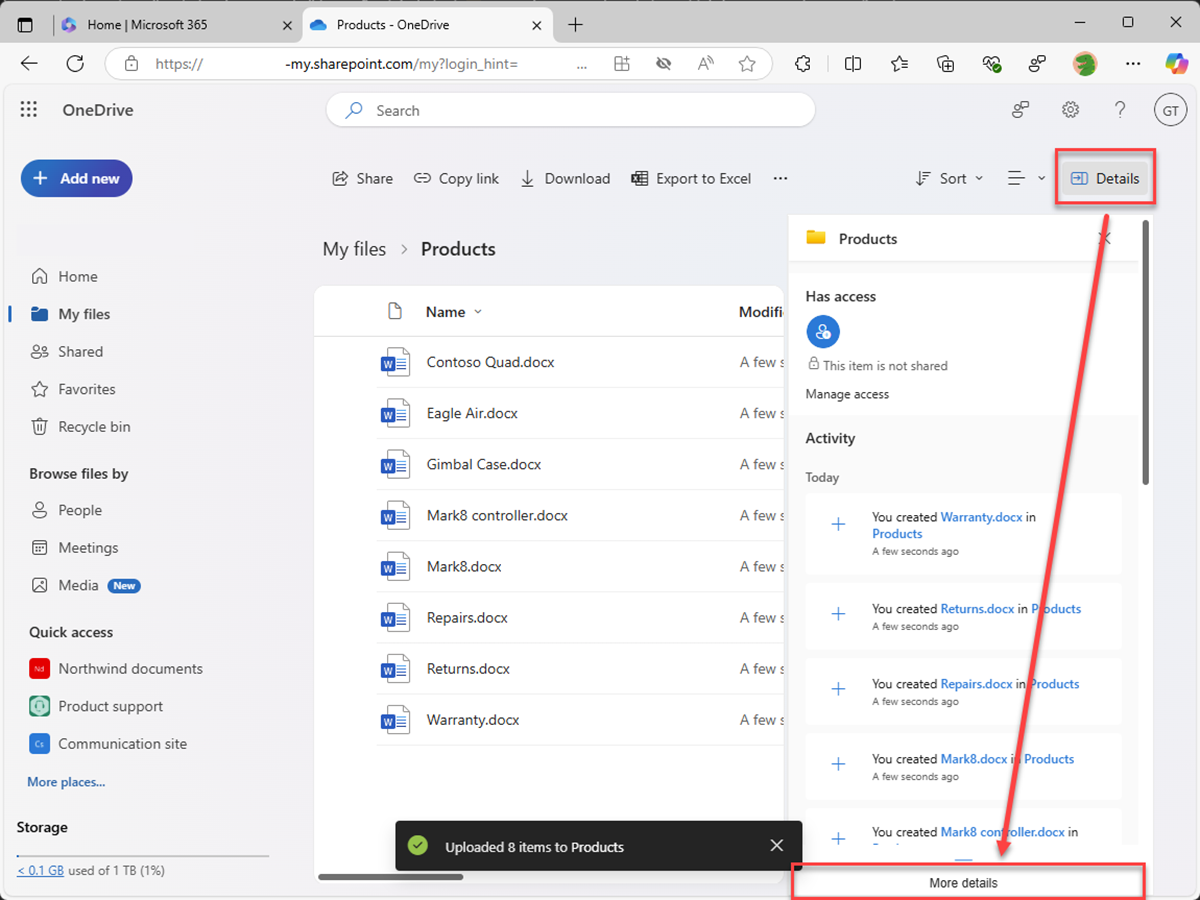
Next, let's get the direct URL to the folder in OneDrive to use in the declarative agent manifest.
Expand the details pane by selecting the Details icon in the top right of the page. In the pane, select More details.
Select the Copy icon to copy the direct URL to the folder to your clipboard.
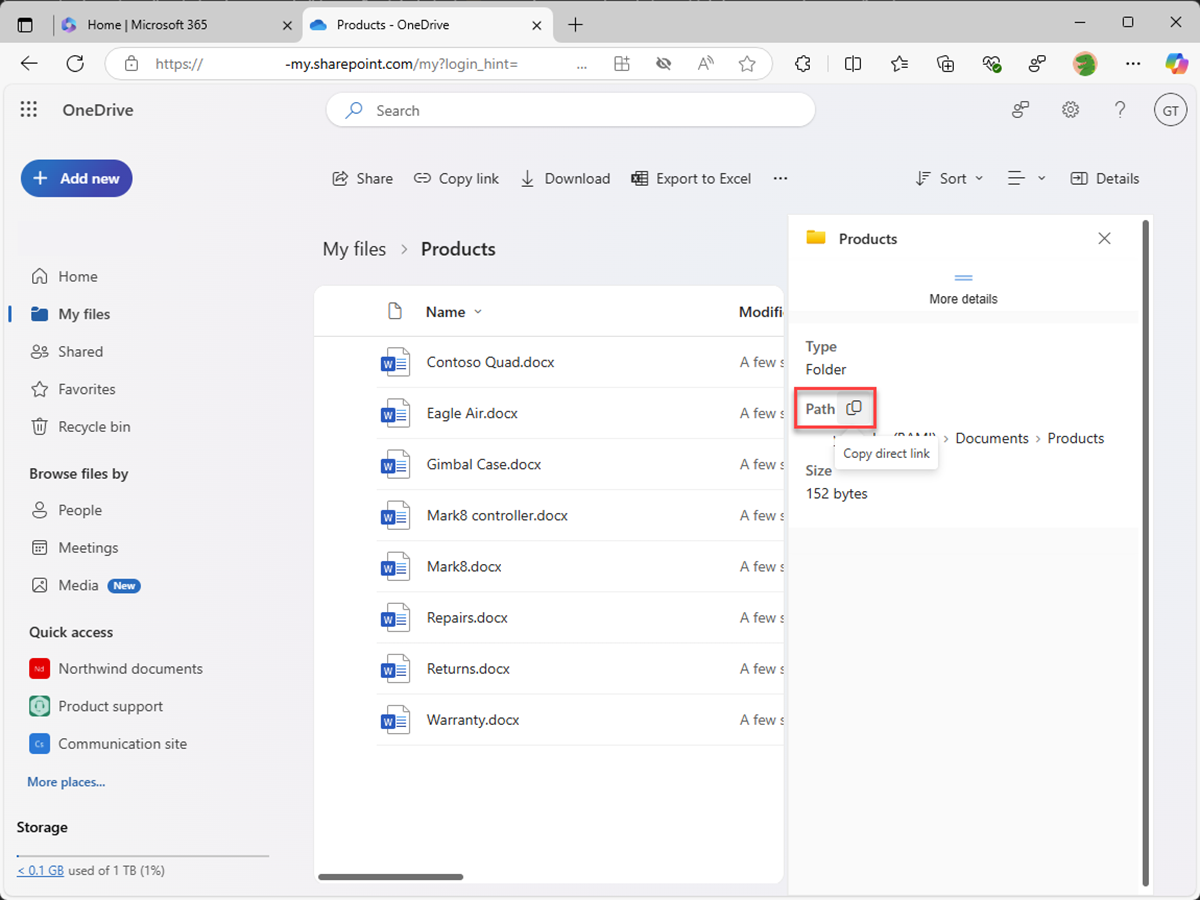
Paste the URL into a text editor from your clipboard for use later.


Configure grounding data
Configure the OneDrive folder as a source of grounding data in the declarative agent manifest.
In Visual Studio Code:
In the appPackage folder, open declarativeAgent.json file.
Add the following code snippet to the file, replacing {URL} with the direct URL to the Products folder in OneDrive that you copied and stored in a text editor earlier:
"capabilities": [
    {
        "name": "OneDriveAndSharePoint",
        "items_by_url": [
            {
                "url": "{URL}"
            }
        ]
    }
]
Save your changes.
The declarativeAgent.json file should look like this:
{
    "$schema": "https://developer.microsoft.com/json-schemas/copilot/declarative-agent/v1.3/schema.json",
    "version": "v1.3",
    "name": "Product support",
    "description": "Product support agent that can help answer customer queries about Contoso Electronics products",
    "instructions": "$[file('instruction.txt')]",
    "capabilities": [
        {
            "name": "OneDriveAndSharePoint",
            "items_by_url": [
                {
                    "url": "https://{tenant}-my.sharepoint.com/personal/{user}/Documents/Products"
                }
            ]
        }
    ]
}
Update custom instructions
Update the instructions in the declarative agent manifest to give our agent extra context and help guide it when responding to customer queries.
In Visual Studio Code:
Open the appPackage/instruction.txt file and update the contents with:
You are Product Support, an intelligent assistant designed to answer customer queries about Contoso Electronics products, repairs, returns, and warranties. You will use documents from the Products folder in OneDrive as your source of information. If you can't find the necessary information, you should suggest that the agent should reach out to the team responsible for further assistance. Your responses should be concise and always include a cited source.Save your changes.
Upload the declarative agent to Microsoft 365
Upload your changes to Microsoft 365 and start a debug session.
In Visual Studio Code:
- In the Activity Bar, open the Microsoft 365 Agents Toolkit extension.
- In the Lifecycle section, select Provision.
- Wait for the upload to complete.
- In the Activity Bar, switch to the Run and Debug view.
- Select the Start Debugging button next to the configuration’s dropdown, or press F5. A new browser window is launched and navigates to Microsoft 365 Copilot.
Test the declarative agent in Microsoft 365 Copilot
Test your declarative agent in Microsoft 365 and validate the results.
First, let's test the instructions:
Continuing in the web browser:
- In Microsoft 365 Copilot, select the icon in the top right to expand the Copilot side panel.
- Find Product support in the list of agents and select it to enter the immersive experience to chat directly with the agent.
- Select the sample prompt with the title Learn more and send the message.
- Wait for the response. Notice how the response is different from the previous instructions and reflects the new instructions.

Next, let's test the grounding data.
- In the message box, enter Tell me about Eagle Air and send the message.
- Wait for the response. Notice that the response contains information about the Eagle Air drone. The response contains citations and references to the Eagle Air document stored in OneDrive.

Let's try a few more prompts:
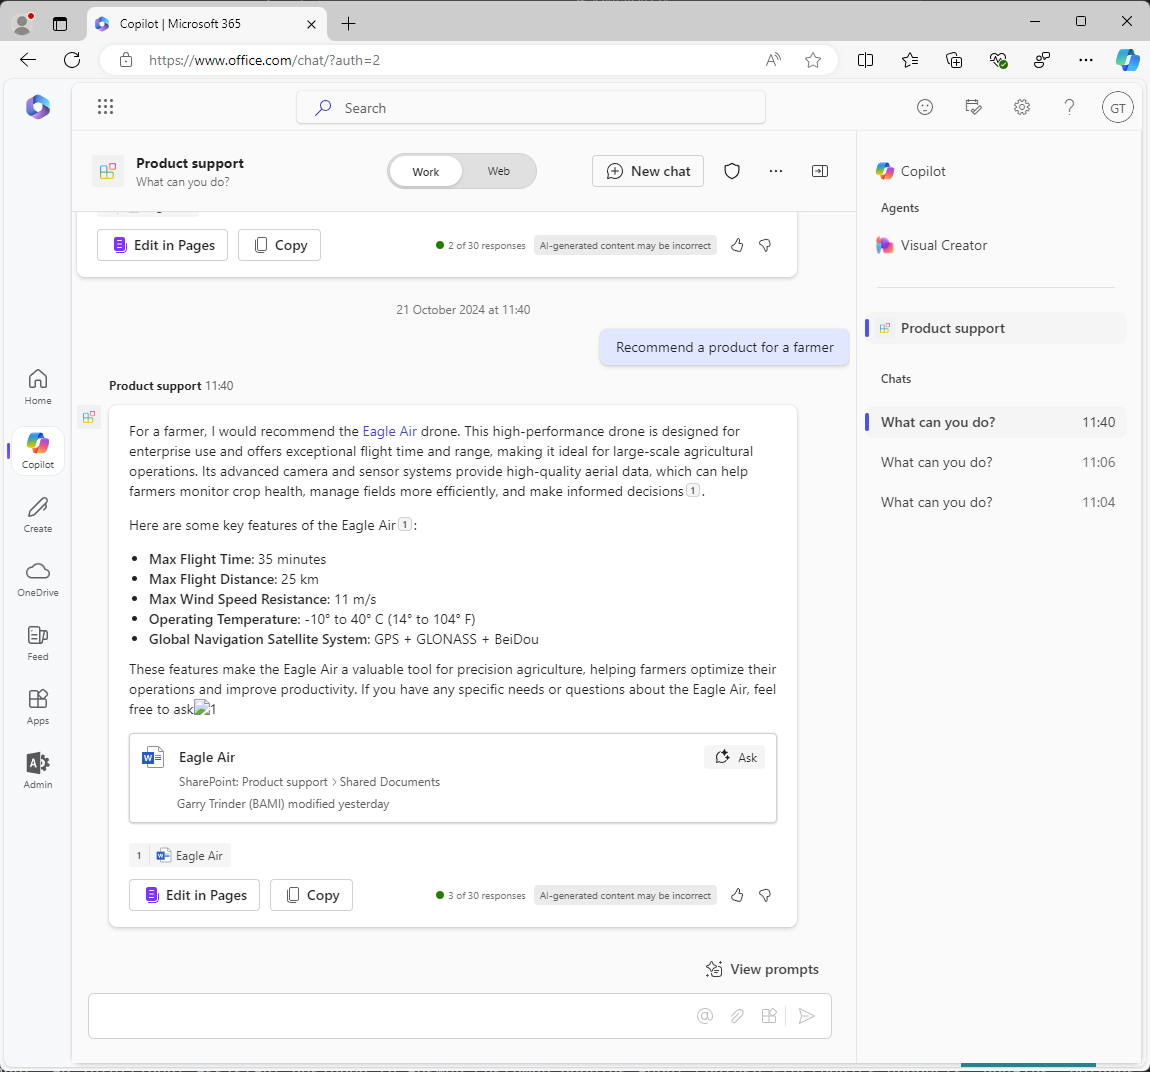
In the message box, enter Recommend a product suitable for a farmer and send the message.
Wait for the response. Notice that the response contains information about the Eagle Air and some extra context as to why the Eagle Air is recommended. The response contains citations and references to the Eagle Air document stored in OneDrive.
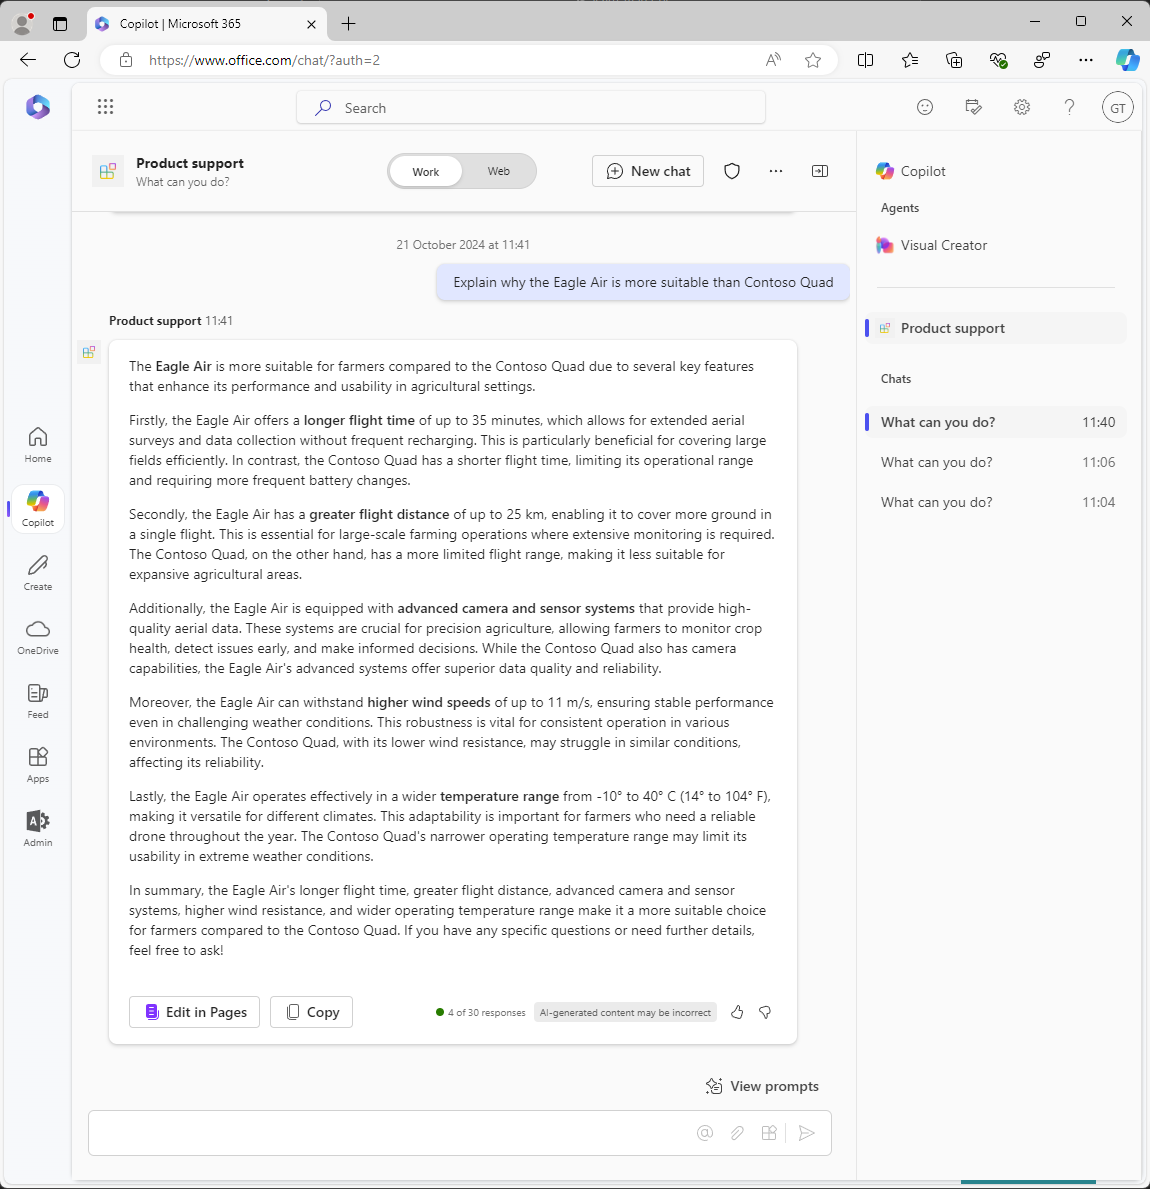
In the message box, enter Explain why the Eagle Air is more suitable than Contoso Quad and send the message.
Wait for the response. Notice that the response explains in more detail why the Eagle Air is more suitable than the Contoso Quad for use by farmers.


Finally, let's test the fallback response by asking a question that the agent can't answer:
- In the message box, enter When was Mark8 released? and send the message.
- Wait for the response. Notice that the response suggests that the agent should reach out to the team responsible for further assistance as defined in the instructions.

Close the browser to stop the debug session in Visual Studio Code.