Exercise - Import external content
In this exercise, you extend the custom Copilot connector with the code to import local markdown files to Microsoft 365.
Before you start
Before you do this exercise, be sure to complete the previous exercise in this module.
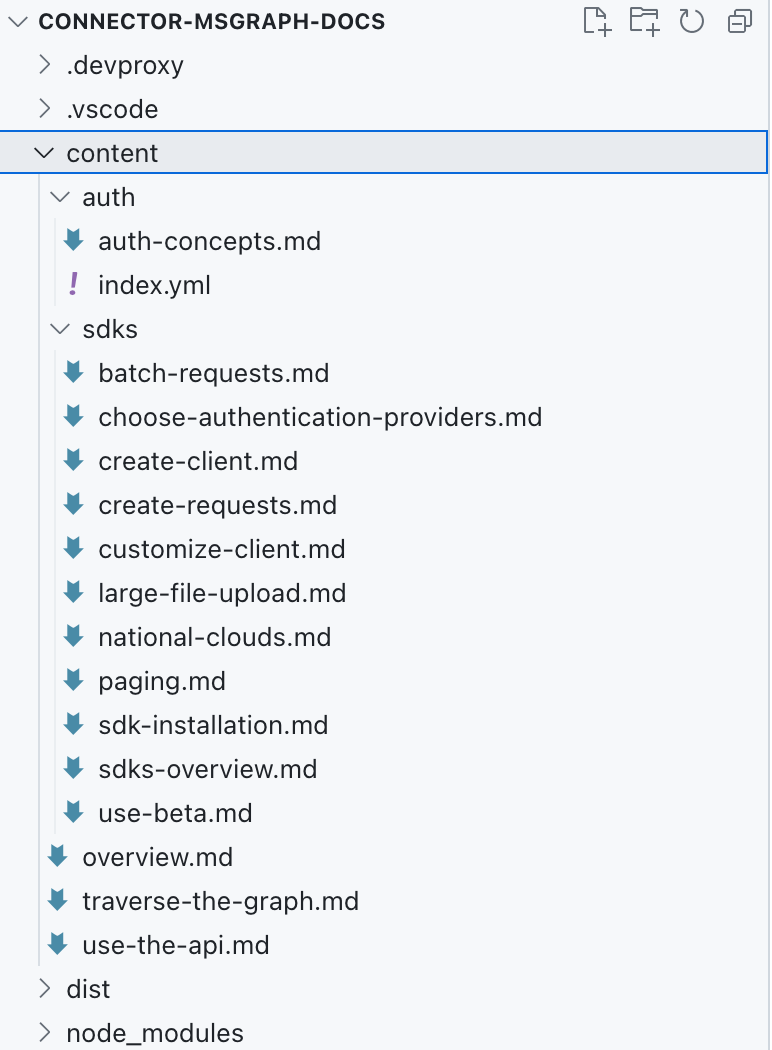
To follow this exercise, copy the sample content files used in this exercise from GitHub and store them in your project, in a folder named content.
Add libraries to parse YAML and remove Markdown
The Copilot connector that you're building imports local Markdown files to Microsoft 365. Each of these files contains a header with metadata in the YAML format, also known as frontmatter. Additionally, the contents of each file are written in Markdown. Copilot connectors support content in plain-text or HTML. To extract metadata and convert the body to plain-text, you use custom libraries.
In a command prompt:
- Change the working directory to your project.
- To add packages to parse frontmatter and remove Markdown formatting, run the following command:
npm install gray-matter remove-markdown. - The remove-markdown package doesn't include TypeScript type definitions. To install them, run the following command:
npm install --save-dev @types/remove-markdown.
Define interface representing imported file
The loadContent.ts file contains a basic interface that describes an external document:
// Represents the document to import
interface Document {
  // Document title
  title: string;
  // Document content. Can be plain-text or HTML
  content: string;
  // URL to the document in the external system
  url: string;
  // URL to the document icon. Required by Microsoft 365 Copilot
  iconUrl: string;
}
Update it, so that it's compatible with the gray-matter package that you use to parse Markdown files.
import matter, { GrayMatterFile } from 'gray-matter';

interface Document extends GrayMatterFile<string> {
  content: string;
  relativePath: string;
  url?: string;
  iconUrl?: string;
}
First, you remove the title property. The base GrayMatterFile<T> interface includes the data property, which includes all metadata extracted from the Markdown file's frontmatter. You also add the relativePath property, which stores the relative path to the file in the content folder. You use this property to generate URL to the original Microsoft Graph documentation page on the internet. You make the url and iconUrl properties optional, because you provide their value them manually after loading the content from the Markdown file.
Save your changes.
Implement loading Markdown files
The next step is to implement the logic that loads the local Markdown files, extracts metadata, and converts the content to plain-text. Implement it in the loadContent.ts file, in the extract function.
In the code editor:
Open the loadContent.ts file.
In the top section, import packages needed to interact with the filesystem and to remove the Markdown formatting:
import fs from 'fs';
import path from 'path';
import removeMd from 'remove-markdown';
Next, in the same file implement the
extractfunction:function extract(): Document[] { const contentDir = 'content'; const baseUrl = 'https://learn.microsoft.com/graph/'; const content: Document[] = []; const contentFiles = fs.readdirSync(contentDir, { recursive: true }); contentFiles.forEach(file => { if (!file.toString().endsWith('.md')) { return; } const fileContents = fs.readFileSync(path.join(contentDir, file.toString()), 'utf-8'); const doc = matter(fileContents) as Document; doc.content = removeMd(doc.content.replace(/<[^>]+>/g, ' ')); doc.relativePath = file.toString(); doc.url = new URL(doc.relativePath.replace('.md', ''), baseUrl).toString(); doc.iconUrl = 'https://raw.githubusercontent.com/waldekmastykarz/img/main/microsoft-graph.png'; content.push(doc); }); return content; }The function starts by recursively reading files from the content folder. For each file, it checks its extension and only processes it if it's a Markdown file. Then, it reads the file's contents and uses the gray-matter package to parse the frontmatter and content. Next, it updates the document's contents, by removing the Markdown formatting using the remove-markdown package. It builds its URL on the internet using the file's relative path. Finally, it adds the document to the collection for further processing.
Save your changes.
Transform content into external items
After you read Markdown files, the next step is to transform them into external items, which you load to Microsoft 365.
Start, with implementing the getDocId helper function that generates a unique ID for each external item based on its relative file path.
In the code editor:
Confirm that you're editing the loadContent.ts file.
Update the
getDocIdfunction to generate a unique ID for each external item:function getDocId(doc: Document): string { const id = doc.relativePath.replace(path.sep, '__').replace('.md', ''); return id; }The
getDocIdfunction takes the relative file path and replaces all directory separators with a double underscore. Removing path separator characters is necessary because they can't be used in an external item ID.Save your changes.
Now, implement the transform function, which converts objects that represent local markdown files into external items from Microsoft Graph.
In the code editor:
Confirm that you're in the loadContent.ts file.
Implement the
transformfunction using the following code:function transform(documents: Document[]): ExternalConnectors.ExternalItem[] { return documents.map(doc => { const docId = getDocId(doc); return { id: docId, properties: { title: doc.data.title ?? '', description: doc.data.description ?? '', url: doc.url, iconUrl: doc.iconUrl }, content: { value: doc.content ?? '', type: 'text' }, acl: [ { accessType: 'grant', type: 'everyone', value: 'everyone' } ] } as ExternalConnectors.ExternalItem }); }In the function, you transform each item from a
Documentinto anExternalItem. You start, by getting a unique ID for each document using thegetDocIdfunction. Then you create a new instance ofExternalItemand fill its properties with information from theDocument. Next, you set the item's content to the plain-text content extracted from the local file and set the item content type totext. Finally, you configure the item's permission so that it's visible to everyone in the organization.Save your changes.
Load external items into Microsoft 365
The last step of processing the content is loading the transformed external items into Microsoft 365. The load function in the loadContent.ts file is responsible for loading content to Microsoft 365. You can use it without any changes and take a moment to understand how it works. For each external item, the function calls the Microsoft Graph API to upload the item to the external connection.
Test the code
The last thing left is to test that the Copilot connector correctly imports external content.
In a command prompt:
- Change the working directory to your project.
- Build the project by running the
npm run buildcommand. - Start loading the content by running the
npm run start:loadContentcommand. - Wait for the command to complete and load the content.