Exercise - Create an Azure Batch job and virtual network
You can use the Azure portal to create and deploy Azure Batch jobs and create other Azure resources. The portal helps you choose the right properties that fit your compute scenario.
Note
This exercise is optional. If you want to complete this exercise, you'll need to create an Azure subscription before you begin. If you don't have an Azure account or you don't want to create one at this time, you can read through the instructions so you understand the information that's being presented.
Create a resource group
Create a resource group to hold a Batch account that you create later. You use the resource group to administer related services and applications together. A resource group also makes resource clean up easier when you finish this module.
To create a resource group in the Azure portal:
Sign in to the Azure portal.
On the left, select Create a resource.
In the search box, type Resource and select Resource group from the results.
Select Create to add a new resource group.
On the Basics tab, select the subscription in which you want to work.
Name the resource group BatchResourceGroup.
Choose the region (location) for the resource group. Typically, you want a location that's close to you or close to the data you work with.
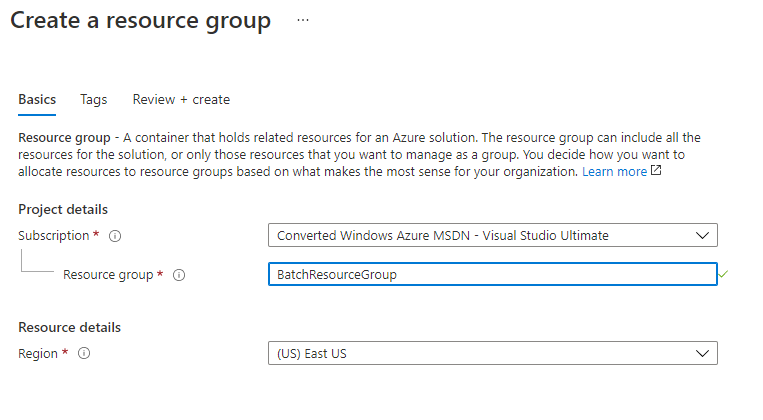
Select Review + create, then select Create.
Create a storage account
On the Azure portal menu or from the home page, select Create a resource.
Enter storage account in the Search services and marketplace search box, and then select Storage account.
Select Create to open the Create storage account form.
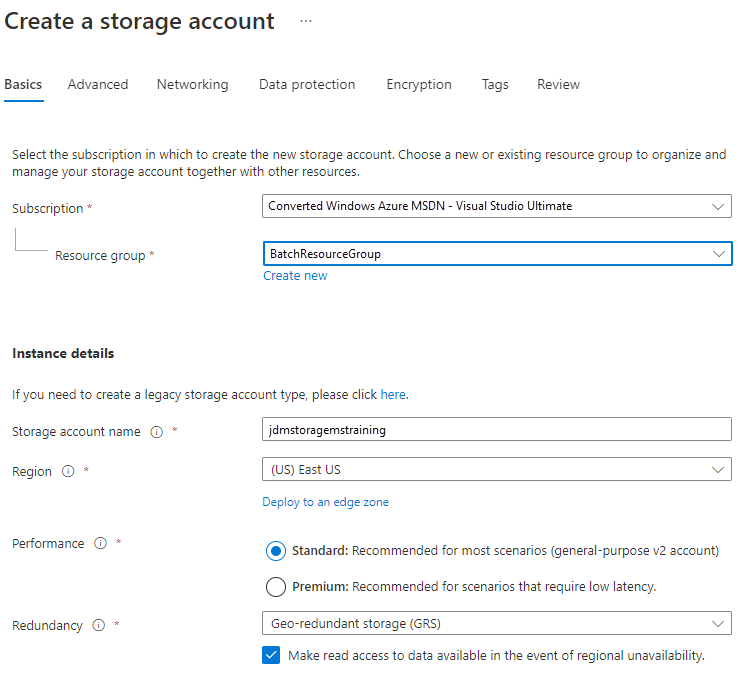
For Subscription, select the appropriate subscription that you want to use.
For Resource group, select the resource group that you created in the previous section (BatchResourceGroup).
In the Storage account name box, enter a unique name. An example might be cutifypets<date><your initials>.
Note
Your storage account name must be globally unique, and only lowercase characters and numbers are allowed.
Select a location close to you from the available options.
Leave all the other options as their defaults. Select Review + create, then select Create.
Wait for the deployment to finish. You now have a storage account that you use in your processing to store input and output files. You associate this storage account with your Batch account shortly.
Add input data
Here, you'll add input data for a Batch task that you'll use in the next exercise.
Select Go to resource after the storage account deployment is complete.
On the left, select Containers under Data storage.
Select the + Container button to create a container. Name the container input-data and set the public access level as Private.
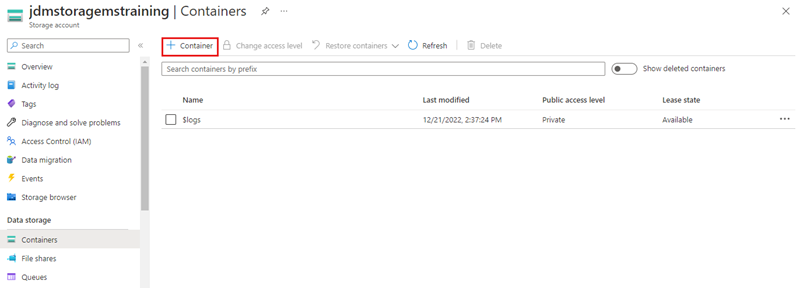
Select Create.
Download this video. You use it as input data for a Batch task shortly.
Select the input-data container that you created. Upload the video that you downloaded by selecting the Upload button and browsing to where you downloaded the video. It's most likely your local Downloads folder.
Once you select the video, select the Upload button.
Create a Batch account
Next, you create the Azure Batch account and pool in a virtual network for your test scenario.
From the Azure portal home, select Create a resource.
Enter batch service in the Search services and marketplace search box, then select Batch Service from the list.
Select Create to open the New Batch account form.
Enter the following settings on the Basics tab, in the Project details section:
Subscription: Select the appropriate subscription that you want to use.
Resource group: Select the name of the resource group that you created earlier (BatchResourceGroup).
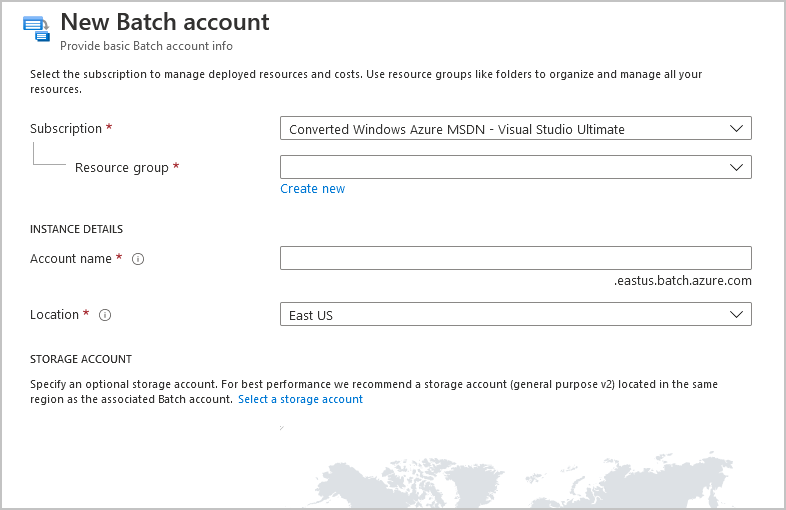
Enter the following settings on the Basics tab, in the Instance details section:
Account name: A name that's unique within the Azure region where the account is created. The account name can contain only lowercase characters or numbers, and it must be 3 to 24 characters in length.
Location: The Azure region in which to create the Batch account. Only the regions your subscription and resource group support are displayed as options.
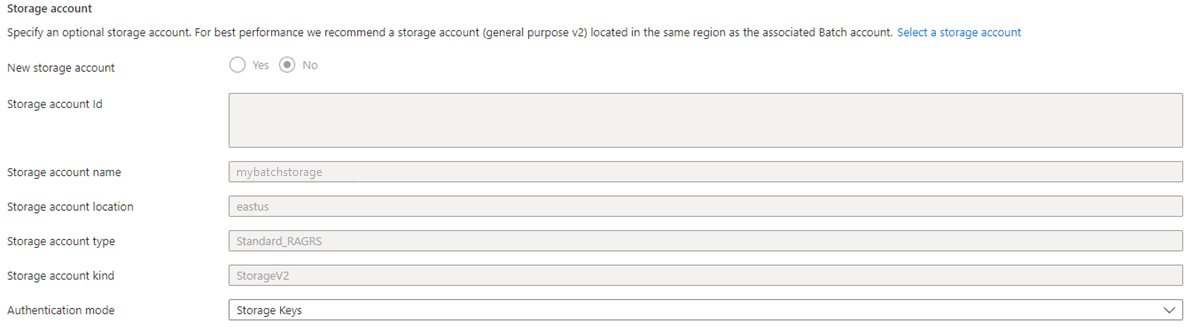
On the Basics tab, in the Storage account section, select Select a storage account, then select the storage account that you created earlier.
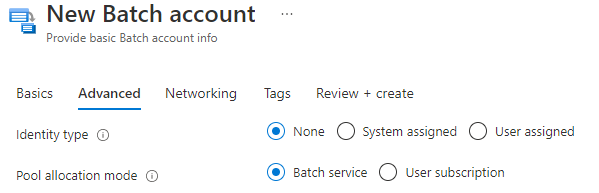
Select Next: Advanced, and then enter the following settings on the Advanced tab:
Identity type: Leave as the default.
Pool allocation mode: Leave as the default, which should be Batch service.
Note
If you'd specified User subscription, Azure would create the pool in the subscription where you were creating your Batch service.
Select Next: Networking. Leave Public network access as the default, which should be All networks.
Leave all the other options as their defaults. Select Review + create, then select Create.
Your deployment might take a few minutes to finish.
Create a virtual network
After you create a virtual network and assigned a subnet to it, you can create a Batch pool with that virtual network. Follow these steps to create a pool from the Azure portal:
From the Azure portal home, select Create a resource.
Enter virtual network in the Search the Marketplace search box, and then select Virtual Network from the list.
Select Create to open the Create virtual network form.
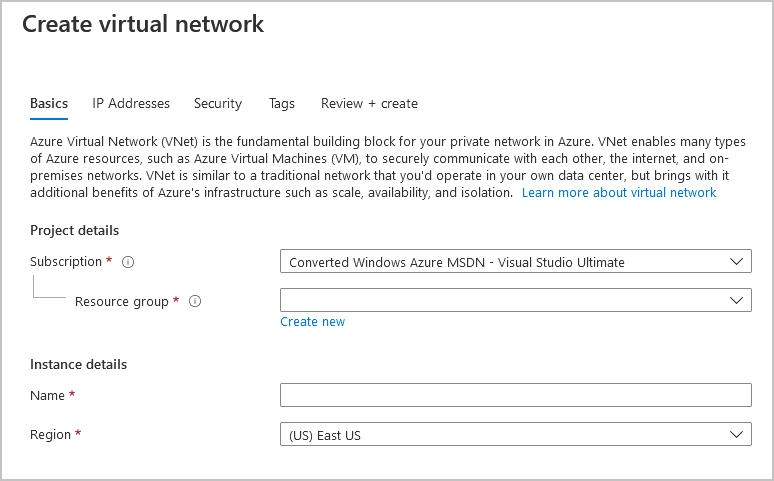
Enter the following settings on the Basics tab, in the Project details section:
Subscription: Select the same subscription as your Batch account from previous steps.
Resource group: Select the same resource group as your Batch account from previous steps (BatchResourceGroup).
Enter the following settings on the Basics tab, in the Instance details section:
Name: Enter a name for your virtual network.
Location: Select the same region as your Batch account from previous steps.
Note
If you had any unique IP address settings for your virtual network, you would select Next: IP Addresses and specify those settings on the IP Addresses tab.
Leave all the other options as their defaults. Then select Review + create, followed by Create.
Create a Batch pool
From the Azure portal home, select Resource groups, and then select the resource group that contains the Batch account (BatchResourceGroup).
From your resource group Overview page, select your Batch account.
Select Pools under Features in the left menu.
In the Pools window, select + Add.
In the Add Pool window, enter a name for Pool ID by using a combination of alphanumeric characters, hyphens, and underscores.
For this exercise, specify the following options in the Operating System section:
Select Marketplace from the Image Type dropdown menu.
Select microsoftwindowsserver for Publisher.
Select windowsserver for Offer.
Select 2019-datacenter for Sku.
For this exercise, select Standard A1 from the VM size dropdown menu.
Set the Target dedicated nodes to 1, and set Target Spot/low-priority nodes to 0.
To learn more about low-priority VMs, see Use low-priority VMs with Batch.
For Virtual Network, select the virtual network that you created earlier.
Specify any desired optional settings (or leave any other settings as their defaults), then select OK.