Exercise - Add a new application package to a Batch account in the Azure portal
In the Azure portal, application packages can be uploaded and managed in more feasible ways. To use application packages, you need to link an Azure storage account to your Azure Batch account. Based on quotas and limits defined for your Batch service, you can add more applications and application packages to a Batch account.
Create an application package
Download a local copy of the essentials build for ffmpeg 4.3.1.
Sign in to the Azure portal.
Select Resource groups, then select the resource group that contains the Batch account that you created in previous steps.
On the resource group's Overview page, select your Batch account.
In the settings window for your Batch account, select Applications under Features in the left menu, then select Add to open the New application page.
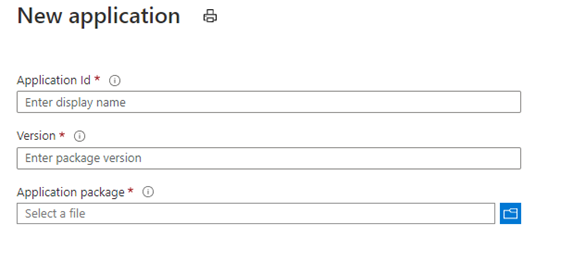
Enter the following information:
Application Id: Enter ffmpeg as the ID for your new application.
Version: Enter 4.3.1 as the version for the application package that you're uploading.
Application package: Use the .zip file that you downloaded earlier.
The application ID and version that you enter must follow these requirements:
On Windows nodes, the ID can contain any combination of alphanumeric characters, hyphens, and underscores. On Linux nodes, only alphanumeric characters and underscores are permitted.
The ID can't contain more than 64 characters.
The ID must be unique within the Batch account.
IDs are case-preserving and case-insensitive.
After you enter all of the information for your application, select Submit.
After the .zip file is uploaded to your Azure storage account, the portal displays a notification. Depending on the size of the file that you're uploading and the speed of your network connection, this process might take some time to finish.
To add more application package versions for an existing application, select the application in the Applications section of your Batch account, then select Add. As you did for the new application, specify the Version value for your new package, upload your .zip file in the Application package box, and then select Submit.
Run a task by using an application package in the Azure portal
In the Azure portal, Batch tasks can run directly on virtual machines in a Batch pool. These tasks can use application packages to simplify environment setup.
From the Azure portal home, select Resource groups, then select the resource group that contains the Batch account that you created in previous steps.
On the resource group's Overview page, select your Batch account.
In the settings window for your Batch account, select Jobs under Features in the left-hand menu, then select Add.
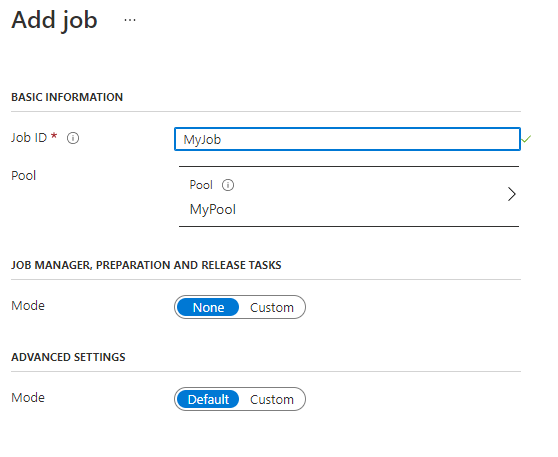
In the Add job window, enter Job ID value for your new job.
Select the Select pool link, select the pool that you created in previous steps and select the Select button.
Keep Job manager, preparation, and release tasks as None.
Keep Advanced settings as None.
Select OK to create your job.
Select the job that you created, and then select Tasks under the General header on the sidebar.
Select Add to create a new task, and then:
Enter a Task ID value.
Enter the following code for Command line:
cmd /c %AZ_BATCH_APP_PACKAGE_ffmpeg#4.3.1%\\bin\\ffmpeg.exe -i LowPriVMs-1.mp4 LowPriVMs-1.mp3Under Advanced settings:
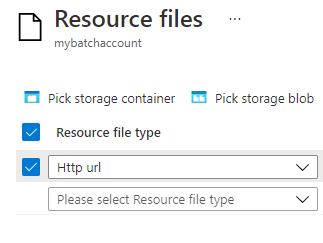
For Resource files, select the video that you uploaded previously by selecting Pick storage blob. Check the box for Include SAS, and leave the default Expires in value for seven days. Select OK. Go to your storage account, select the input-data container, and select the file that you uploaded.
For Application packages, select the application package that you added previously.
d. Select Submit.
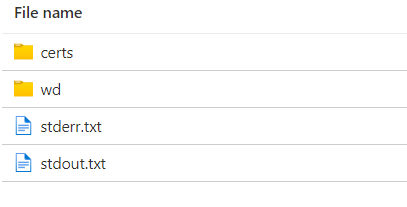
After the task is submitted, open it to see the output. The stderr.txt file reports any errors encountered. The stdout.txt file displays the task output result.