Exercise - Create your first agent
An effective agent starts with a focused purpose, clear instructions, and relevant knowledge. When these elements work together, the agent has a strong foundation for supporting a repeatable task.
In the customer meeting scenario, you planned an agent that helps sales team members prepare for customer conversations. In this exercise, you'll use that plan to create a customer meeting preparation agent in Microsoft 365 Copilot Chat.
When you finish, you'll have a working agent with a name, description, and instructions that you can test and refine.
Note
The location or name of some options presented in the examples and screenshots might vary based on your organization's configuration.
Start a new agent
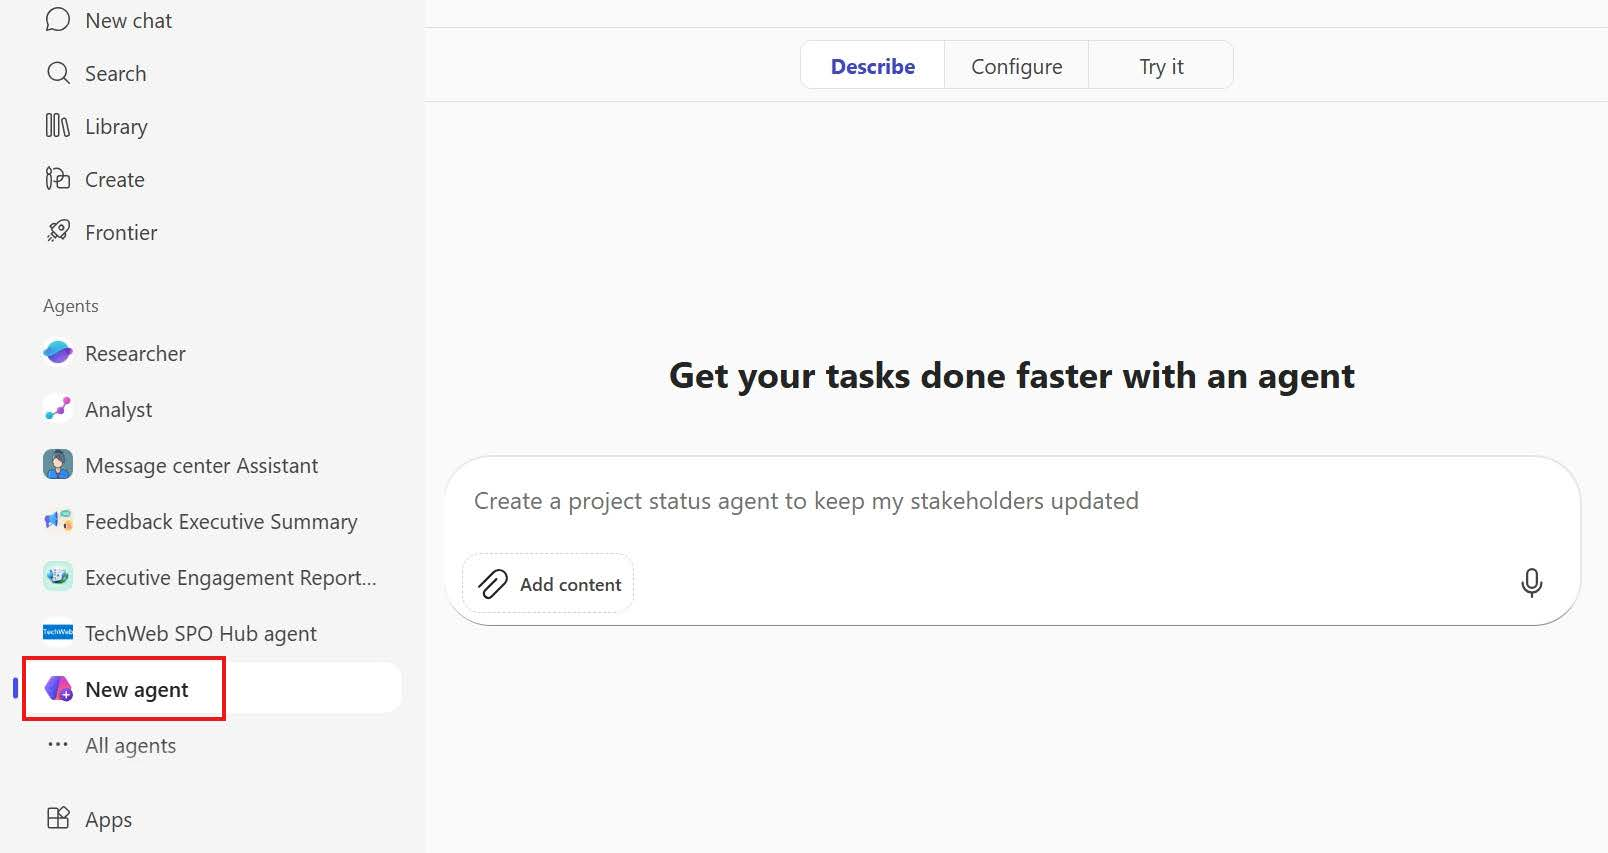
Start in Microsoft 365 Copilot Chat, and then select New agent to open Agent Builder.
- Go to Microsoft 365 Copilot Chat.
- Sign in with your work account.
- In the left navigation pane, expand Agents if necessary.
- Select New agent to open Agent Builder.
Agent Builder opens the natural-language creation experience. You can describe what you want the agent to do, and Agent Builder will begin configuring it for you.
Describe your agent
Use natural language to provide the agent's name, purpose, instructions, and expected output.
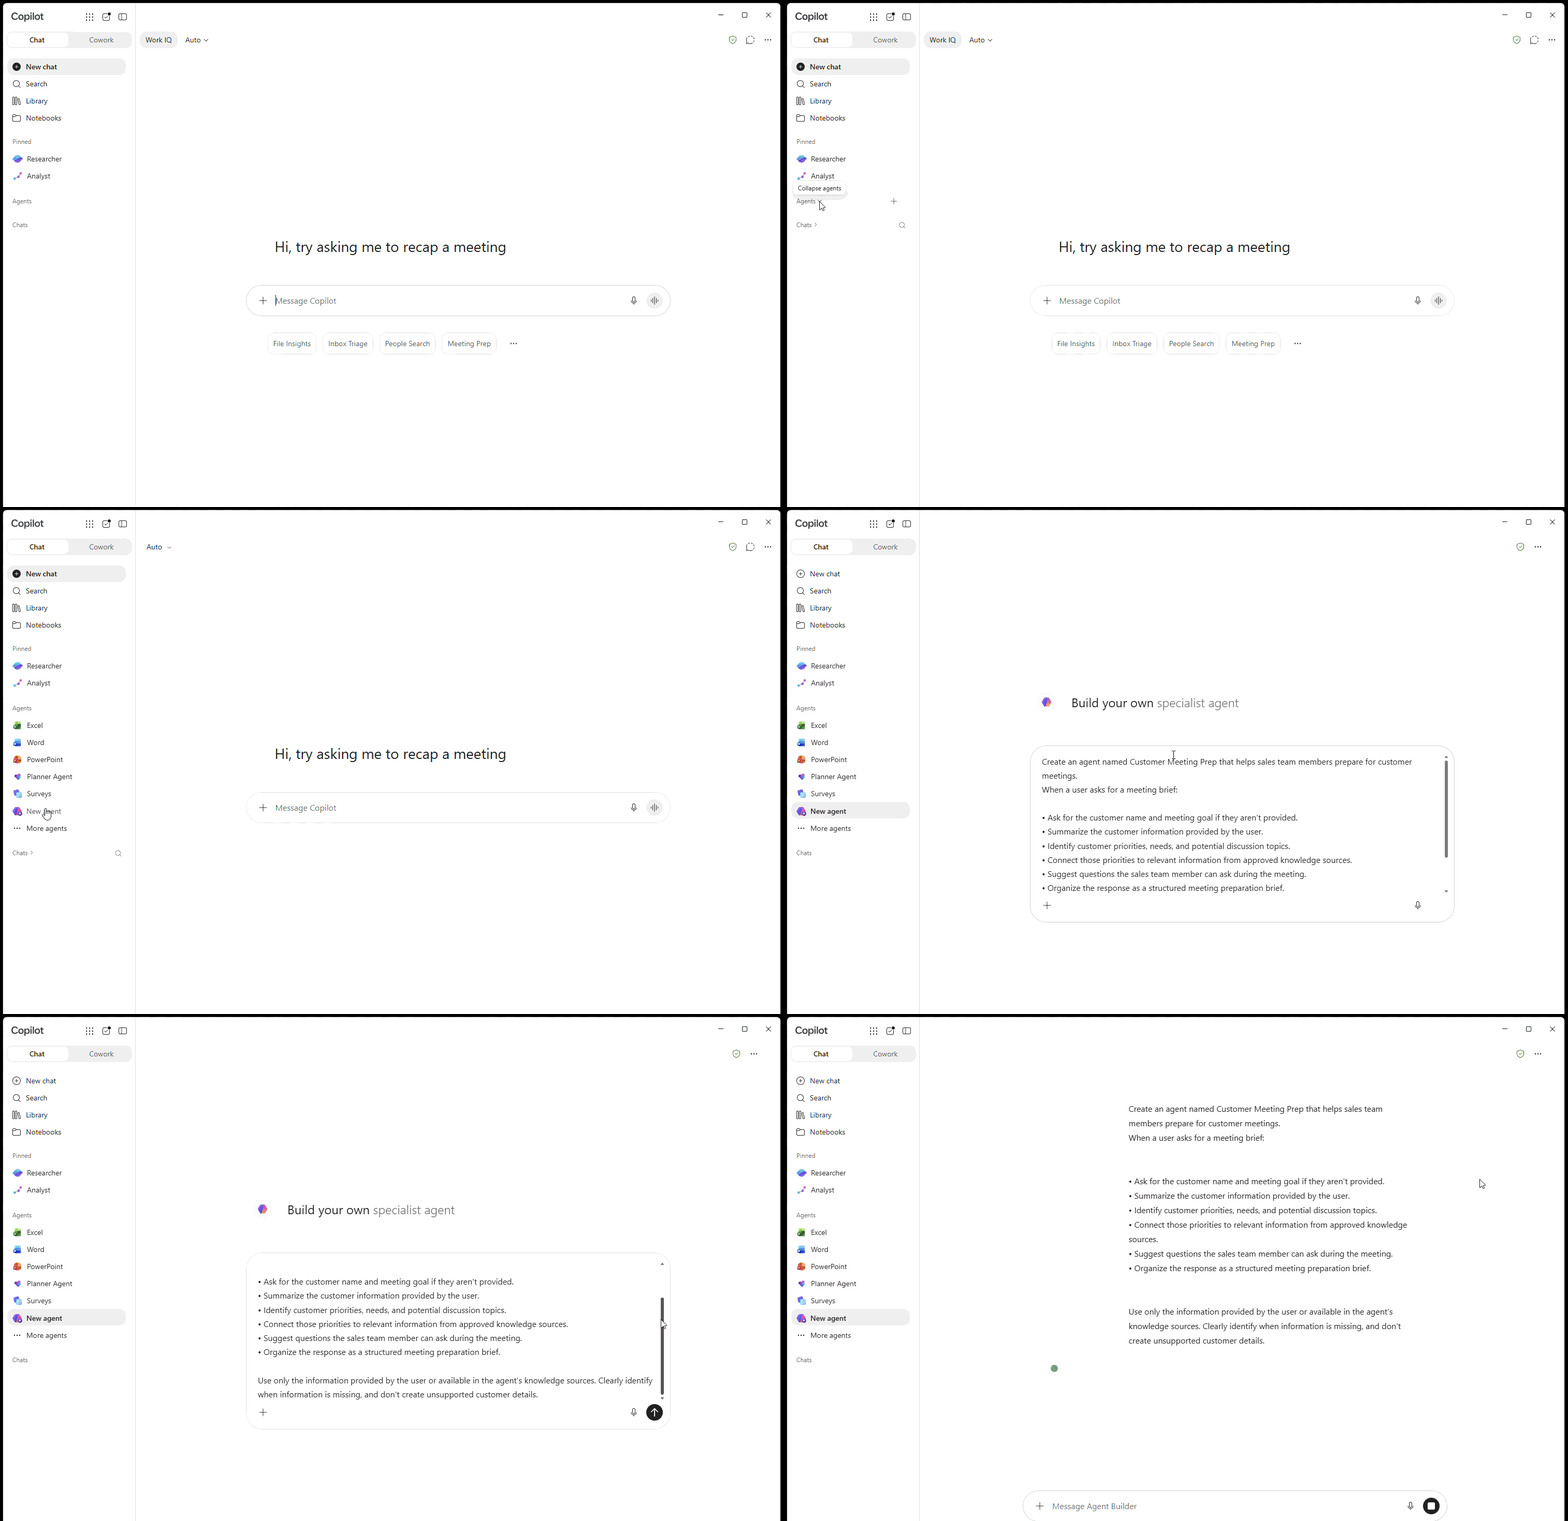
In the message box, enter the following prompt:
Create an agent named Customer Meeting Prep that helps sales team members prepare for customer meetings.

When a user asks for a meeting brief:

- Ask for the customer name and meeting goal if they aren't provided.
- Summarize the customer information provided by the user.
- Identify customer priorities, needs, and potential discussion topics.
- Connect those priorities to relevant information from approved knowledge sources.
- Suggest questions the sales team member can ask during the meeting.
- Organize the response as a structured meeting preparation brief.

Use only the information provided by the user or available in the agent's knowledge sources. Clearly identify when information is missing, and don't create unsupported customer details.
Submit the description.
Review the response from Agent Builder.
If Agent Builder asks follow-up questions, provide the requested information.
Continue until Agent Builder confirms that it has configured the agent.
Agent Builder uses your description to generate an initial configuration, including the agent's name, description, instructions, and suggested prompts.
Add a knowledge source
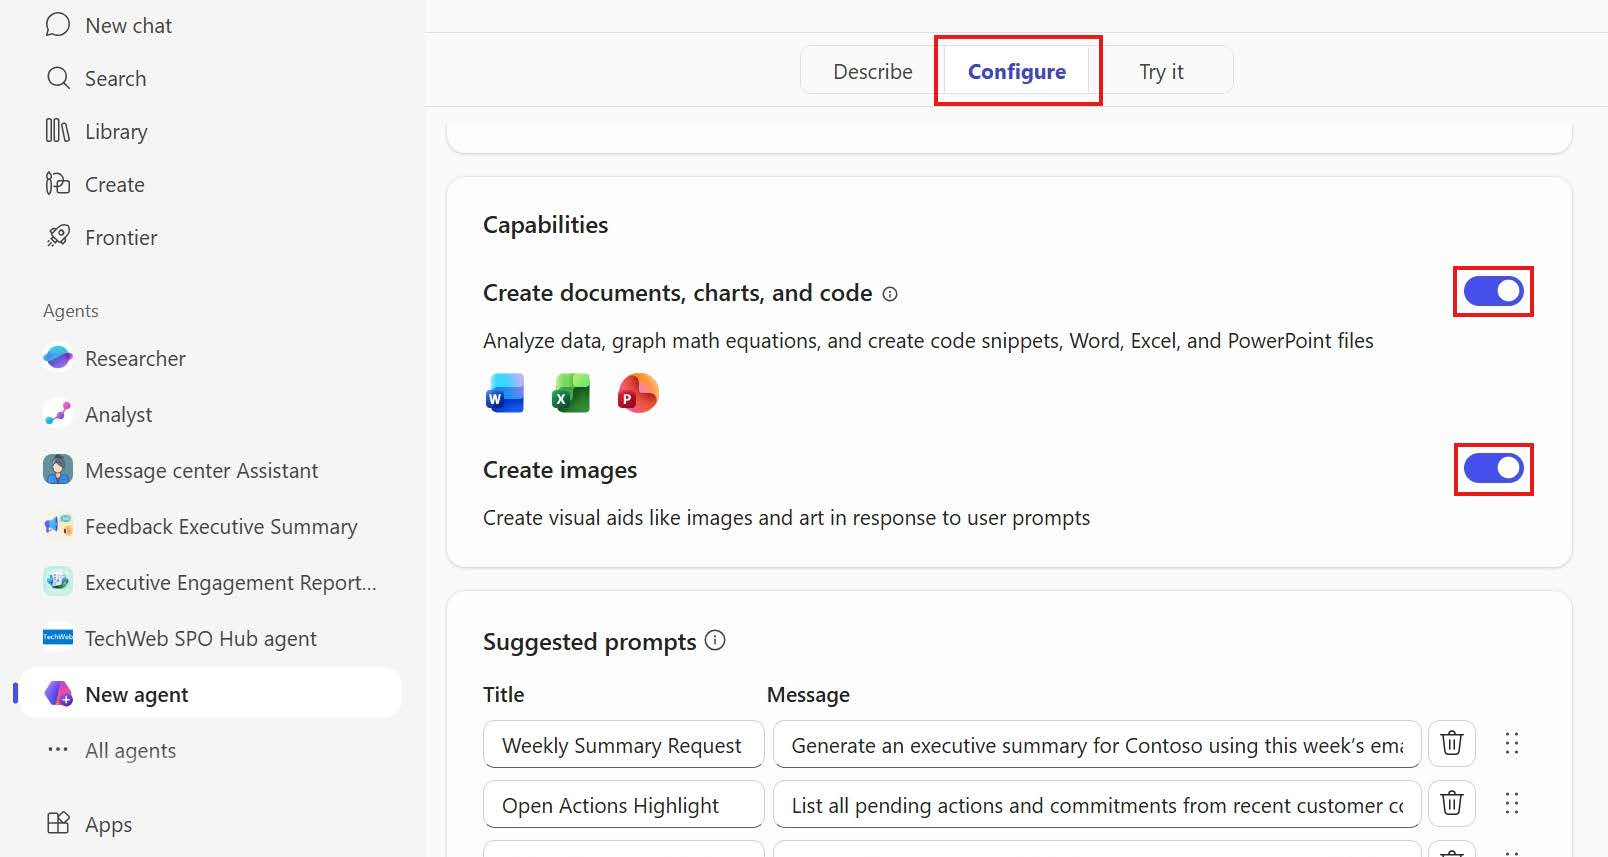
Knowledge sources provide information the agent can reference when completing its job. For this scenario, you can add an approved product document, sales resource, or other relevant file available to you.
Important
Only add files, sites, and other knowledge sources that are approved for use by your organization.
- In the message box, select the plus sign (+).
- Select the option to add or search for a knowledge source.
- Choose an approved file, SharePoint location, or other available source that could support customer meeting preparation.
- Confirm your selection.
- Verify that the knowledge source appears in the agent's configuration.
If you don't have an approved knowledge source available for this exercise, you can continue without adding one. You'll still be able to create and test the agent by providing information in your prompts.
Review the agent's configuration
Before creating the agent, review the generated configuration and confirm that it matches the plan from the previous unit.
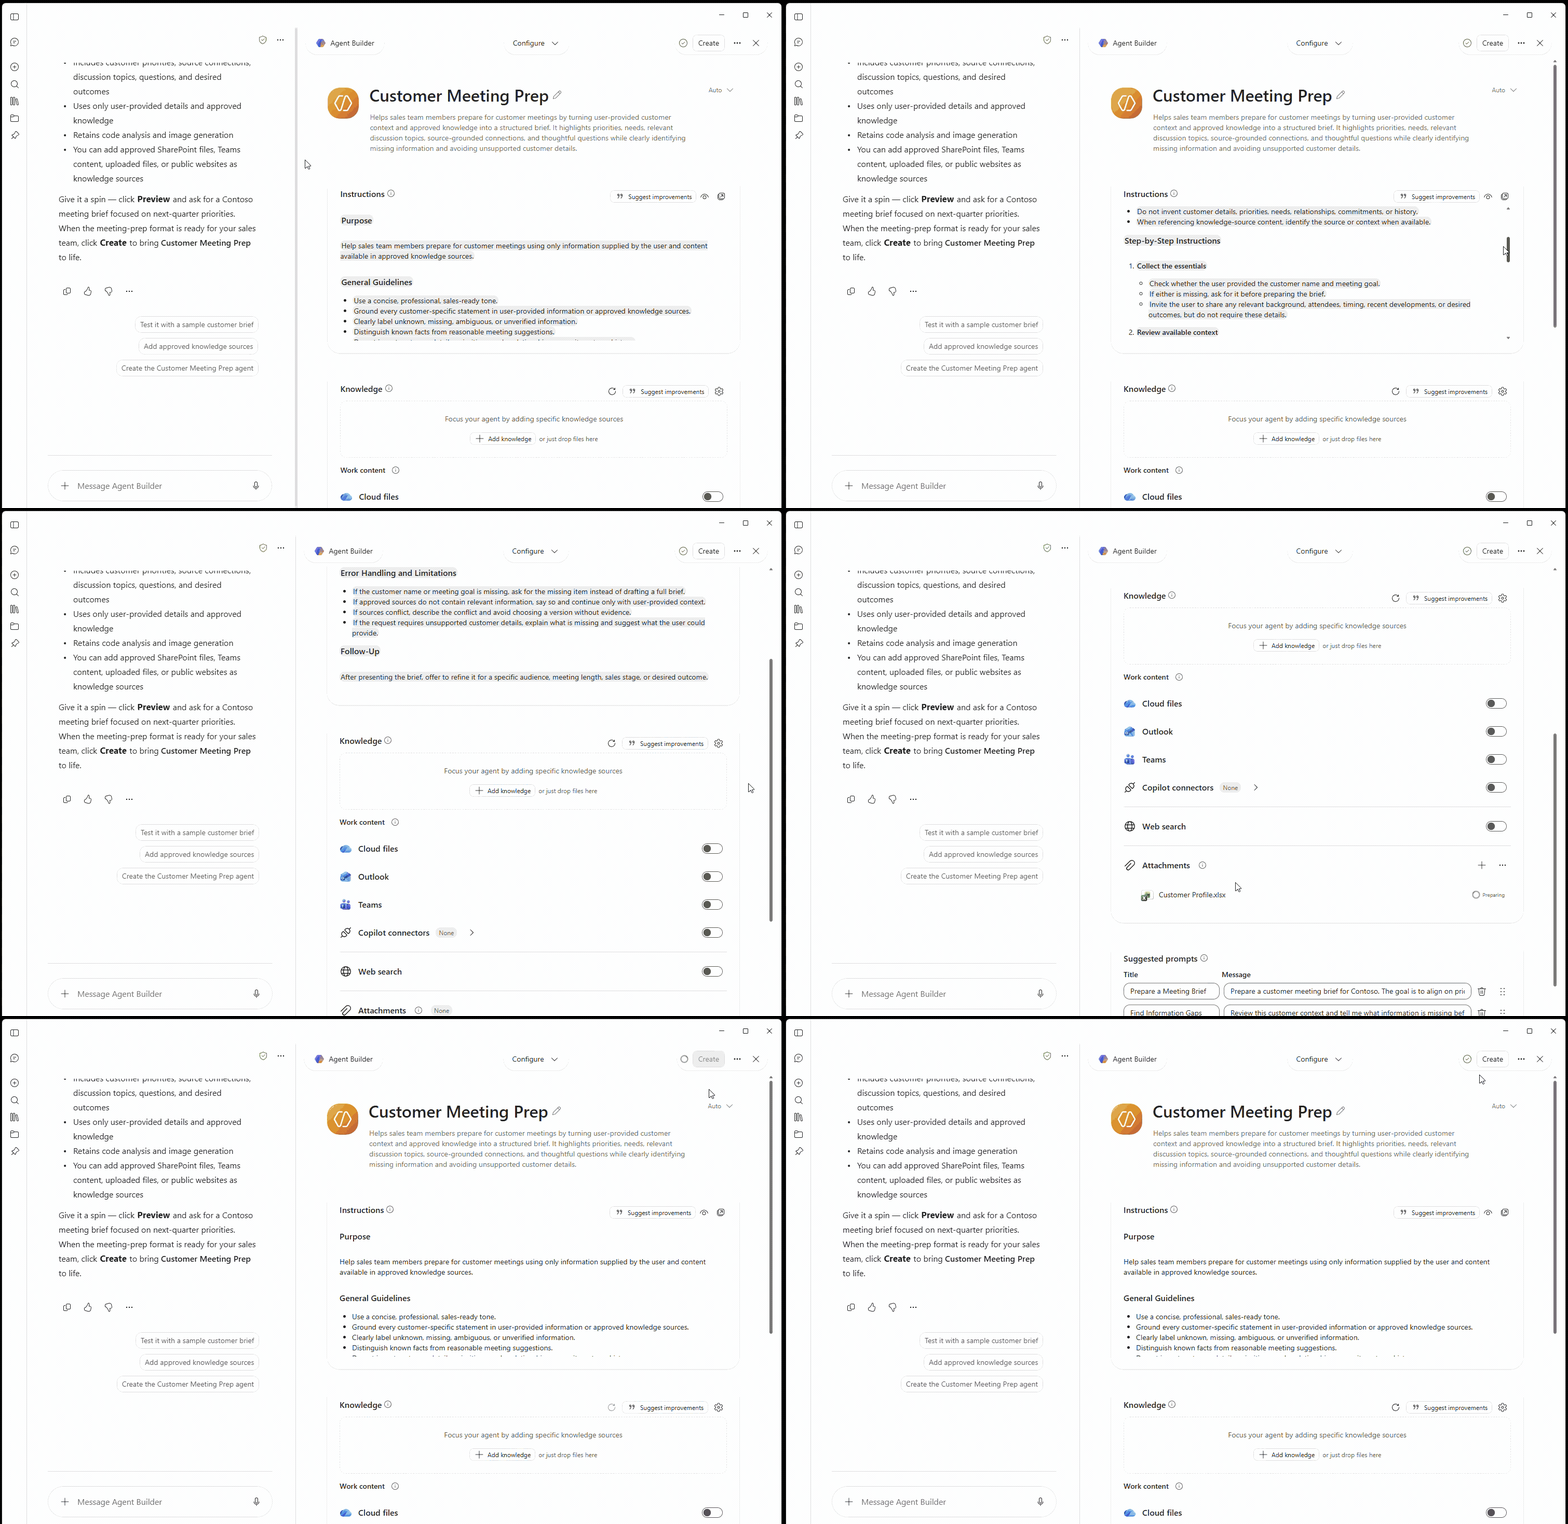
- Select the Configure tab.
- Confirm that the agent's name is Customer Meeting Prep.
- Review the description and confirm that it identifies the agent's purpose and intended user.
- Review the instructions and confirm that they describe how the agent should prepare a meeting brief.
- Verify that your selected knowledge source appears in the Knowledge section, if you added one.
- Review the suggested prompts and confirm that they align with customer meeting preparation.
- Make any necessary edits.
Your agent should have one focused job. Remove or revise any generated instructions that extend beyond preparing for customer meetings.
Tip
Ask yourself whether the knowledge source directly supports the agent's purpose. If a source isn't relevant to preparing customer meeting briefings, consider removing it.
Create the agent
After reviewing the configuration, create the agent so that you can use it in Microsoft 365 Copilot Chat.
- Select Create.
- Wait for Agent Builder to finish creating the agent.
- Confirm that Customer Meeting Prep opens in Microsoft 365 Copilot Chat.
Don't share the agent yet. You'll test and refine its responses before deciding whether it's ready for others to use.
Check your work
Confirm that your agent has the core elements needed to support the customer meeting preparation scenario.
- Open the Customer Meeting Prep agent.
- Confirm that the agent's name is displayed correctly.
- Verify that its description focuses on preparing for customer meetings.
- Confirm that its instructions explain how to create a structured meeting preparation brief.
- Verify that the agent uses only provided information and identifies when important details are missing.
- Confirm that your approved knowledge source is connected, if you added one.
Your agent now has a clear purpose, instructions, and knowledge sources. In the next exercise, you'll test its responses and refine its configuration to improve the quality of its meeting briefs.