Exercise - Test your custom connector in Microsoft Power Platform
Background
The final exercise brings it all together as you build a Power Apps UI, connect to a custom connector, and create an AI-generated social media post. You also implement this workflow in Microsoft Copilot Studio.
Definitions
The following sections provide definitions for important elements that you need to know for this exercise.
Power Apps
Power Apps is a suite of apps, services, and connectors. It's a data platform that provides a rapid development environment to build custom apps for your business needs. By using Power Apps, you can quickly build custom business apps that connect to the data that you store in the underlying data platform (Microsoft Dataverse) or in various online and on-premises data sources, such as SharePoint, Microsoft 365, Microsoft Dynamics 365, Microsoft SQL Server, and others.
For more information, see What is Power Apps?
Microsoft Copilot Studio
With Microsoft Copilot Studio, you can create powerful AI-powered copilots for a range of requests, from providing simple answers to common questions to resolving issues that require complex conversations. You can engage with customers and employees in multiple languages across websites, mobile apps, Facebook, Microsoft Teams, or any channel that the Azure Bot Framework supports.
For more information, see Microsoft Copilot Studio overview.
Power Fx
Power Fx is the low-code language that people use across Microsoft Power Platform. It's a general-purpose, strong-typed, declarative, and functional programming language.
For more information, see Microsoft Power Fx overview.
Prerequisites
Before starting this exercise, you need to complete the previous three labs.
Exercise steps
The following video goes through the steps for this unit's exercise.
Create an app in Power Apps
To create an app in Power Apps, follow these steps:
Sign in to Power Apps by using your Power Apps Developer Plan account. Make sure that you're in the same environment that you selected for the custom connector that you created in the Create a custom connector for your copilot exercise.
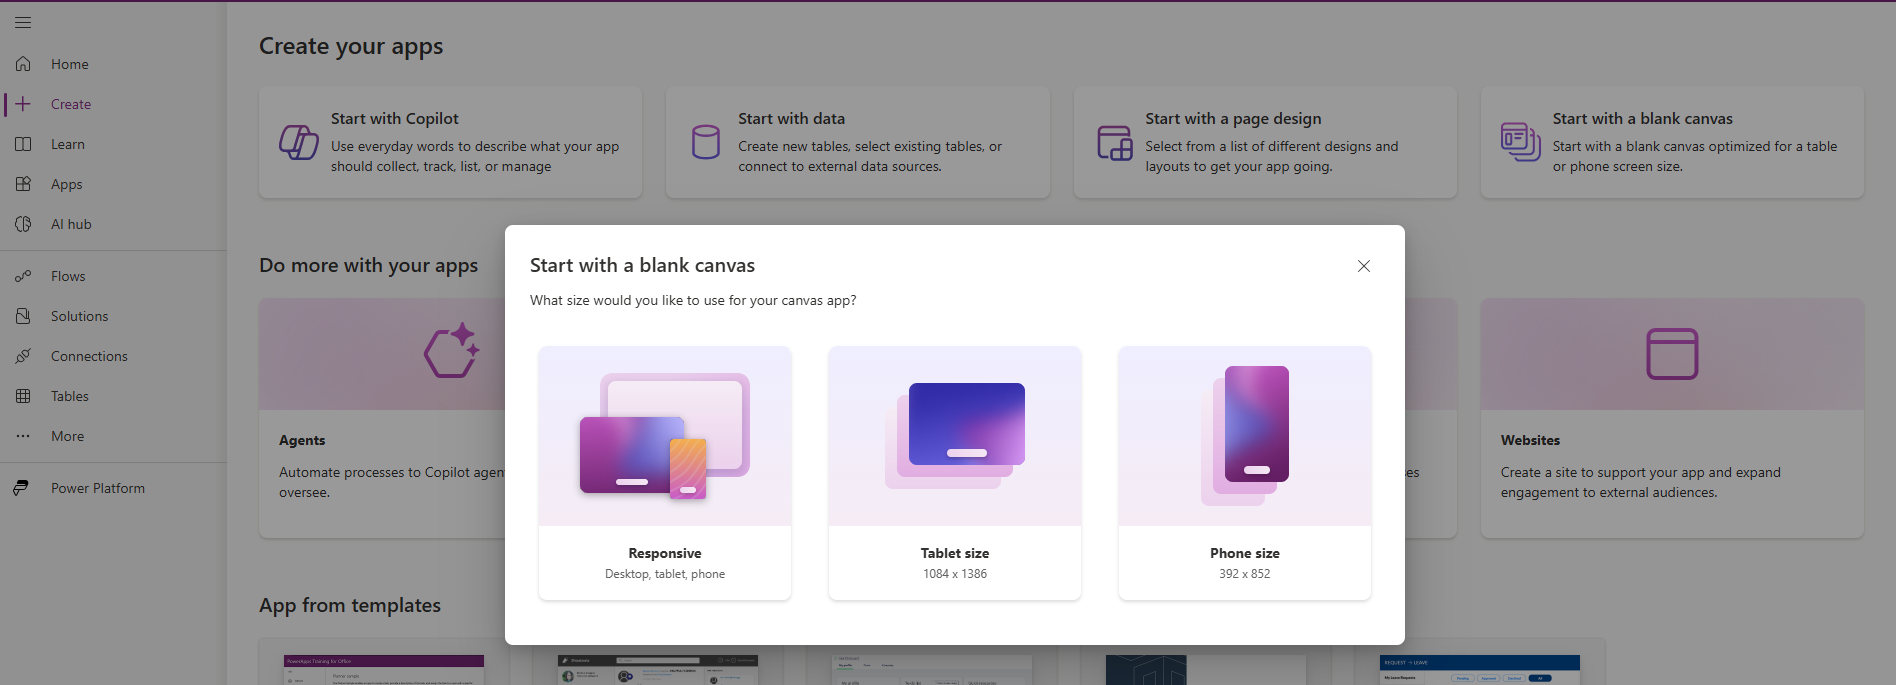
Select + Create on the left navigation pane and then select Start with a blank canvas.
Choose Tablet size.
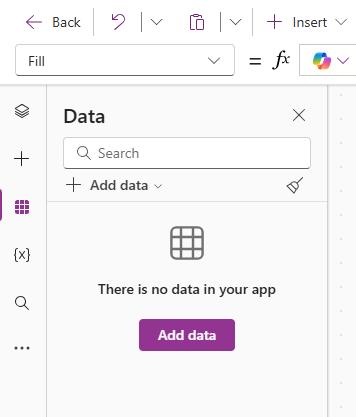
After you create the app, go to the left navigation pane and select Data > + Add data.
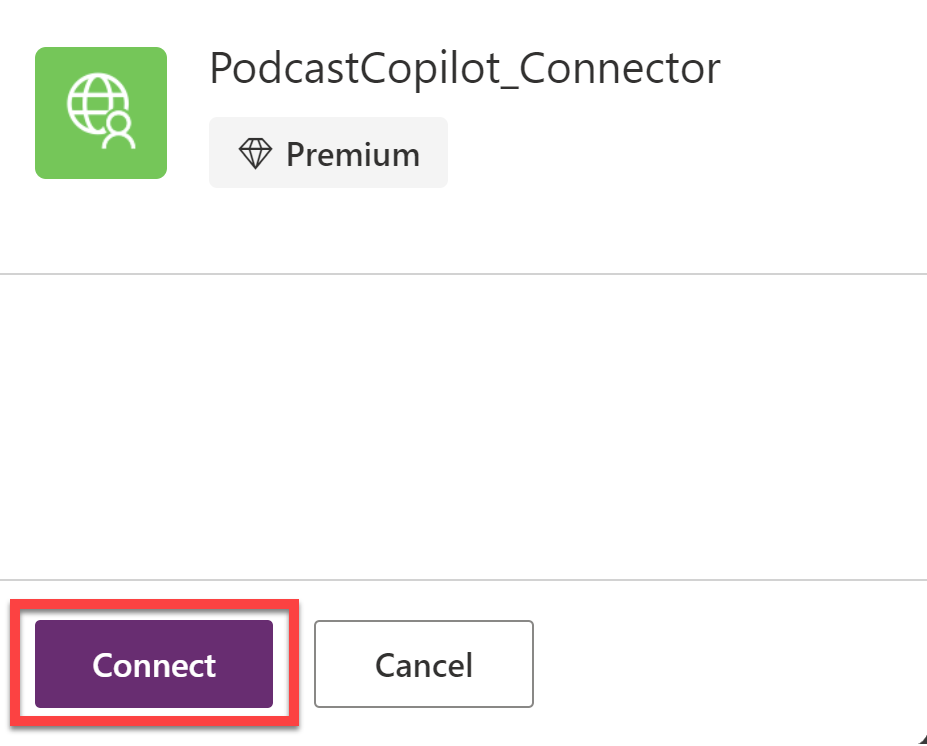
Search for PodcastCopilot_Connector and then select the connector.
Select Connect.
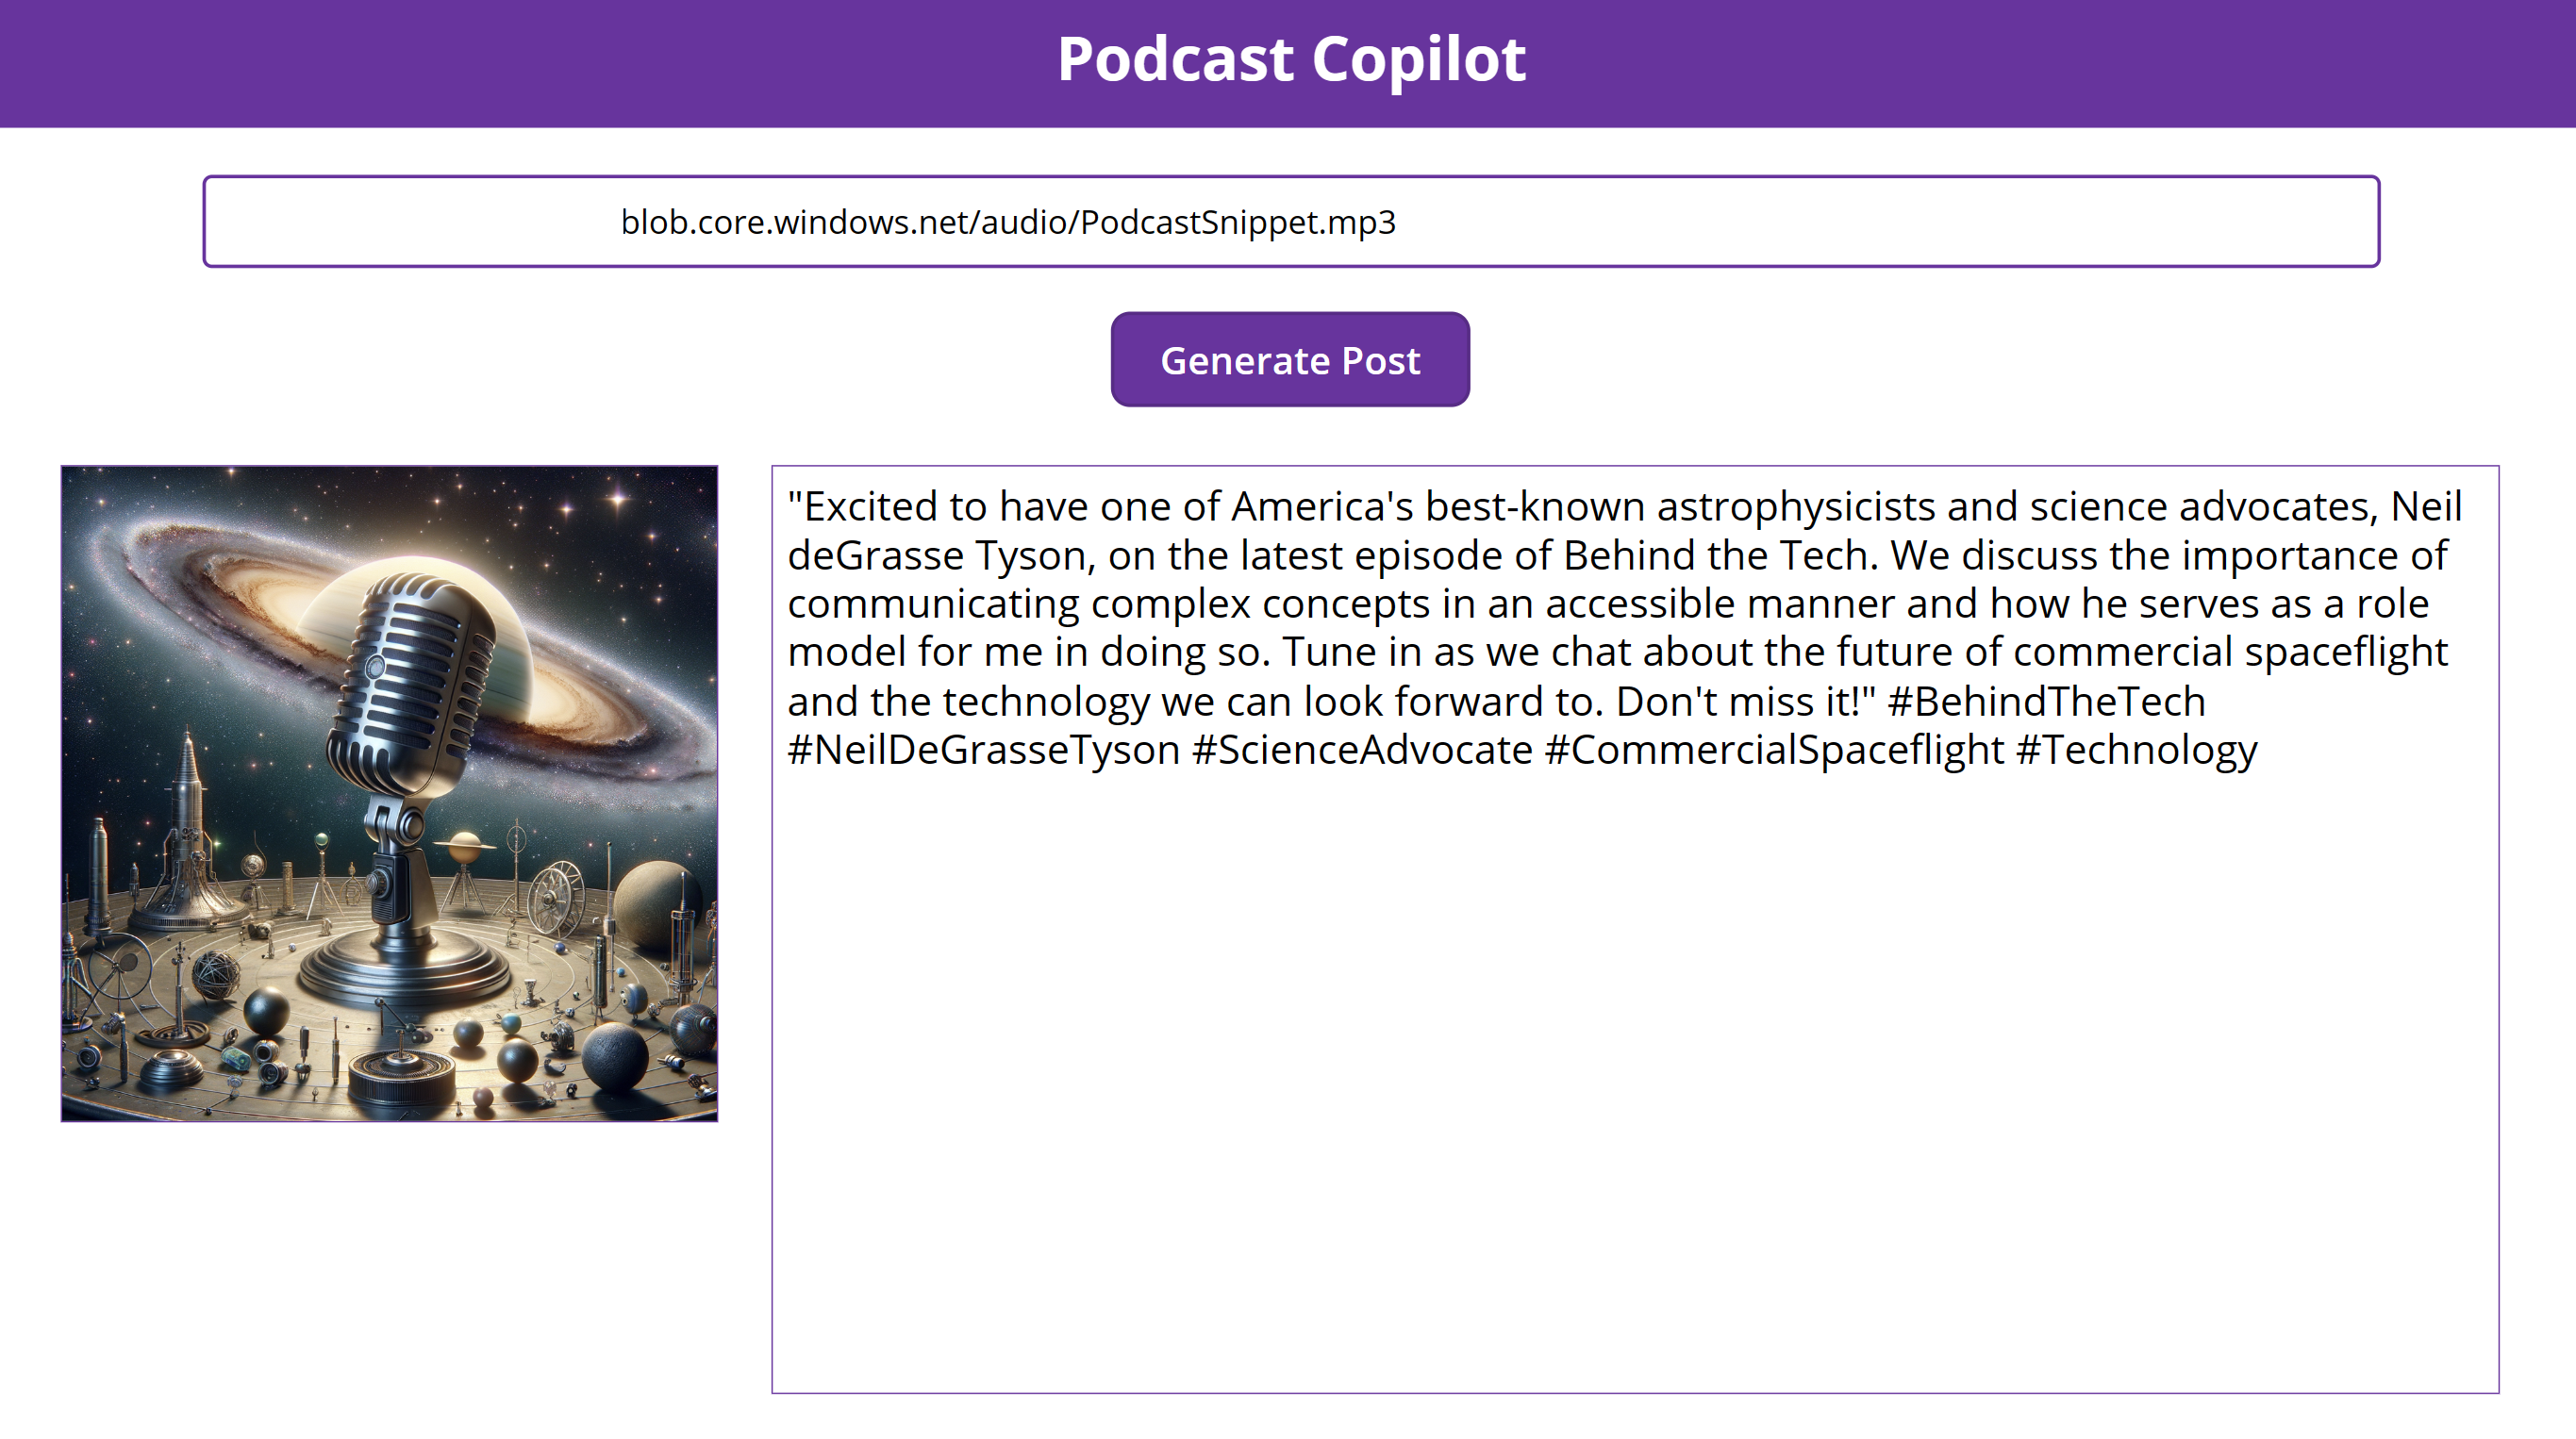
After the system adds the connector to the app, you can add the following controls to the screen:
1 x Text Input control
1 x Button control
2 x Label control
1 x Image control
Arrange the controls similar to how the following image depicts.
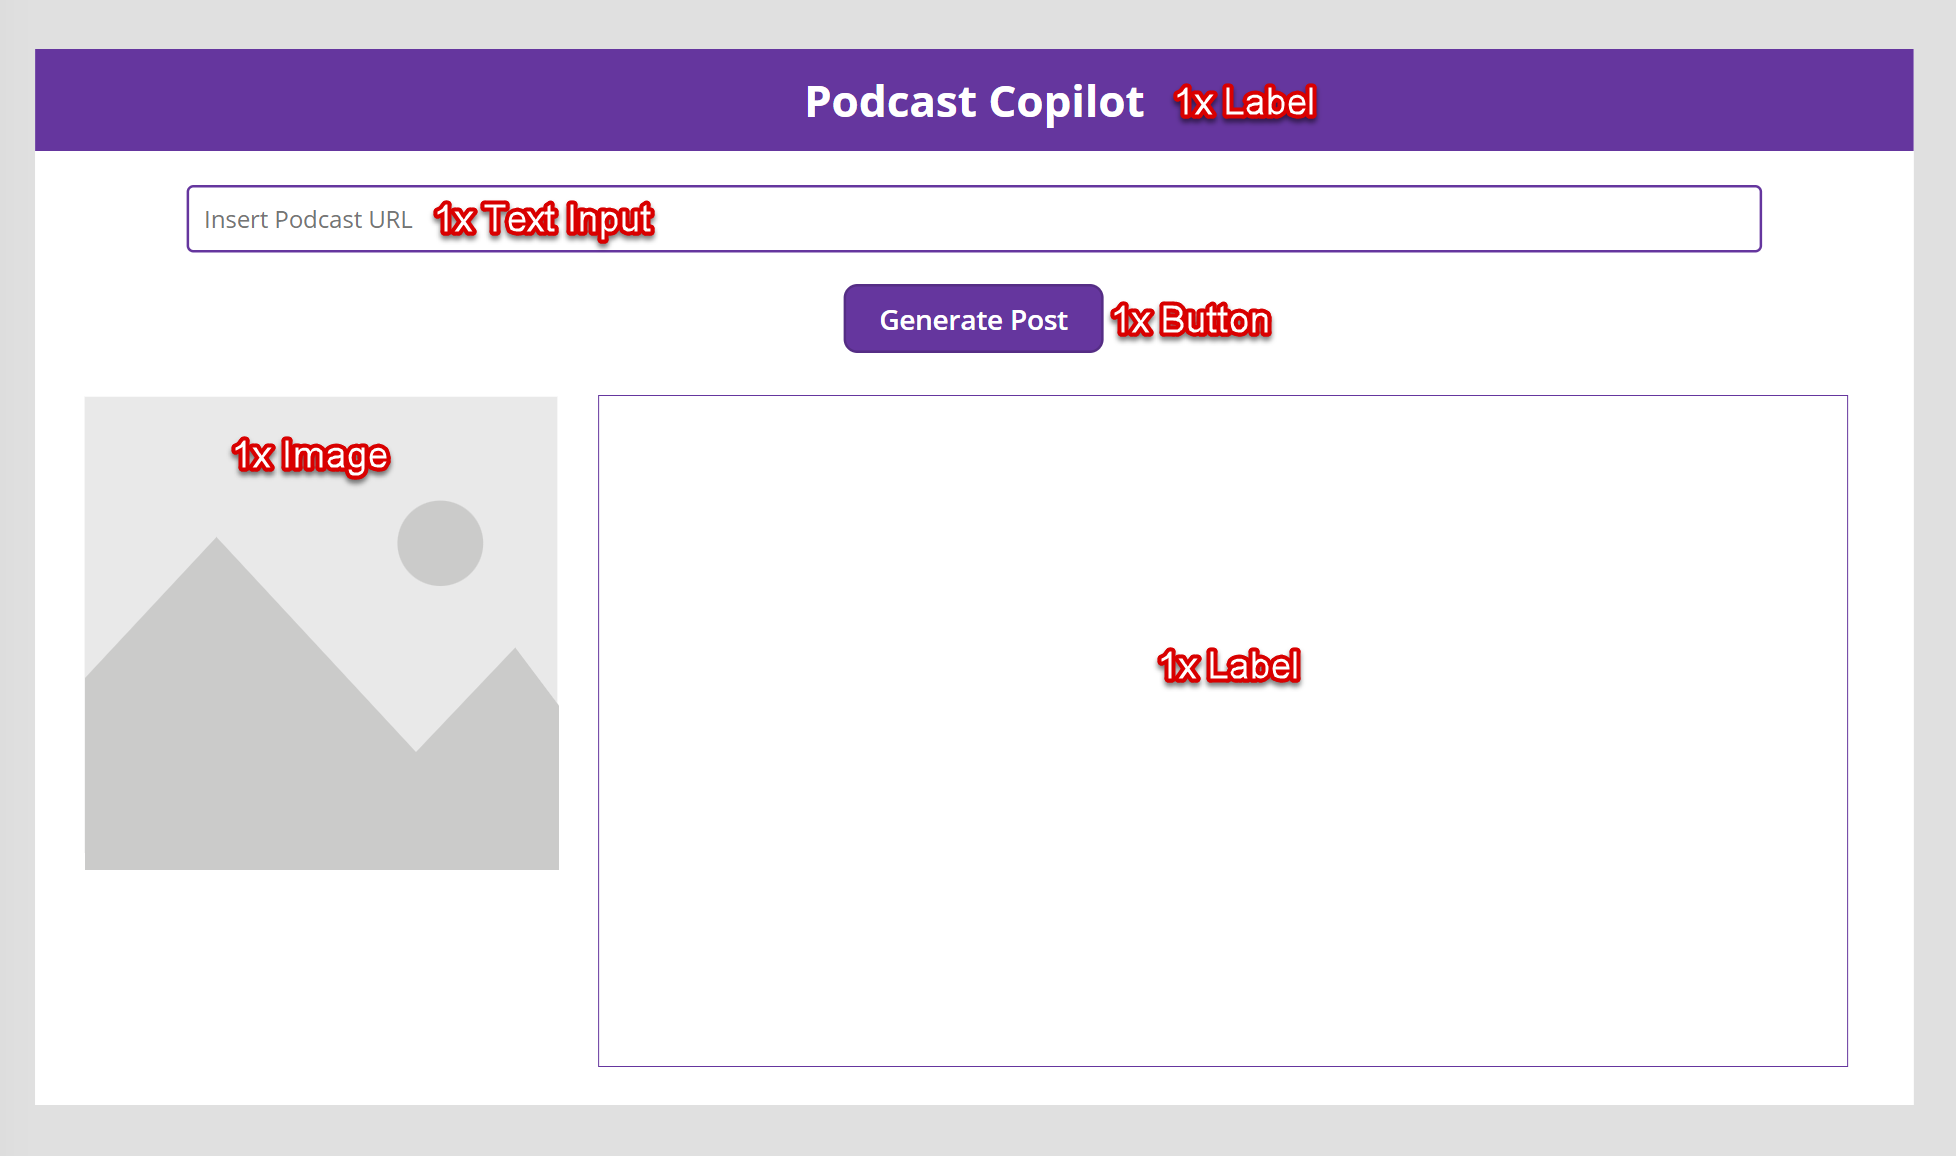
Use the first Label control for the app title. Use the Text Input control to enter the link to the Podcast URL. The Button control with the Generate Post text activates the custom connector to generate the social media post and image. The second Label control displays the generated post, and the Image control displays the generated image.
Name the controls as follows:
Label - lblTitle
Text Input - txtPodcastURL
Button - btnGeneratePost
Image - imgSocialImage
Label - lblSocialPost
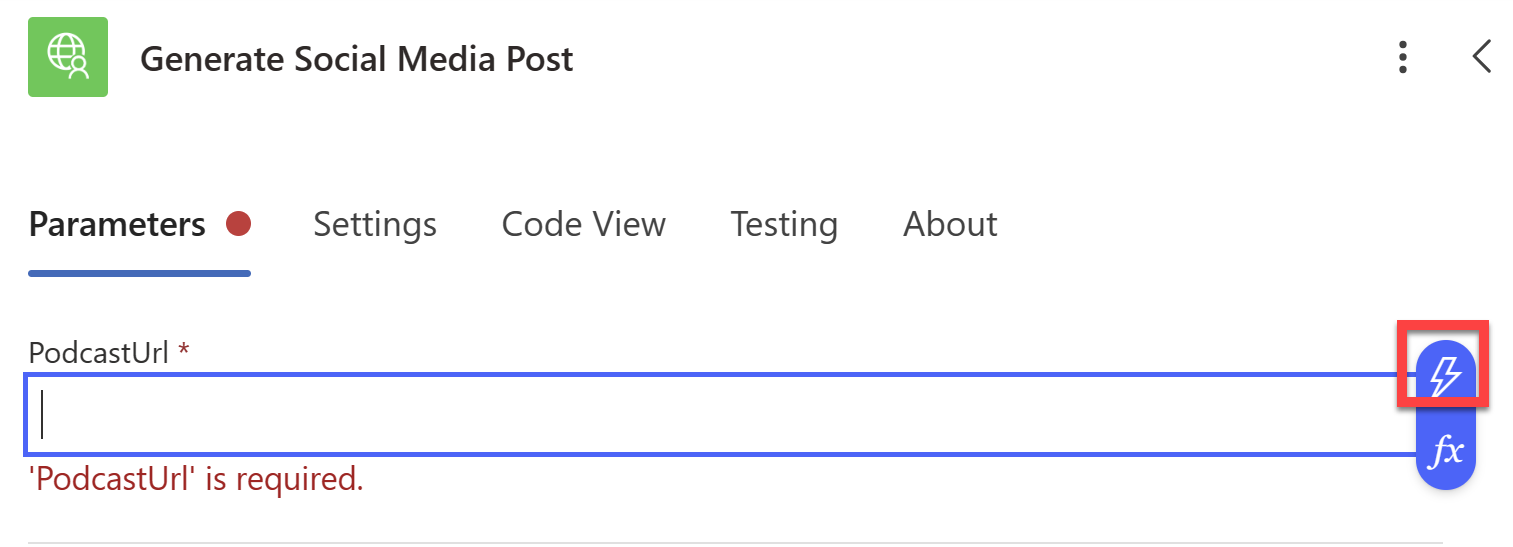
Select the Button control, and then add the following formula to the OnSelect property:
 //Generate a social media blurb / post
 Set(
     socialMediaBlurb,
     PodcastCopilot_Connector.GetSocialMediaPost(txtPodcastURL.Text).blurb
 );

 //Generate a social media image
 Set(
     socialImage,
     PodcastCopilot_Connector.GetSocialMediaPost(txtPodcastURL.Text).imageUrl
 );
This formula calls the single API operation in the custom connector, and it returns a Social Media Post record with a blurb and image URL. The system stores the resulting social media blurb in a variable called socialMediaBlurb, and it stores the resulting image in a variable called socialImage.
Select the lblSocialPost control, and then add the following formula to the Text property:
socialMediaBlurbThis action displays the social media blurb in the label.
Select the imgSocialImage control, and then add the following formula to the Image property:
socialImageThis action displays the image in the Image control.
Use the Preview button to test the app. In the Text Input control, enter the link to the podcast episode (the blob URL that you copied in the Configure Azure OpenAI Service to generate information about your podcast exercise). Select the Generate Post button. The social media blurb and image (both unique to you) should display.


The main functionality of the app is encapsulated in the custom connector. You can reuse it in other apps from Power Apps or other parts of Microsoft Power Platform, including Microsoft Copilot Studio.
Use the connector in Microsoft Copilot Studio
You can use the connector in Microsoft Copilot Studio by following these steps:
Sign in to Microsoft Copilot Studio by using your Microsoft account or the same account that you've been using for this module. Make sure that you're in the same environment that you selected for the custom connector that you created in the Create a custom connector for your copilot exercise.
On the home page, select the New copilot tile.

Select Skip to continue. Name the copilot as Podcast Copilot and then select Create.
After you create the copilot, select Settings.
Select Generative AI.
On the main panel, scroll until you find the How should your copilot decide how to respond option. Select Generative (preview), and then select Save in the upper-left corner.

Select your copilot from the left navigation pane, and then select Topics.
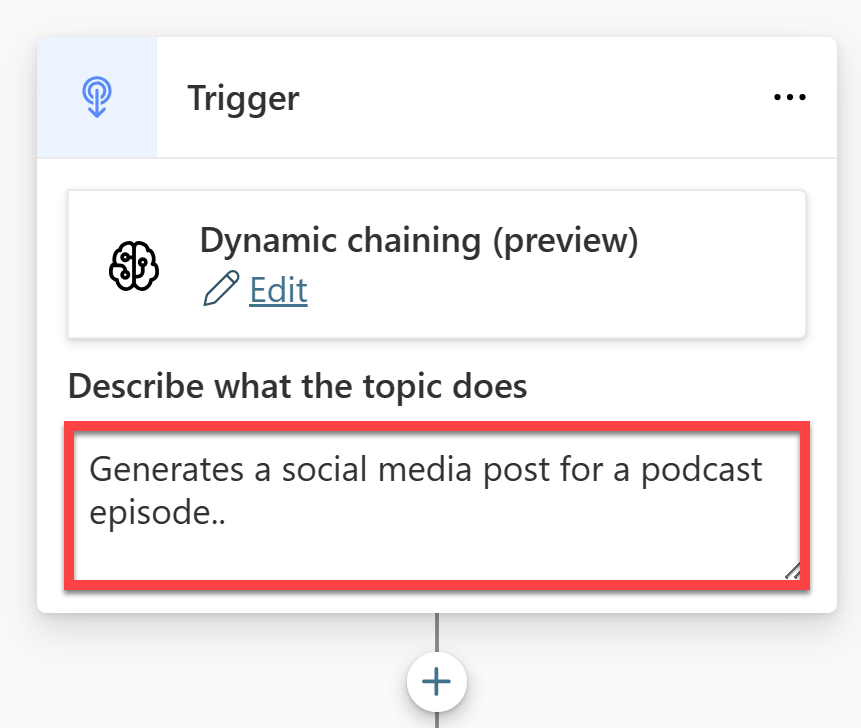
Select + Add a topic > From blank.

Rename the topic to Generate Social Media Post.

In the Trigger description, enter Generates a social media post for a podcast episode.
Add a new node, select Ask a question, and then configure the following settings:
Message - What is the URL of the podcast episode for which you'd like to generate a social media post?
Identify - Select User's entire response
Save user response as - podcastURL

Add another node, but this time, select Call an action. In the Select an action pop-up window, select Create a flow to launch Power Automate.

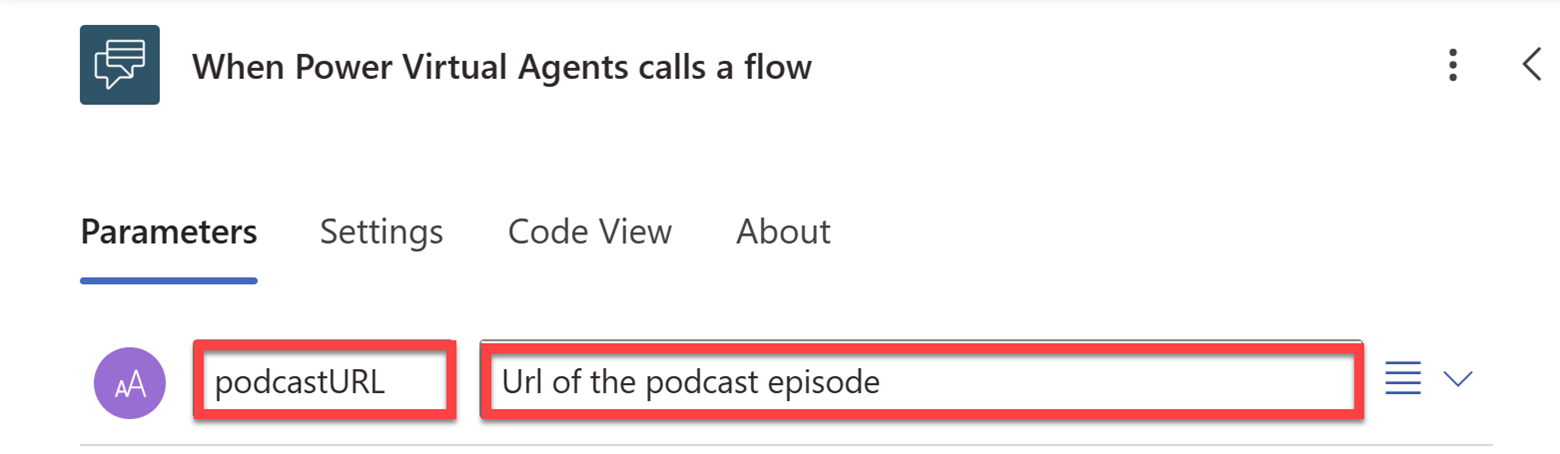
Select the Run a flow from Copilot trigger. In the pop-up window, under Parameters, select + Add an input > Text.
Replace Input with podcastURL and replace Please enter your input with the URL of the podcast episode.
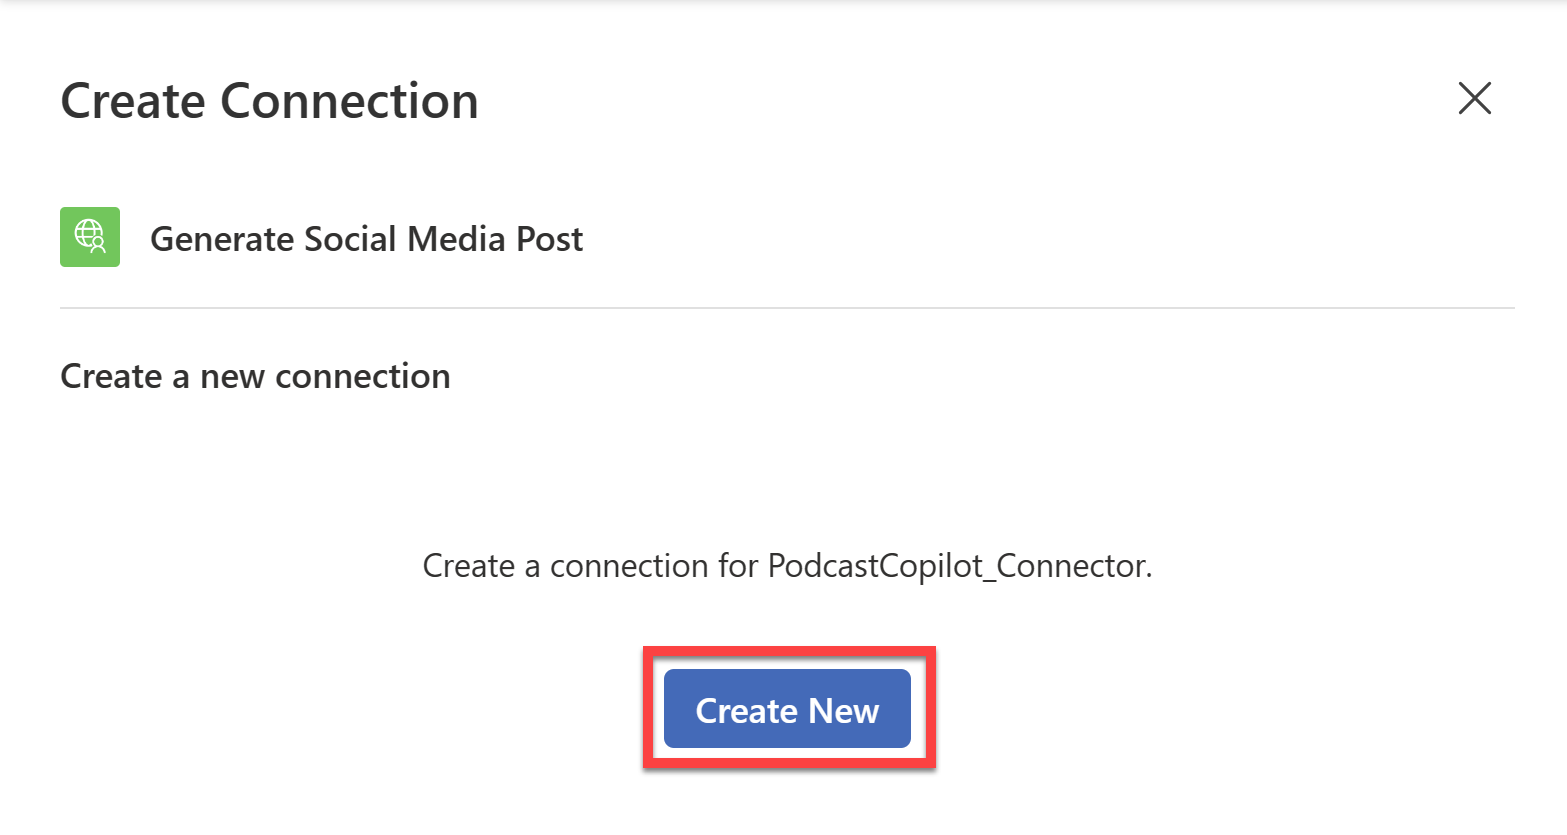
Close the pop-up window, and then add an action into the flow between the trigger and the end node. In the Add an action dialog, search for podcastcopilot and then select Generate Social Media Post.

Create a connection to the PodcastCopilot_Connector by selecting Create New.
After you create the connection, select the podcastUrl field, and then select the Dynamic content icon.
Select podcastURL from the list of dynamic content.
Close the dialog, and then select the Respond to Copilot node. In the dialog, select + Add an output > Text. Add another output and then select Text. Configure the outputs as follows:
Output - blurb
Value - Select body/blurb from the Dynamic content list
Output - imageUrl
Value - Select body/imageUrl from the Dynamic content list

Close the dialog, rename the flow to Generate Social Media Post, and then select Save.
After the save finishes, close Power Automate and return to Microsoft Copilot Studio.
In Copilot Studio, select Done on the Save and Refresh dialog to update the new flow in the flow list.

Add a node and select Call an action. However, this time, in the Select an action pop-up window, select the Generate Social Media Post Power Automate flow that you created.
Set the input to the podcastURL variable.

Add another node and select Send a message. In the message node, select + Add and then select Adaptive Card.
Select the Adaptive Card. In the Adaptive Card properties section, expand the card content and change Edit JSON to Edit Formula.

Copy the following formula and paste it into the adaptive card:
 {
 '$schema': "http://adaptivecards.io/schemas/adaptive-card.json",
 type: "AdaptiveCard",
 version: "1.3",
 body: [
     {
     type: "TextBlock",
     text: "Generated Post",
     size: "Large",
     weight: "Bolder",
     horizontalAlignment: "Center",
     spacing: "Medium"
     },
     {
     type: "Image",
     size: "large",
     url: Topic.imageUrl,
     horizontalAlignment: "Center"
     },
     {
     type: "RichTextBlock",
     inlines: [
         {
         type: "TextRun",
         size: "medium",
         text: Topic.blurb
         }
     ]
     }
 ]
 }
This formula displays the generated social media blurb and image, formatted neatly in an adaptive card.
Close the adaptive card and then select Save to save the topic.


Test the copilot
To test your copilot, follow these steps:
After saving your copilot, open the PodcastCopilotAPI project in Visual Studio and run the project.
While the API runs, return to Microsoft Copilot Studio and select Test your copilot to open the copilot test panel.
Select the Refresh icon on the test panel to refresh the copilot and test the new topic.
Ask the following question: Can you generate a social media post for my podcast episode?
Copilot should respond as shown in the following screenshot.

Respond with the URL of the podcast audio snippet that you uploaded to Azure Blob Storage in the Configure Azure OpenAI Service to generate information about your podcast exercise.

After a few seconds, Copilot should respond with the social media blurb and image from the podcast episode, formatted in an adaptive card.

You've successfully built an app from Power Apps and a copilot that uses the custom connector to generate a social media post and image from a podcast URL by using AI.
Next steps
You've learned how to create a copilot that uses Azure OpenAI Service. Next, you validate the concepts that you learned in this module.