Exercise: Create a dashboard parameter
In this unit, you create a parameter to filter dashboard visualizations.
Create a parameter
First, you need to switch from viewing mode to editing mode.
Select Viewing and toggle the mode to Editing.

In the top menu bar, select [@] Parameters. The Parameters pane opens.
Select + New parameter
Fill out the parameter options in the Add parameter pane as follows:
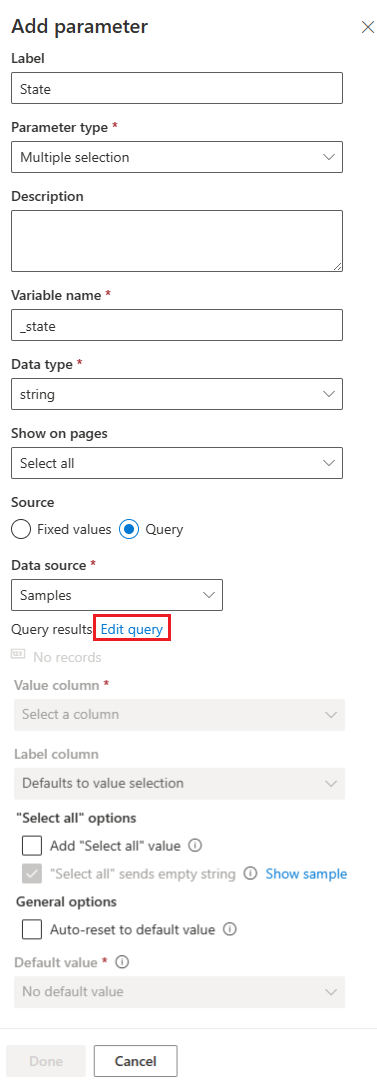
Field Description Suggested value Label The name of the parameter shown on the dashboard or the edit card. State Parameter type Single selection: Only one value can be selected in the filter as input for the parameter.
Multiple selection: One or more values can be selected in the filter as input(s) for the parameter.
Time range: Filter the queries and dashboards based on time.
Free text: The user can type a value or copy/paste a value to the text field.Multiple selection Variable name The name of the parameter to be used in the query. _state Data type The data type of the parameter values. string Show on pages Select the pages where this parameter is displayed. Select all Source Fixed values: Manually introduced static filter values.
Query: Dynamically introduced values using a KQL query.Query Data source The source of a query-based parameter. See Edit query.
Edit parameter source query
You need to create a list of possible values for this parameter. The parameter you're creating is called State. You want to use it to filter the results based on the state in which the event occurred. You could manually enter a list of all possible states, however, it's simpler to use a query that returns this list dynamically.
In Data source, select the Samples database.
In the Query results field, select Edit query.
Copy/paste the following query into the editor:
StormEvents
| distinct (State)
Select Run. This query returns a list of all the different values in the column State.
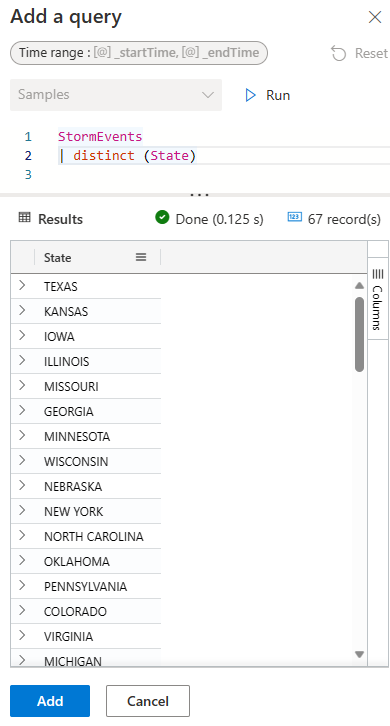
Select Add to return to the Add Parameter dialog.
Select the Default value dropdown and select one of the states (for example, Minnesota).
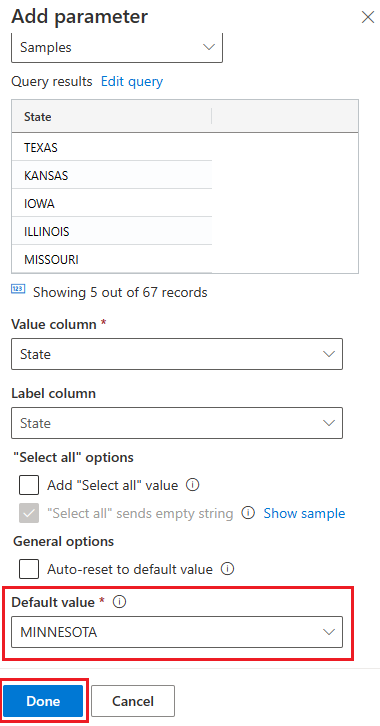
Select Done.
Edit both tile queries to include a parameter
You created a parameter, but your dashboard looks the same. You need to use the parameter in the query that generates a visual.
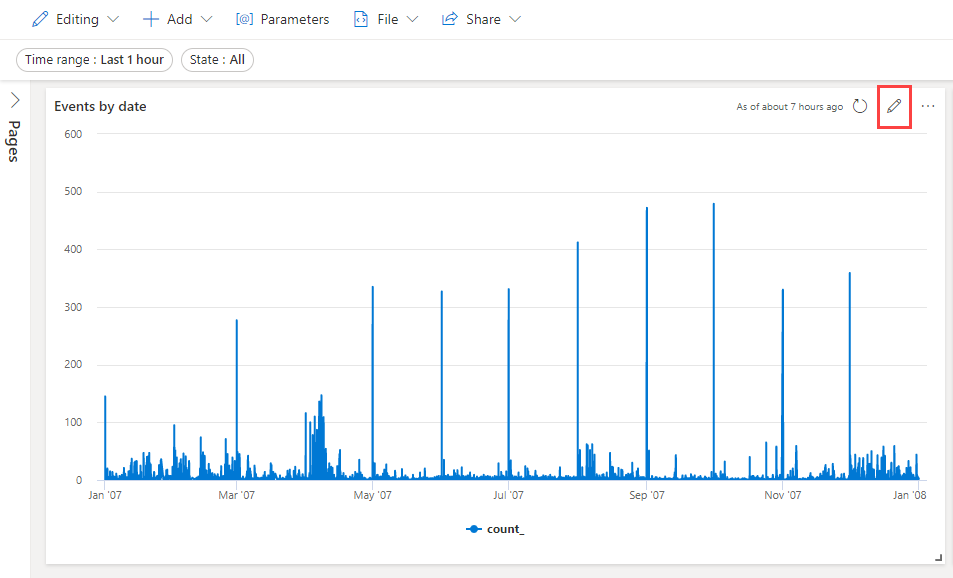
Events by date
In the Events by date tile, select the pencil icon.
Use the variable name defined in the parameter options as a filter in the query. In this case, the variable name is state. Edit the query to include the following line:
| where State has_any (_state)Your query should look like the following image:
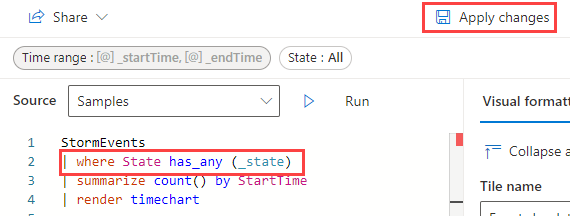
Select Apply changes.
Event count by state
In the Event count by state tile, select the pencil icon.
Edit the query to include the following line:
| where State has_any (_state)Your query should look like the following image:
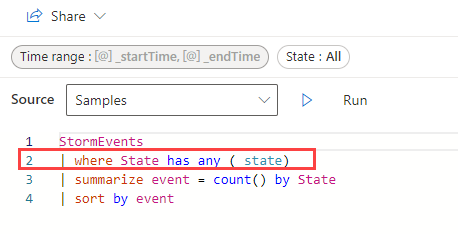
Select Apply changes.
Use the parameter
Select the State parameter, and then select one of the options on the dropdown menu, for example TEXAS. Be sure and uncheck the default value, so that only one state is selected. Notice how the visualizations change to display only data associated with the selected state.