Exercise - Promote to Staging
Your release pipeline now has three stages: Build, Dev, and Test. You and the Tailspin team have one more stage to implement: Staging.
In this part, you'll:
- Create the staging environment in Azure Pipelines, and assign yourself as an approver.
- Define the Staging stage, which runs only after an approver verifies the results of the Test stage.
Create the staging environment
Here, you create an environment in Azure Pipelines for Staging. For learning purposes, you assign yourself as the approver. In practice, you would assign the users who are required to approve changes before those changes move to the next stage. For the Tailspin team, Amita approves changes so that they can be promoted from Test to Staging.
Earlier in this module, you specified environment settings for both Dev and Test stages. Here's an example for the Dev stage.
- stage: 'Deploy'
  displayName: 'Deploy the web application'
  dependsOn: Build
  jobs:
  - deployment: Deploy
    pool:
      vmImage: 'ubuntu-20.04'
    environment: dev
    variables:
    - group: Release
You can define an environment through Azure Pipelines that includes specific criteria for your release. This criteria can include the pipelines that are authorized to deploy to the environment. You can also specify the human approvals that are needed to promote the release from one stage to the next. Here, you specify those approvals.
To create the staging environment:
From Azure Pipelines, select Environments.
Select New environment.
Under Name, enter staging.
Leave the remaining fields at their default values.
Select Create.
On the staging environment page, select the Approvals and checks tab.
Select Approvals.
Under Approvers, select Add users and groups, and then select your account.
Under Instructions to approvers, enter Approve this change when it's ready for staging.
Select Create.
Promote changes to Staging
Here you modify your pipeline configuration to deploy the build to the Staging stage.
In Visual Studio Code, modify azure-pipelines.yml as follows:
trigger:
- '*'

variables:
  buildConfiguration: 'Release'
  releaseBranchName: 'release'

schedules:
- cron: '0 3 * * *'
  displayName: 'Deploy every day at 3 A.M.'
  branches:
    include:
    - release
  always: false

stages:
- stage: 'Build'
  displayName: 'Build the web application'
  jobs:
  - job: 'Build'
    displayName: 'Build job'
    pool:
      vmImage: 'ubuntu-20.04'
      demands:
      - npm

    variables:
      wwwrootDir: 'Tailspin.SpaceGame.Web/wwwroot'
      dotnetSdkVersion: '6.x'

    steps:
    - task: UseDotNet@2
      displayName: 'Use .NET SDK $(dotnetSdkVersion)'
      inputs:
        version: '$(dotnetSdkVersion)'

    - task: Npm@1
      displayName: 'Run npm install'
      inputs:
        verbose: false

    - script: './node_modules/.bin/node-sass $(wwwrootDir) --output $(wwwrootDir)'
      displayName: 'Compile Sass assets'

    - task: gulp@1
      displayName: 'Run gulp tasks'

    - script: 'echo "$(Build.DefinitionName), $(Build.BuildId), $(Build.BuildNumber)" > buildinfo.txt'
      displayName: 'Write build info'
      workingDirectory: $(wwwrootDir)

    - task: DotNetCoreCLI@2
      displayName: 'Restore project dependencies'
      inputs:
        command: 'restore'
        projects: '**/*.csproj'

    - task: DotNetCoreCLI@2
      displayName: 'Build the project - $(buildConfiguration)'
      inputs:
        command: 'build'
        arguments: '--no-restore --configuration $(buildConfiguration)'
        projects: '**/*.csproj'

    - task: DotNetCoreCLI@2
      displayName: 'Publish the project - $(buildConfiguration)'
      inputs:
        command: 'publish'
        projects: '**/*.csproj'
        publishWebProjects: false
        arguments: '--no-build --configuration $(buildConfiguration) --output $(Build.ArtifactStagingDirectory)/$(buildConfiguration)'
        zipAfterPublish: true

    - publish: '$(Build.ArtifactStagingDirectory)'
      artifact: drop

- stage: 'Dev'
  displayName: 'Deploy to the dev environment'
  dependsOn: Build
  condition: |
    and
    (
      succeeded(),
      eq(variables['Build.SourceBranchName'], variables['releaseBranchName'])
    )
  jobs:
  - deployment: Deploy
    pool:
      vmImage: 'ubuntu-20.04'
    environment: dev
    variables:
    - group: Release
    strategy:
      runOnce:
        deploy:
          steps:
          - download: current
            artifact: drop
          - task: AzureWebApp@1
            displayName: 'Azure App Service Deploy: website'
            inputs:
              azureSubscription: 'Resource Manager - Tailspin - Space Game'
              appName: '$(WebAppNameDev)'
              package: '$(Pipeline.Workspace)/drop/$(buildConfiguration)/*.zip'

- stage: 'Test'
  displayName: 'Deploy to the test environment'
  dependsOn: Dev
  #condition: eq(variables['Build.Reason'], 'Schedule')
  jobs:
  - deployment: Deploy
    pool:
      vmImage: 'ubuntu-20.04'
    environment: test
    variables:
    - group: 'Release'
    strategy:
      runOnce:
        deploy:
          steps:
          - download: current
            artifact: drop
          - task: AzureWebApp@1
            displayName: 'Azure App Service Deploy: website'
            inputs:
              azureSubscription: 'Resource Manager - Tailspin - Space Game'
              appName: '$(WebAppNameTest)'
              package: '$(Pipeline.Workspace)/drop/$(buildConfiguration)/*.zip'

- stage: 'Staging'
  displayName: 'Deploy to the staging environment'
  dependsOn: Test
  jobs:
  - deployment: Deploy
    pool:
      vmImage: 'ubuntu-20.04'
    environment: staging
    variables:
    - group: 'Release'
    strategy:
      runOnce:
        deploy:
          steps:
          - download: current
            artifact: drop
          - task: AzureWebApp@1
            displayName: 'Azure App Service Deploy: website'
            inputs:
              azureSubscription: 'Resource Manager - Tailspin - Space Game'
              appName: '$(WebAppNameStaging)'
              package: '$(Pipeline.Workspace)/drop/$(buildConfiguration)/*.zip'
This code adds the Staging stage. The stage deploys to the staging environment, which includes a release approval.
Tip
You probably noticed that all three of your deployment stages follow similar steps. You can use templates to define common build tasks one time and reuse them multiple times. You already used this technique in the Create a build pipeline with Azure Pipelines module. For learning purposes, we repeat the steps in each stage.
From the integrated terminal, add azure-pipelines.yml to the index. Next, commit the change and push it up to GitHub.
Tip
Before you run these Git commands, save azure-pipelines.yml.
git add azure-pipelines.yml
git commit -m "Deploy to Staging"
git push origin release
In Azure Pipelines, go to the build. Trace the build as it runs.
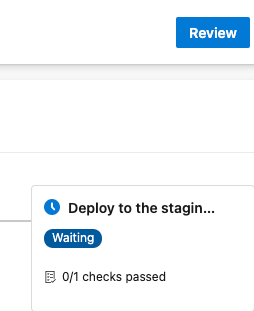
When the build reaches Staging, you see that the pipeline waits for all checks to pass. In this case, there's one check - the manual release approval.
You can configure Azure DevOps to send you an email notification when the build requires approval. Here's an example:
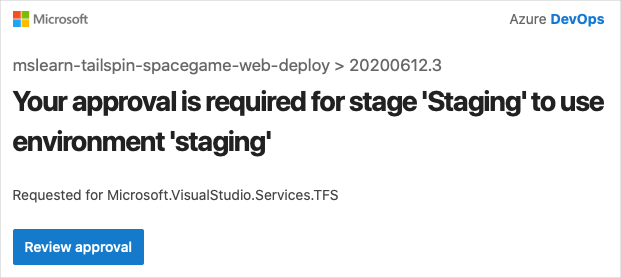
Select Review > Approve.
In practice, to verify that they meet your requirements, you would inspect the changes.
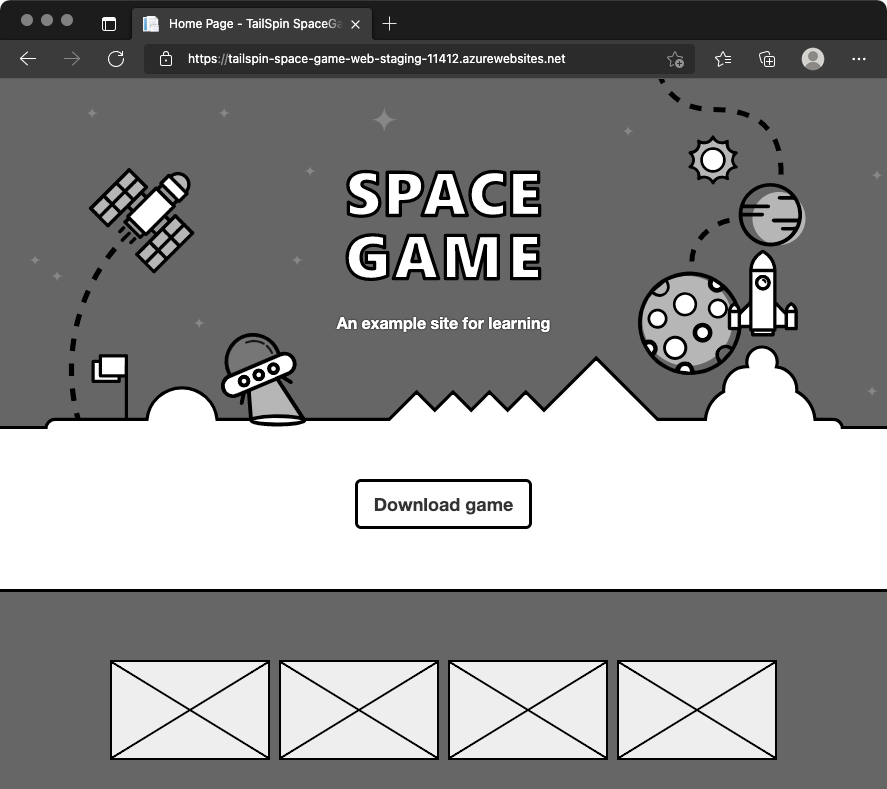
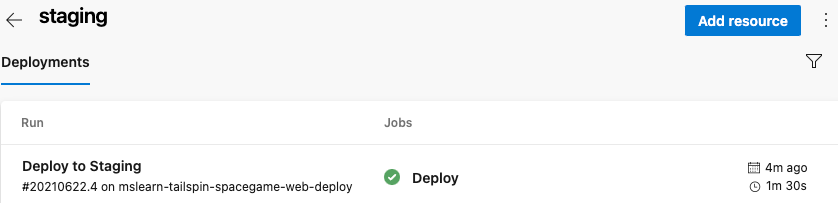
After the build finishes, open a web browser. Go to the URL associated with the App Service instance for your staging environment.
If you still have the browser tab open, refresh the page. If you don't remember the URL, find it in the Azure portal, on the App Service details page.
You see that the Space Game website is deployed to App Service and is running.
As an optional step, in Azure Pipelines, select Environments. Next, select the staging environment.
Azure Pipelines records your deployment history, which enables you to trace changes in the environment back to code commits and work items.
The Tailspin team gathers to discuss their progress. Amita approves changes in the Test stage while the others watch.
Tim: To tell you the truth, at first I was a little nervous about automated release pipelines. But I really like this now that I see it working. Each stage can have its own environment, associated tests, and approvers. The pipeline automates many things that we had to do manually. But we still have control where we need it.
Amita: I could imagine us doing something similar to promote changes from Staging to Production. Speaking of, when do we add a production environment?
Andy: Shortly. I think we still need to fill in a few pieces here first before we add that.