Exercise - Implement a polling trigger
In this exercise, you'll add a polling trigger to the custom connector for an existing Contoso Invoicing API.
Important
Use a test environment with Microsoft Dataverse provisioned. If you don't have one, you can sign up for the community plan.
Task 1: Import the solution with the custom connector
Note
You can continue using the connector that you created and modified in Unit 4: Implement a webhook trigger. If you completed that exercise, you can skip ahead to Task 2.
Note
Download the following file to your local computer to complete this exercise Contoso Invoicing Triggers. Select the download button on the middle-right of the screen.
In this task, you'll import an unmanaged solution that contains a prebuilt custom connector for Contoso Invoicing API.
Go to Power Apps maker portal and make sure that you are in the correct environment.
Select Solutions > Import.
Select Browse.
Select the ContosoInvoicingTriggers_1_0_0_0.zip solution and then select Open.
Select Next.
Select Import and then wait for the import to complete. You should get a success message after the import completes.
Select Publish all customizations and then wait for the publish to complete.
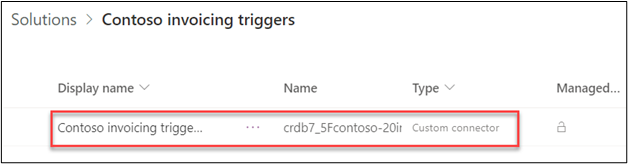
Open the Contoso invoicing triggers solution that you imported.
You should see the Contoso invoicing triggers custom connector component.
Go to Contoso Invoicing.
Select the API Key link.
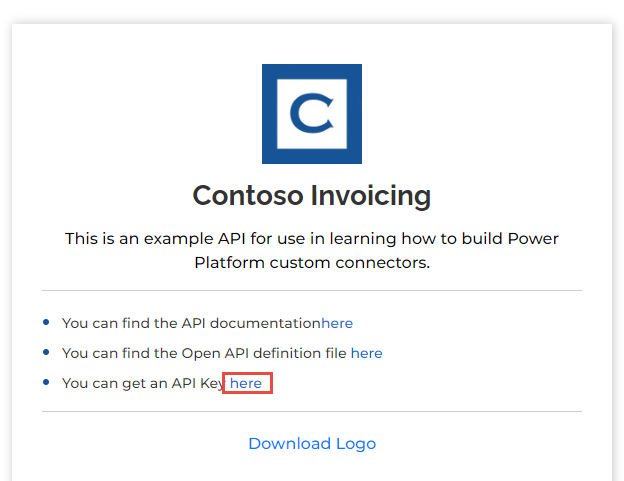
Copy the API Key and then paste it on a notepad for future use.
Return to Power Apps maker portal and make sure that you are in the environment.
Select Solutions and then open the Contoso invoicing triggers solution.
Open the Contoso invoicing triggers custom connector.
Select Edit.
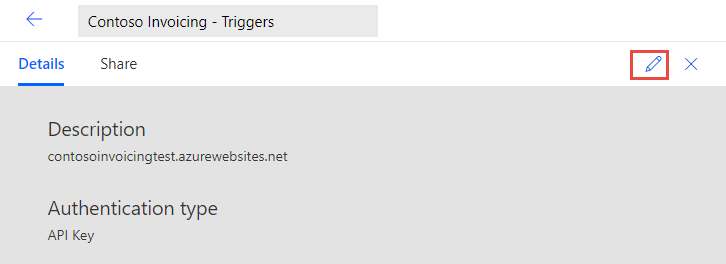
Enter contosoinvoicing.azurewebsites.net in Host.
Select Update connector.
Select Test > + New Connector.
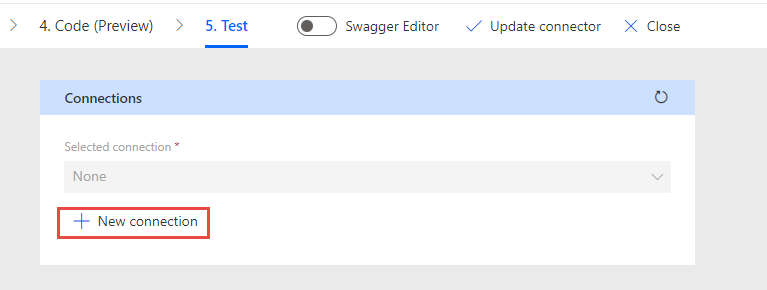
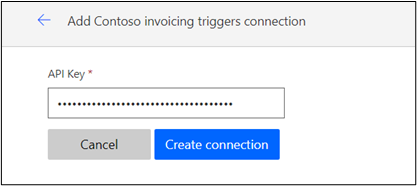
Paste the API Key and then select Create connection.
Select Refresh. The connection that you created should be selected automatically.
Scroll down to the Operations section, select ListInvoice, and then select Test operation.
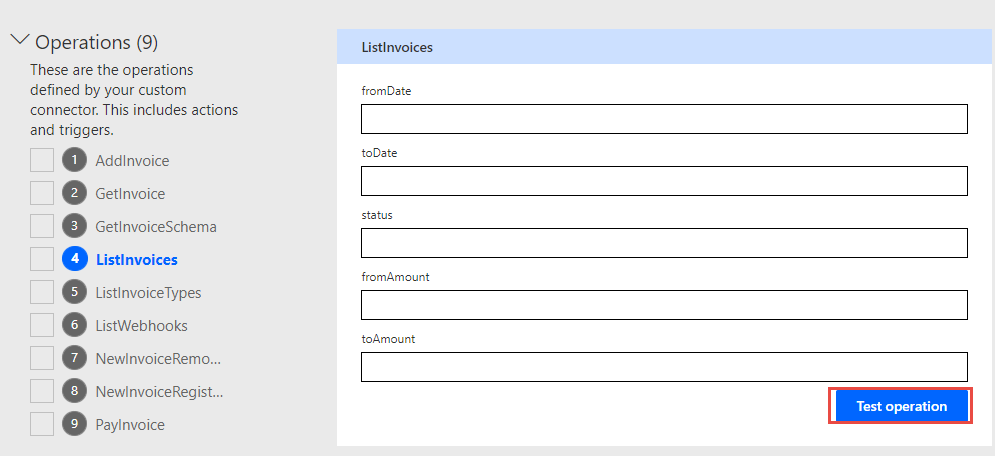
You should see a list of invoices in the Body section.

Don't navigate away from this page.


Task 2: Add a polling trigger
If you skipped the prior task, go to your Contoso invoicing triggers custom connector and select Edit.
Select Definition.
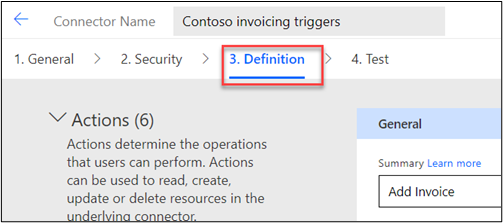
Scroll down to the Triggers section and select + New trigger.
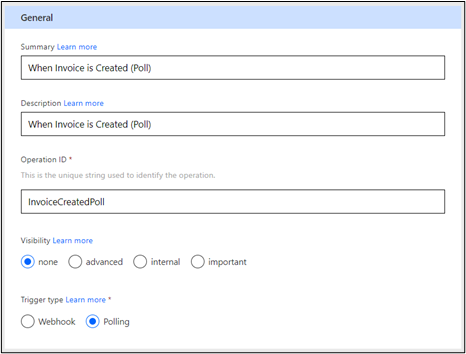
Provide the following values:
Summary - When Invoice is Created (Poll)
Description - When Invoice is Created (Poll)
Operation ID - InvoiceCreatedPoll
Trigger type - Polling
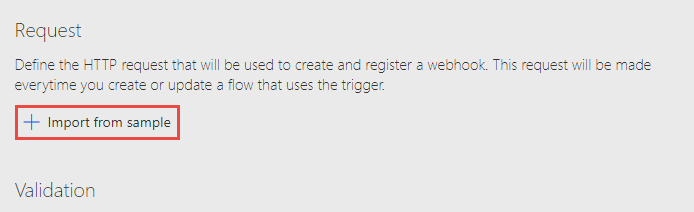
Go to the Request section and select + Import from sample.
Enter the following values and then select Import.
Verb - GET
URL -
https://contosoinvoicing.azurewebsites.net/ListInvoices?fromDate=
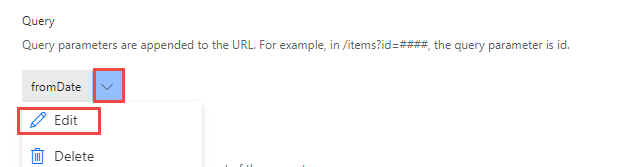
Select the ellipsis the chevron button next to fromDate and then select Edit.
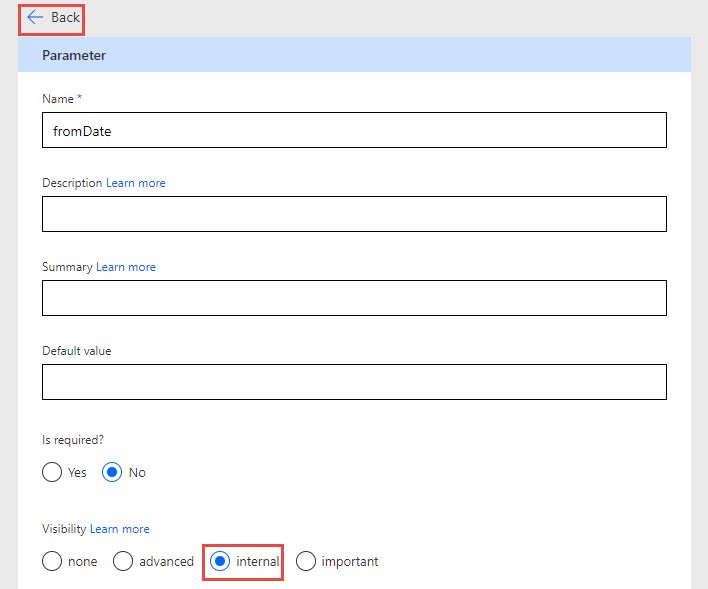
Select internal for Visibility and then select the Back button.
Scroll down to the Response section and select + Add default response.
Paste the following JSON code in the Body field and then select Import.
 {
   "invoices": [
     {
       "invoiceId": "1933",
       "date": "2021-01-26T04:02:52.1490835Z",
       "createDate": "2021-01-25T04:02:52.1490835Z",
       "amount": 5000,
       "accountId": "1001",
       "accountName": "Wing Tips",
       "status": "Invoiced",
       "typeId": 1,
       "purchaseOrderId": "3002",
       "tags": "New Account;Special Pricing"
     }
   ]
 }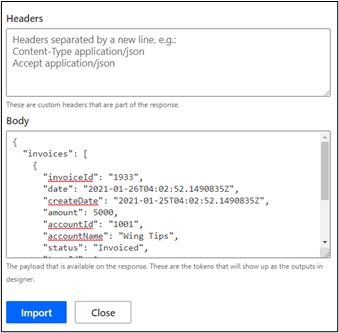
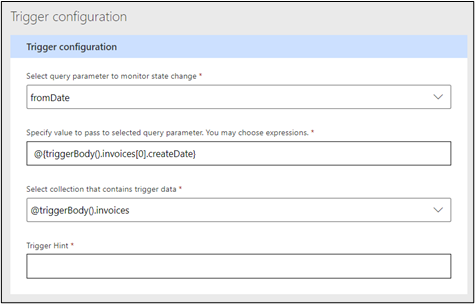
Go to the Trigger configuration section and provide the following values:
Select query parameter to monitor state change - fromDate
Specify value to pass to selected query parameter. You may choose expressions - @{triggerBody().invoices[0].createDate}
Select collection that contains trigger data - @triggerBody().invoices
Select the Update connector button located at the top of the screen, and then wait for the connector to be updated.


Task 3: Test the trigger
If you have already completed Unit 4: Implement a webhook trigger and have created the Create invoice cloud flow, skip ahead to step 14.
Go to Power Apps maker portal and make sure that you are in the environment.
Select Solutions and then open the Contoso invoicing triggers solution.
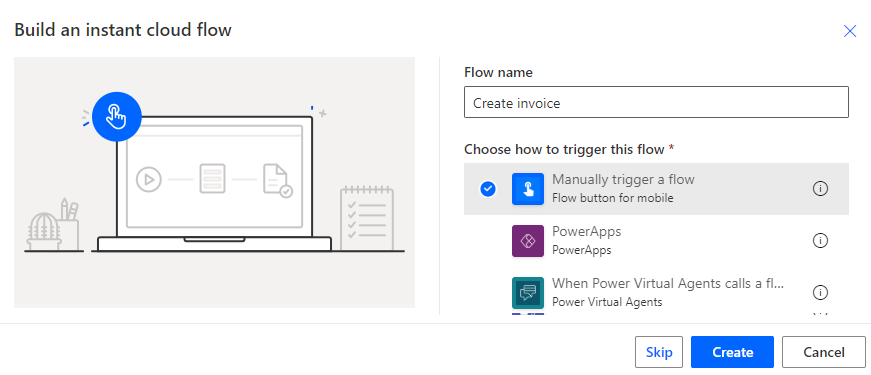
Select + New > Cloud flow.
Enter Create invoice for the name and then select Manually trigger a flow for the trigger.
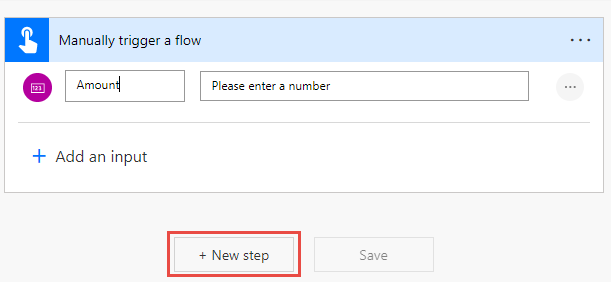
Select + Add an input.
Select Number for the input type.
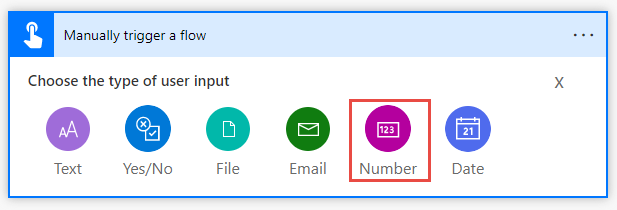
Enter Amount for the input name and then select + New step.
Select the Custom tab and then select the Contoso invoicing custom connector.
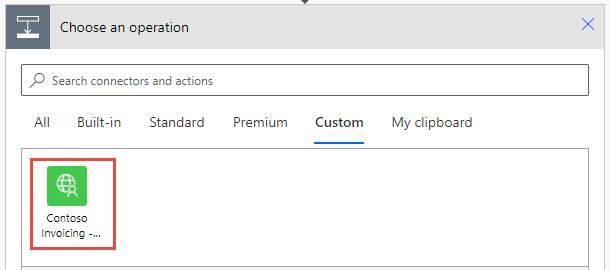
Select the Add Invoice action.
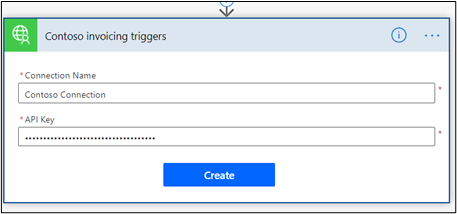
Enter Contoso Connection in the Connection Name field, paste the API Key that you copied in Task 1, and then select Create.
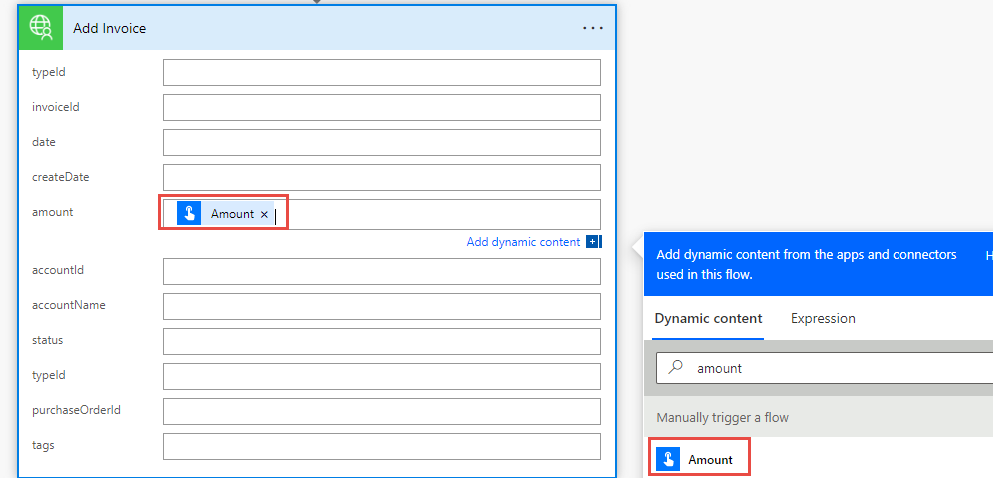
Select the amount field and then select Amount from the Dynamic content pane.
Select Save.
Keep this browser tab or window open.
Start a new browser window and navigate to https://make.powerapps.com/
Make sure you have the correct environment selected.
Select Solutions and open the Contoso Invoicing - Triggers solutions.
Select + New > Automation > Cloud flow > Automated.
Enter Invoice notification poll for the name and select Skip.
Select the Custom tab, and then select the Contoso invoicing custom connector.
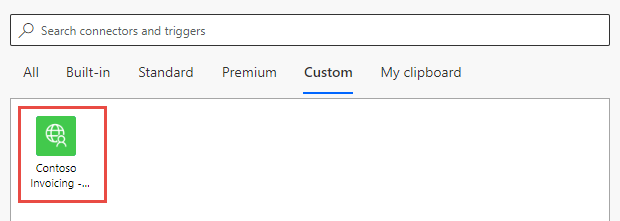
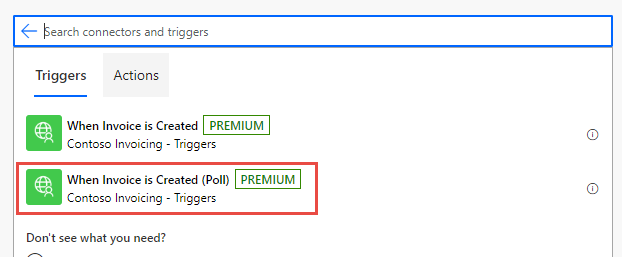
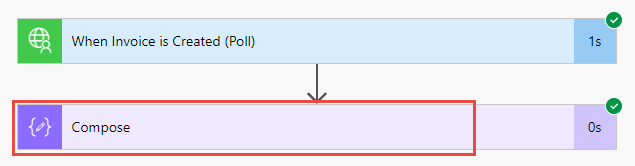
Select the When Invoice is Created (Poll) trigger.
Select the ... Menu button of the trigger and then make sure that Connection references is selected.

Select + New step.
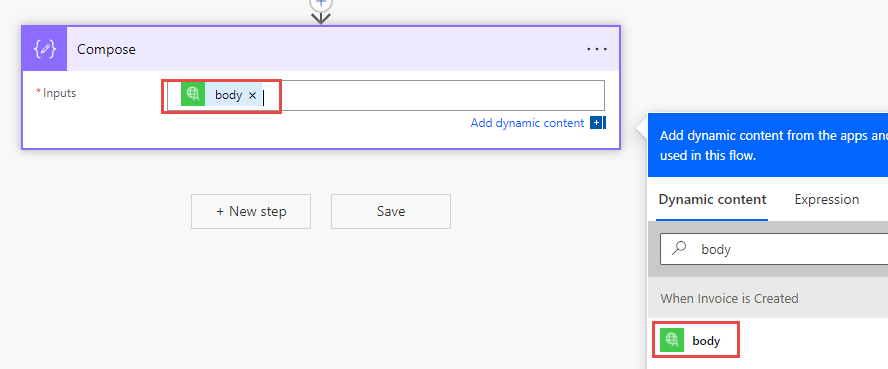
Search for compose and then select the Compose action.
Select the Inputs field and then select body from the Dynamic content pane.
Select Save and then wait for the flow to be saved.
Select Test.
Select Manually > Test. The flow will start, and you should wait for notifications.
Switch to the Create invoice flow browser tab or window.
Select Test.
Select Manually > Test.
Enter 6500 for Amount and then select Run flow.
Select Done.
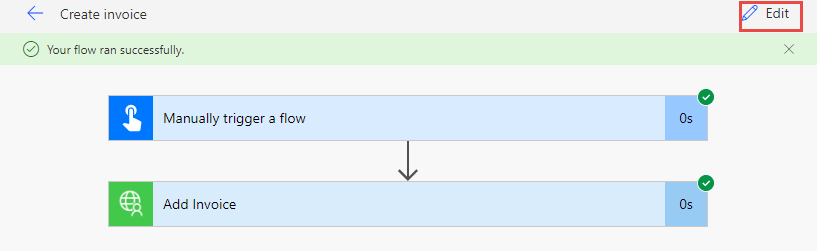
The flow should run successfully. Select Edit.
Select Test again.
Select Manually > Test.
Enter 8800 for Amount and then select Run flow.
Select Done. The flow should run successfully again.
Switch to the Invoice notification poll flow. This flow should run successfully.
Note
Unlike a webhook trigger, it might take about a minute to find out if the flow ran successfully or not.
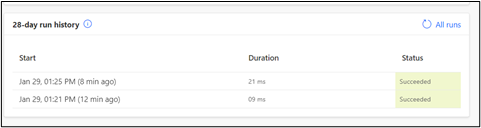
Select to expand the Compose action step.
Review the Outputs and then select the button.
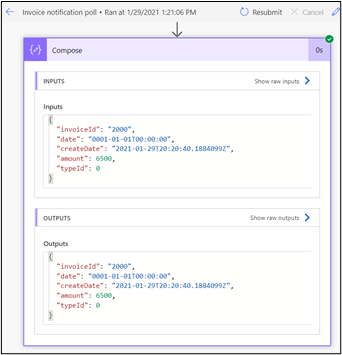
You should see two run results for the two invoices that you created.