Exercise - Enable Remote - Tunnels in the code CLI
In this exercise, you learn how to:
- Create and use a tunnel through the code CLI.
- Install the code CLI on a remote machine you intend to work on.
- Establish a tunnel between a Visual Studio Code client and your remote machine by using the code CLI.
You can get the code CLI either from the Visual Studio Code download pane or through the command prompt.
Get the code CLI from the Visual Studio Code download pane
Go to the Visual Studio Code download pane.

Download and extract the code CLI for your operating system into the TestCLI directory.
- After you download the file, you see that you have a compressed file.
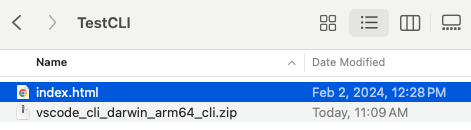
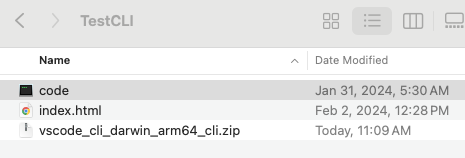
- Double-click the file to extract it to the TestCLI directory, and you see the code file.
From the terminal, go to the TestCLI directory.
Install and unpack the code CLI through the terminal
If you don't have access to a user interface or the Visual Studio Code download pane, you can use the terminal to install the code CLI. After you create the TestCLI folder, use the following commands to install the code CLI from within the TestCLI directory in the terminal:
curl -Lk 'https://code.visualstudio.com/sha/download?build=stable&os=cli-alpine-x64' --output vscode_cli.tar.gz
tar -xf vscode_cli.tar.gz
Create a secure tunnel
Run the following command to download and start the Visual Studio Code Server on this machine and then create a tunnel to it:
code tunnel --accept-server-license-termsCopy and save the provided link and code.

On your client, open the previously saved link in a web browser and enter the code that was provided in your terminal. Select Continue to activate.
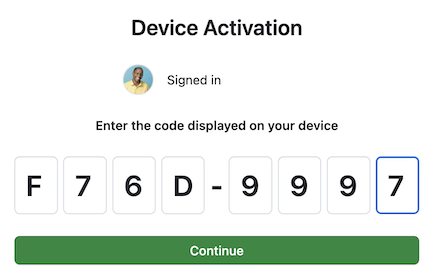
Select Continue to authenticate.
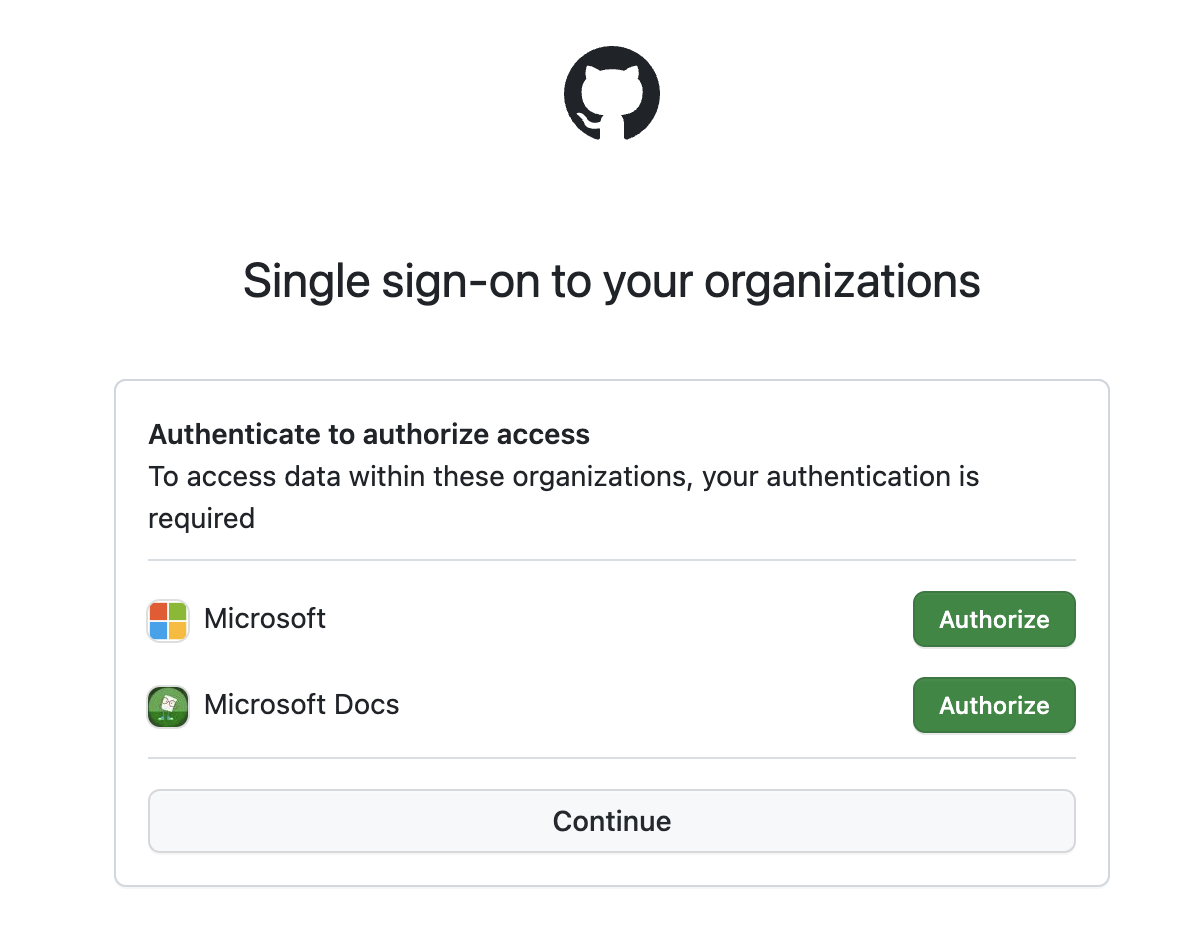
Select Authorize.

You see a congratulatory message that indicates success.
The code CLI outputs a
vscode.devURL specific to this remote machine, such ashttps://vscode.dev/tunnel/<machine_name>/<folder_name>.
This process authenticates you to the tunneling service and ensures that you have access to the designated remote machines.
Open the URL on a client of your choice.
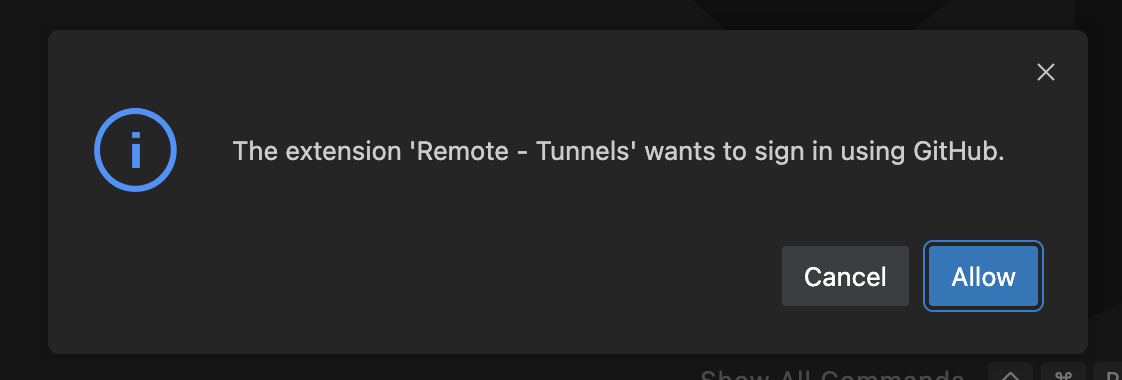
Select Allow to give the Remote - Tunnels extension permission to sign in.
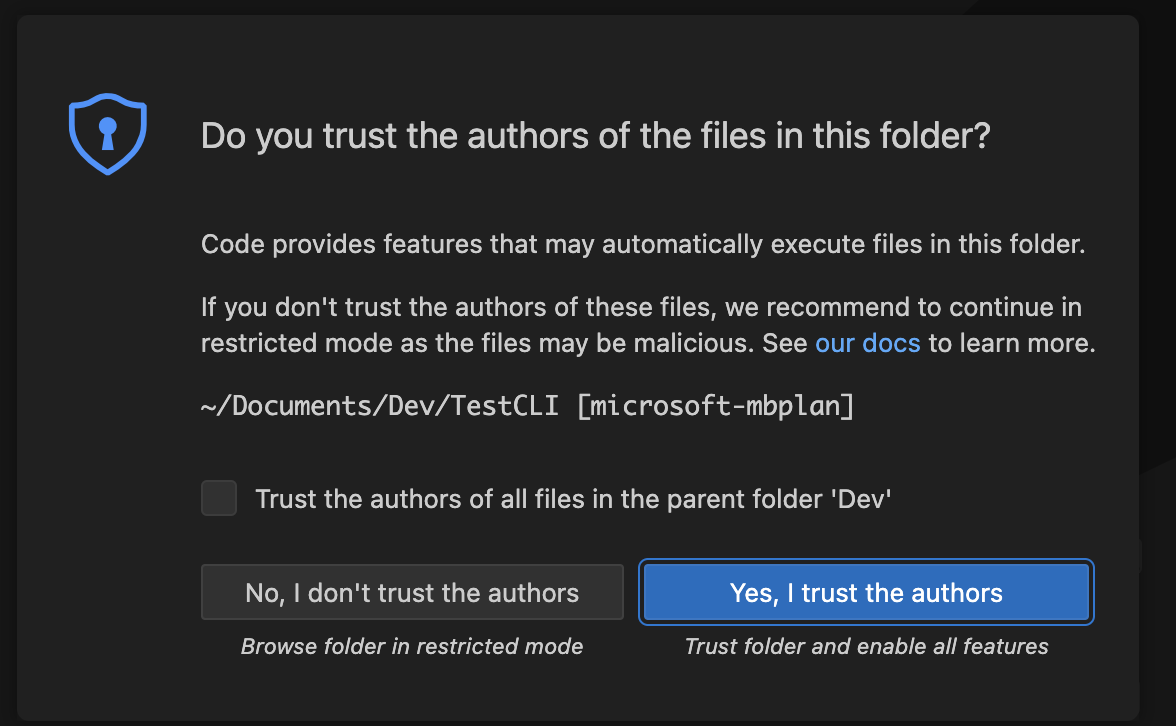
Select Yes, I trust the authors to give access to the folder.
Begin coding!
