Exercise - Enable Remote - Tunnels in the Visual Studio Code UI
In this exercise, you enable Remote - Tunnels access by using the Visual Studio Code UI.
Install the Remote – Tunnels extension
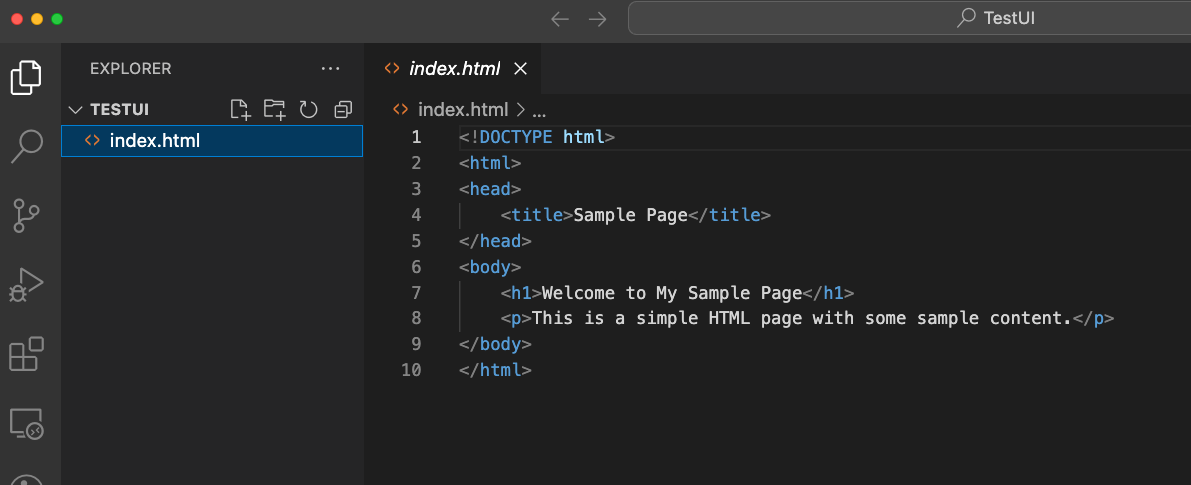
Start Visual Studio Code and open the TestUI folder.
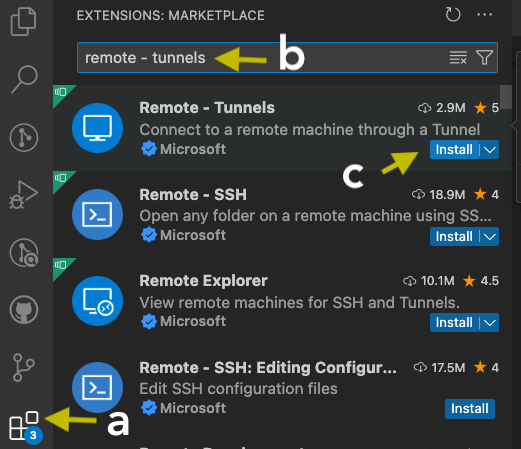
Go to Extensions: Marketplace in Visual Studio Code and install the Remote – Tunnels extension:
- Select the Extensions icon on the Activity Bar on the side of the window.
- Search for Remote - Tunnels.
- Select Install.
Restart Visual Studio Code if you're prompted to do so.
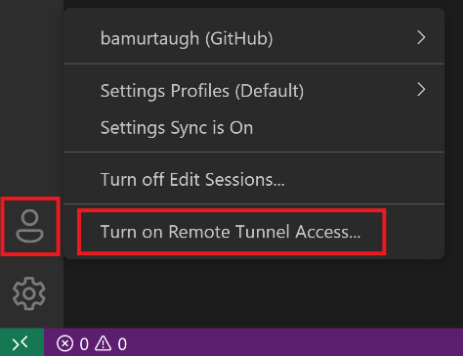
Select the Visual Studio Code account image and select Turn on Remote Tunnel Access.
Select Turn on for this session.

You're prompted to sign in.

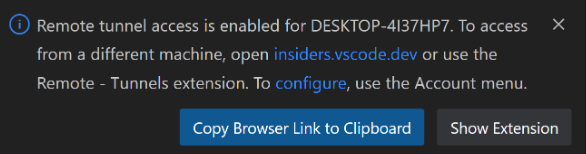
After you sign in, a tunnel starts on your current machine, which allows remote connection to this machine.
Select Copy Browser Link to Clipboard in the pop-up for the tunnel link and save it.
You can email the link to yourself or save it in a secure online document for later use.
Go to another computer (client) of your choice and retrieve the link. From a browser, paste the tunnel link from the previous step.
A client is any device that can run a web browser and has internet access, such as a phone, a tablet, or another computer.
Confirm the account that you used to start the tunnel and begin coding!

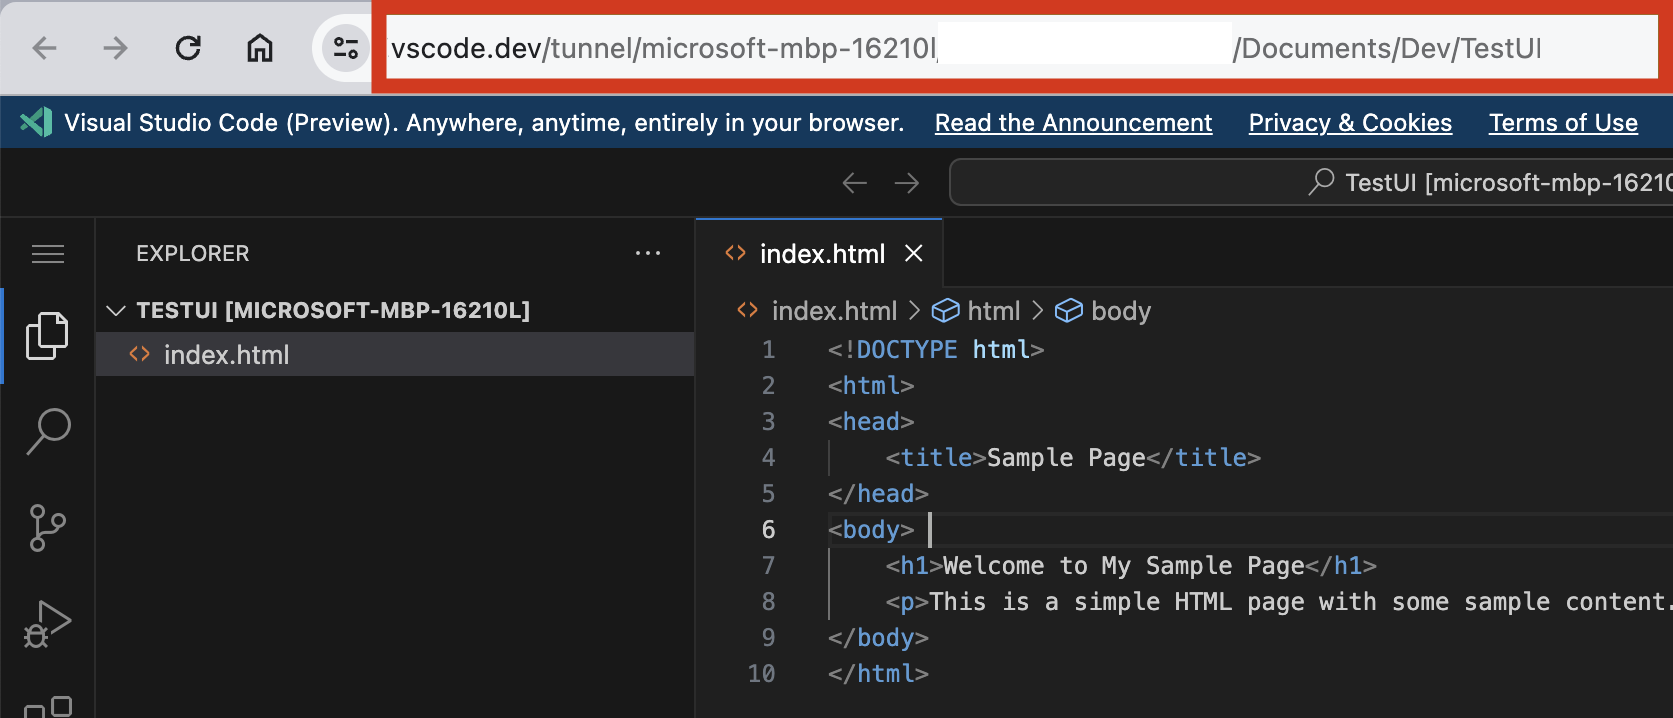
When you go to vscode.dev, you access a lightweight version of Visual Studio Code running fully in the browser. This version is known as Visual Studio Code for the Web (or vscode.dev). This step allows you to open a folder on your local machine and start coding without any installation.
Note
The remote machine is only reachable through a tunnel while Visual Studio Code is running there. After you exit Visual Studio Code, tunneling to it won't be possible until you start Visual Studio Code there again or run the code tunnel CLI command.