Exercise - Use GitHub Actions for Microsoft Power Platform
In this exercise, you'll export a solution that contains a custom connector into GitHub by using GitHub Actions for Microsoft Power Platform.
Important
Use a test environment with Microsoft Dataverse provisioned. If you don't have one, you can sign up for the Community Plan. A GitHub account is also required to complete the exercise. You can sign up for one for free at GitHub.com.
Note
Download the following file to your local computer to complete this exercise: Contoso Invoicing ALM. Select the download button on the middle-right of the screen.
Task 1: Import solution
In this task, you'll import an unmanaged solution that contains a Contoso Invoicing custom connector. You'll use this connector to complete the tasks in this exercise.
Go to Power Apps maker portal and make sure that you are in the correct environment.
Select Solutions and then select Import solution.
Select Browse.
Select the ContosoInvoicingALM_1_0_0_0.zip solution and then select Open.
Select Next.
Select Import and then wait for the import to complete. You should get a success message after the import completes.
Select Publish all customizations and then wait for the publish to complete.
Select the Contoso Invoicing - ALM solution that you imported.
You should see the Contoso Invoicing - ALM custom connector component.
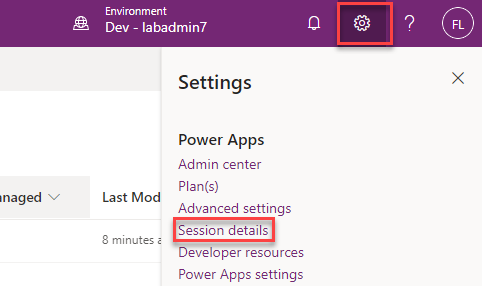
In the upper-right corner of the screen, select the Settings icon and then select Session details.
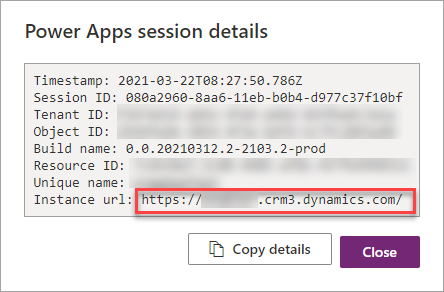
In the Power Apps session details dialog box, select the Instance url value and copy it for use later in the exercise.


Task 2: Create a GitHub repository
To create a GitHub repository, follow these steps:
Go to GitHub and select Create repository.
Enter ContosoInvoiceALM for the repository name.
Select Add a README file.
Select Create repository.
In the new repository, select the Settings icon.
Expand the Secrets and variables section and select Actions. Secrets are environment variables that are encrypted. Anyone with collaborator access to this repository can use these secrets for GitHub Actions. You'll create three secrets that will ensure that the action that you create doesn't have sensitive information in it.
Select New repository secret.
Enter environment in the Name field.
Paste the environment URL that you copied in the previous task in the Secret field.
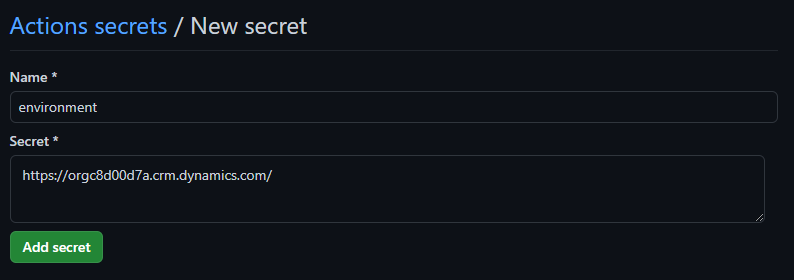
Select Add Secret.
Add another secret with a name of user with the Secret** containing the email of the account that you use to access the environment.
Add another secret with a name of password with the Secret containing the password of the account that you use to access the environment.
After you've added the secrets, your list of values should look like the following screenshot.

Expand Actions and select General

Scroll down to the Workflow permissions section, select the Read and write permission, and then select Save.


Task 3: Create a GitHub Action
To create a GitHub Action, follow these steps:
In the repository navigation, select the Action menu item.

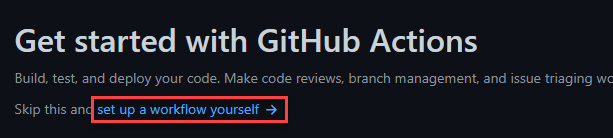
Select the setup a workflow yourself option.
Open the provided export-and-branch-solution.yml file and paste the contents into the Edit new file area.
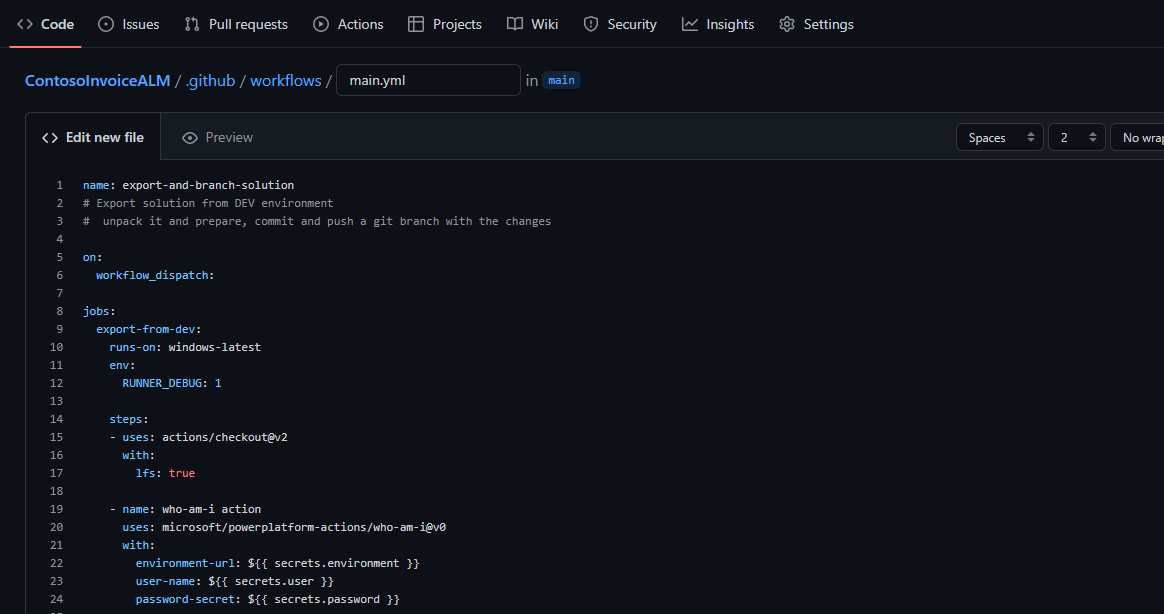
You've added the following four steps: 1) Who-am-I action to test connection, 2) Export solution, 3) Unpack the solution, and 4) Create a branch and check in the solution files.

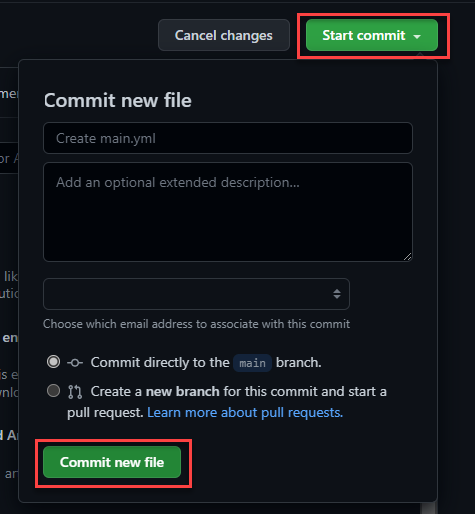
Select Start commit on the right side and then select Commit new file. This step will save the action that you built.


Your action has been saved and is ready to run.
Task 4: Run the export action
To run the export action, follow these steps:
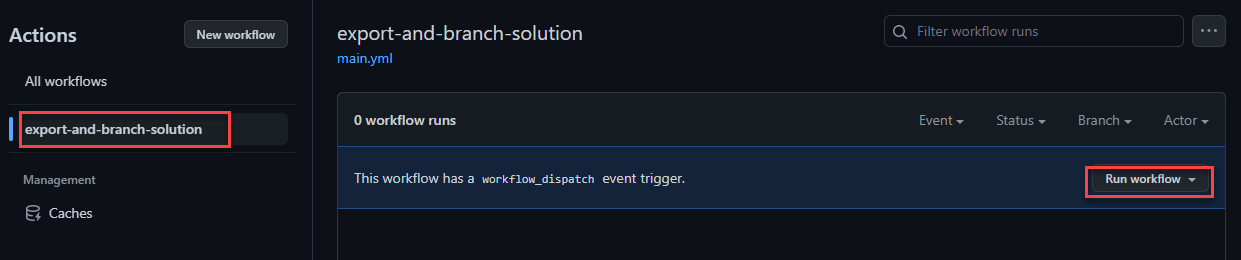
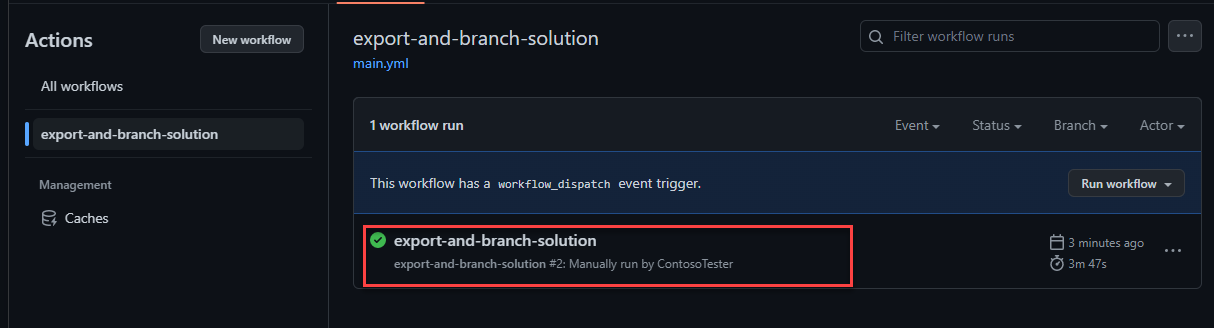
Go to the Actions repository.

Select the export-and-branch-solution action and then select Run workflow.
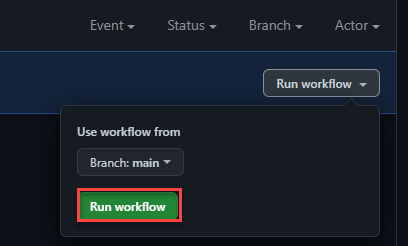
In the Use workflow from section, select the main branch and then select Run workflow.
Monitor the workflow progress until it has completed successfully.
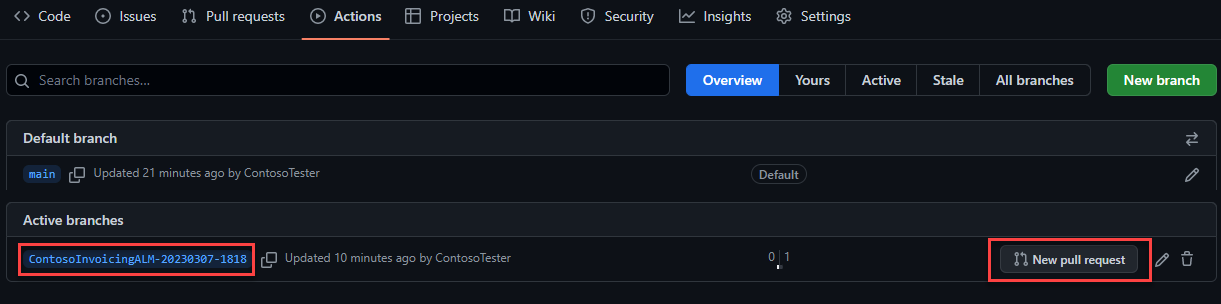
Select Code in the navigation and then select branches.

You should see the branch that was created by the GitHub Action implementation. Currently, this branch is not merged with your main branch. Select New pull request to start the merge process.
In the comments area, enter Initial version of connector.
Select the Create pull request option.
At this point, someone would typically review and merge, but because only you're doing the exercise, you should approve the pull request yourself.
Expand Merge pull request and then select Squash and merge.
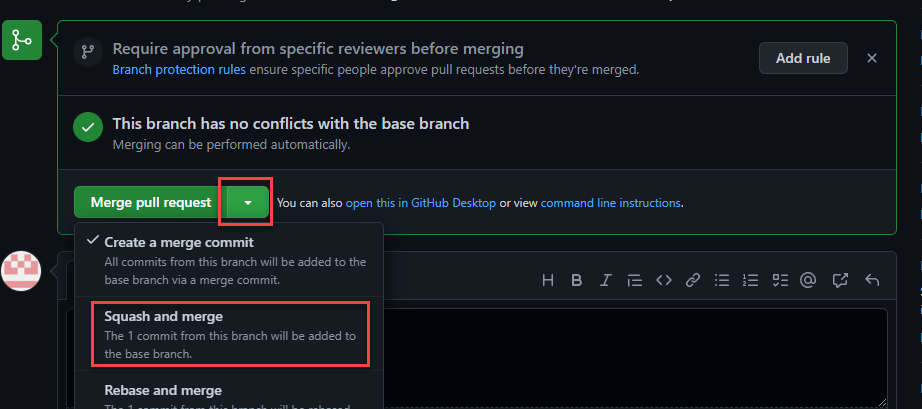
Select Squash and merge and then select Confirm squash and merge.
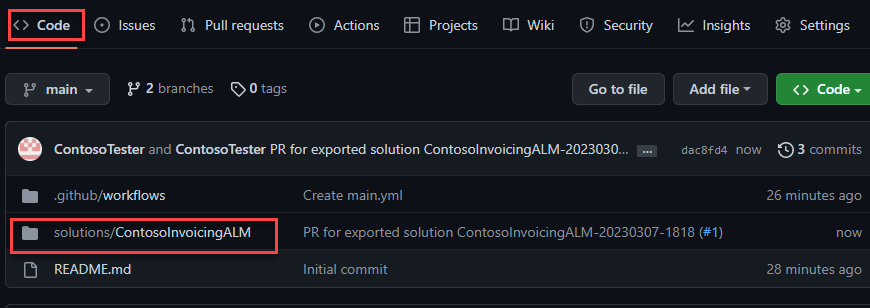
Your branch with your changes has now been merged.
Select Code and then select solutions/ContosoInvoiciningALM. This folder contains the solution files that were created. You can browse the content of this folder to determine what was extracted from the solution and stored as individual files.


Task 5: Change and record connector definitions
To change and record connector definitions, follow these steps:
Go to Power Apps maker portal and make sure that you are in the correct environment.
Select Solutions and then select the Contoso Invoicing - ALM solution.
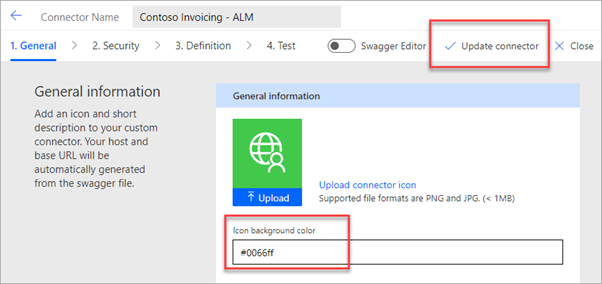
Select the ellipsis (...) next to the custom connector component and then select Edit.

Change Icon background color to #0066ff and then select Update connector.
Repeat steps 1-12 of Task 4 to run the workflow, create a new pull request, and merge the code into the main branch.
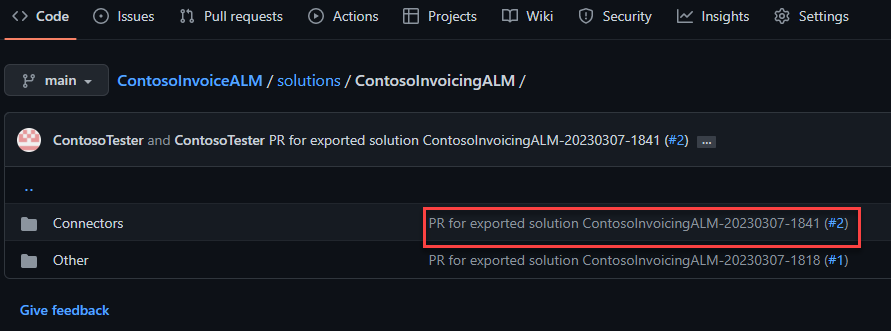
Select Code in the navigation then select the pull request name to open the details.
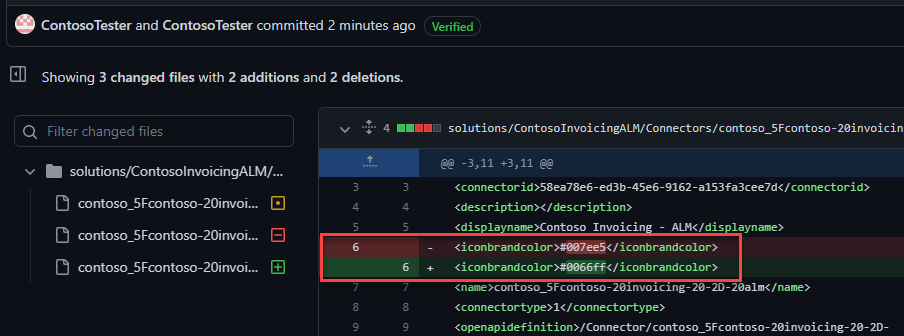
Verify the recorded change in icon color from #007ee5 to #0066ff.


Note
Other automatic changes could be applied when you save the connector, for example, icon format might change from JPEG to PNG.
You now have an automated process to export and record your custom connector changes in a source control system.