Exercise - Customize email templates with survey variables
In this exercise, you'll create and customize an email template, including survey variables.
Important
You can complete this exercise with or without having Dynamics 365 Customer Service in your environment. However, if you want to complete task two in exercise 3, you'll need to complete these steps in an environment that also has Dynamics 365 Customer Service. You can complete these exercises in a trial or sandbox environment.
Exercise 1: Create a new project
In this exercise, you'll create a new project.
Go to Dynamics 365 Customer Voice and sign in with your credentials.
Select Get started.
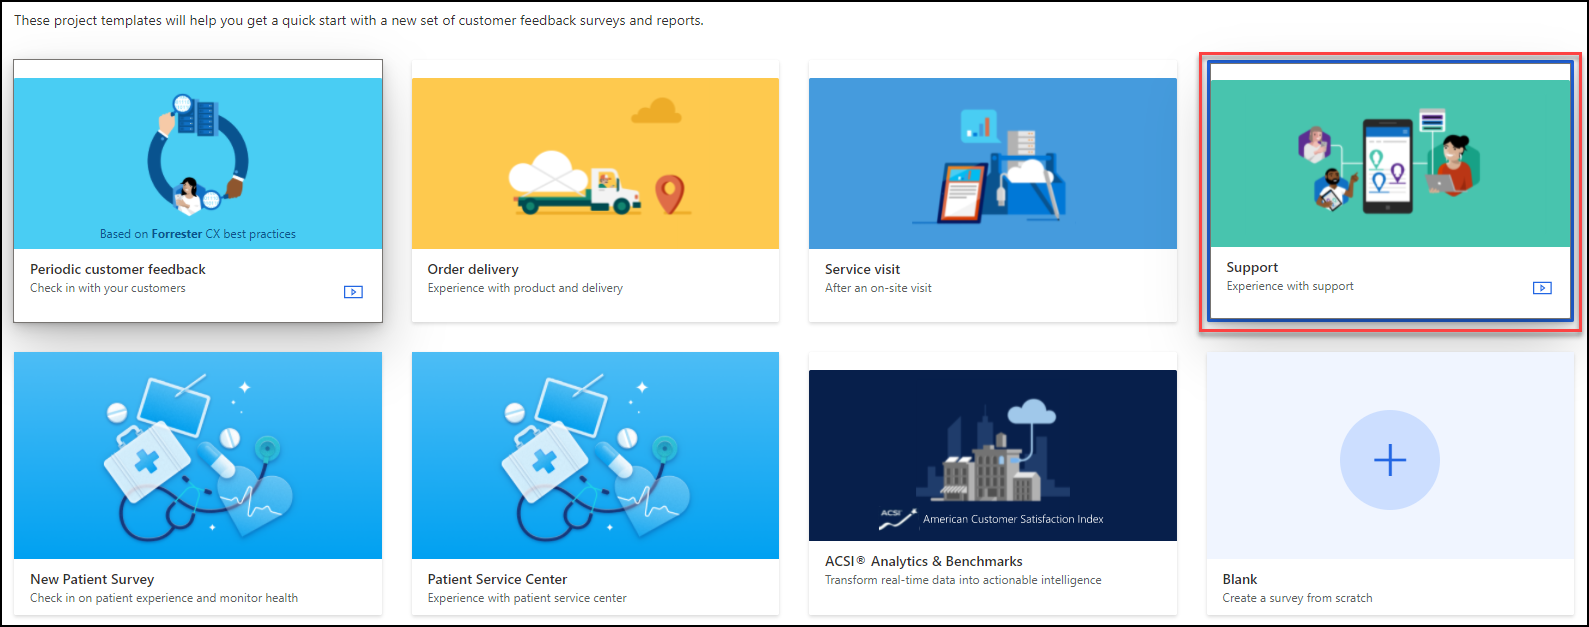
Select the Support project template.
Select the Preview button, which will provide an overview of the survey that is associated with this project.
After you have finished reviewing the survey, select Close.
Select the Next button to continue.
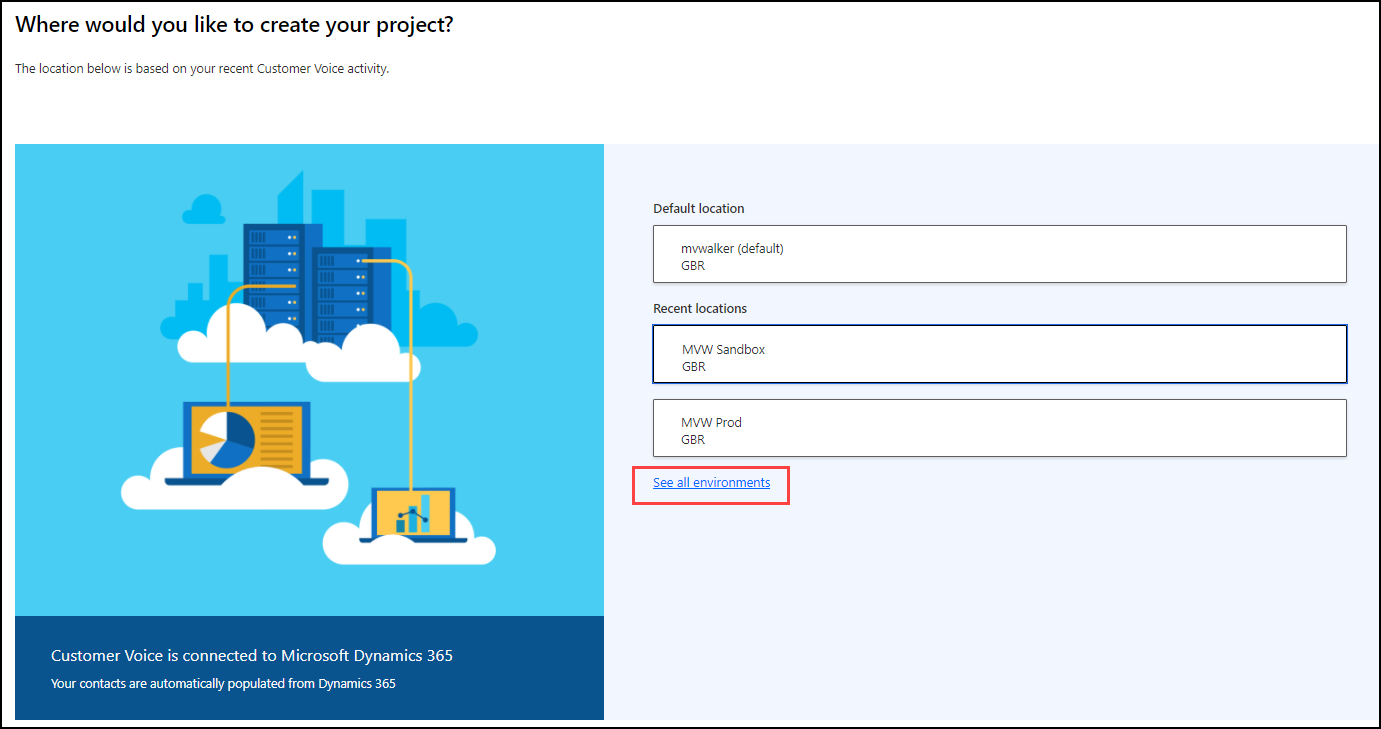
From the Where would you like to create your project window, you can determine which location to add your project to. Select the See all environments link.
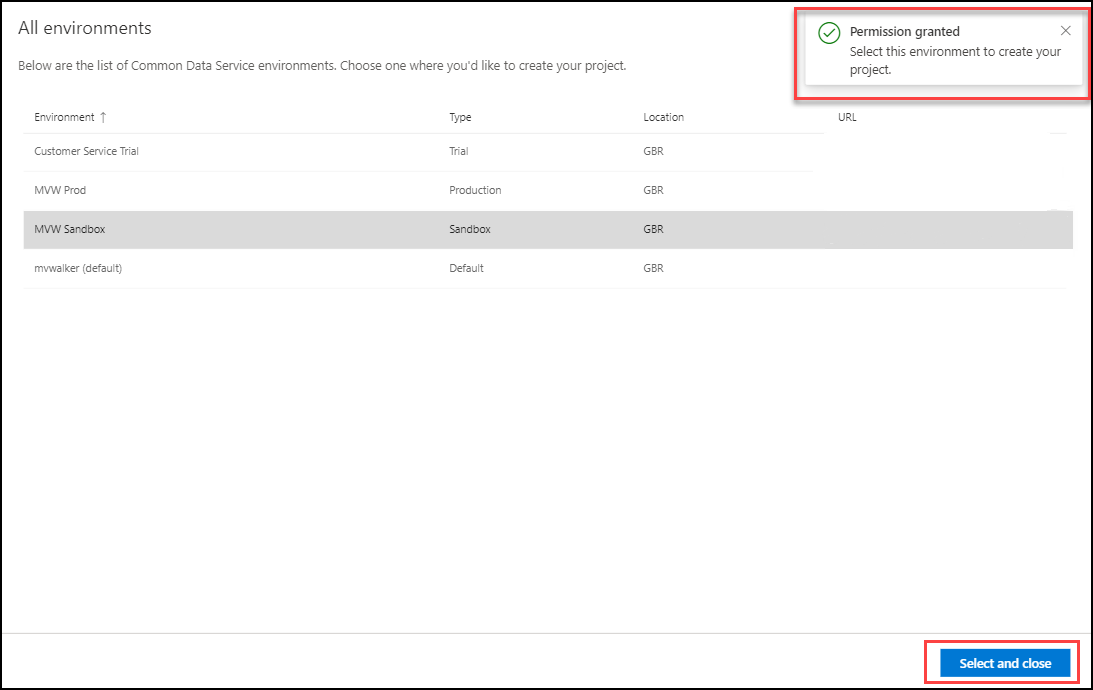
You will be directed to the All environments window, which provides a list of all Common Data Service environments that you have access to. Select the environment that you are using to complete this exercise. If you have access to the environment, a message will display, indicating that permission has been granted. Select the Select and close button.
Note
As you use Customer Voice over time, the recent locations list will populate with the last environments that you have used. Thereafter, you can select the environment directly from this list instead.
Select the Create button. If you are unable to select the button, confirm by using the previous step and then make sure that you have one location selected.
Exercise 2: Add survey variables
In this exercise, you'll learn how to create variables and add them to the survey.
Task 1: Create variables
In this task, you will create the variables.
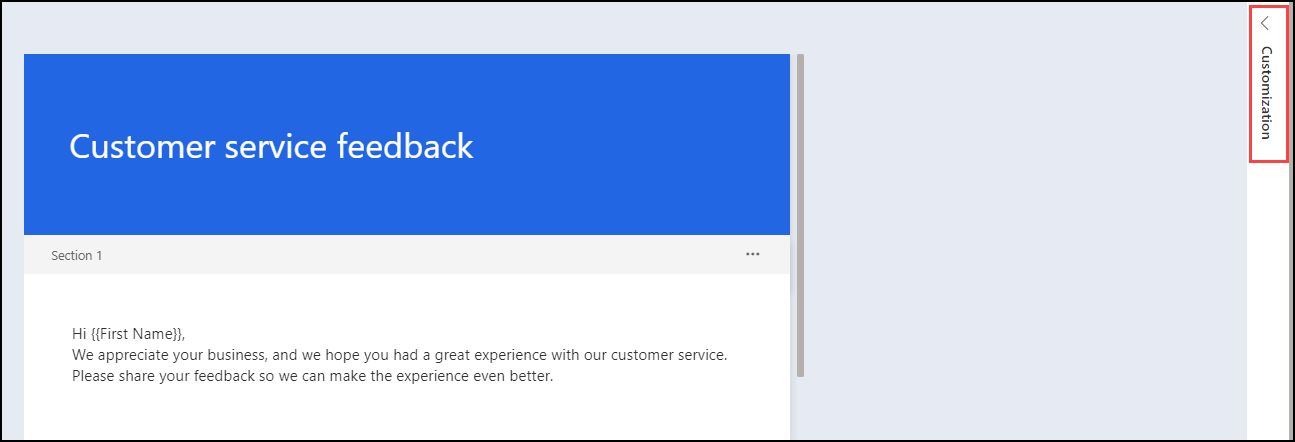
Select the Customization panel in the upper-right corner of the Case resolution survey in your project.
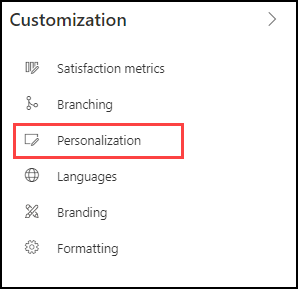
From the menu that opens, select Personalization.
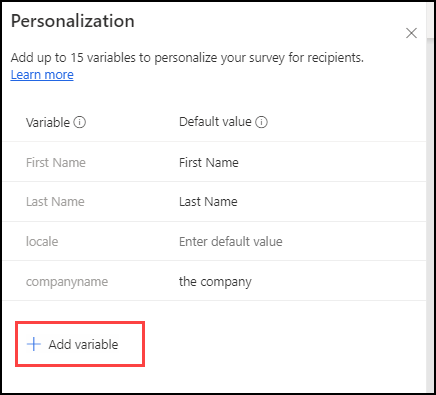
The Personalization screen will show all variables that exist for the Case resolution survey. Select Add variable.
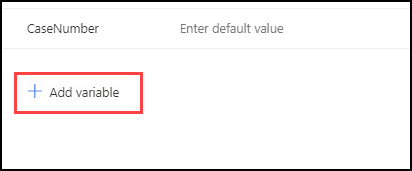
Type CaseNumber into the variable name. Make sure that you don't include a space between the two words. If you do, a message will display, stating that "Standard characters are required." Remove the space to remove the error message. Select Add variable again.
Type CaseTitle into the variable name. Select the Save button to add the two new variables.
A confirmation message will display in the Personalization panel, indicating that the two variables were added.
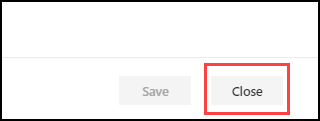
Select the Close button to close this section.
Select the arrow to minimize the Customization panel.
You have successfully added two new variables to use in the survey.
Task 2: Add variables to the survey
In this task, you'll add variables to the survey description.
Select the description of the survey to highlight the text and then delete the text.
Select the Variables dropdown list and then select First Name.
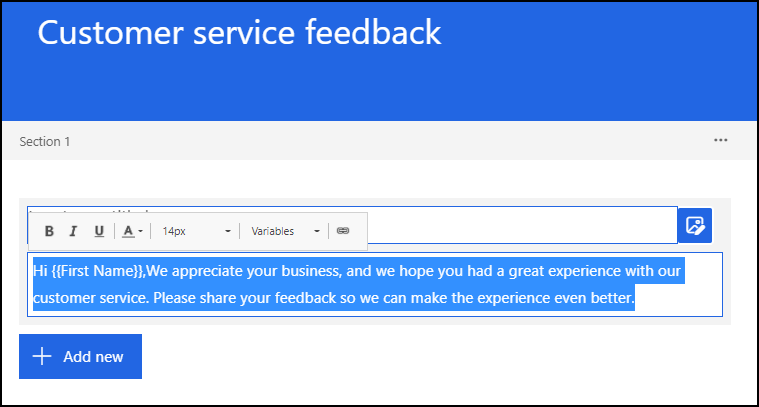
{{First Name}} will be added to the description. Add a comma after the variable and then add the following text: We appreciate your business. We recently closed a support ticket for you, and would appreciate your feedback on the experience. For your reference, here is your case information:
Select the Variables dropdown list, this time selecting Case Number. Add a hyphen and then select the Variables dropdown list again to select Case Title.
The finished survey description should resemble the following screenshot.
You have successfully added variables into the survey description.
Exercise 3: Customize the email template
In this exercise, you'll learn how to customize the email template and add the survey variables to the subject and body of the email.
Task 1: Add variables to the email template
In this task, you will add variables to the email template.
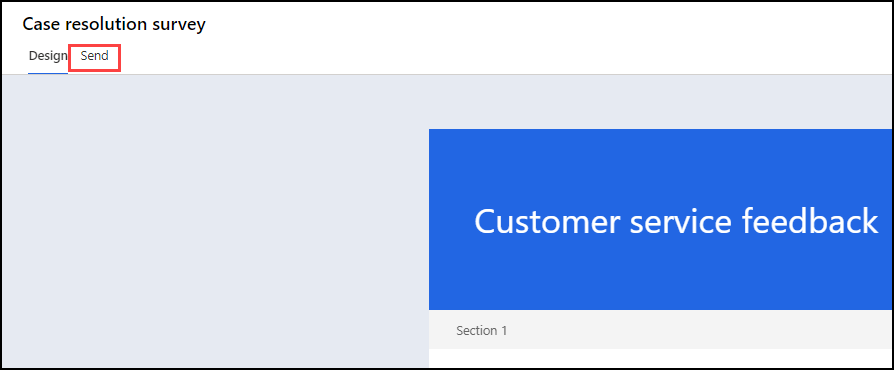
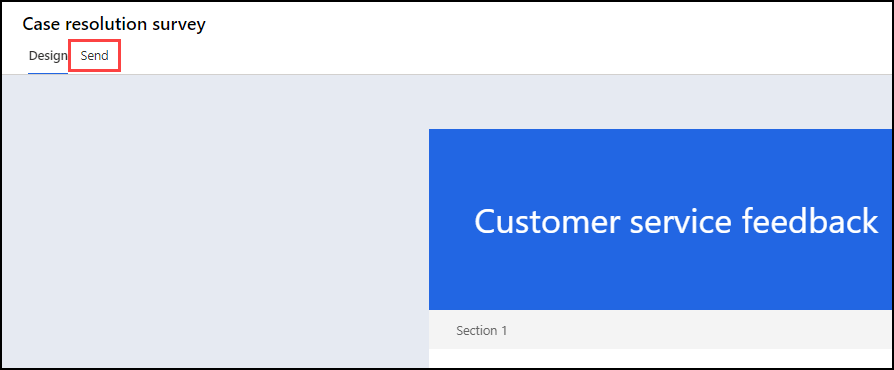
From the main Case resolution survey, select the Send tab from the upper left of the screen.
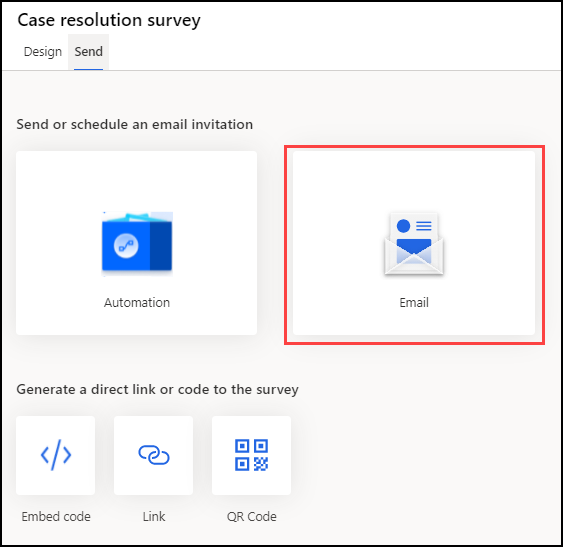
Select the Email option.
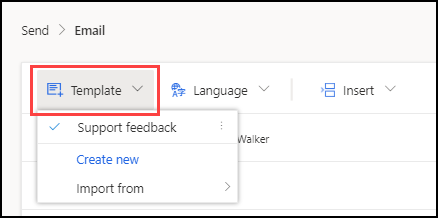
Select the Template dropdown menu. The Support feedback template will already be selected and is the one that will display in the Email area. Select the Template dropdown menu again to close it.
Select Subject and then select the text that is already in place. Delete the text.
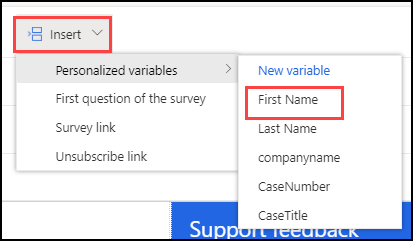
Select the Insert menu and then hover your cursor over the Personalized variables option. The list of available variables will display. Select First Name to add it to the subject.
After the First Name variable, add the following text: Could you share feedback on your recent experience?
In the body of the email, select the Last Name variable and then delete it.
After the second sentence that ends with future, add the following text: We recently closed.
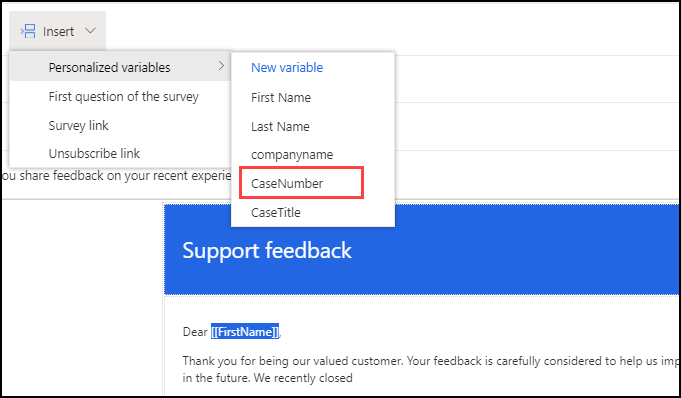
Select the Insert menu, hover your cursor over the Personalized variables option, and then select CaseNumber.
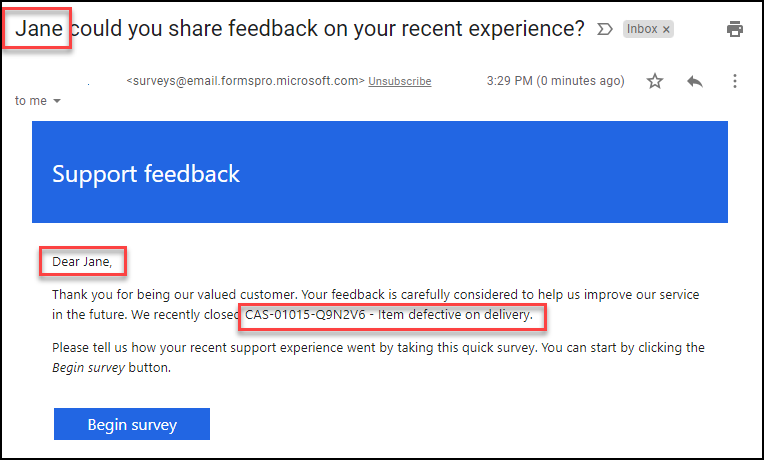
Add a hyphen and then select CaseTitle to add it as a variable as well. Your email template should resemble the following screenshot.
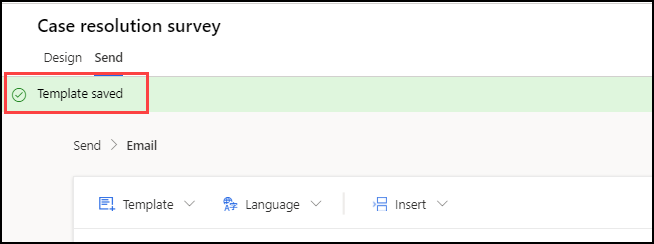
Select the Save button in the lower part of the email template.
A notification will display in the upper part of the screen, indicating that the template has been successfully saved.
Task 2: Send an email with variables populated
In this task, you'll send an email with the variables populated to a recipient. To complete this task, you'll need to use an email address that you have access to.
From the main Case resolution survey, select the Send tab.
Select the Email option.
Select the Import contacts link in the upper right of the email template.
Select Advanced options.
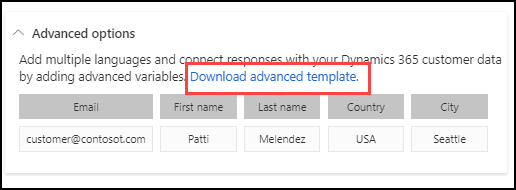
In the Advanced options section, you can download a template that includes all variables from the related survey. Select Download advanced template.
The CustomerVoiceSample.csv file will be downloaded. Go to your downloads folder and open the file. Fill out the fields with the email address (the one that you have access to), first name, last name, case number, and case title information.
If you have access to Dynamics 365 Customer Service with the Case table, you can also complete the RegardingID and RegardingEntityName columns. If you open a case in Dynamics 365, the end of the URL will include the unique ID from the case.
Add the case ID in the RegardingID field and then type the word incident in the RegardingEntityName column.
Save the CSV file to your desktop (or any folder that you have access to).
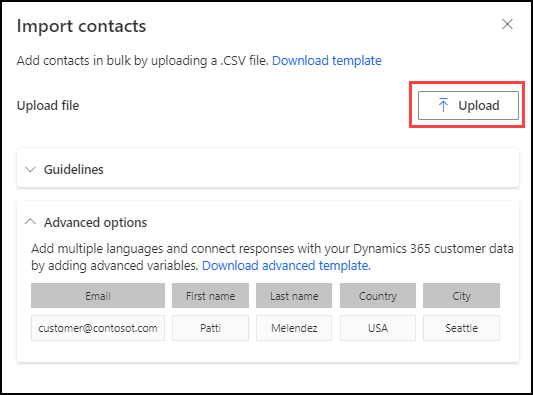
From the Import contacts screen, select the Upload button.
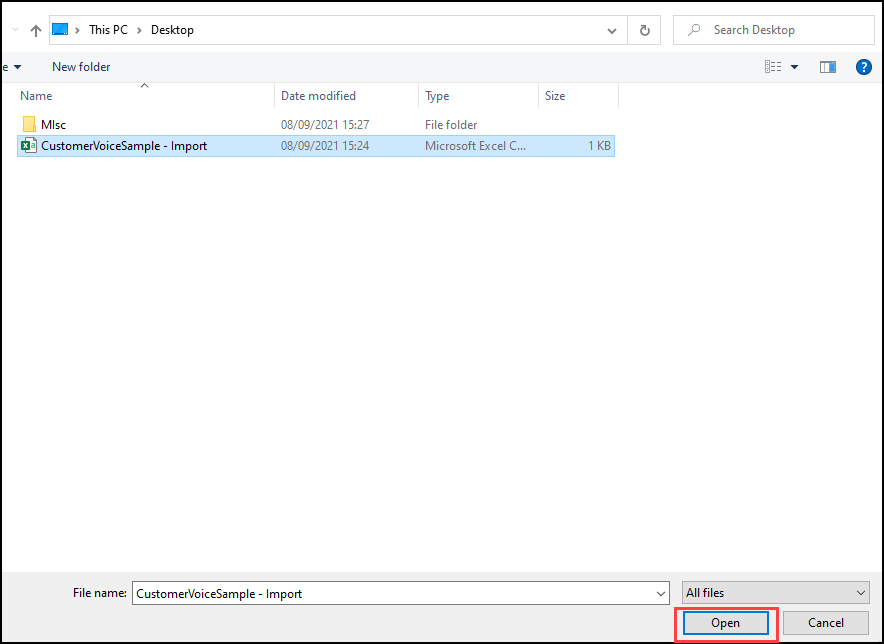
Browse to where you saved the file, select it, and then select Open from the lookup control.
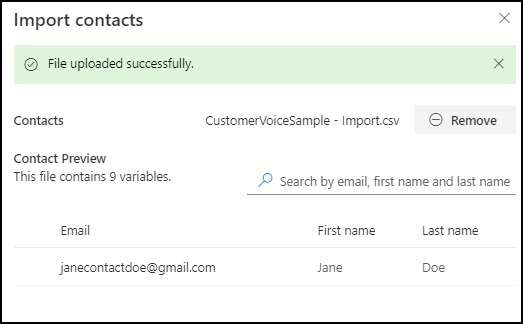
The file will import and a notification will display to show that it was successful. The email, first name, and last name of the contact should be displayed.
Select the Import button from the Import contacts screen.
The Recipients field should show one recipient. Select the Send button from the lower part of the email.
Open the inbox for the email address that you used. You should have received an email that includes the first name in the subject. The case number, and case title should also be shown. Select the Begin survey button.
The survey should also show the same three variables populated in the description.
If your import file included the RegardingID and RegardingEntityName columns, you can go to the case in Dynamics 365. The survey invitation will be displayed in the timeline on the case.

