Exercise - Install Apache with YaST
With YaST, you can add, remove, and manage software packages on your SLES virtual machine.
It's time to add a package to the server that's going to host your company's website. In this exercise, you use the YaST admin tool to search for and install the Apache package.
Start YaST
To launch the ncurses-based version of YaST, ssh into your machine and run yast2 as follows:
sudo yast2Use the Tab or arrow keys to navigate between interface elements like menu items, fields, and buttons.

All menu items and buttons in YaST can be accessed using the appropriate function keys or keyboard shortcuts. For example, you can cancel the current operation by pressing F9, while the F10 key can be used to accept the changes. Each menu item and button in YaST's ncurses-based interface has a highlighted letter in its label. This letter is part of the keyboard shortcut assigned to the interface element. For example, the letter Q is highlighted in the Quit button. This means that you can activate the button by pressing Alt–Alt+Q.

Install Software Packages with YaST
Once inside the YaST Control Center, launch the YaST Software Management module: Software > Software Management

Select the Filter menu (ALT+F] and select the line with Search.


In the search field at the top left, enter:
apache <RETURN>Notice that the icon or marker (i) in front of the apache entry on the right shows an empty box. This icon indicates that the package isn't yet installed.
Switch to the right box with <TAB> and go down and select apache2 in the list with the <SPACE> bar.
The icon changes to a check mark (or "+"). Any shown dependencies are indicated (a+).

Choose Accept to install the apache package.
A new window is shown with the additional dependent packages that need to be installed too. Select Continue.
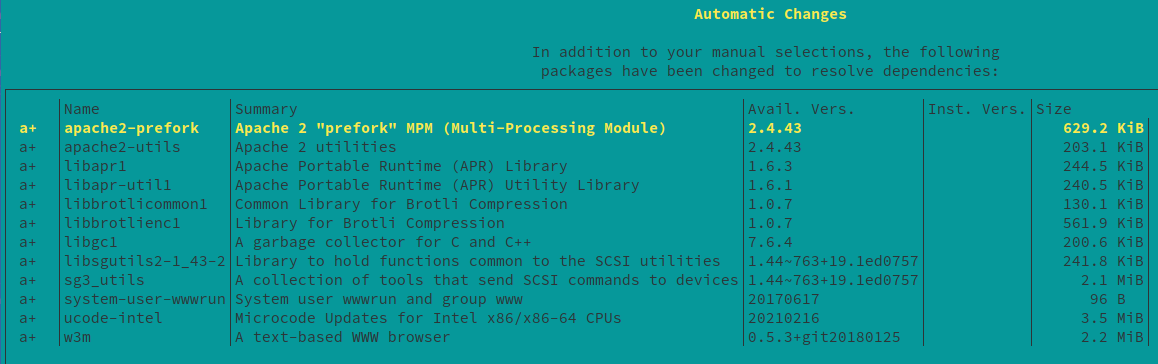
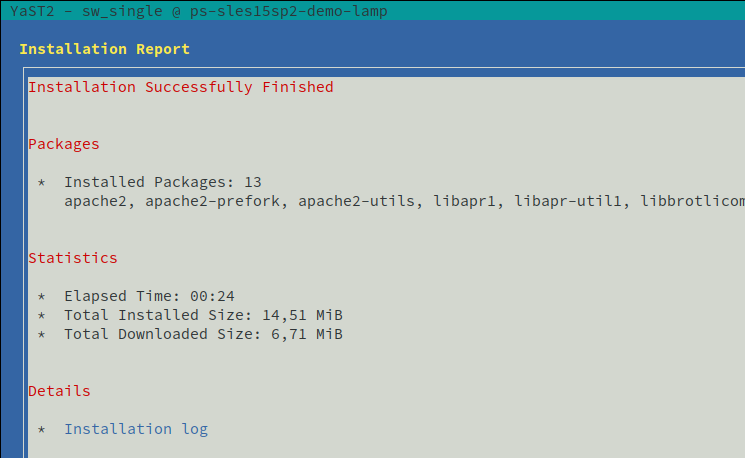
In the Installation dialog, select Finish. You get an information window presented with the summary of your install.
Close the YaST interface.


