Create and build projects
Projects in Visual Studio contain elements, which are stored as metadata when they are built. The metadata is then used by the application to run your extensions.
To create a new project, go to File, then New, and then select Project or hold Ctrl + Shift while pressing the N key. In the project wizard, name your project and make sure to select the model where it belongs. The model is difficult to change when you start adding files to the project, so getting it right early on is crucial.
The New project wizard also lets you select dependencies if you know which models you might be using or extending elements from. If not, you can edit the model dependencies list later as you add elements. Make sure that you do not forget it because a missing dependency will prevent your model from building successfully.
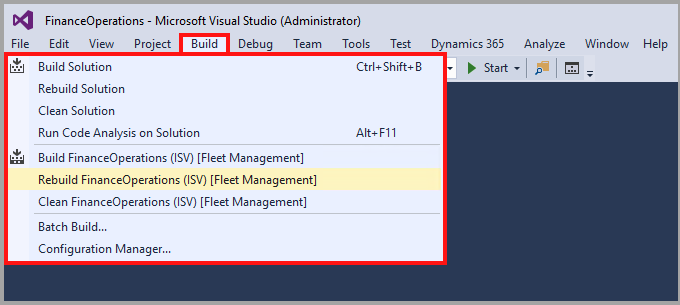
For the building of models, you have a few options depending upon what you need to build. You can build or rebuild your project or solution from the Solution Explorer window by right-clicking your project or solution and then selecting the option to perform a build or rebuild. You can also perform a build from the Build menu just like you would in any other Visual Studio project.
To build your model, or all models, select Build Models from the Dynamics 365 menu to open a dialog where you can select which models to build. When you have selected all the models that you need, use the Build button to start the build.
Watch this video to see how you can create a new project.