Exercise - Connect data from the canvas app
Now that you created the table to store machine order requests, you connect your Machine Ordering canvas app to this table and then add a form to submit machine approval requests.
Note
To complete the exercises, you'll need to use a few files. Download the App in a Day files for use in this module. The file folders that are in this download include:
- Completed modules with instructions - Package files to import the completed exercise steps.
- Machine-Order-Data.xlsx - File used in the exercises.
Section 1: Add a Microsoft Dataverse table as a data source to the app
Open the Machine Ordering app. Make sure that you're opening the version of the app that's in the newly created environment that has the Microsoft Dataverse database instance.
Within Power Apps, select Solutions from the navigation pane to the left of the screen, and then open the Contoso Coffee solution.
Select Apps from the Objects pane to the left of the screen, choose Machine Ordering App, and then select Edit from the tool bar.

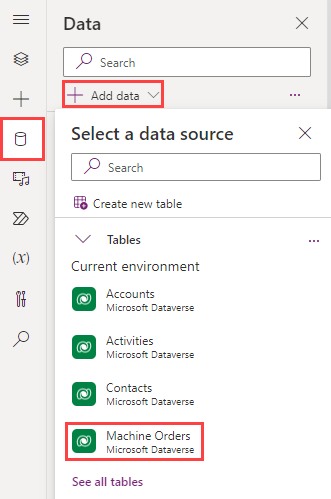
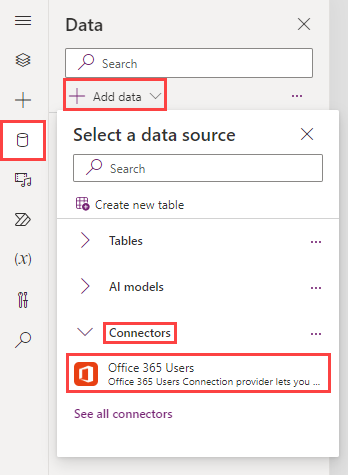
Select the Data icon from the navigation pane to display the current sources. Then, select the + Add data dropdown.
Select Machine Orders from the table list to include it as a data source for your app.

Section 2: Create the edit form
Next, you create the edit form by following these steps:
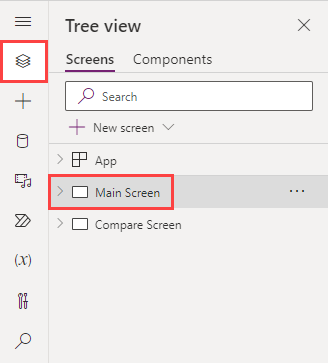
Switch to the Tree view pane using the icons within the navigation pane, and then select the Main Screen.
Select a few machines. Press and hold the Alt key, which allows you to select the compare checkbox.

Select Compare Screen from the Tree view. The selected machines should now display.
Note
If the navigation arrow button appears within the galCompareList on the Compare Screen, select the galCompareList from the Tree View pane, and set the Width value of the gallery to
845.With the Compare Screen selected, select the + Insert dropdown from the tool bar, search for edit, and then select Edit form.

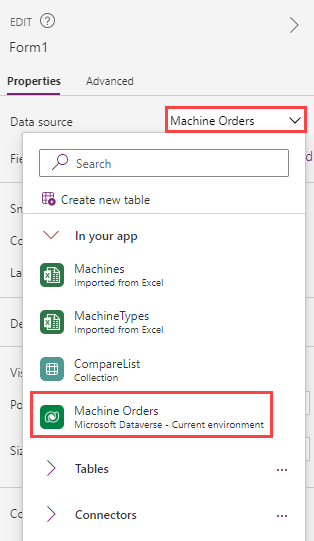
In the data pane to the right of the screen, select the Data source dropdown menu.
Select the Machine Orders table as the data source.
Select Edit fields in the properties panel to edit the form's fields.
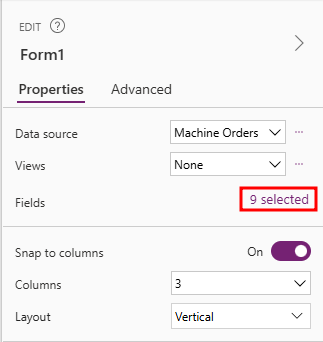
Add, remove, and arrange fields as ordered in the following list. You can add the fields by using the plus (+) sign, remove them by selecting the ellipses and choosing remove, and reorder them by dragging the field to the desired placement.
Machine Name
Price
Approver
Comments
Requested By
Request Date
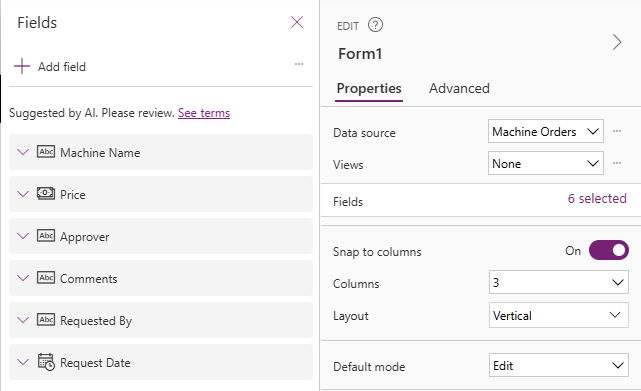
Close the Fields pane.
Rename the form as
frmMachineOrder.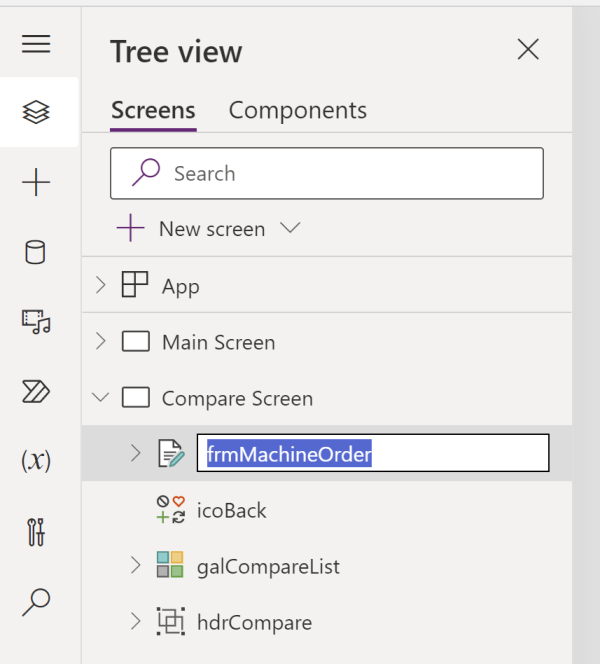
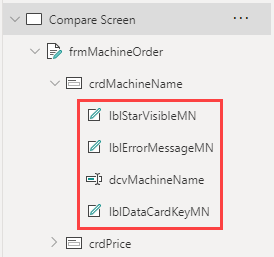
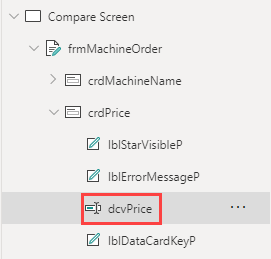
Rename the datacards of the form according to the following screenshot:

Select the frmMachineOrder form.
Set the X value to
900.Set the Y value to
60.Set the Width value of frmMachineOrder to
455.Set the Height value of the form to
650.Within the properties pane to the right of the screen, change the Columns value to 1. This setting modifies the layout of the edited form to be a single column.
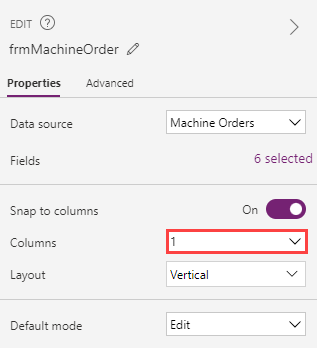
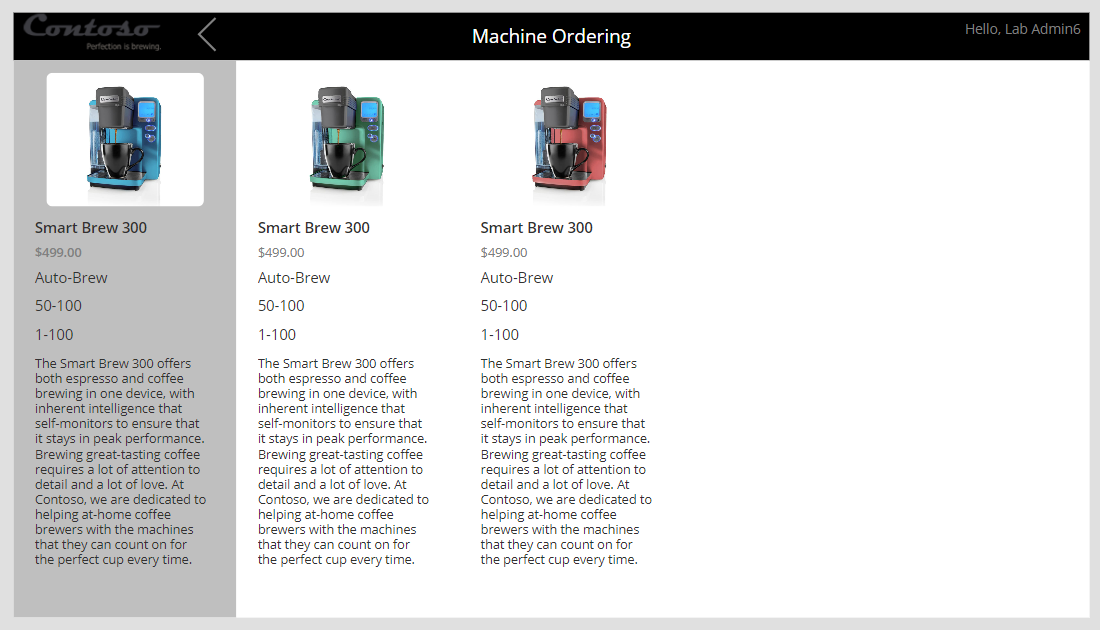
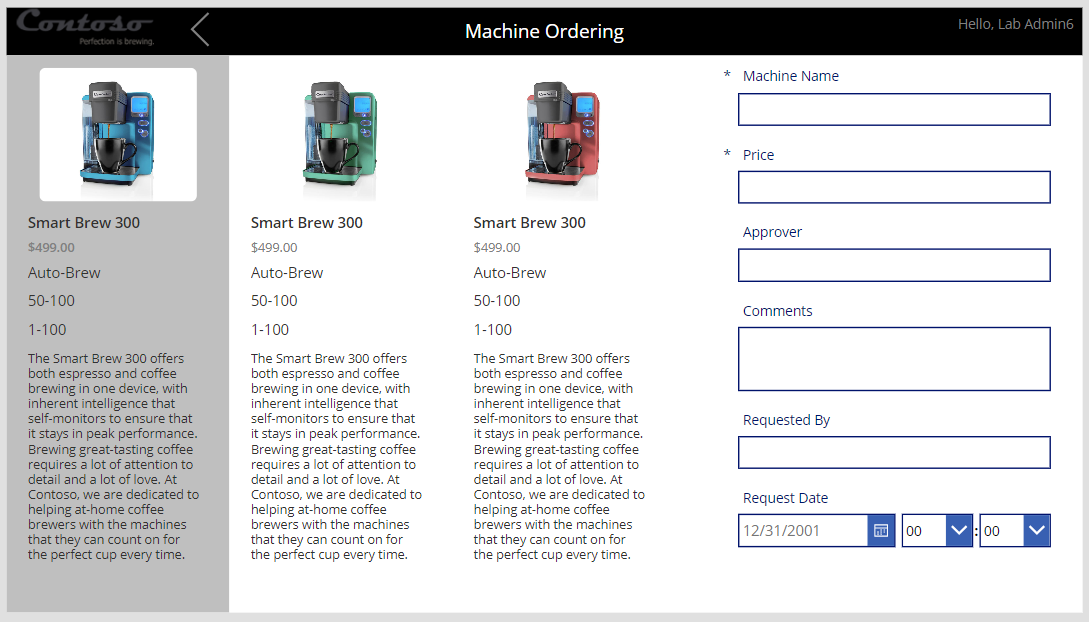
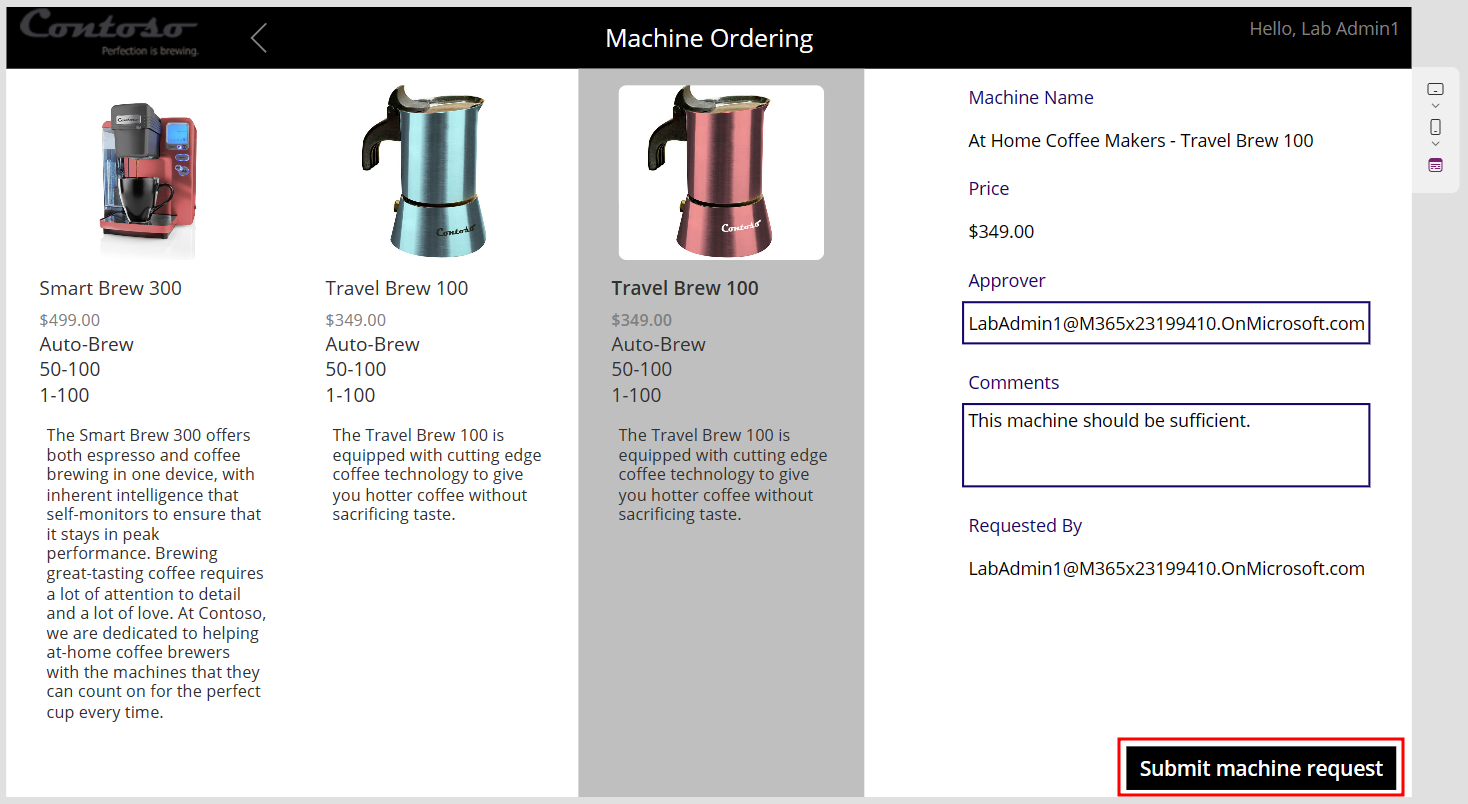
The form should now resemble the following image.
Note
You can always select controls, such as the frmMachineOrder control, from the tree view on the left to make sure that you're selecting the correct control. To move it, make sure that you select the form and not a control within the form.
For more information, see Understand data-form layout for canvas apps.
To create a new instance of the form when the screen is loaded, select Compare Screen in left tree view pane.
Select the OnVisible property of the screen and then enter the following formula:
NewForm(frmMachineOrder)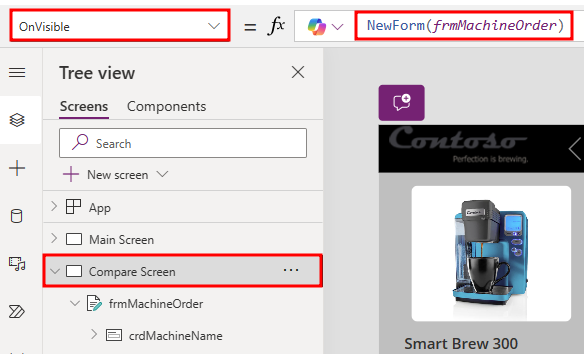


Section 3: Set up the title column
In the next few steps, you set up each form field.
Your first task is to set up the title to display the machine type and machine name for the selected machine. For example, if the user selects the Smart Brew 300 coffee makers, you want the machine order to have the title of "At home coffee makers - Smart Brew 300."
Expand the crdMachineName data card under the frmMachineOrder in the tree view.
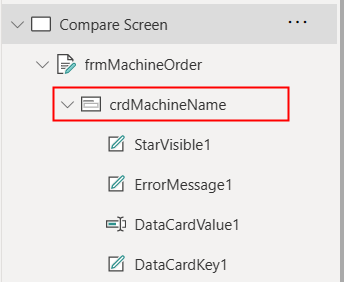
The default card contains a few controls:
StarVisible - A label control that has an asterisk (*) and has its Visible property set to true or false, depending on whether the field is required or not. Because the Title field was set as Required when you set up the table, its Required property is set to true.
ErrorMessage - A label that is directly below the main data entry field that displays error messages.
DataCardValue - The text input control where you can enter the title. For this scenario, you set the title based on the selected machine.
DataCardKey - The label that displays the title of the field.
Note
Continue to rename all controls following the proper naming conventions. Screenshots following from here will have naming conventions applied that may be somewhat different from what you decided.
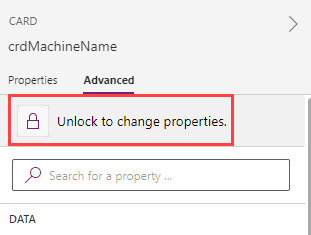
Select crdMachineName in the tree view. Then, select the Advanced tab from the Properties pane to the right.
Select Unlock so that you can customize the card.
Note
For the next few steps, you'll use the Advanced pane to customize control properties within the form. You can perform the same customizations by using the property dropdown menu and formula bar in the upper left of the studio.
Go to the Data section and set the Default property to:
galCompareList.Selected.'Machine Type' & " - " & galCompareList.Selected.'Machine Name'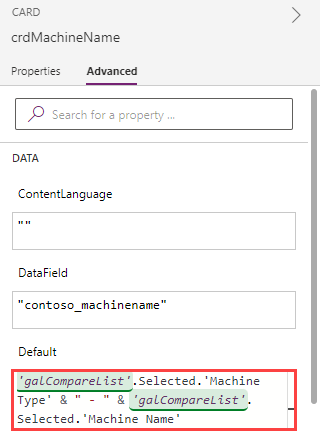
Change the DisplayMode to
DisplayMode.View. This setting prevents users from changing the value within the text box.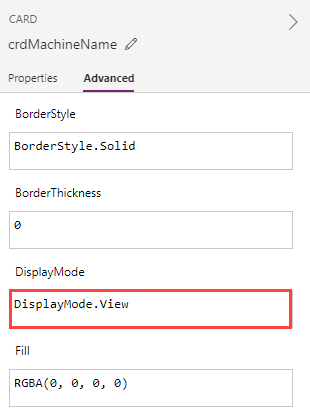

Section 4: Set up the Price field
In this task, you set the price to the price of the item and then make it read-only.
Expand crdPrice for the Compare Screen within the Tree View pane.
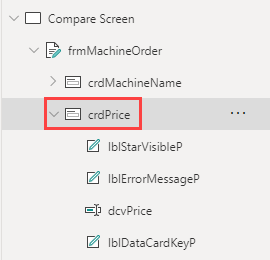
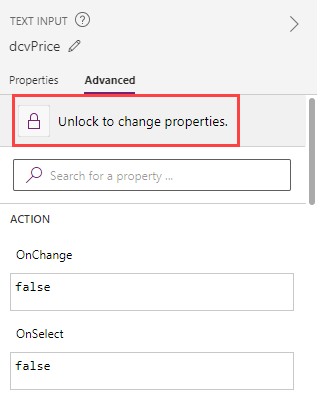
Select the dcvPrice.
Select the Advanced tab within the properties pane and then select Unlock.
Change the Default property in the Data section to:
Text(galCompareList.Selected.Price,"$##,###.00")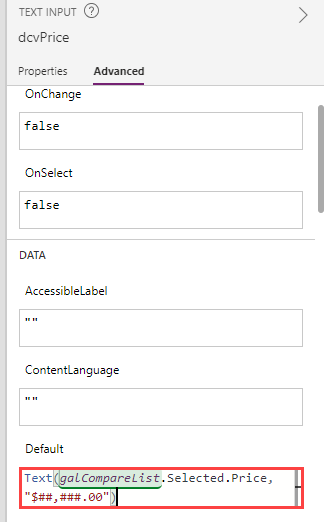
Select the Price Data Card within the Tree View pane and change the DisplayMode property value to
DisplayMode.Viewusing the formula bar.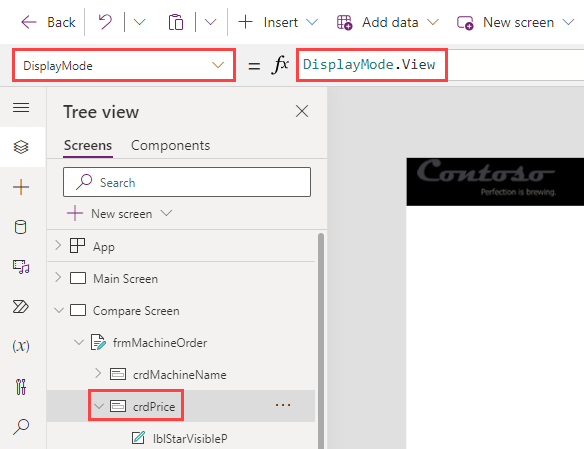
Section 5: Set up the Approval field
In this task, you set the default value for the approver to be the email address of the signed-in user's manager.
You use Microsoft Graph to retrieve the manager's email. For more information, see Office 365 Users Connection Provider.
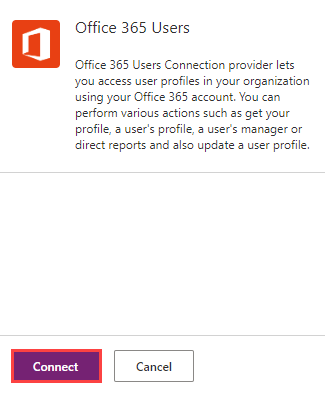
Select the Data icon from the navigation menu. Select the + Add data dropdown and then expand Connectors. Select Office 365 Users.
When prompted, select Connect.
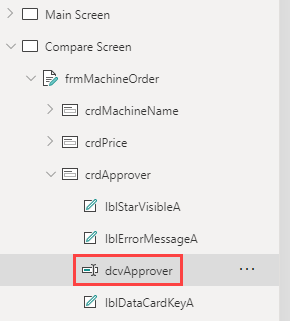
Select the Approver Data Card Value renamed dcvApprover within the Compare Screen from the Tree view pane.
Switch to the Advanced tab within the pane to the right of the screen, and select Unlock.
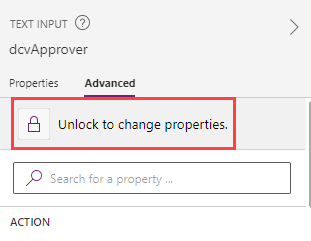
Under the Data section, set the Default property value to:
User().EmailThis expression uses your user's email so that you don't accidentally email your manager to approve your testing.
In a real application, or if you wanted to try the expression with your manager's email, it would be:
Office365Users.Manager(User().Email).MailThe expression would make an API call at runtime to get the manager's email address of the signed-in user.
If you try it and get an error when calling the Office365Users.Manager() function, it might be because a manager isn't set up in the system for the signed-in Office 365 user. In that case, you can return to User().Email.
Save your work and return to continue editing the app.
The Office 365 User connector has access to many other valuable types of information. For more information, see Office 365 Users Connector.
Section 6: Set up the Comments field
Your next task is to set up the Comments field by following these steps:
Expand the Comments Data Card and select the DataCardValue renamed dcvComments within the Tree View pane.
Under the Display tab of the pane to the right of the screen, set the Hint text property to
Enter justification.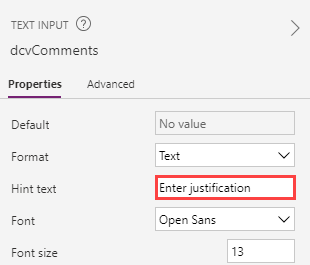
Section 7: Set up the Requested By field
Next, you set the Requested By field to be the current signed-in user's email, and then you disable the control so that the user can't change this value.
Expand the Requested By Data card renamed crdRequestedBy from the frmMachineOrder within the Tree view pane.
Select the DataCardValue renamed to dcvRequestedBy.
Switch to the Advanced tab within the pane to the right of the screen and Unlock the card.
Change the DisplayMode property to
DisplayMode.View.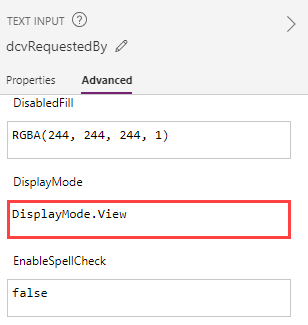
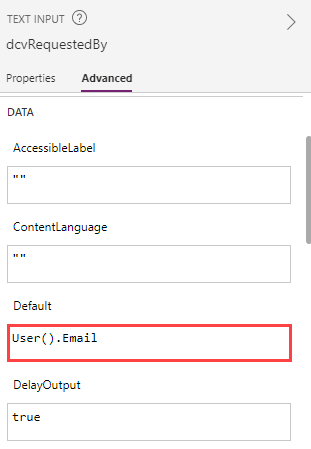
Under the Data section within the pane, set the Default value to
User().Email.The email of the currently signed-in user should display.
Section 8: Set up the Request Date field
In this task, you set the Request Date field to be today's date.
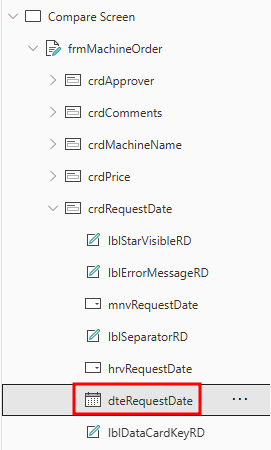
Expand the crdRequestDate within the Machine Order Form from the Tree View pane.
Select the DateValue card renamed dteRequestDate.
Switch to the Advanced pane to the right of the screen and Unlock the card.
Change the DefaultDate property to
Today().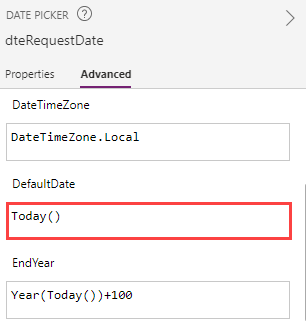
The date in the calendar control changes to today's date.
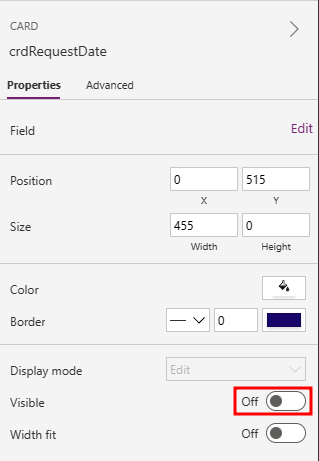
Now hide the crdRequestDate card. You don't need to show this field to the user since you include it as part of the form, the field updates when the form is submitted.
Select the crdRequestDate card from the Machine Order Form within the Tree View pane.
Navigate to the Display pane and set the Visible toggle to Off.
Section 9: Add a button to submit the form
To add a button to submit the form, follow these steps:
Expand the Main Screen within the Tree View pane.
Copy (Ctrl+C) the btnCompare button from the main screen, which has the correct color values.
Return to the Compare Screen and paste (Ctrl+V) the button.
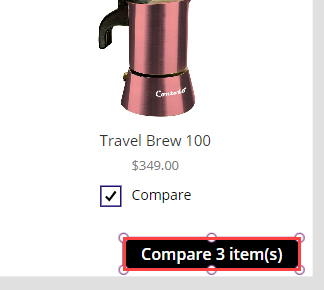
Make sure that the button is larger and positioned correctly. You can resize to 260 x 40 by using the Properties pane on the right. You might also need to reposition the button on the screen.
Notice the button in this image is positioned to 1090 (X value) and 720 (Y value).
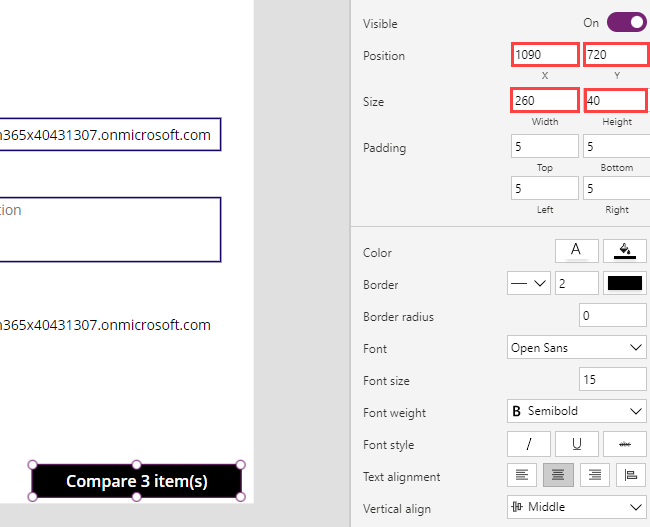
Within the Tree view pane, rename the button to
btnSubmit.Using the formula bar, set the button's Text property to
"Submit machine request".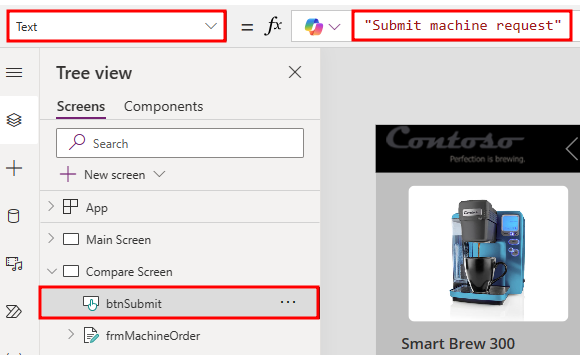
The button should be enabled only if a machine is selected. To do so, change the button's DisplayMode property to:
If(!IsBlank('galCompareList'.Selected), DisplayMode.Edit, DisplayMode.Disabled)
Note
You might notice the exclamation mark (!) in the formula
!IsBlank(). Normally, if you only haveIsBlank(), the check is for blank only. Adding the exclamation mark (!) in front of the formula modifies it to check if it's not blank.Set up what you want to happen when the button is selected by setting the OnSelect property to the following:
SubmitForm('frmMachineOrder')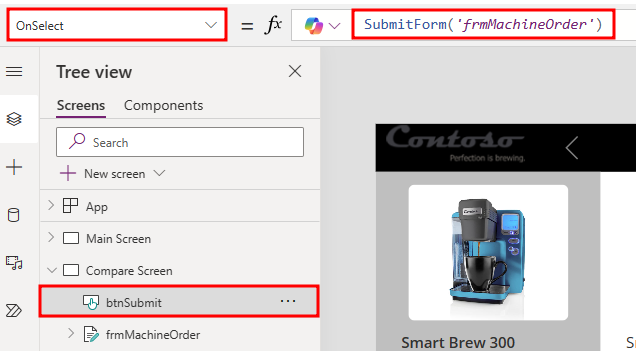
When the button is selected, the form data is submitted to Microsoft Dataverse.
Save your work and then return to continue editing the app.

Section 10: Test the form
Your next task is to test the form.
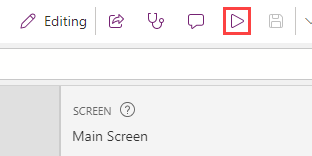
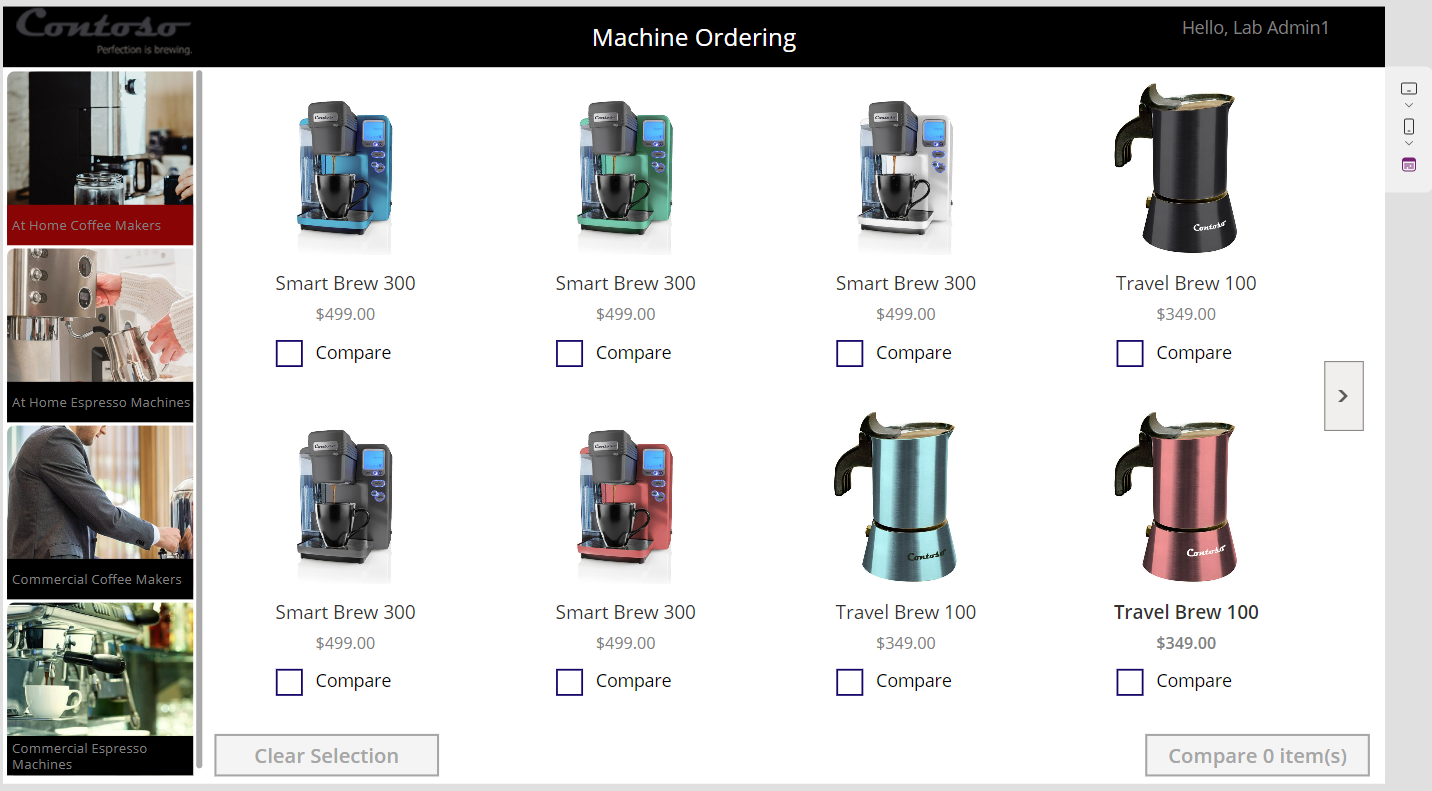
Select the Main Screen within the Tree view pane. Then, select the Preview the app button.
Select a few machines to compare and then select Compare.
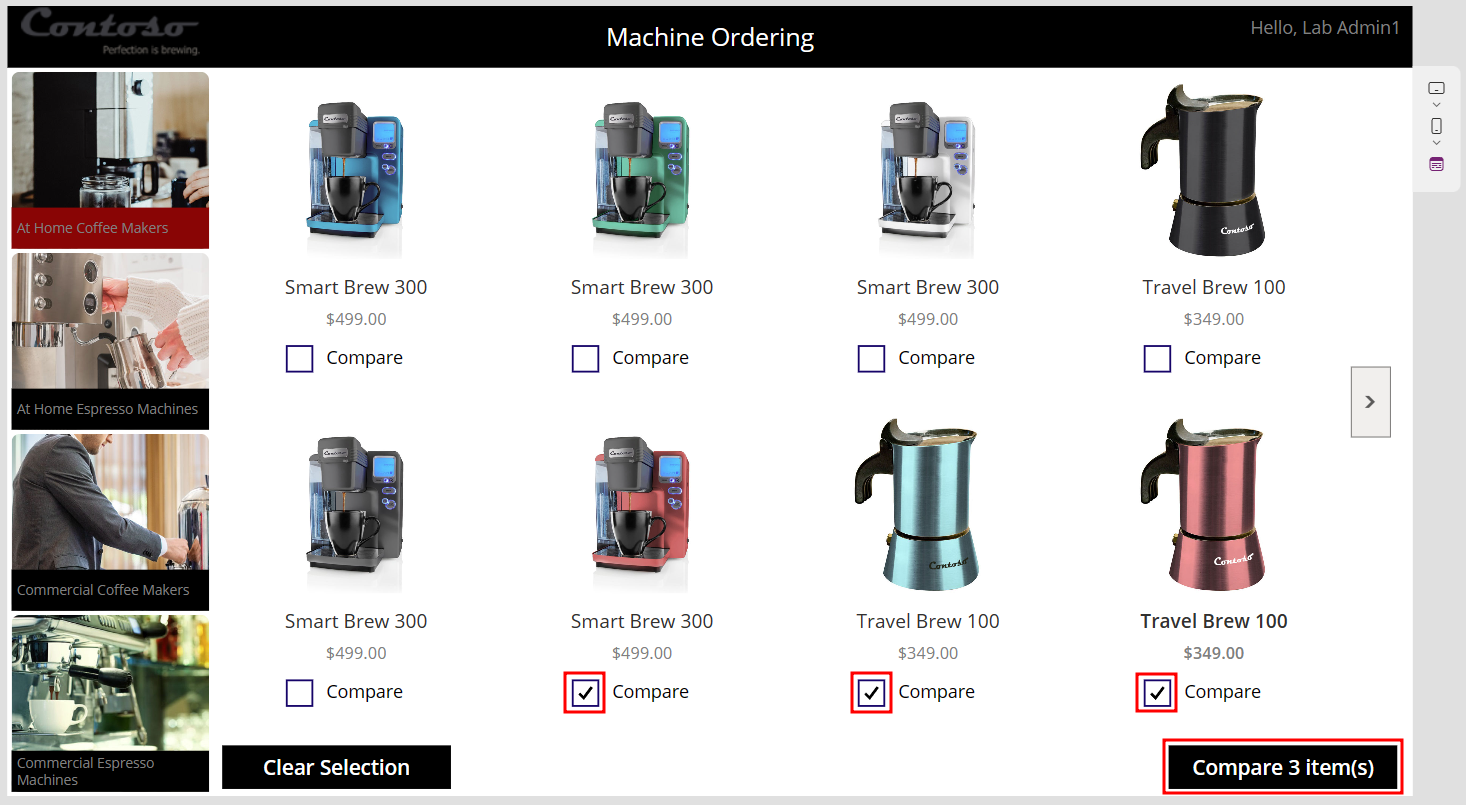
Select one of the machines.
The Machine Name, Price, Approver, and Requested By fields are filled in already.
Add some Comments, such as:
This machine will satisfy our needs.Select Submit machine request.

The button should turn disabled (gray) for a few seconds while it's submitting the request. If it doesn't, an error probably occurred. Select the X in the upper-right corner to return to the design mode.
If an error occurs, a yellow error icon displays next to the Submit button. You can hover your mouse cursor over the icon to check the error.
Exit the preview mode by selecting the X in the upper-right corner.
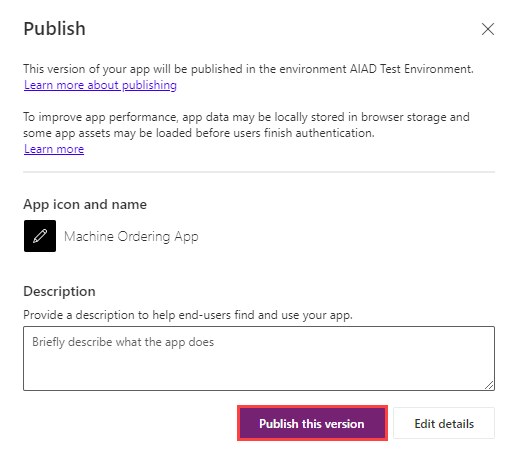
Select the Publish button located in the top right hand corner of the page.
Select Publish this version and then wait for the application to be published.


Section 11: Verify that a new item was added to the Machine Order table
Your next task is to verify that a new item was added to the Machine Order table.
Open a browser window and then go to Make Power Apps.
Select Tables from the navigation pane to the left for the screen.
Select the Machine Order table.

A newly added row with your machine order details should display. It might take a few seconds to load.


Optional task - Navigate to the confirmation screen after the form submission is successful
This step is optional. If you're short on time, you can skip this step and continue to the next module.
After the form is successfully submitted, it's a good idea to show a confirmation screen and allow the user to return to the main screen.
Open a browser window and then go to Make Power Apps. Sign in if needed.
Within the navigation pane to the left of the screen, select Apps.
Then, select Machine Ordering App and then choose Edit from the tool bar at top of the page.
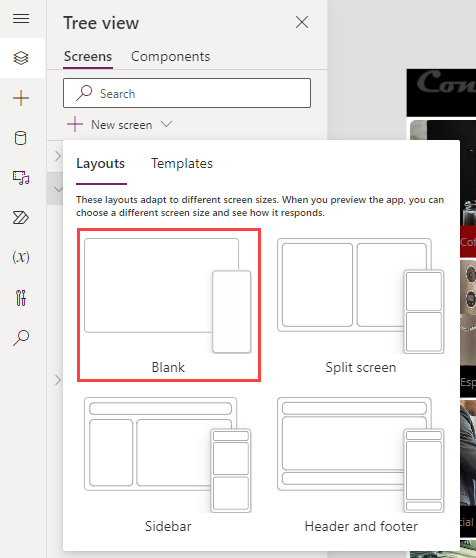
Within the Tree view pane, select the + New screen dropdown, and choose Blank.
Rename the screen to
Submit Success Screen.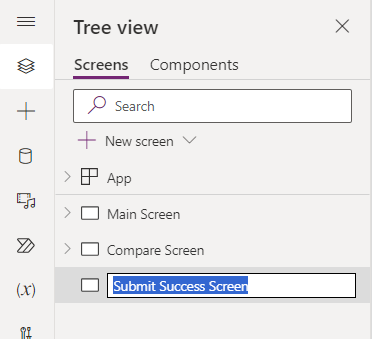
Expand the Compare Screen within the Tree view pane.
Select frmMachineOrder.
Set the OnSuccess property of the form to the following formula using the formula bar at the top of the screen:
Navigate('Submit Success Screen', ScreenTransition.None)
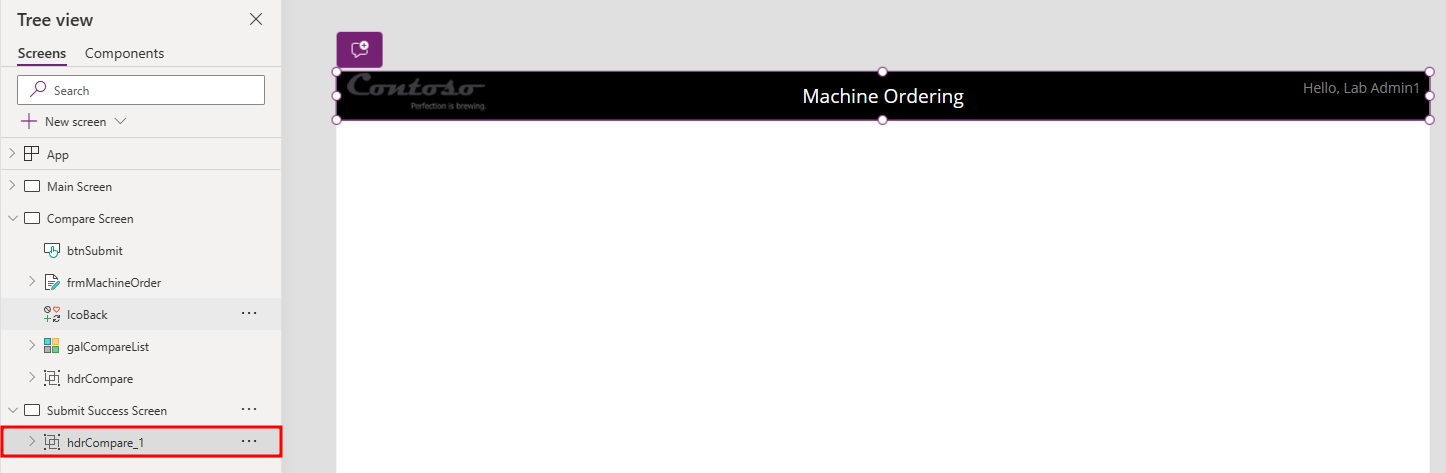
Copy (Ctrl+C) the Header from the Compare Screen.
Go to the Submit Success Screen and paste the header.
Using the + Insert dropdown from the tool bar at the top of the screen, add a Text label to the middle of the screen. Then, set the Text property value to the following:
"Your machine request has been successfully submitted. Thank you."Using the tools at the top of the screen, change the font size, alignment, and resize the label as needed within the canvas. For this example, we changed the font size to
14, the text alignment to center, and resized the visual as shown in this image.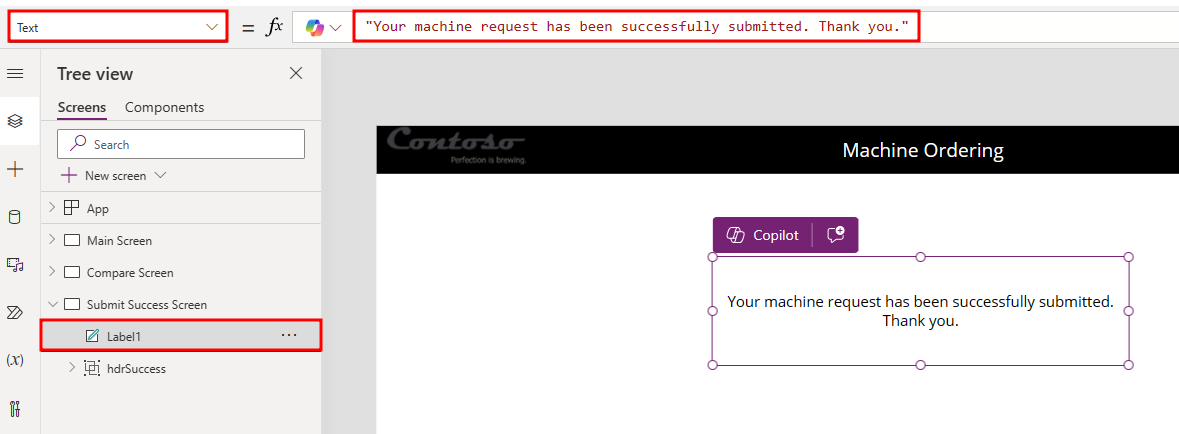
Within the Tree view pane, copy the Submit Button from the Compare Screen and then paste it in the Submit Success Screen.
Rename the button as
btnSuccessand change all other control names as necessary.Change the Text property value of the Success Button to
"OK"using the formula bar at the top of the screen.Change the Display Mode of the Success Button to
DisplayMode.Edit.Reposition the button to the middle of the screen.
When pressed, the button should remove items from the CompareList collection and navigate to the main screen.
Set the OnSelect property of the button to:
Clear(CompareList);Navigate('Main Screen',ScreenTransition.None)
Note
The semicolon (;) is used as a separator when multiple functions are called one after the other. If you're in a locale where the semicolon is used as a comma separator, then use a double semicolon (;;).
Select the + Insert dropdown at the top of the screen, searching for
display, and then choose Display form.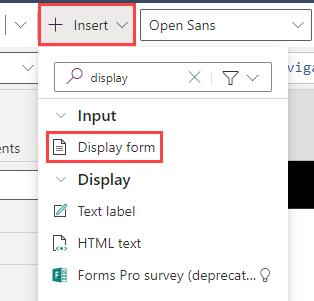
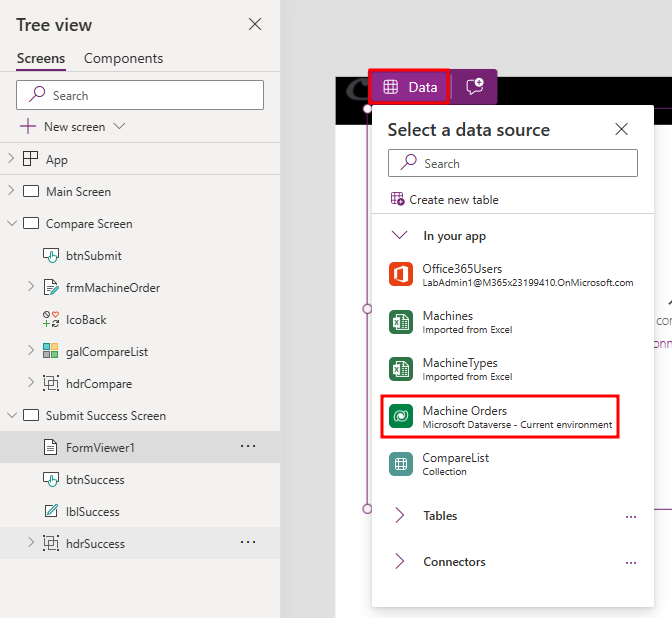
In the inline actions pane that pops up, set the form's Data source to the Machine Orders Dataverse table.
In the form's properties panel to the right, select 10 selected below the Data source, and select the following fields to display: Machine Name, Price, Comments, Approver, Requested By, and Request Date. Rearrange and remove extra fields.
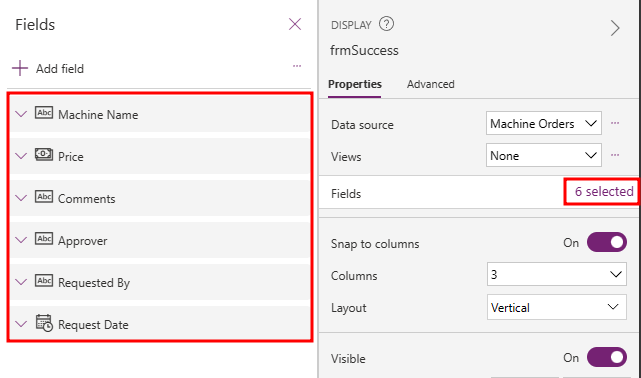
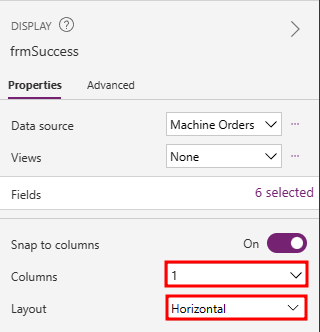
Change the Columns value to 1.
Change the Layout to Horizontal.
Set the form's Item property value to the following formula:
frmMachineOrder.LastSubmit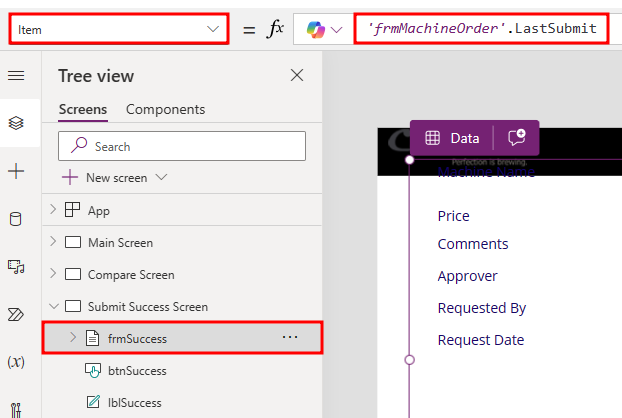
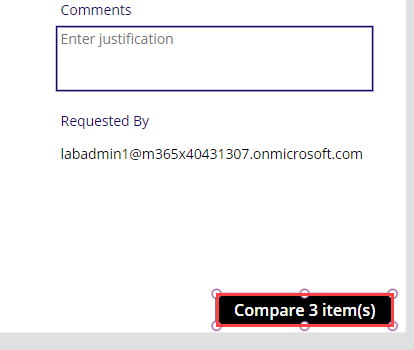
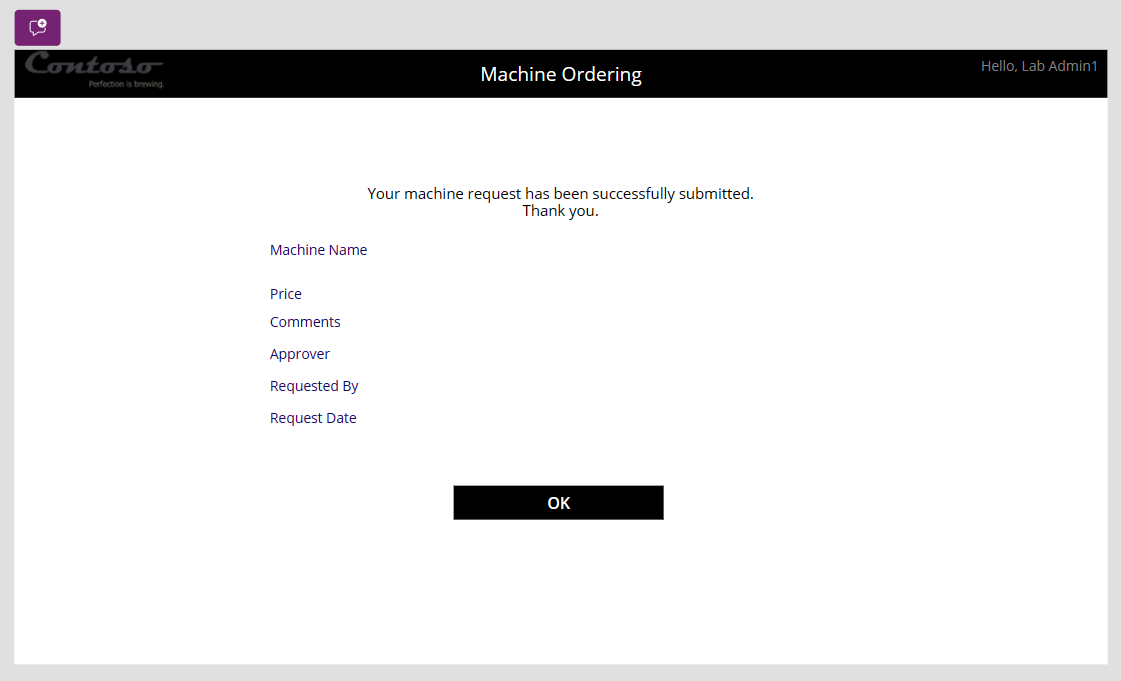
Reposition and resize the form until it resembles the following image. The label is first on the screen, centered under the header. Position the view form to be centered under the label. Then, center the OK button at the bottom of the page under the view form.
Save your changes and Publish.
Select the Main Screen and then select Play.
Select a few machines and then select Compare.
Select one of the machines, provide a comment, and then select Submit machine request.
Verify that the confirmation screen shows the order details. Select OK.

Note
If the success button is un-clickable, you may need to resize frmSuccess so that its borders do not cover the button.
The application returns to the main screen and the compare list are cleared.
Close the application.


