Exercise - Deploy a Docker container to Azure
Your project came with a release pipeline that builds the projects in the solution and deploys the web app to its App Service. Now, it's time to update that pipeline build and deploy the project as a container instead.
In this unit, you'll:
- Define some pipeline variables to make the build pipeline easier to maintain.
- Replace the existing Build tasks with a unified task to build and push a Docker container.
- Replace the existing Deploy task with one that updates the App Service Web App with the new container image.
- Save the pipeline to trigger a build and release.
Define variables to be shared within the pipeline
Here, you'll add a new pipeline variable to your existing YAML pipeline defined in azure-pipelines.yml.
From Azure DevOps, navigate to Pipelines.
Select the pipeline.
Select Edit. Ensure that the branch is set to main by selecting it from the drop-down menu. This brings up your azure-pipelines.yml file.
Add the highlighted line below to add a pipeline variables named
webRepositoryandtag. These will be used in multiple tasks to uniquely identify the specific version of the container being referenced. You can also remove thebuildConfigurationvariable; you won't need it anymore.trigger: - '*' variables: buildConfiguration: 'Release' webRepository: 'web' tag: '$(Build.BuildId)'
Replace the build stage tasks
Andy: I don't think we need any of these build tasks anymore, because the Dockerfile in the project folder already defines the build we want. However, I haven't had the chance to see what we can use to build the image using a Dockerfile yet. Any ideas?
Mara: I was just looking that up. It seems like should be able to build the container and even push it to the repository with a single task. Let's add it now.
Docker task
You can use the Docker task to build and deploy Docker images. Replace the entire Build stage with the YAML snippet below.
- command: Specifies the Docker command to run.
- buildContext: Specifies the path to the build context.
- repository: Specifies the name of the repository.
- dockerfile: Specifies the path to the Dockerfile.
- containerRegistry: Specifies the name of the Docker registry service connection.
- tags: Specifies a list of tags on separate lines. These tags are used in build, push, and buildAndPush commands.
- stage: 'Build'
  displayName: 'Build and push'
  jobs:
  - job: 'Build'
    displayName: 'Build job'
    pool:
      vmImage: 'ubuntu-20.04'
    steps:
    - task: Docker@2
      displayName: 'Build and push the image to container registry'
      inputs:
        command: buildAndPush
        buildContext: $(Build.Repository.LocalPath)
        repository: $(webRepository)
        dockerfile: '$(Build.SourcesDirectory)/Tailspin.SpaceGame.Web/Dockerfile'
        containerRegistry: 'Container Registry Connection'
        tags: |
          $(tag)
Replace the deploy stage task
Andy: Well, that seems pretty straightforward. Now all we need is to find a task that will instruct App Service to use the newly pushed version of the container image.
Mara: I'm already on it. It's a bit different from deploying a build to Azure Pipelines, but still direct enough that we can get the job done in one task. Let's add it now.
Azure Web App for Container task
The Azure Web App for Container task is designed to deploy Docker containers to Azure App Service. Replace the entire Deploy stage with the YAML snippet below.
- appName: Specifies the name of an existing Azure App Service.
- azureSubscription: Specifies the name of the Azure Resource Manager subscription for the deployment.
- imageName: Specifies the fully qualified container image name; for example,
myregistry.azurecr.io/nginx:latestorpython:3.7.2-alpine/.
- stage: 'Deploy'
  displayName: 'Deploy the container'
  dependsOn: Build
  jobs:
  - job: 'Deploy'
    displayName: 'Deploy job'
    pool:
      vmImage: 'ubuntu-20.04'
    variables:
    - group: Release
    steps:
    - task: AzureWebAppContainer@1
      inputs:
       appName: $(WebAppName)
       azureSubscription: 'Resource Manager - Tailspin - Space Game'
       imageName: $(RegistryName)/$(webRepository):$(build.buildId)
Save the pipeline to trigger a build and release
Select Validate and Save from the top-right corner of the page. Type your commit message and select Save to confirm.
Select Run, and make sure your branch is set to main. Select Run when you're done.
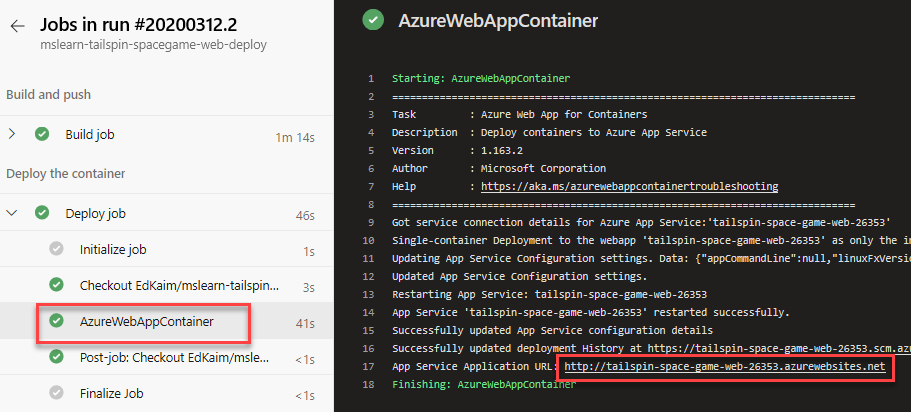
Select your pipeline to view the logs. After the build has succeeded, select the AzureWebAppContainer task and then select the App Service Application URL to view your deployed web app.

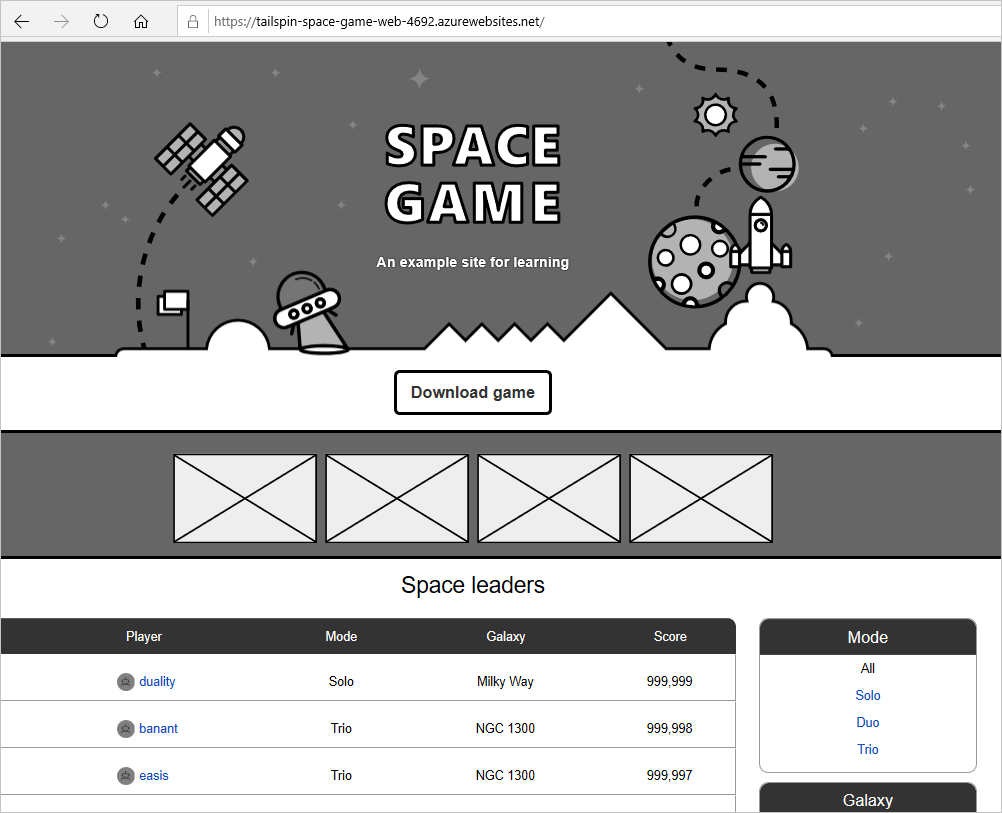
You should see your web app running on App Service.

Andy: This turned out great! I think adopting containers could be a huge win for our team.