Share the app
Now that your apps have been published, it's time to share them.
Option 1: Share a model-driven app
Model-driven apps use role-based security for sharing. The fundamental concept in role-based security is that a security role contains privileges that define a set of actions that users can perform on tables within the app. This approach means that, while two people can use the app, only one user might be able to read records or only records that they've created. The other user might be able to view all records and have the rights to delete those records.
You need to make sure that all app users are assigned one or more predefined or custom security roles. Alternatively, you can assign security roles to teams. When a user or team has been assigned to one of these roles, the person or team members are granted the set of privileges that are associated with that role.
App sharing privilege and licensing requirements
A few key environment and licensing prerequisites are required when sharing a model-driven app with a user:
A Microsoft 365 user with Microsoft Power Platform administrator rights.
The app sharer must have admin privileges to the specific environment (or be a Microsoft Power Platform administrator). The app sharer must have a security role with equal or greater privileges than the security role that they're assigning to the app and to other users. Usually, the app sharer has the Microsoft Dataverse System Administrator or System Customizer security role. Microsoft Power Platform administrators (who have rights over all Dataverse environments) can assign these roles. The system administrator and system customizer security roles are standard roles that exist within all Dataverse environments.
The user must exist as a user within the environment; it's not enough to only be a Microsoft 365 user. The reason is because all users in an environment are accounted for and described within tables in the environment. For more information, see Learn how to add a user to an environment.
The user must have the correct license to be able to use the app. This license might be assigned through a per app plan pass, a per user license, or a pay-as-you-go license. Also, the app sharer needs to assign the license in the tenant that's hosting the app. The exception to this prerequisite is when an app is hosted in a Microsoft Dataverse for Teams environment.
Model-driven app sharing basics
Before you share an app, it's helpful to understand the following model-driven app sharing basics:
The app must have at least one security role associated with it, such as Basic User. However, if your app has one or more custom tables, for users to be able to work with your custom table's records, you need to set up privileges to the custom tables in a security role. For more information, see Create or edit a security role for your app.
App users must be assigned a security role from the available roles. Alternatively, you can assign a team to a security role, and you can make users members of the team. A team can be an Owner, Access, Microsoft Entra ID security group, or Microsoft 365 group. For more information, see Learn to manage a Dataverse team.
Assign security roles or people to a model-driven app
When you share a model-driven app, you can share it with all members of one or more security roles or a user or team.
Sign in to Power Apps.
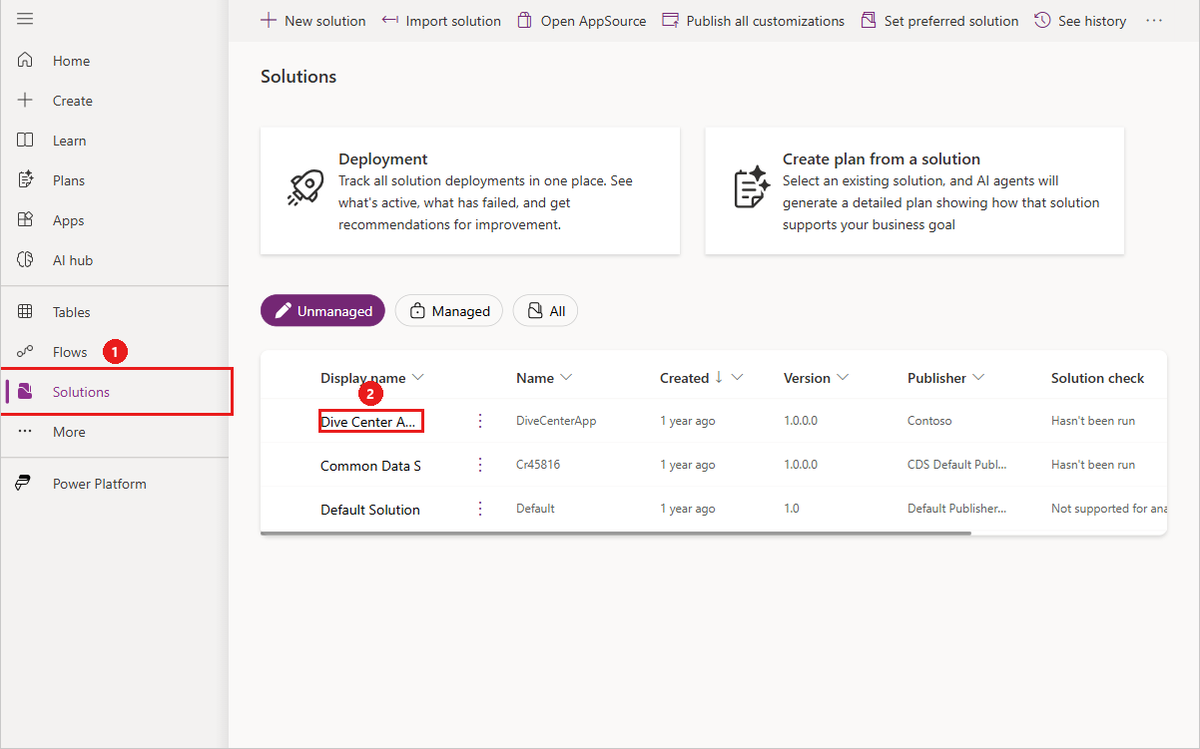
On the left pane, select Solutions and then open the Dive Center App solution.
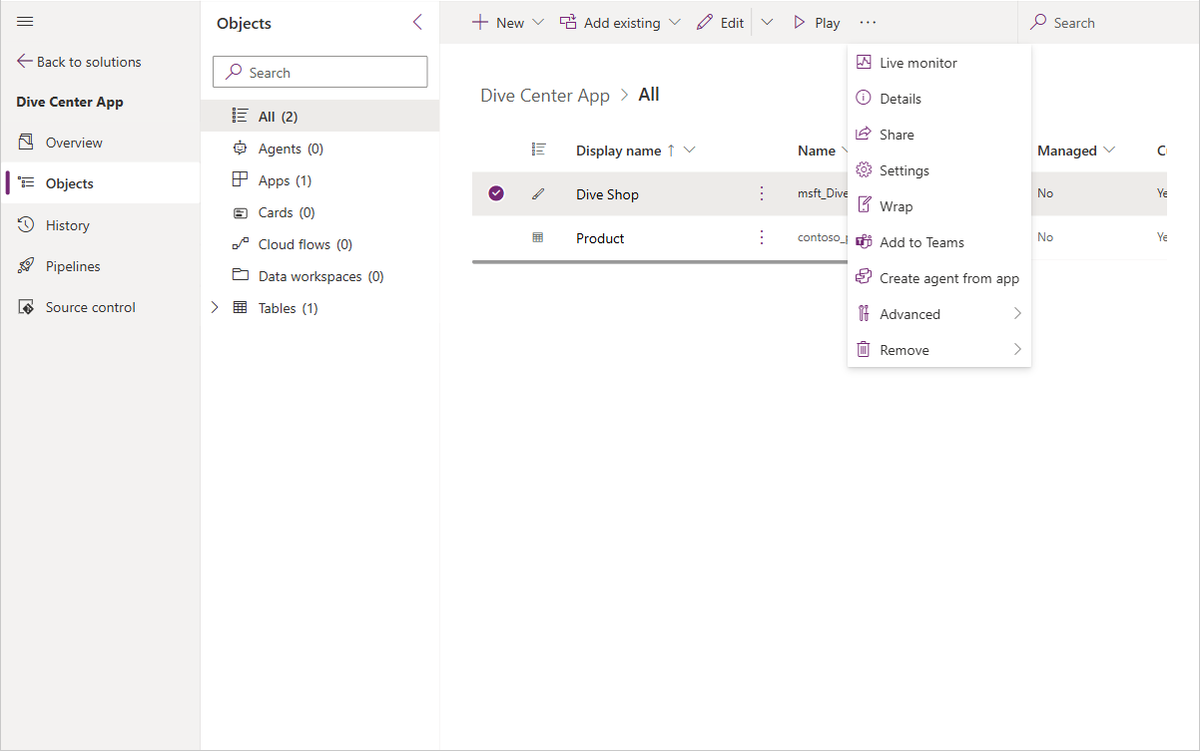
Select the model-driven app, and then on the command bar, select Share.
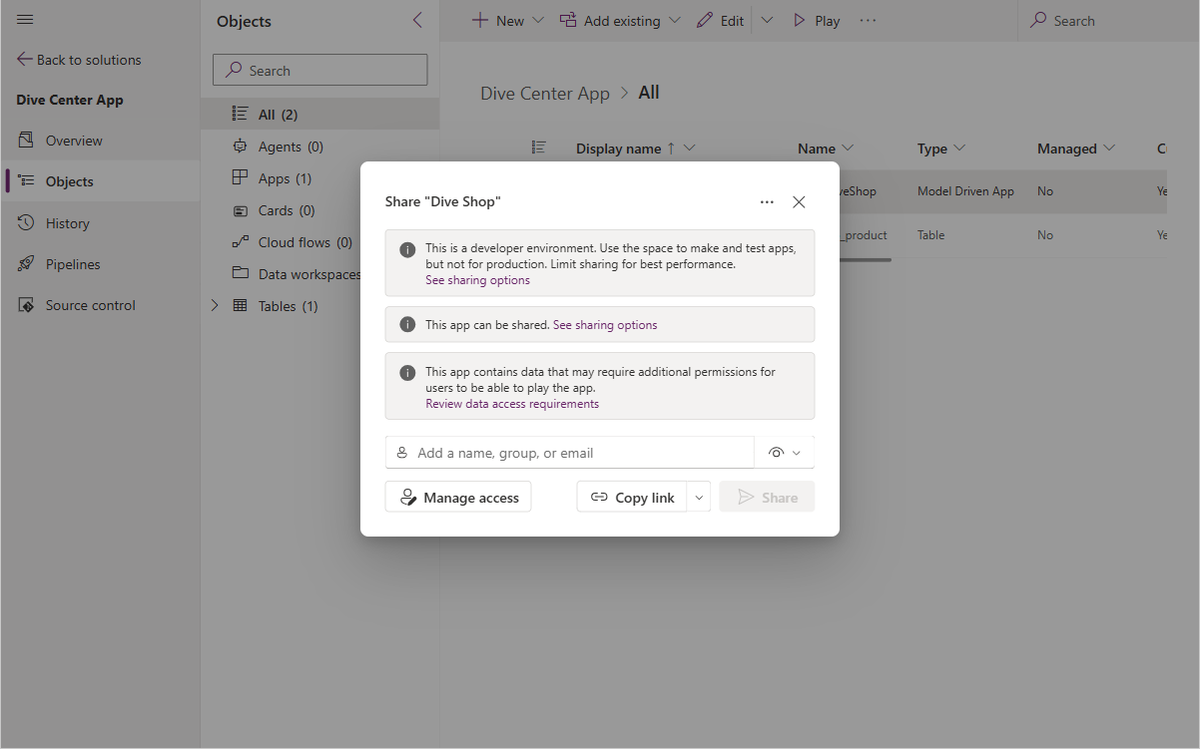
Add the users whom you want to share this app with and then select Share.
Important
If your app has one or more custom tables, for users to be able to work with your custom table's records, you need to set up privileges to the custom tables in a security role.
For more information, see Create or edit a security role for your app.
Share the link to your app
Unlike sharing canvas apps, sharing model-driven apps doesn't send an email with a link to the app.
Sign in to Power Apps.
On the left pane, select Solutions and then open the Dive Center App solution.
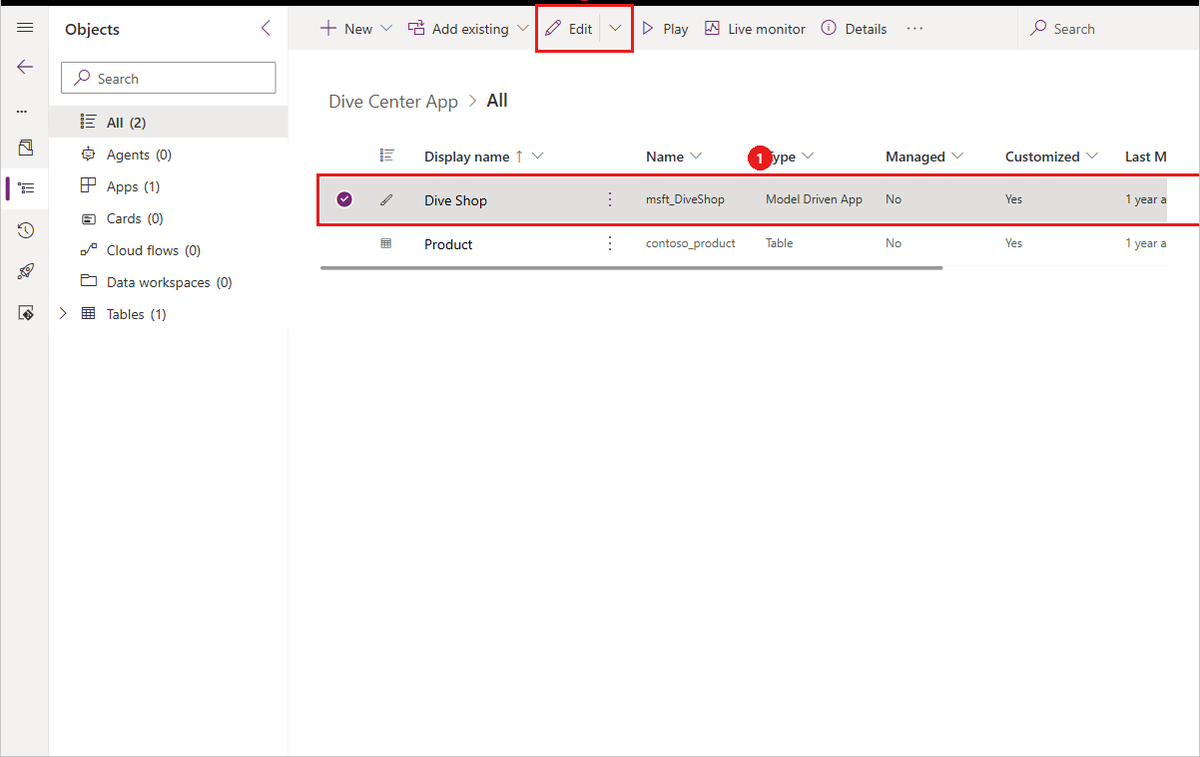
Select the model-driven app, and then on the command bar, select Edit.
Best practice: Paste the app URL in a location where your users can access it, such as posting it on a SharePoint site or sending it by email.
Option 2: Share a canvas app
Now, you can specify which users in your organization can run the app and who can modify and reshare it. You can specify a username or a security group in Microsoft Entra ID. Additionally, you can select the entire organization if this app will be used by all users.
Prerequisites
Before you share an app, make sure that you save it to the cloud (not locally) and then publish it. Whenever you make changes, make sure that you save and publish the app again if you want others to view those changes.
Share an app
To share an app, follow these steps:
Sign in to Power Apps.
On the left pane, select Apps.
Select the app that you want to share by selecting its icon.
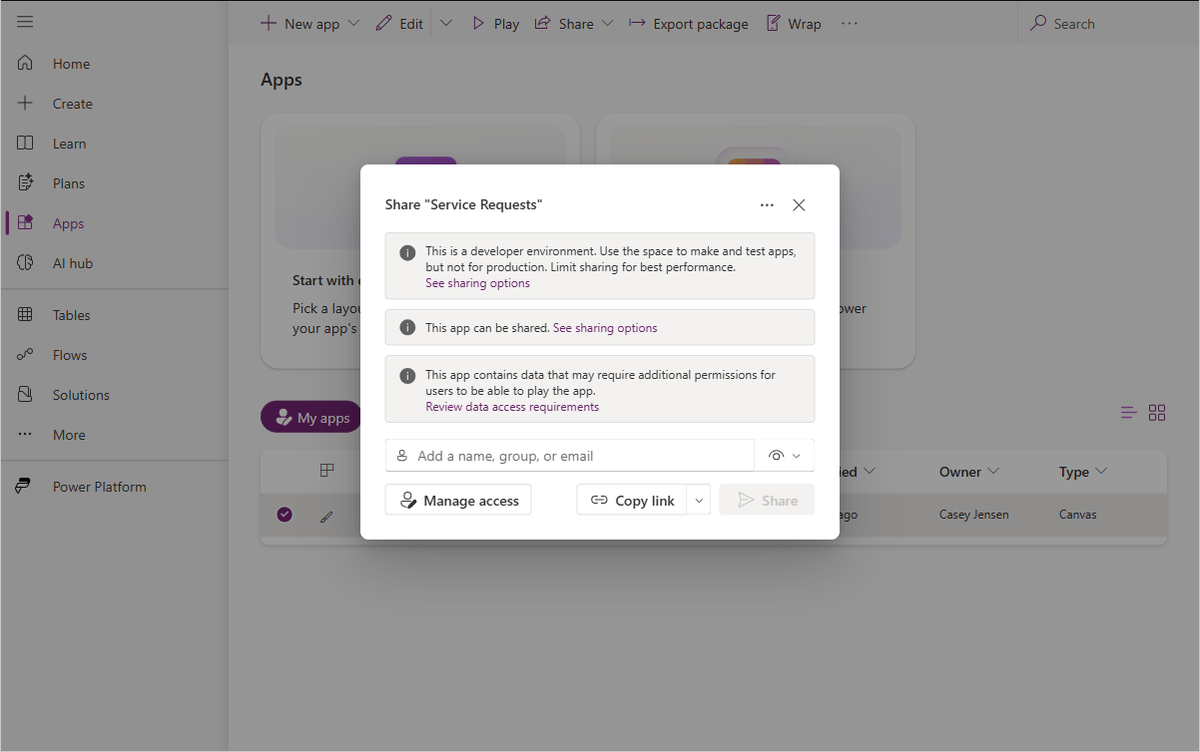
Select the More Commands (...) dropdown menu and then select Share.
In the Share dialog, enter the name, group, or email of the users you want to share the app with in the Add a name, group, or email field, then select Share.
Note
You can't share an app with a distribution group in your organization or with a group outside your organization.
Tip
If you want to allow users to edit and share the app, select the Co-owner checkbox. However, keep in mind that no two people can edit an app at the same time. If one person opens the app for editing, other people can run but not edit it.
If your app connects to data for which users need access permissions, specify security roles as appropriate.
For more information, see Manage table permissions.
If your app uses connections to other data sources, make sure that you share these data sources with the users whom you shared the app with. (For example, the data source could be a Microsoft Excel file that's hosted on OneDrive.)
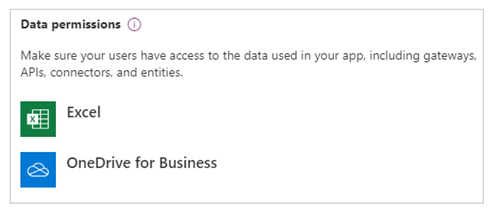
For more information, see Share canvas app resources.
If you want to help people find your app, select the Send an email invitation to new users checkbox.
Now, users can run the app by using Power Apps for mobile devices or from Microsoft AppSource on Microsoft 365 in a browser. Co-owners can edit and share the app in Power Apps.
If you sent an email invitation, users can also run the app by selecting the link in the invitation email:
If a user selects the link on a mobile device, the app opens in Power Apps for mobile devices.
If a user selects the link on a desktop computer, the app opens in a browser.
Co-owners who receive an invitation receive another link that opens the app for editing in Power Apps Studio.
Change permissions for a user or security group
Consider the following parameters if you want to change permissions for a user or security group:
To allow co-owners to run the app but no longer edit or share it, clear the Co-owner checkbox.
To stop sharing the app with that user or group, select the Remove (X) icon.
Security group considerations
Keep in mind the following security group considerations:
All existing members of the security group inherit the app permissions. New users who join the security group inherit the security group permissions on the app. Users who leave the group will no longer have access through that group. However, you can assign permissions to them directly or through membership in another security group to allow those users to have continued access after they’ve left.
Every member of a security group has the same permissions for an app as the overall group does. However, you can specify greater permissions for one or more members of that group to allow them greater access. For example, you can give Security Group A permission to run an app. Then, you can give User B, who belongs to that group, Co-owner permissions. Every member of the security group can run the app, but only User B can edit it. If you give Co-owner permissions to Security Group A, and you give User B permission to run the app, that user can still edit the app.
Share an app with Microsoft 365 groups
You can share an app with Microsoft 365 groups. However, the group must have security enabled. Enabling security ensures that the Microsoft 365 group can receive security tokens for authentication to access apps or resources.
Check whether a Microsoft 365 group has security enabled
To check whether a Microsoft 365 group has security enabled, follow these steps:
Ensure that you have the Microsoft Graph PowerShell module installed and the required permissions.
Go to the Azure portal, select Microsoft Entra ID > Groups, select the appropriate group, and then copy the Object ID.
Connect to Microsoft Graph by using the
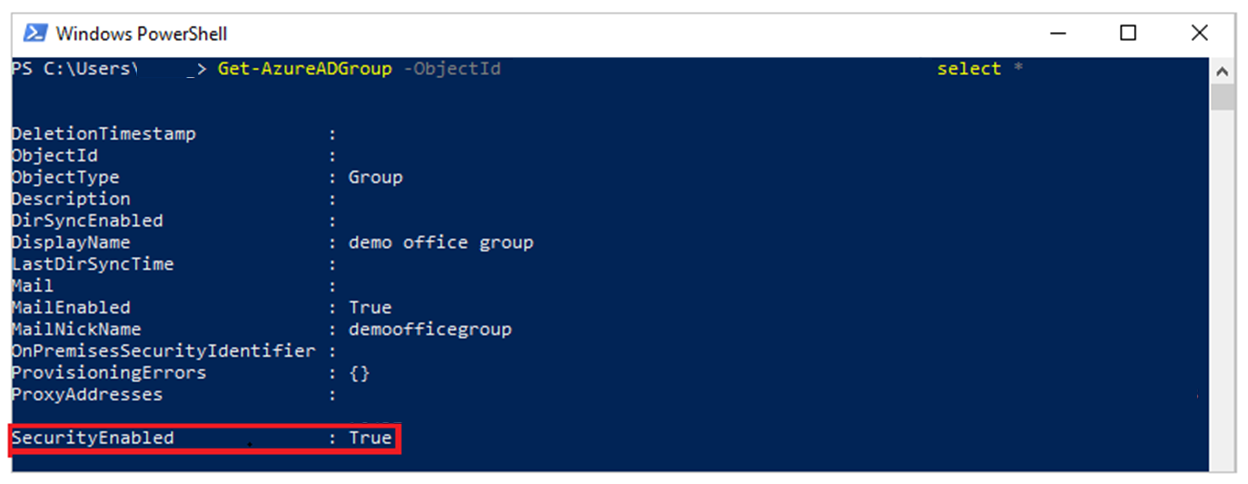
Connect-MgGraphPowerShell cmdlet:Connect-MgGraph -Scopes "Group.Read.All"Get the group details by using the following command:
In the output, ensure that the SecurityEnabled property is set to True.

Enable security for a group
If the group isn't security-enabled, you can enable it by using the Update-MgGroup PowerShell cmdlet:
```powershell
Connect-MgGraph -Scopes "Group.ReadWrite.All"
Update-MgGroup -GroupId "<GroupId>" -SecurityEnabled:$true
```
Note
You must have appropriate administrative permissions to modify this property. Enabling the SecurityEnabled property doesn't affect the collaboration features of a Microsoft 365 group, such as Teams, SharePoint, or Planner.
After a few minutes, you can access this group in the Power Apps sharing panel and then share apps with this group.