Create tables with Azure Data Studio
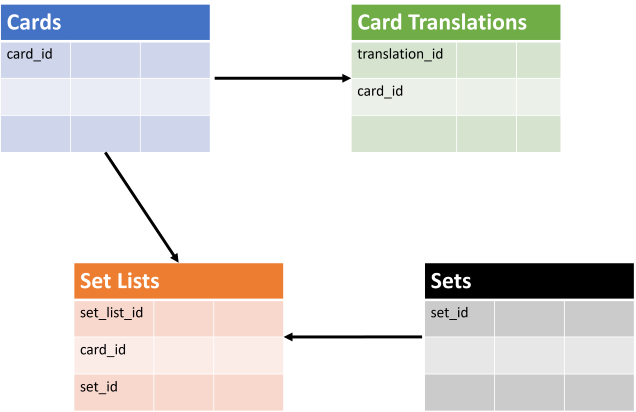
It's time to create the tables that will hold the data for your online card-reference application. Use the following image to visualize what the data model could look like.
In this exercise, you'll create the data model for your online card-reference application.
What tables are needed?
The online card-reference application isn't only going to have to hold information about individual cards, but translations in different languages for each card and what set or release each card is in. Because of these requirements, you'll be creating a data model with four tables: a cards table to hold information about each card, a card-translations table, a sets table to hold set name and release date, and a table that matches cards to a set. Each set can contain cards from older sets as well as new cards, so you need to have a table that can match up a card to a set.
Create the cards table
First, create the cards table. There are some rules to which the card game has to adhere, and they need to be reflected in your table design:
- Only one row for each card in the cards table
- A card can have multiple language translations of the original text and card name
- The cards attributes are:
- Card ID (a number)
- Name (no more than 100 characters)
- Color (no more than 10 characters)
- Power (no card can have a power greater than 20)
- Type (no more than 10 characters)
- Text (Text area is 500 characters large)
- Status
- Art
- A card can only be one of the following colors: black, blue, green, red, white, orange
- A card can only be one of the following types: hero, monster, spell, weapon
With these rules, you can draft a table to hold the card information. Let's start with the initial eight fields and assign data types based on what needs to be stored.
Let's start with card ID. The rules dictate that it'll be a number, so an integer data type is appropriate here. Name, type, and color are all text-based, so you can use nvarchar as the data type, then provide a length from the guidance in the preceding card rules. Card power can have a value between 0 and 20, so it can use a tinyint data type. Card text is a text area no larger than 500 characters, so just like name, type, and color, you can use nvarchar. Card status tells us if the card is still being used or has been retired; a yes or no answer. Using a bit data type for a true/false answer (boolean) using a 1 or 0 will provide the application what it needs and take up as little space in storage as possible. Lastly, images will be stored for the card art, so varbinary is the data type you need.
The following table outline is a summary of what we discussed in the previous paragraph:
Cards
| Column name | Data type |
|---|---|
| card_id | int |
| card_name | nvarchar(100) |
| card_type | nvarchar(10) |
| card_color | nvarchar(10) |
| card_power | tinyint |
| card_text | nvarchar(500) |
| card_status | bit |
| card_art | varbinary(max) |
Create the cards table in Azure Data Studio
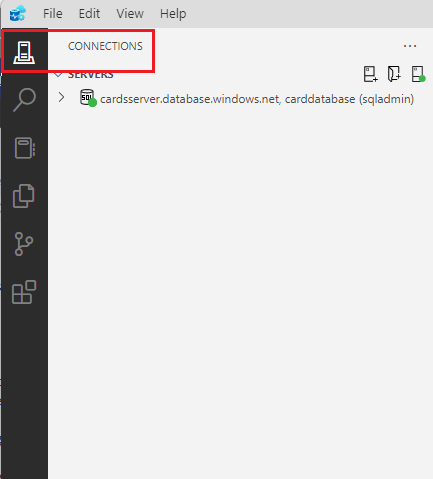
In Azure Data Studio, navigate to the Connections tab.
Expand the database server directory to find the Tables folder.
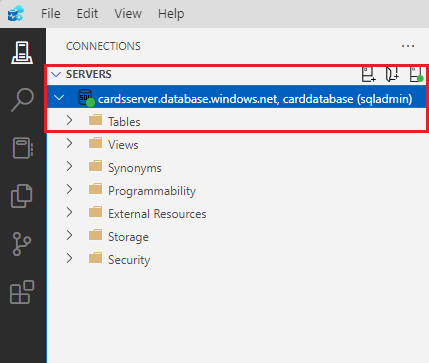
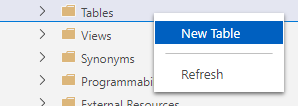
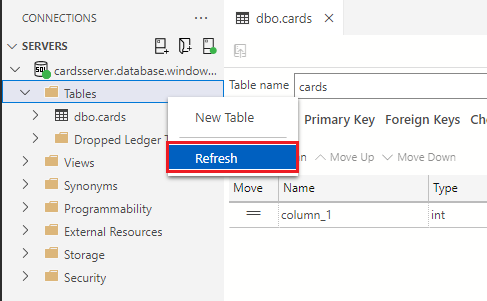
Right-click the Tables folder and select New Table, which will open up a new Table Designer view.
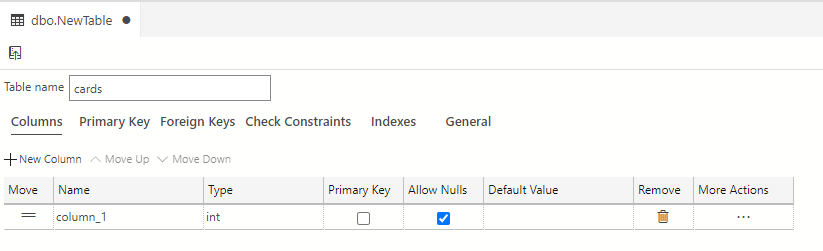
Change the Table name field from its provided default of NewTable to cards.
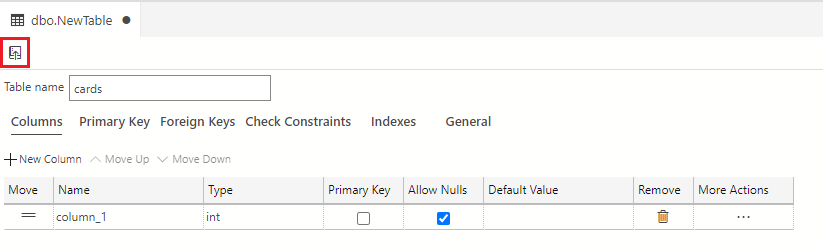
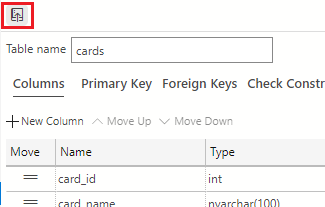
Next, select the Publish Changes icon, which is located in the upper left-hand corner of the Table Designer to save and publish this table to your database.
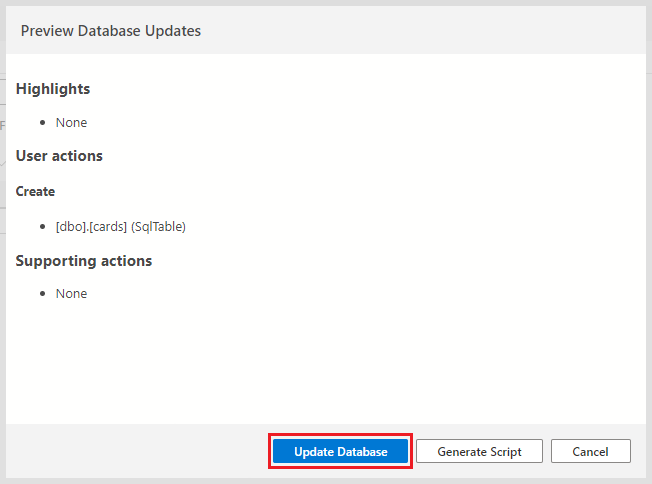
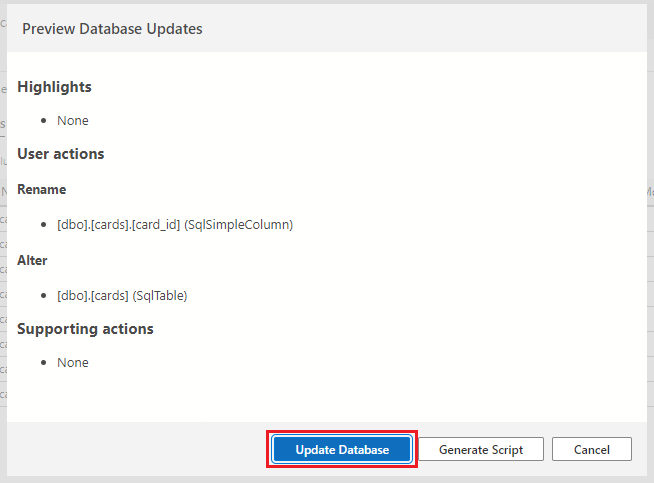
You'll see the Preview Database Updates dialog box appears to confirm the updates to your database. Select Update Database to confirm and publish these updates.
Note
Be sure to confirm that this table is in the Tables folder. Right-click the Tables folder in your database drop-down in your server connection and select Refresh. You should now see your table populated in the drop-down.
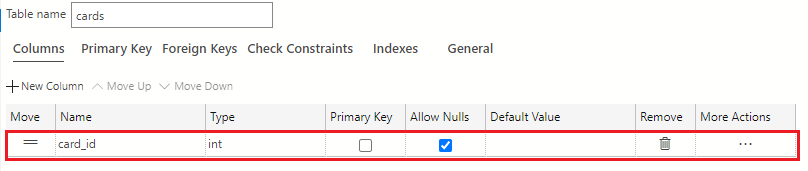
Now, you need to add columns and data types to the cards table. The first column you're going to add is card_id which has a data type of int. Use the default column that was added when you created the table and change the name from column_1 to card_id.
Your card_id column structure should look like the following image, with the name set to card_id:
Add a new column to this table by selecting the + New Column button.
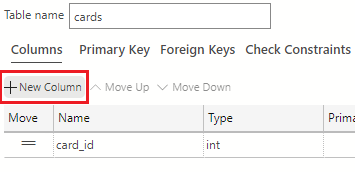
In the Name Column grid of the Table Designer, change the provided default value from column_1 to card_name. In the Type field, select the drop-down arrow and select the nvarchar(50) data type.
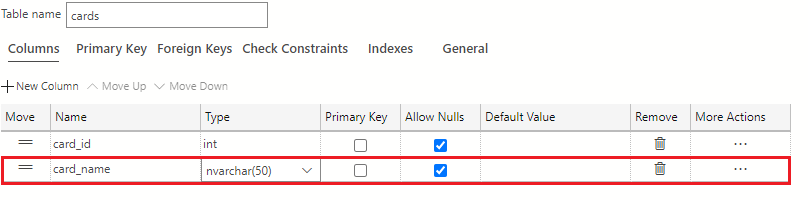
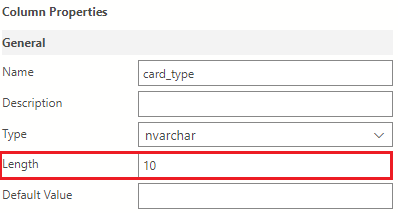
In the Column Properties area, change the Length from 50 to 100.

Use the + New Column button to add another new column named card_type and give it a data type value of nvarchar(50).

In the Column Properties area, change the Length from 50 to 10.
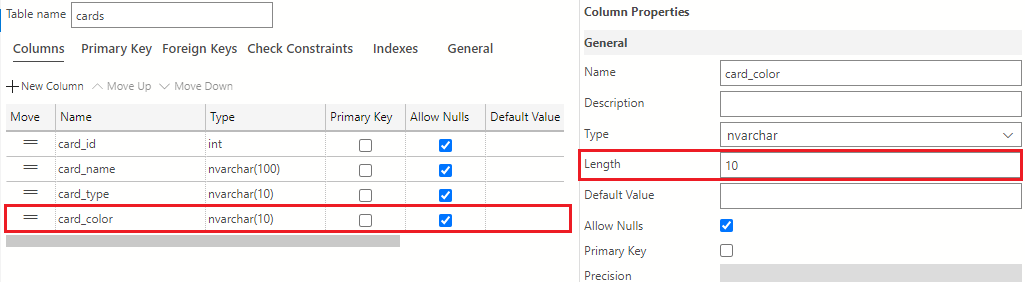
Again, use the + New Column button to add another new column named card_color and give it a data type value of nvarchar(50). As you did with the card_name and card_type columns, use the Column Properties area to change the Length from 50 to 10.
Select the + New Column button to add another new column named card_power to the table. In the Type dropdown, select the tinyint data type.

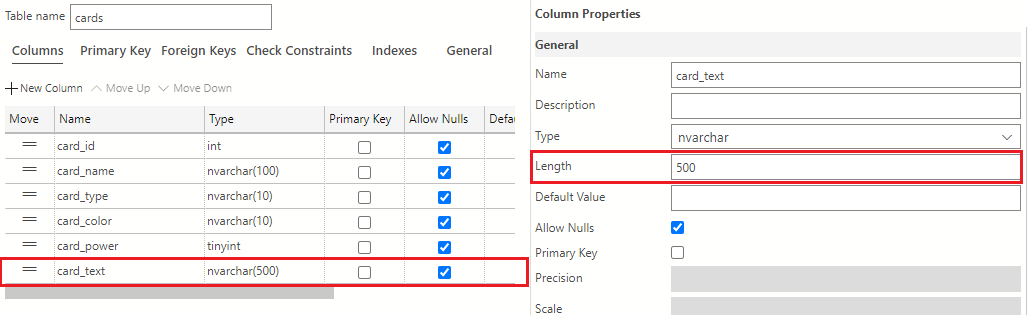
Using the + New Column button, add another new column named card_text to the table. In the Type dropdown, select the nvarchar(50) data type. Again, use the Column Properties area to change the Length from 50 to 500.
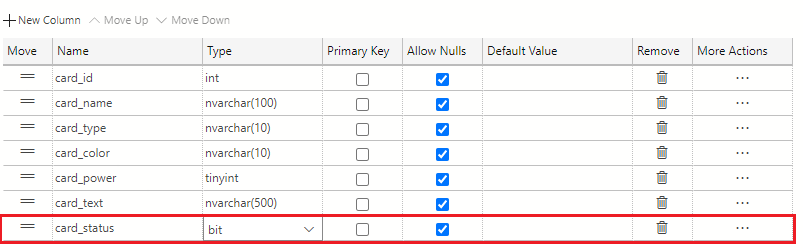
Add another column named card_status to the table by using the + New Column button. In the Type dropdown, select the bit data type.
Add the final column named card_art to the table by using the + New Column button. In the Type dropdown, select the varbinary(MAX) data type.
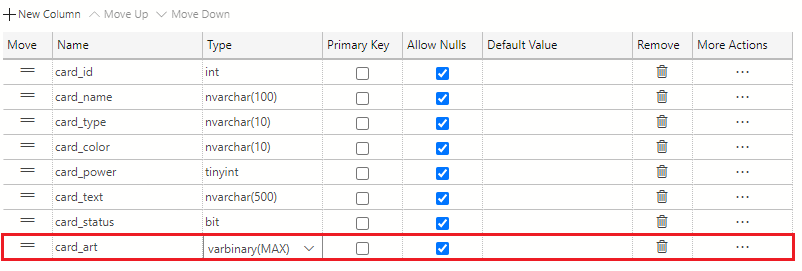
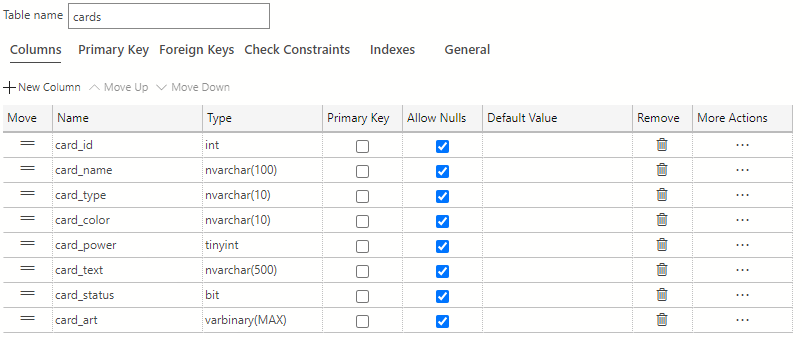
The cards table is now complete and should look like the following:
Select the Publish Changes button on the top-left of the table designer window to save these table changes to the database.
If you're prompted to review the changes, select the Update Database button.
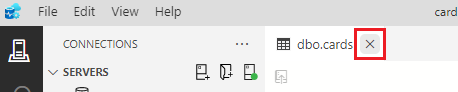
Select the X on the table designer tab in Azure Data Studio when done to close the window.
Create the translations table
The next table you have to create is the card translations table. This table will contain the card ID and card text translations in multiple languages.
The first column will be the translations_id column, which will be an int data type. Following that is the card_id column. In the previous table, card_id was an int, and it'll be the same here. The next column will track what language the translation is in. We'll call it card_language and set it to a nvarchar of length 50. The final two columns are the translated_name and translated_text columns. You'll be increasing the lengths from the card table, because languages like Japanese or Chinese have more complex characters, thus requiring more space in the database. For example, in English, an O will take up one byte. In Japanese, う, which is pronounced as 'oo' like in pool, will take up to four bytes.
With the translation rules in mind, here's how you can create the translations table:
Card_translations
| Column name | Data type |
|---|---|
| translation_id | int |
| card_id | int |
| translation_card_language | nvarchar(50) |
| translation_card_name | nvarchar(500) |
| translation_card_text | nvarchar(2000) |
Create the translations table in Azure Data Studio
Right-click the Tables folder and select New Table, which opens up a new Table Designer view.
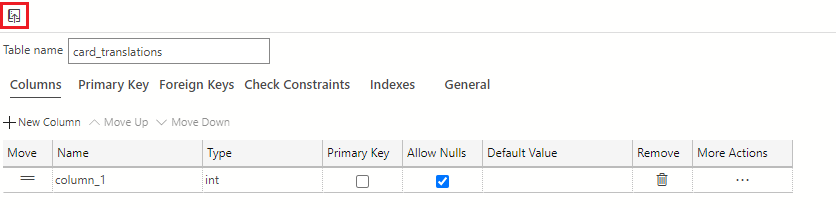
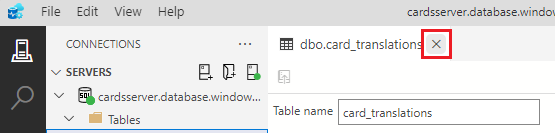
Change the Table name field from its provided default of NewTable to card_translations.

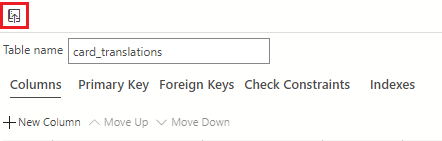
Next, select the Publish Changes icon in the upper left-hand corner of the Table Designer to save and publish this table to your database.
You'll see the Preview Database Updates dialog box appears to confirm the updates to your database. Select Update Database to confirm and publish the updates.
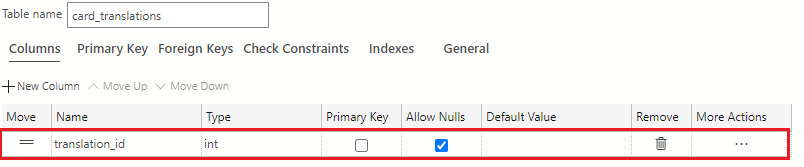
Our first column will be named translation_id with a data type of int. Use the default column that was added when you created the table and change the name from column_1 to translation_id and ensure that the data type is int.
Add a new column using the + New Column button and name the column card_id with a data type of int.

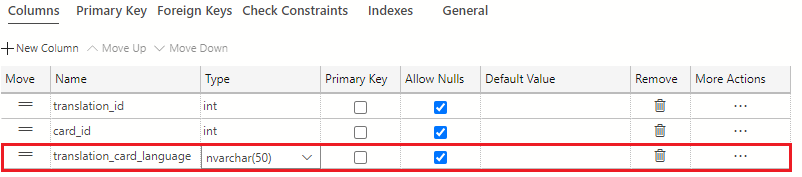
Again, add a new column using the + New Column button. Name the column translation_card_language of type nvarchar(50).
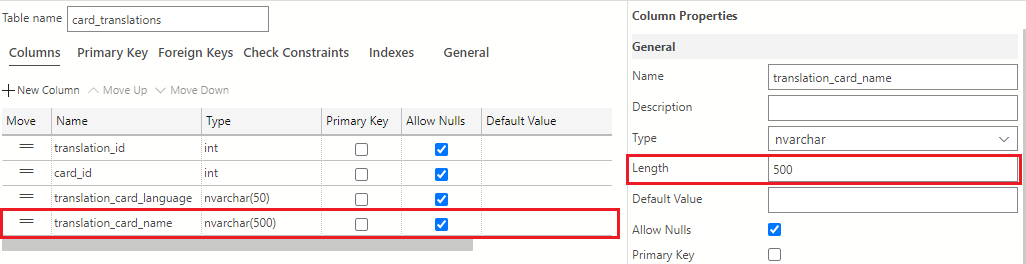
Add a new column with the + New Column button and name it translation_card_name with the nvarchar(50) data type. In the Column Properties area, change the Length from 50 to 500.
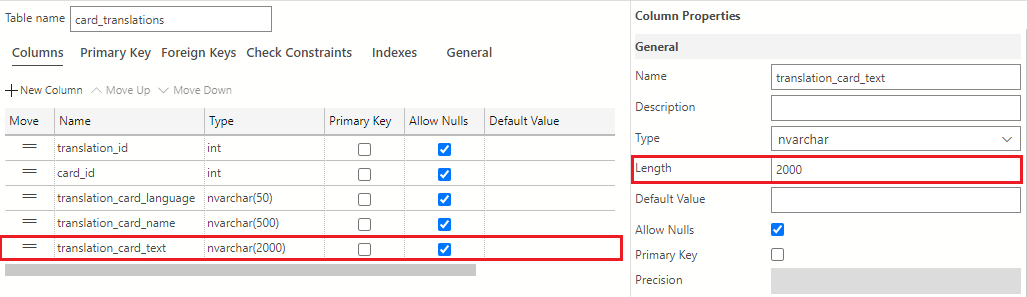
Add the last column with the + New Column button. Name this column translation_card_text and select the nvarchar(50) data type. Again, use the Column Properties area to change the Length from 50 to 2000.
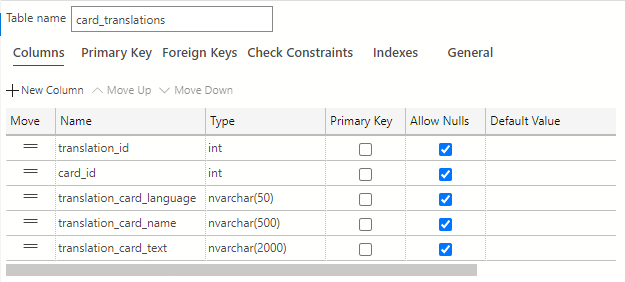
Once you've added all the columns, the card_translations table should look like the following image:
Select the Publish Changes button on the top left of the table designer window to save these table changes to the database.
If you're prompted to review the changes, select the Update Database button.
Select the X on the table designer tab in Azure Data Studio to close the window.
Create the sets table
The card game will have sets released five times a year, so you need to track the set name and the release date. The sets table is a simple table, but it'll be important when you need to add cards to each individual set. The first column will be named set_idand be an int data type. Next, a name is needed for each set, so set_name will be the next column, and will have an nvarchar data type with a length of 50. The last column in this small but important table is the set_date. It only needs to track day/month/year, so a date data type will work here.
Here's what the sets table will look like:
Sets
| Column name | Data type |
|---|---|
| set_id | int |
| set_name | nvarchar(50) |
| set_date | date |
Create the sets table in Azure Data Studio
Right-click the Tables folder and select New Table which will open up a new Table Designer view.
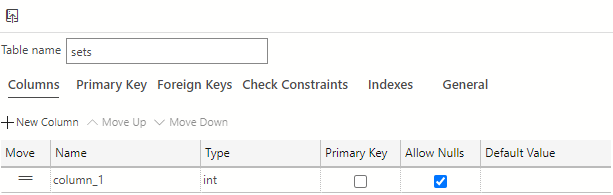
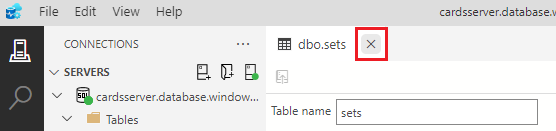
Change the Table name field from its provided default of NewTable to sets.
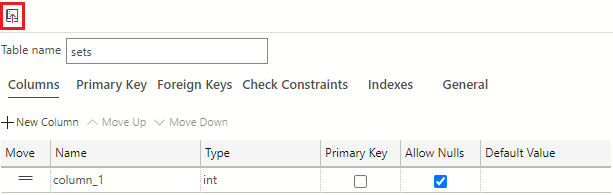
Next, select the Publish Changes icon located in the upper left-hand corner of the Table Designer to save and publish this table to your database.
You'll see the Preview Database Updates dialog box appears to confirm the updates to your database. Select Update Database to confirm and publish these updates.
Out first column will be named set_id with a data type of
int. Use the default column that was added when you created the table and change the name from column_1 to set_id and ensure that the data type is int.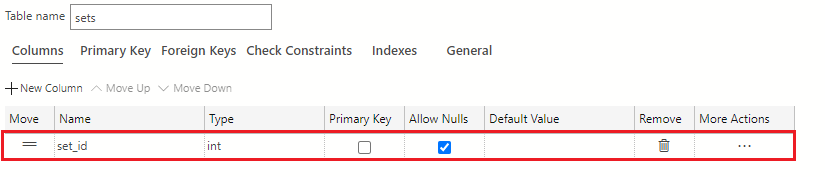
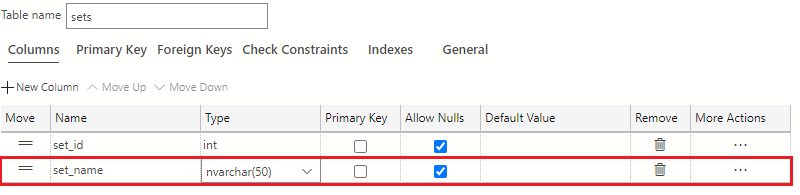
Add a new column using the + New Column button and name the column set_name with a data type of nvarchar(50).
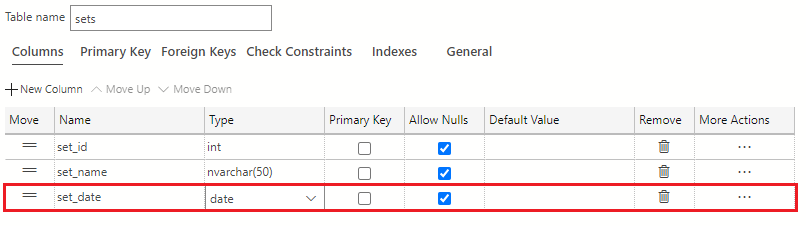
Add the last new column using the + New Column button. Name the column set_date and set the data type to date.
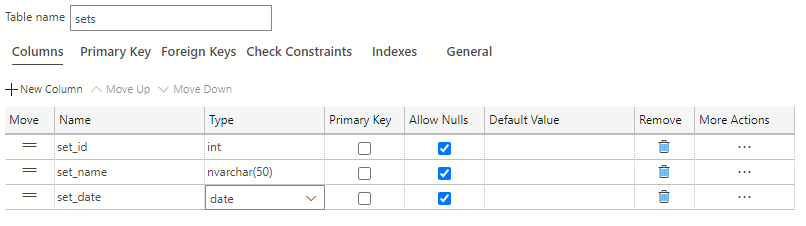
The final sets table should look like the following image:
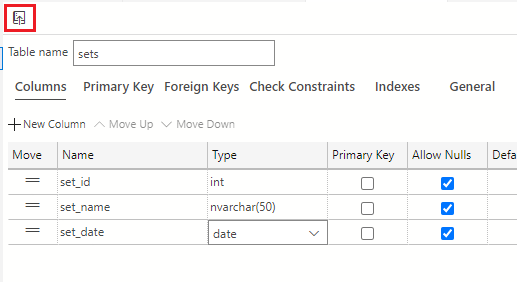
Select the Publish Changes button on the top-left of the table designer window to save these table changes to the database.
If prompted to review the changes, select the Update Database button.
Select the X on the table designer tab in Azure Data Studio to close the window.
Create the set_lists table
The last table will tie the cards table and the set table together. When a set releases, it contains a subset of cards from the cards table. For example, if you have cards 1 through 20, a set might contain cards 1 through 10. Another set might contain cards 5 through 8, then 10 through 20.
The columns you'll need start with a set_list_id column of data type int. Next, you'll need a card_id column of data type int, as seen in the cards and card_translations tables. Finally, you'll need a set_id column of data type int, as in the sets table.
The set_lists table will look like the following table outline:
Set_lists
| Column name | Data type |
|---|---|
| set_list_id | int |
| card_id | int |
| set_id | int |
Create the set_lists table in Azure Data Studio
Right-click the Tables folder and select New Table, which opens up a new Table Designer view.
Change the Table name field from its provided default of NewTable to set_lists.

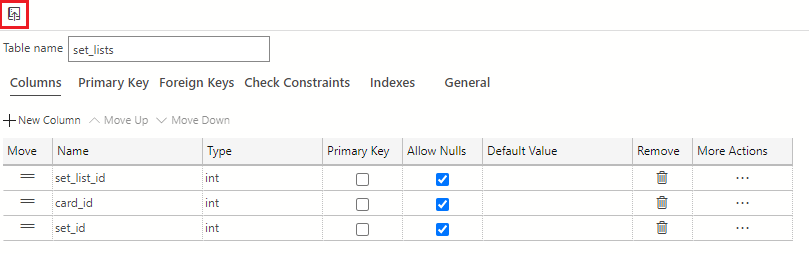
Next, select the Publish Changes icon located in the upper left-hand corner of the Table Designer to save and publish this table to your database.
You'll see the Preview Database Updates dialog box appears to confirm the updates to your database. Select Update Database to confirm and publish these updates.
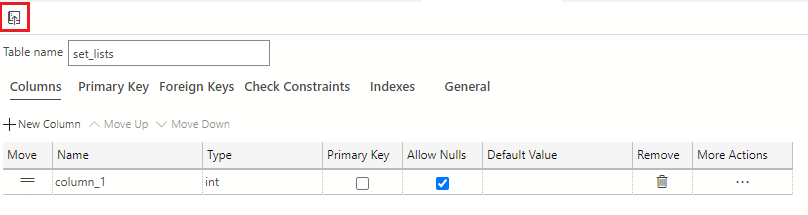
Our first column will be named set_list_id and will have a data type of
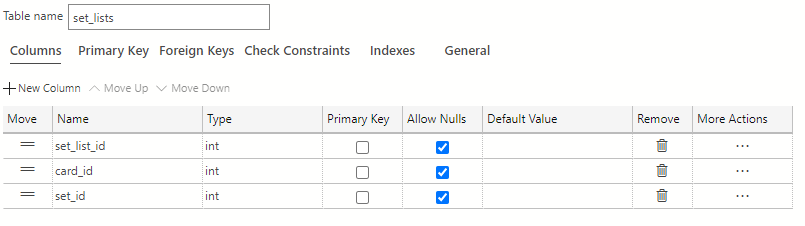
int. Use the default column that was added when you created the table and change the name from column_1 to set_list_id and ensure that the data type is int.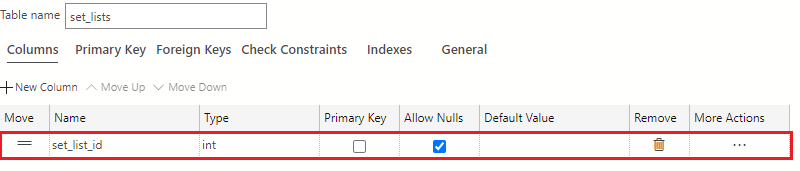
Add a new column using the + New Column button, name the column card_id, and set the data type to int.

Add the last new column using the +New Column button. Name the column set_id and set the data type to int.
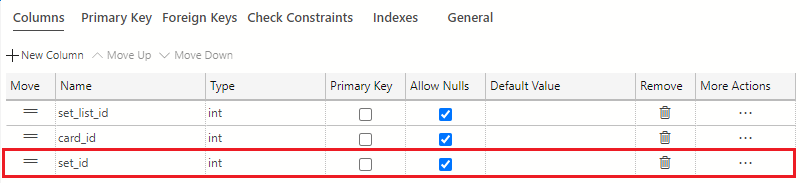
The final sets table should look like the following:
Select the Publish Changes button on the top left of the table designer window to save these table changes to the database.
If prompted to review the changes, select the Update Database button.
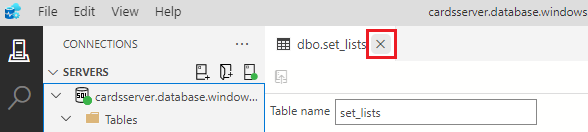
Select the X on the table designer tab in Azure Data Studio when done to close the window.
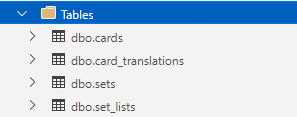
View the tables in the database
Right click the tables folder and select Refresh.
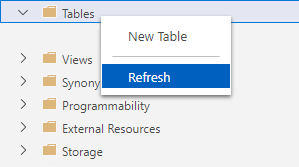
You should see the four created tables in the tables folder.