Set up Visual Studio Code for agent development
Setting up Visual Studio Code for AI agent development brings enterprise-grade capabilities directly into your familiar development environment. The Microsoft Foundry extension transforms VS Code into a comprehensive platform for building, testing, and deploying agents without leaving your editor.
Understanding the Microsoft Foundry extension
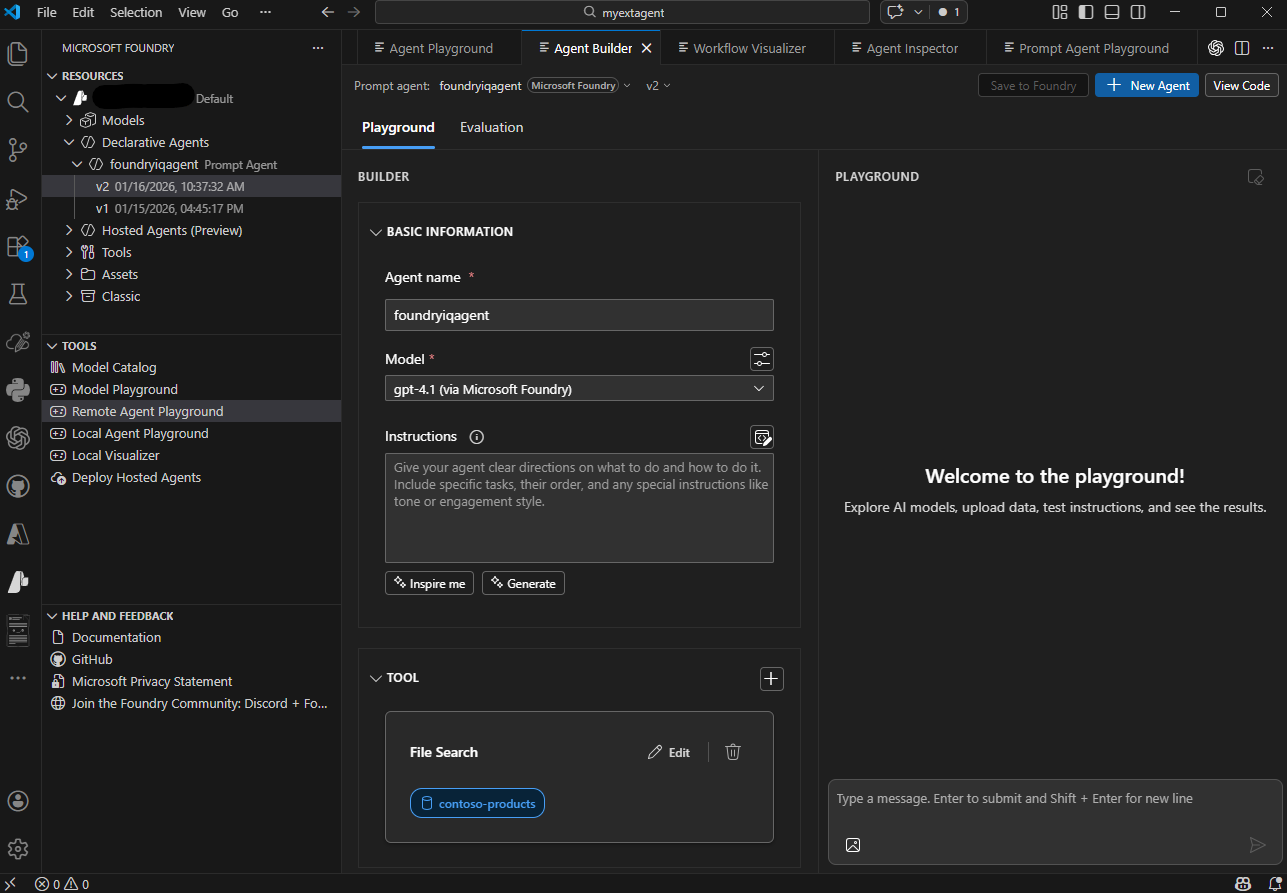
The Microsoft Foundry for Visual Studio Code extension provides direct access to Microsoft Foundry Agent Service capabilities. This extension creates an integrated experience for agent development that combines visual design tools with code-based configuration.
The extension organizes its features into three sections: Resources (for managing deployed models, declarative agents, hosted agents, connections, and vector stores), Tools (for accessing the model catalog, playgrounds, and deployment features), and Help and Feedback.
Installing and configuring the extension
Setting up the Microsoft Foundry extension takes just a few minutes and requires minimal configuration.
Installation steps
- Open Visual Studio Code on your machine
- Select Extensions from the left pane, or press Ctrl+Shift+X (Windows/Linux) or Cmd+Shift+X (Mac)
- Search for Foundry in the marketplace search box
- Select the Microsoft Foundry extension from the results
- Select Install to add the extension to VS Code
- Wait for installation to complete (status appears in the Extensions panel)
After installation, the Microsoft Foundry icon appears in the VS Code activity bar on the left side of the window.
Connecting to Azure
Before working with agents, connect the extension to your Azure account and project:
- Select the Azure icon in the VS Code activity bar
- In the Azure Resources pane, sign in to your Azure account if prompted
- Expand your Azure subscription in the resource tree
- Expand the Foundry section to see your projects
- Right-click your Microsoft Foundry project
- Select Open in Foundry Extension
The extension now displays your project resources in the Microsoft Foundry panel, including existing agents, model deployments, connections, and vector stores.
Preparing for agent development
Before working with agents in VS Code, ensure you have the necessary resources deployed.
Deploying a model
Agents require deployed AI models to function. If you don't have a model deployment yet:
- In the Microsoft Foundry extension, navigate to the Resources section
- Expand the Model deployments subsection
- Select the + (plus) icon to create a new deployment
- Choose a model (such as GPT-4o or GPT-4) from the available options
- Configure deployment settings:
- Deployment name: Enter a descriptive name you'll use when configuring agents
- Model version: Select the specific model version
- Capacity settings: Configure throughput based on your needs
- Select Deploy and wait for deployment to complete
The deployed model becomes available in dropdown menus when you configure agents.
Working with agents in VS Code
Agents are often created in the Foundry portal (as described in the previous unit) and then managed and configured in VS Code through the extension. Once you've created an agent in the portal, it appears automatically in the extension's Resources section.
Changes to agents in VS Code can be saved directly to Foundry, so you can work with your agent across platforms.
Managing multiple agents
As your projects grow, you'll likely manage multiple agents with different purposes. The Microsoft Foundry extension makes this straightforward:
- Browse agents in the Resources view organized by project
- Switch between agents by selecting them from the list
- Compare configurations by opening multiple YAML files side by side
- Duplicate agents to create variations without starting from scratch
- Archive unused agents to keep your workspace organized
The extension maintains a clear view of all your agents, making it easy to navigate between different automation projects.
Setting up Visual Studio Code for agent development provides a powerful, integrated environment that accelerates the entire development lifecycle. With the Microsoft Foundry extension, you gain enterprise-grade agent development capabilities without leaving your familiar code editor, enabling rapid iteration and seamless deployment of intelligent automation.