Build and deploy database projects in GitHub Actions and Azure DevOps
As databases are integral components of larger solutions, developers must find effective ways to manage database development similarly to how they handle application code. This task is particularly challenging because database development is closely intertwined with the data stored within the database, adding layers of complexity.
Fortunately, tools like GitHub Actions and Azure DevOps Services offer robust solutions for managing these complexities. Both platforms support DACPAC deployment, which simplifies the process of deploying database changes by packaging them into a data-tier Application Component (DAC) package. This approach not only ensures consistency and reliability in database deployments but also integrates seamlessly with continuous integration and continuous deployment (CI/CD) pipelines, making it easier for developers to maintain and update databases alongside their application code.
The examples in this unit assume that you already have:
- An Azure subscription with permissions to create and manage resources.
- Visual Studio Code installed with the following extensions:
- A GitHub account with a private GitHub repository created as Owner.
- An Azure SQL Database configured with Allow Azure services access enabled. Quickstart: Create an Azure SQL Database single database.
Use GitHub Actions to connect to Azure SQL Database
You can use GitHub Actions to connect to your Azure SQL Database and publish SQL projects using DACPAC files.
Using GitHub actions to connect to Azure SQL Database has three main steps.
- Clone the GitHub repository in Visual Studio Code.
- Create a Database Project in Visual Studio Code.
- Set up Continuous Integration (CI) with GitHub Actions.
Clone the GitHub repository
You can clone the GitHub repository you created by following these steps.
- In Visual Studio Code, select View > Command Palette.
- In the command palette, type Git: Clone, and then select it.
- Enter the URL of your repository and select Clone.
- Select or create a folder to store your repository files.
Create a Database Project in Visual Studio Code
In Visual Studio Code, set up a new database project and save the project in the same folder where you cloned the GitHub repository.
For more information about creating a Database Project in Visual Studio Code, see SQL Server Development with Visual Studio Code.
Once you created your database project, add code to modify your Azure SQL Database. Then commit them back to your GitHub repository to ensure they're tracked and integrated into your version control system.
Set up Continuous Integration with GitHub Actions
To set up Continuous Integrations (CI) with GitHub Actions, create a .yml file in the /.github/workflows/ path in your repository. The .yml file has two sections.
- Set up authentication
- Create a GitHub workflow
The Set up authentication configures GitHub secrets, and the second section creates a GitHub Actions workflow.
Authentication
First you need to create a service principal with the az ad sp create-for-rbac command in the Azure CLI. Use Azure Cloud Shell in the Azure portal to run the following Azure CLI code. Replace the placeholders with your subscription ID, resource group name, and app name.
az ad sp create-for-rbac --name "myML" --role contributor --scopes /subscriptions/<subscription-id>/resourceGroups/<group-name> --json-auth
The output is a JSON object with the role assignment credentials. Save the file as it saves as a GitHub secret.
Secondly, create the SQL connection string. You can copy this from the Azure portal. From your Azure SQL Database, open Settings > Connection strings.
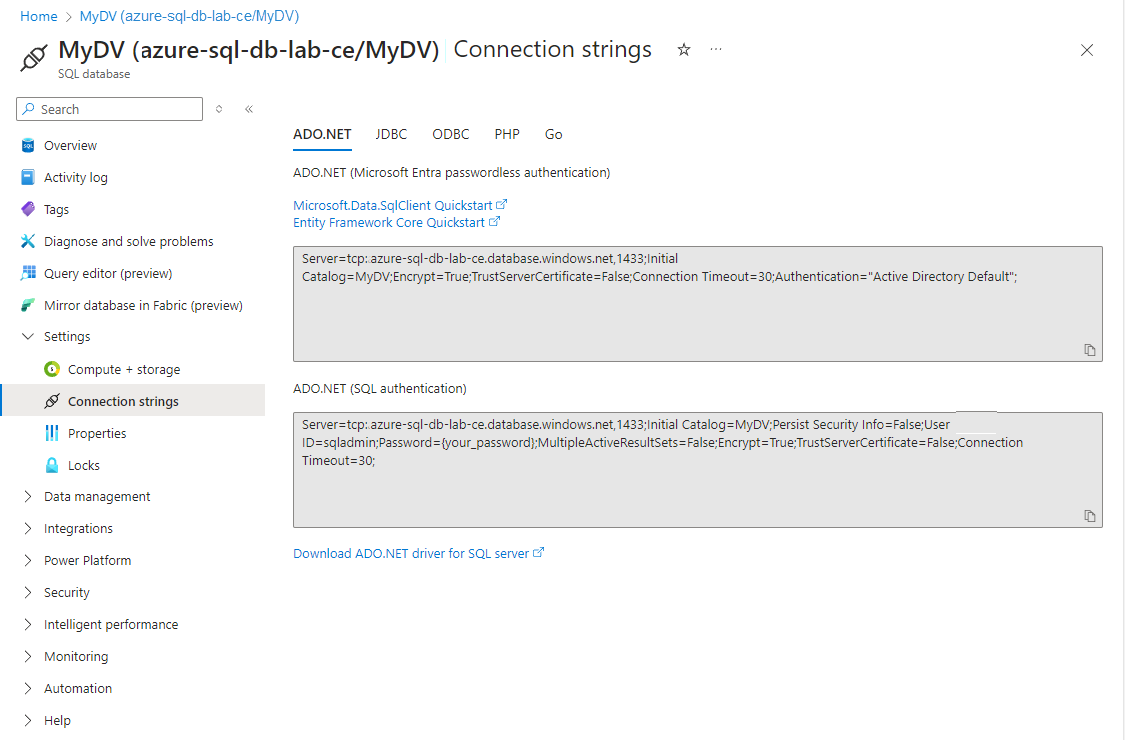
Copy the ADO.NET connection string and then replace the placeholder values for your-database and your-password. The connection string looks similar to this:
Server=tcp:my-sql-server.database.windows.net,1433;Initial Catalog={your-database};Persist Security Info=False;User ID={admin-name};Password={your-password};MultipleActiveResultSets=False;Encrypt=True;TrustServerCertificate=False;Connection Timeout=30;
This connection string will also be stored as a GitHub secret.
In your GitHub repository, you add secrets in Settings > Security -> Secrets and variables > Actions. Create new secrets named AZURE_CREDENTIALS to store the JSON text and AZURE_SQL_CONNECTION_STRING to store the connection string.
You're now ready to create your workflow.
Note
In a production environment, consider using Managed Identities for your GitHub Action to access the database instead of SQL authentication. For more information, see the Managed identities in Microsoft Entra for Azure SQL.
Create a GitHub workflow
In your GitHub repository, select Actions and Set up a workflow yourself. An empty main.yml file opens.
You can now build your YAML file. For detailed syntax and guidelines, refer to the Workflow for GitHub Actions. For example, the name: tag specifies the name of the workflow, while the on value determines the events that trigger the workflow to run.
Tip
The Quickstart for GitHub Actions gets you up and running with additional features of GitHub actions.
Azure SQL Database deployment with Azure DevOps Services
You can also deploy updates to an Azure SQL Database using Azure DevOps Services. To get started, you'll need an Azure DevOps Services account, a version control system (such as Azure Repos or GitHub), and Visual Studio Code with the SQL Database extension installed.
Azure DevOps Services includes Azure Pipelines, which automatically build, test, and deploy code. By using Azure Pipelines, you can support continuous integration and continuous deployment (CI/CD) of Azure SQL Database modifications within your project. This integration ensures that your database changes are consistently and reliably applied.
Azure Pipelines are seamlessly integrated with various version control systems, including GitHub and Azure Repos. Azure Pipelines allows you to run SQL scripts as part of a pipeline, using Azure PowerShell scripts to create and remove firewall rules in Azure, ensuring secure and efficient database management.
For more information about Azure SQL Database deployment options, see Azure SQL database deployment in the documentation for Azure DevOps Services.